Is your project ready to render? Check out 3D expert Ricardo Eloy’s guide on how to set up modeling, shading, and lighting for perfect results every time.
Many artists look forward to that magical moment when a single command starts the complicated process of calculations that finally unveils their work. I mean, we all love seeing those dozens, maybe hundreds, of hard worked hours become the most amazing image or animation just like we envisioned, right?
Well, the thing is that that magical moment can become a nightmare if your rendering takes longer than it should. Suddenly, that awesome animation might not be ready to meet your tight deadline and that is definitely a huge problem you should avoid at all costs.
That’s why I’ve come up with this quick guide on how to optimize your scene for rendering. After all, V-Ray is really fast on its own — but that doesn’t mean it can’t be even faster!
With a little help from my friends
The artist is responsible for not only the way the final scene will look, but also how it is made. Every step in the creation of a scene should be carefully planned in order to make the best of your renderer and the available resources. To make it easier, I’ve divided these steps into four parts: modeling, shading, lighting, and rendering. Let’s begin!
01. Modeling
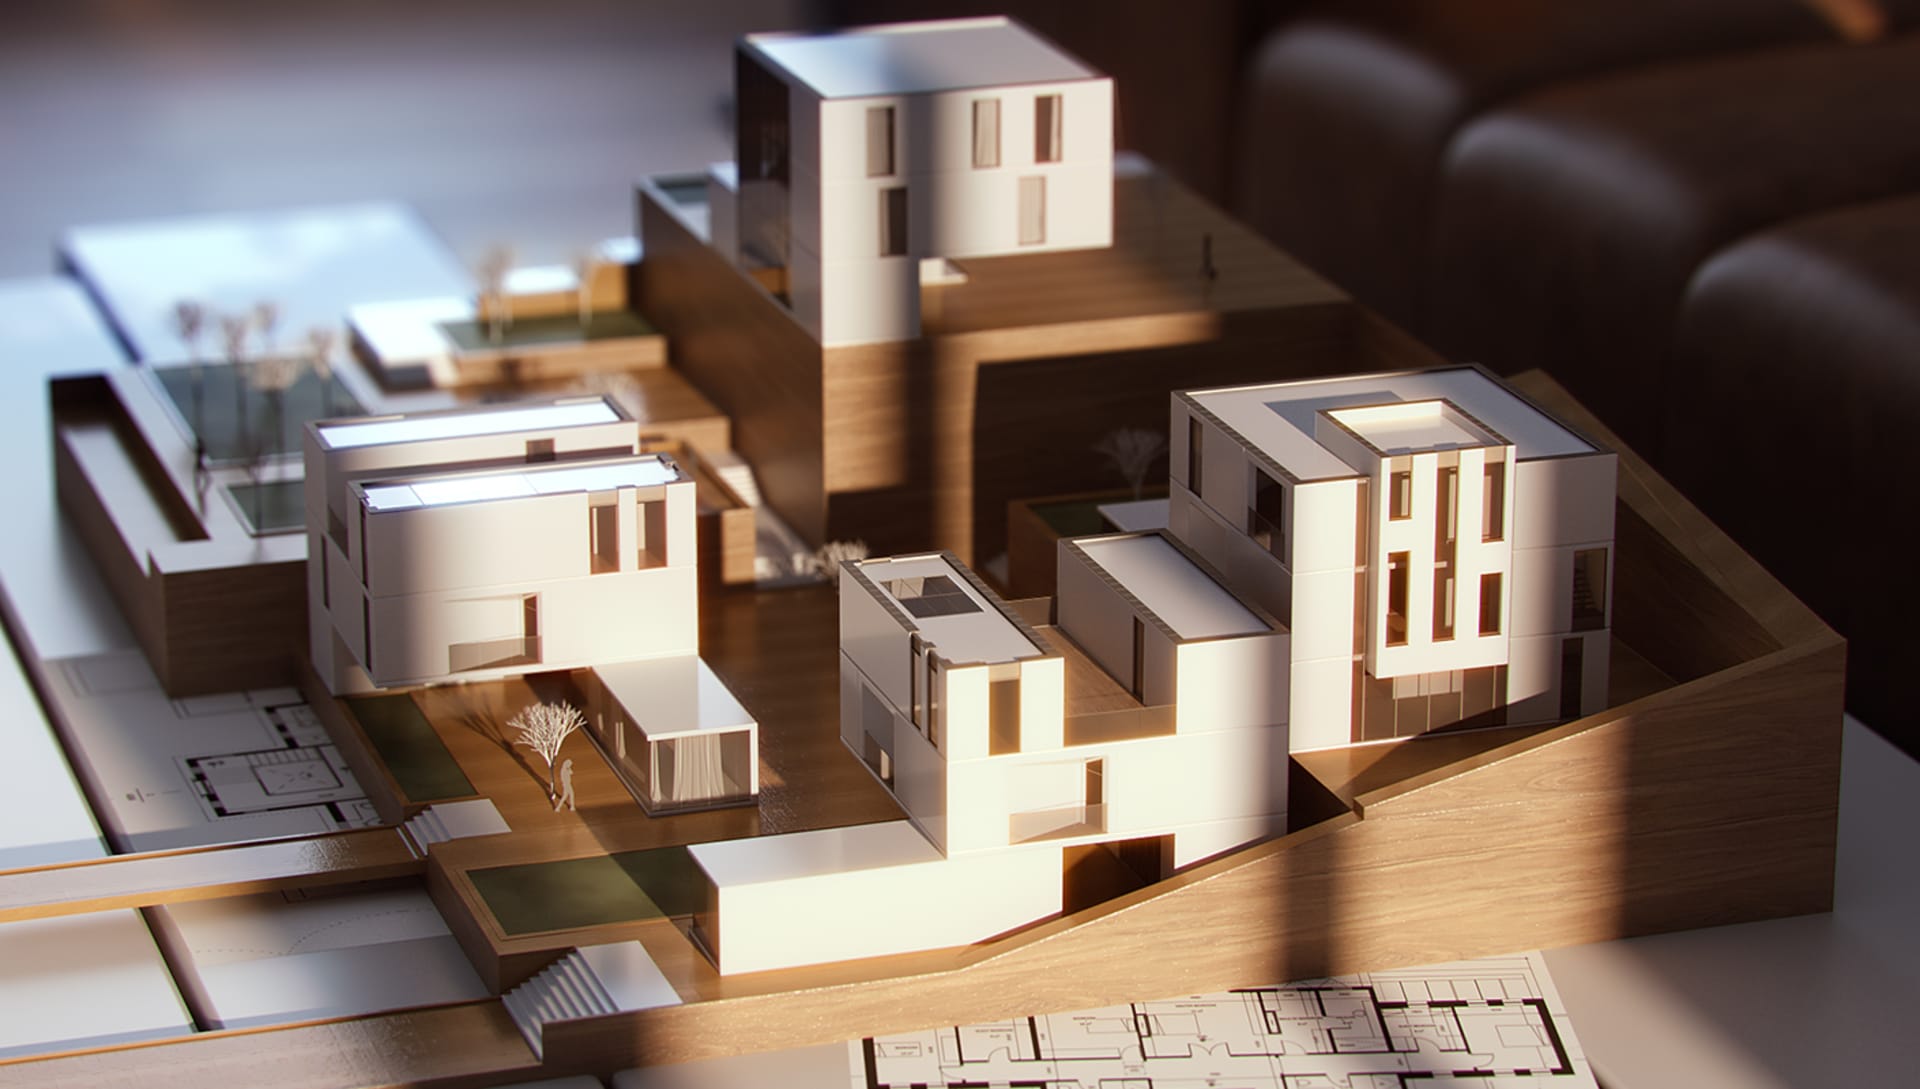
Models are made of polygons, and the more polygons you have in your scene, the heavier it gets. We know it’s a very tempting idea to have all the nuts and bolts in every model so you can zoom in all you like, but let’s be honest, does it really matter in the end?
The answer is: it depends. Some models are naturally more complex than others, while others will only appear when placed further away from the camera. That means you should carefully select which models actually need to be more detailed and which models don’t. Just by doing that, the polygon count in a given scene can drop dramatically, making it a lot easier to render and giving you some precious minutes (or even hours) back.
Even then, sometimes you may need to have some heavy models in there because they all appear close to the camera at some point during an animation, for example. That’s when VRayProxy objects come in handy. They are a special kind of geometry that is loaded only during rendering, which means that your scene will take much less RAM to render while using the available resources more intelligently.
Keep in mind that all of this can go to waste if your models are low quality. Bad geometry takes more time to render, so always make sure you model your geometries correctly with no overlapping faces or loose vertices. And when you use premade assets, make sure that they are from a trusted source such as Chaos Cosmos.
The Chaos Cosmos asset library features high-quality smart 3D assets, materials and HDRIs that are curated to make sure they’ll always look good and are optimized for rendering no matter which platform you choose. Just import them via the Cosmos browser and you’re good to go.
Always keep your modeling smart. Sometimes, simple tricks or techniques can be so effective that they might make the difference between failure or success.
Take instancing, for example. Using instances instead of copies can drastically improve performance and reduce memory usage, (not to mention make your life a lot easier when making changes).
Another great tip for modeling is to use VRayEnmesh instead of fully modeling intricate 3D patterns. Available in V-Ray 6 for 3ds Max, Maya, SketchUp, and Cinema4D, Enmesh can add even the tiniest details to your mesh and takes very little RAM to render, even less than displacement maps. This means you can have very detailed models and still be able to render fast.
02. Shading
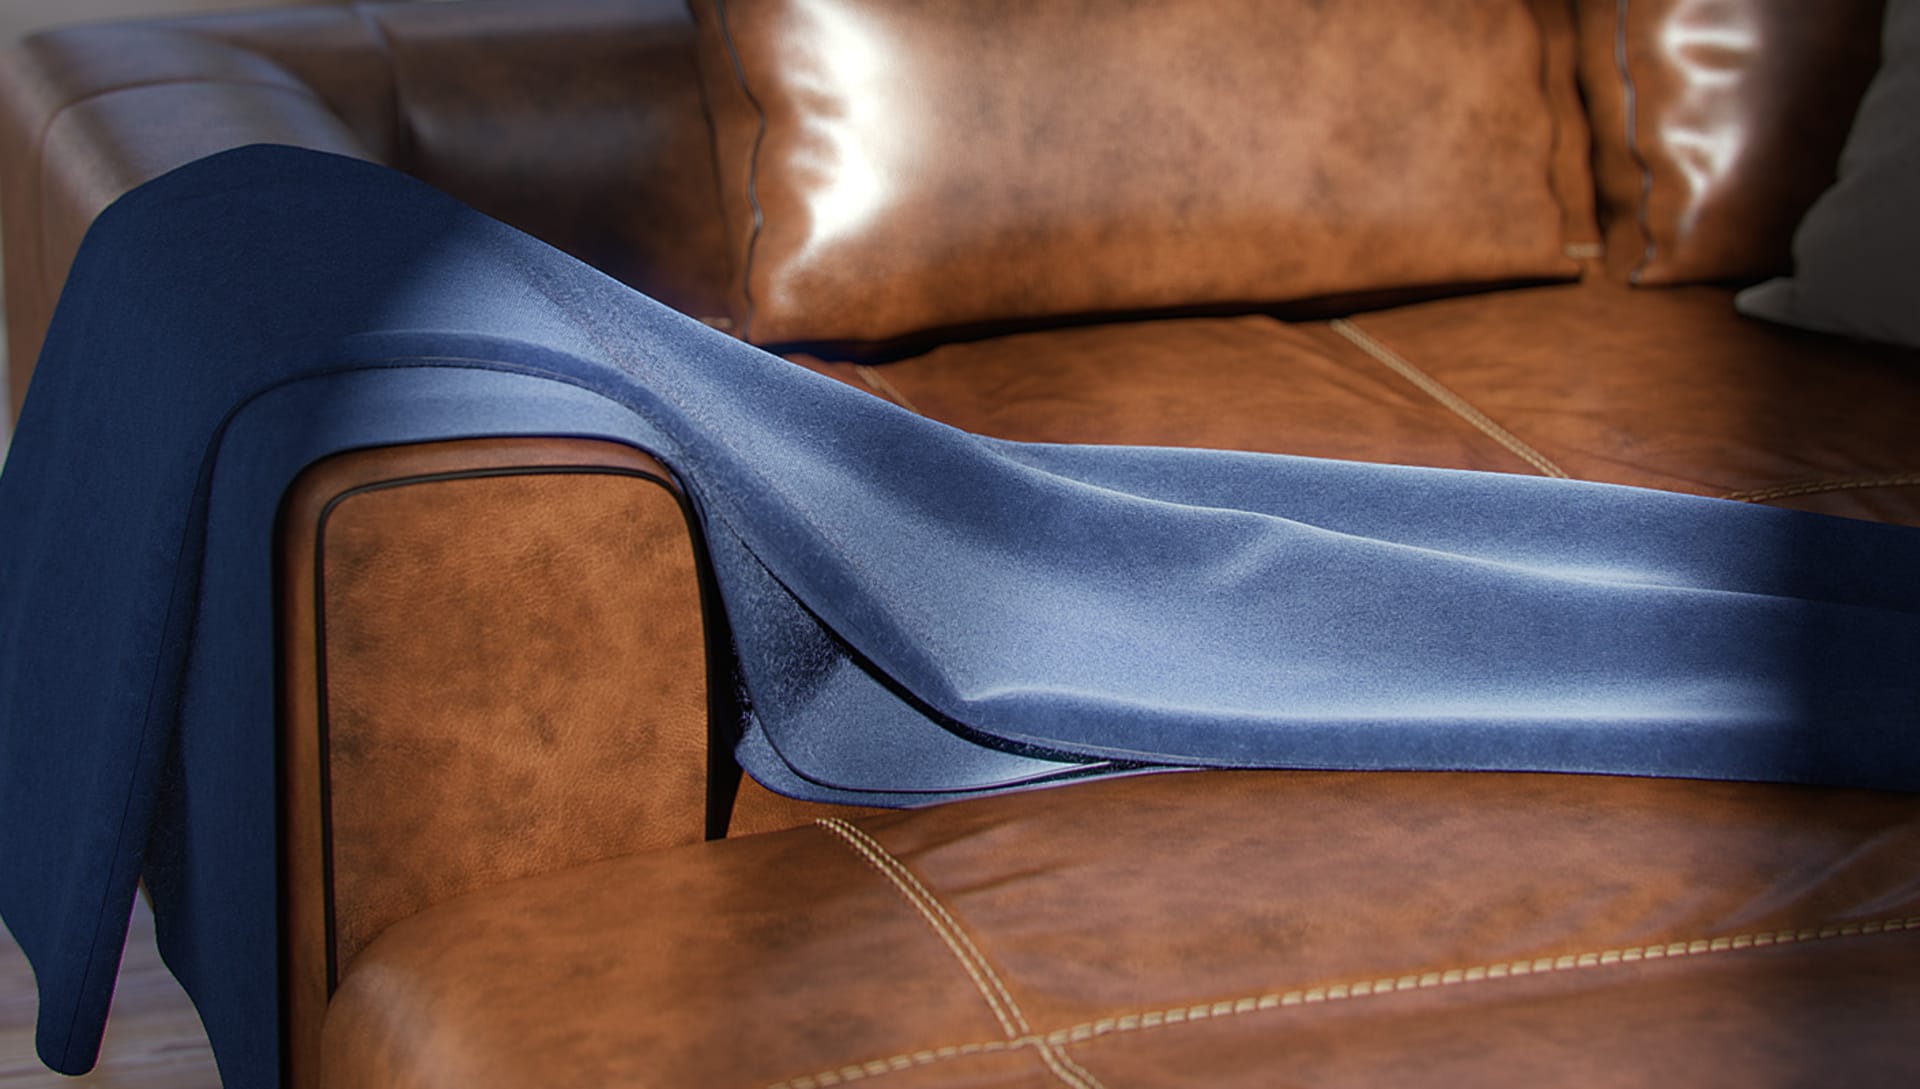
Speaking of Cosmos, you’ve probably already used commercial material libraries. They are great to speed your work by providing complex high-quality materials that would take hours to create from scratch, not to mention the creation of custom maps, etc.
The problem is that those materials can sometimes be too heavy and increase your render time. So you’ll want to always check their setup, looking for unnecessary effects such as glossy reflections and refractions that probably won’t be visible depending on the distance or size, missing maps or overly complicated shader trees.
Even when everything looks good, there might be a hidden issue that most people usually neglect: oversized bitmaps. Although those 8K reflection maps look cool, they might be taking a huge chunk of your RAM and taking forever to render (and to lead, depending on your network speeds) and still make zero difference in the final result.
03. Lighting
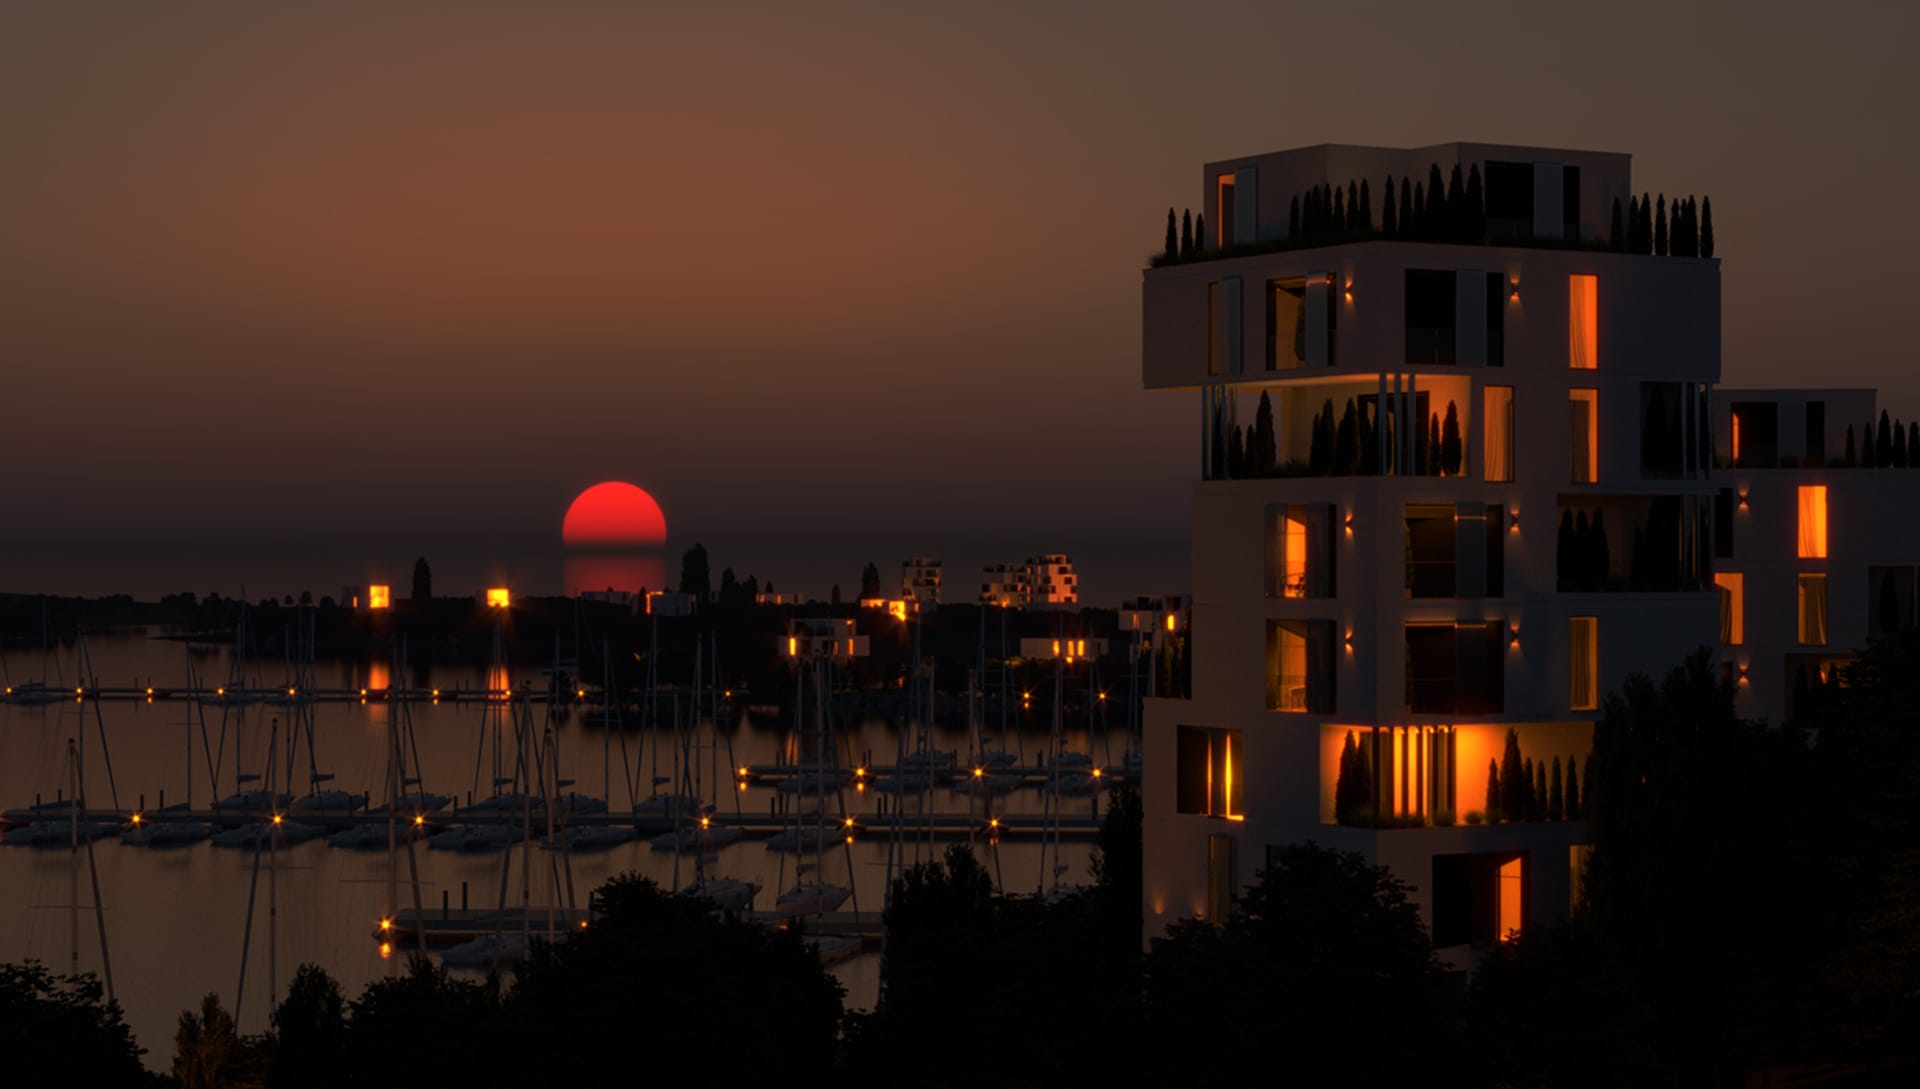
The lighting in a scene is one of the most important aspects to consider when making your render look photorealistic, and V-Ray is the perfect tool to get the job done. It can even change each light in your scene after you have finished rendering without the need to re-render anything, which you will agree is simply awesome.
But even if you can render thousands of lights at once without breaking a sweat and change them afterwards, that doesn’t mean you should simply put lights in a scene without a care. Some simple things can make a world of a difference.
An easy win is to avoid overly bright lights. These cause overexposed areas in your scene that will actually take a lot longer to render because of the amount of calculation needed to show a bright, flat area. Instead, use weaker lights and control them individually to get the desired effect. You can use V-Ray’s Light Mix in the VFB to test and finetune your lights, making every light count.
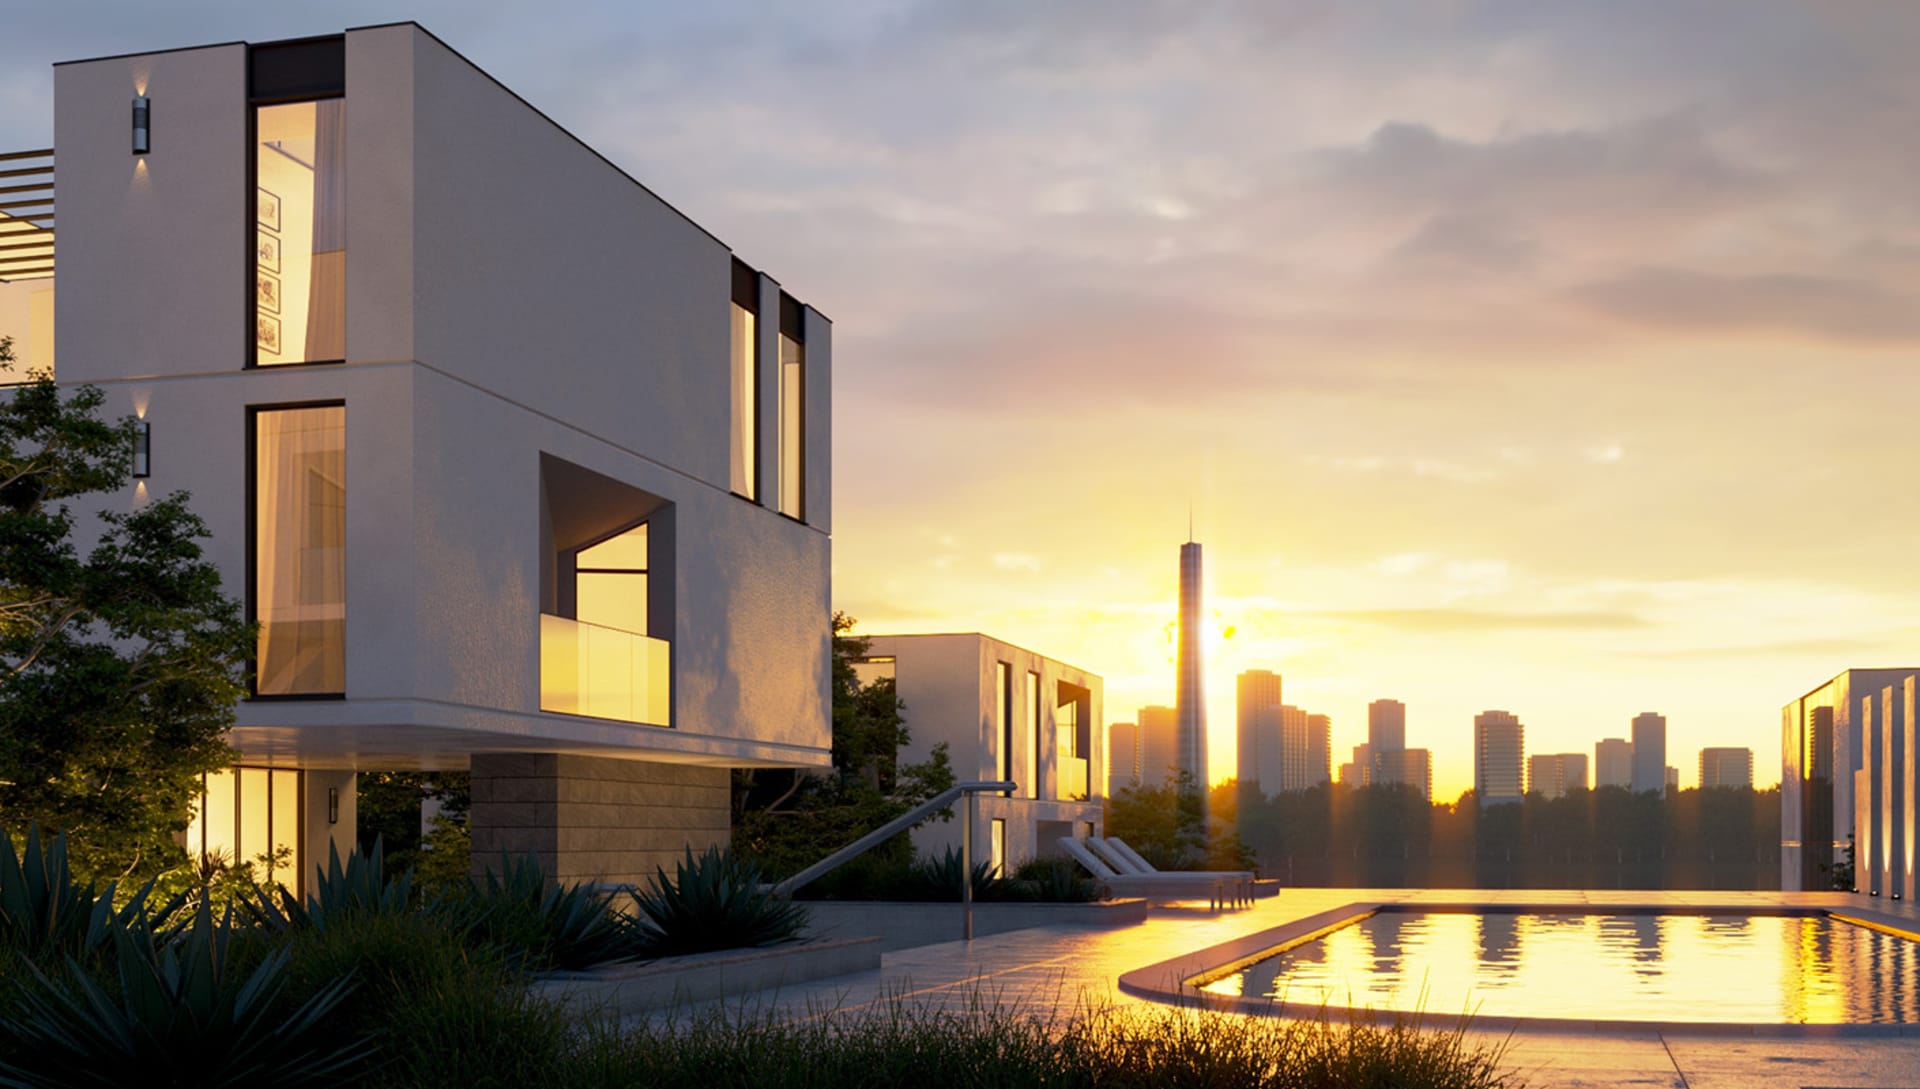
Another great tip is to use a V-Ray dome light as a skylight, whether you’re using a HDRI or V-Ray’s Sun & Sky system with procedural clouds. The dome light is really fast and easy to control and doesn’t require light portals or any other elements to create great environment lighting.
04. Rendering
Even after all this work, you can still optimize your render settings to make the best out of your system. Make no mistake, V-Ray can deliver great results in a very short amount of time using only its default settings, but if you want more speed you can improve things even further.
V-Ray’s image sampler uses noise levels to determine the “quality” of the rendering. In general, higher subdivisions mean higher quality, as do lower noise thresholds. Although you can go for high quality renderings all the way by cranking your subdivisions, sometimes a small tweak in those settings can cut your rendering time by half and still give you amazing looking results. You only need to determine if a certain quality is good enough for your needs or not. Test your subdivisions/noise threshold on different regions of your rendering. You’ll eventually find a good balance between the amount of noise and the time it takes to render.
But that’s not all. You can significantly decrease the noise in your images by using V-Ray Denoiser. Using intelligent algorithms, the denoiser captures the noise in your image and smooths it out to make your rendering look even better in a fraction of the time it would take to reach the same noise level without it. Again, balance is the keyword here. The noisier the original image is, the worse the denoised result will be, so don’t underestimate the importance of the previous paragraph.

When life gives you lemons, render lemonade!
Being able to achieve great results without changing a single parameter is great. But being able to control your renderer so you can achieve great results in a fraction of the time is amazing! V-Ray lets you tweak every parameter so you have full control over quality and time, allowing you to always render your best work and never miss a deadline.
Want to know more about how V-Ray can help throughout your projects? Check out my guide to using rendering as a productivity enhancer.

