Discover the V-Ray features that give architects and archviz artists joyfully smooth rendering workflows, no matter which 3D modeling software they’re using.
When you’ve got an impending deadline, it’s comforting to know you’ve got the right tools to get the job done on time without sacrificing quality.
In this blog post we’re going to guide you through the process with some practical tips, so you can find your zen archviz workflow with V-Ray.
Tip 01. Rely on Cosmos assets for greater efficiency.
Tip 02. Set the right parameters in V-Ray Frame Buffer.
Tip 03. Observe your scene closely.
Tip 04. Get comfortable with proxies.
Tip 05. Set up displacement mapping and enmesh just right.
Tip 06. Give bucket splitting a shot.
01. Cosmos assets race around the clock
After you download and import assets from the Cosmos browser, you can easily control material and HDRI properties from the Materials or Texture tab in Sketchup, Rhino and Revit. In Maya, you can do this from the Hypershade tab and the Attribute Editor, Compact or Slate Material Editor in 3ds Max, and Attribute Editor in Cinema 4D.
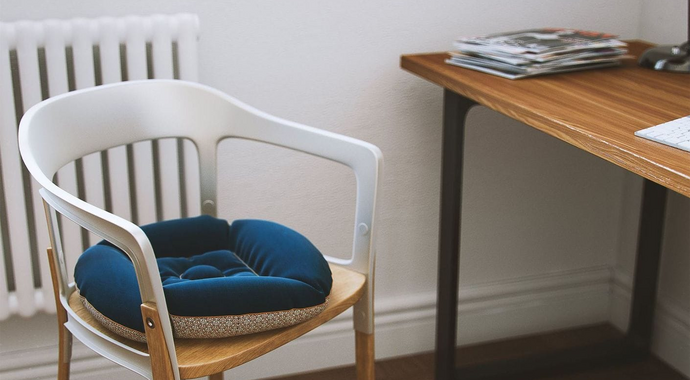
Cosmos not only saves you precious time by having a wide set of high-quality curated categories to choose from: Furniture, Accessories, Lighting, Vegetation, Vehicles, People, and HDRI skies, but you are able to edit asset values like diffusion, bump, and reflection with just a few clicks.
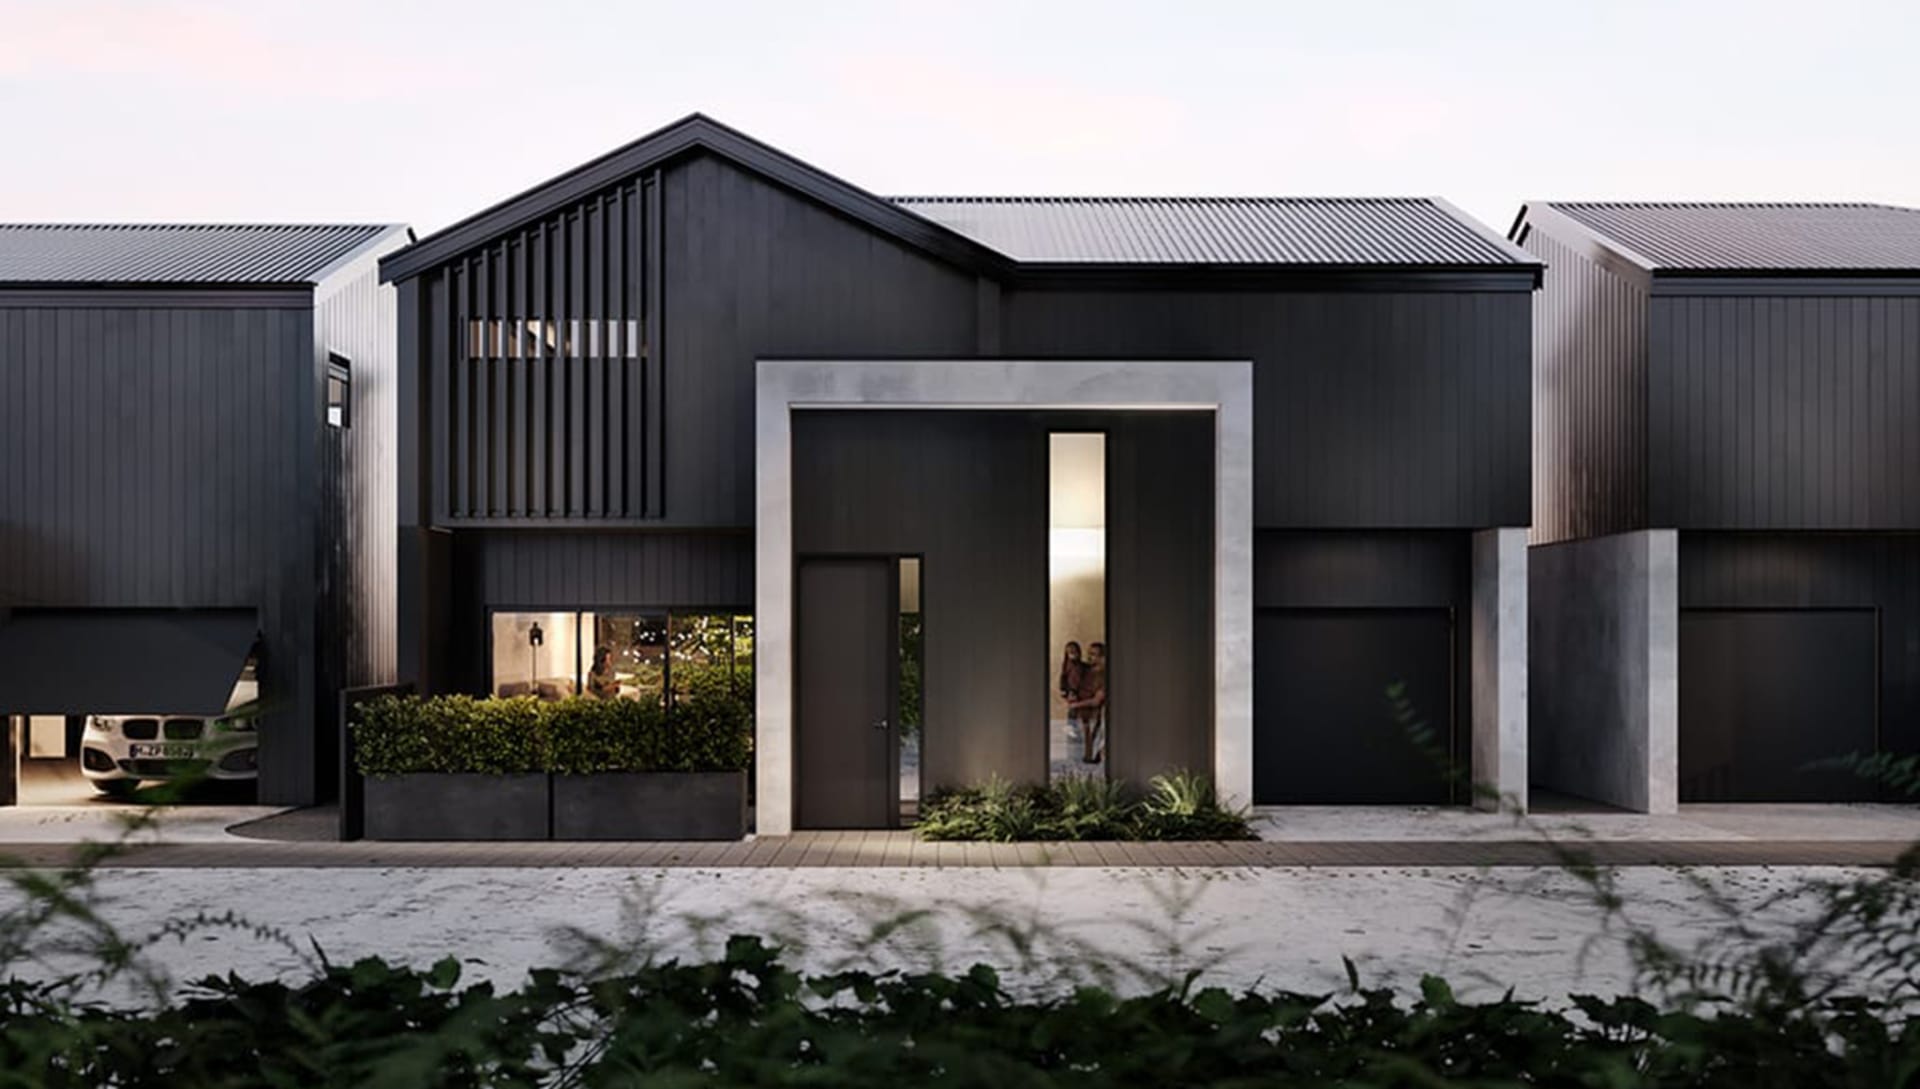
The assets can be edited just like any other mesh you would model yourself, which makes them quite versatile.
In Maya and Cinema 4D the meshes are already distributed and imported as proxies with editable materials.
In Sketchup, Rhino, and Revit, all you need to do is make them editable by merging. That will turn them into V-Ray proxies and, if you make those editable, then you'll end up with your typical mesh object.
When adding Cosmos assets in 3ds Max, Maya, Cinema 4D you can manually adjust the LOD (level of detail): low, medium, or high to your liking. Lower LOD leads to a lighter scene for faster rendering; we recommend this for assets placed further in the distance.
02. Get the VFB to work for you
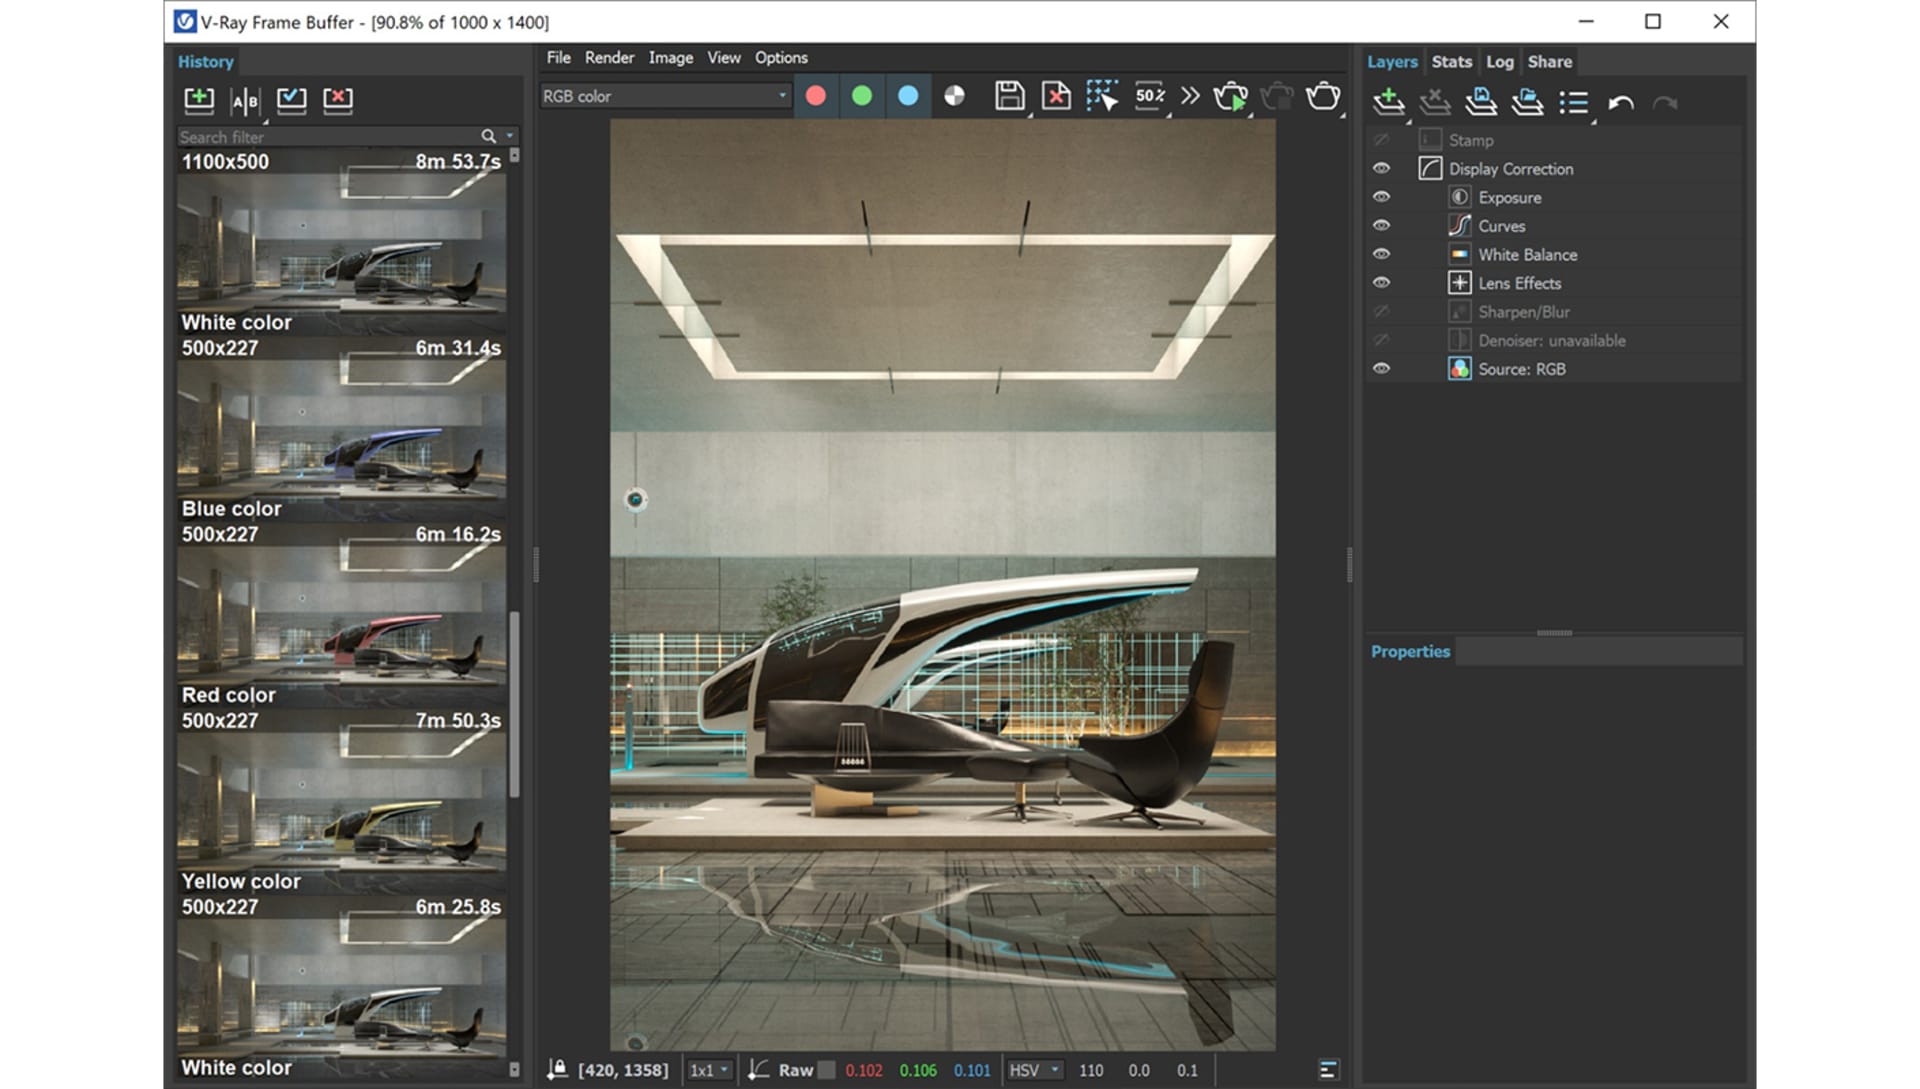
There are many VFB parameters that will improve your workflow and give you the creative flexibility to craft your best work.
Enjoy details in high resolution
The V-Ray Raw Image File option lets V-Ray directly write a raw image to disk as it’s being rendered. No data is stored in the RAM, so you can render very high-resolution scenes with Memory Frame Buffer turned off.
Save some extra hardware space
The latest version of V-Ray 6 for 3ds Max comes with the option to automatically delete resumable data from completed frames.
Color corrections based on mask
You can use masking render elements to easily make color corrections on your assets. We recommend you use the Cryptomatte render element for ease of use as it gives you greater flexibility, and you can set the look of your assets based on Object, Material, and Layer.
03. Observe your work closely
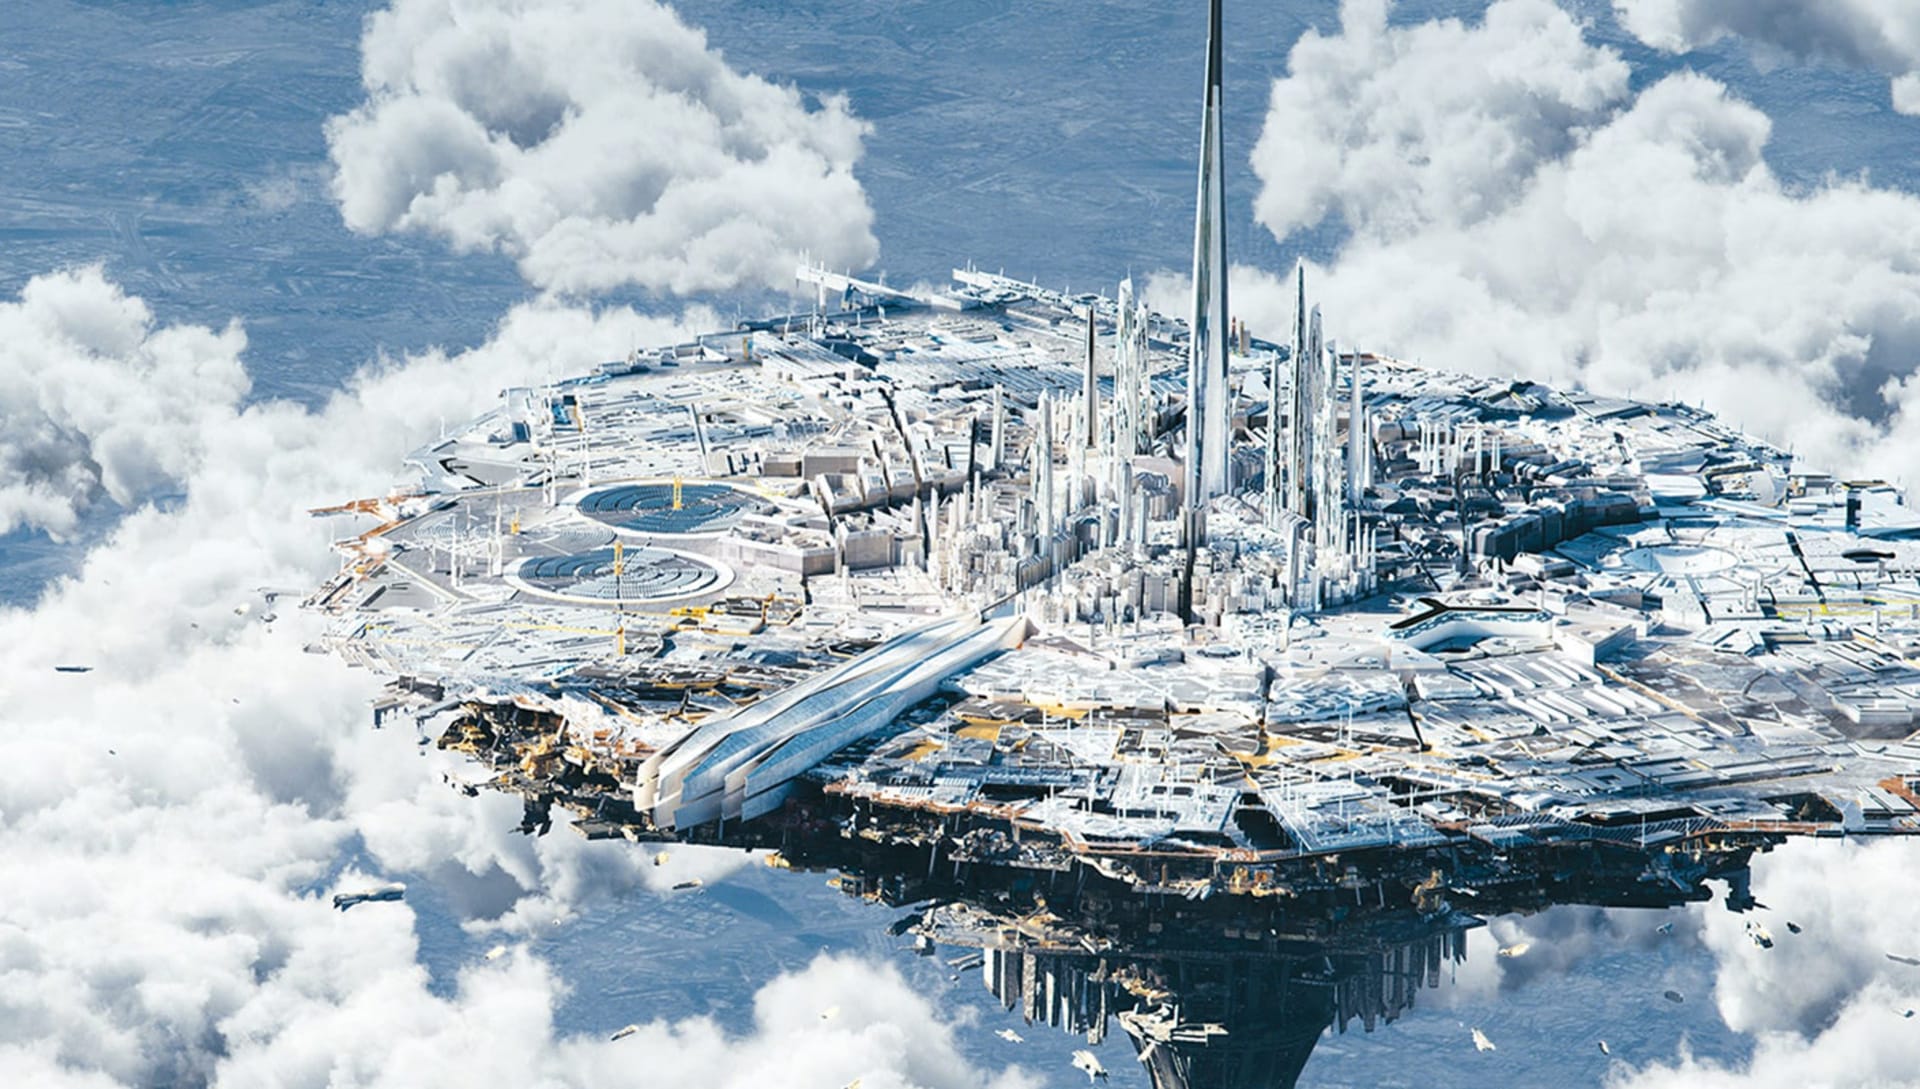
Have you imported too many unused 3D assets? Are there meshes hidden from the camera’s view? How about overlapping vertices? Take a deep breath and give your scene a closer look.
Location location location
Keep camera distance in mind when placing high and low polygon objects in your scene. High poly ones should be close to the camera.
Overlapping models and meshes
This might lead to artifacts and will take longer to render. Remove the duplicate faces and play around with the distance. You can also try increasing your resolution setting.
Use Render Region
Render in small sections. This lets you focus on one specific area of the scene at a time, bringing you closer to perfection while maximizing computing power.
04. Proxies
When using bucket rendering, dynamic geometry only keeps sections that are being rendered in the RAM. This makes handling heavy geometry a breeze. Along with the power of V-Ray Proxy Mesh and Proxy Scene, you’ll be able to avoid your viewport freezing and enjoy creating complex models with smooth navigation.

Share your work freely
Proxies allow you to create and share custom libraries of assets and entire scenes on different platforms.
Scatter things around
Go ahead and scatter complex geometry around your scene without any lag.
05. Displacement mapping & enmesh
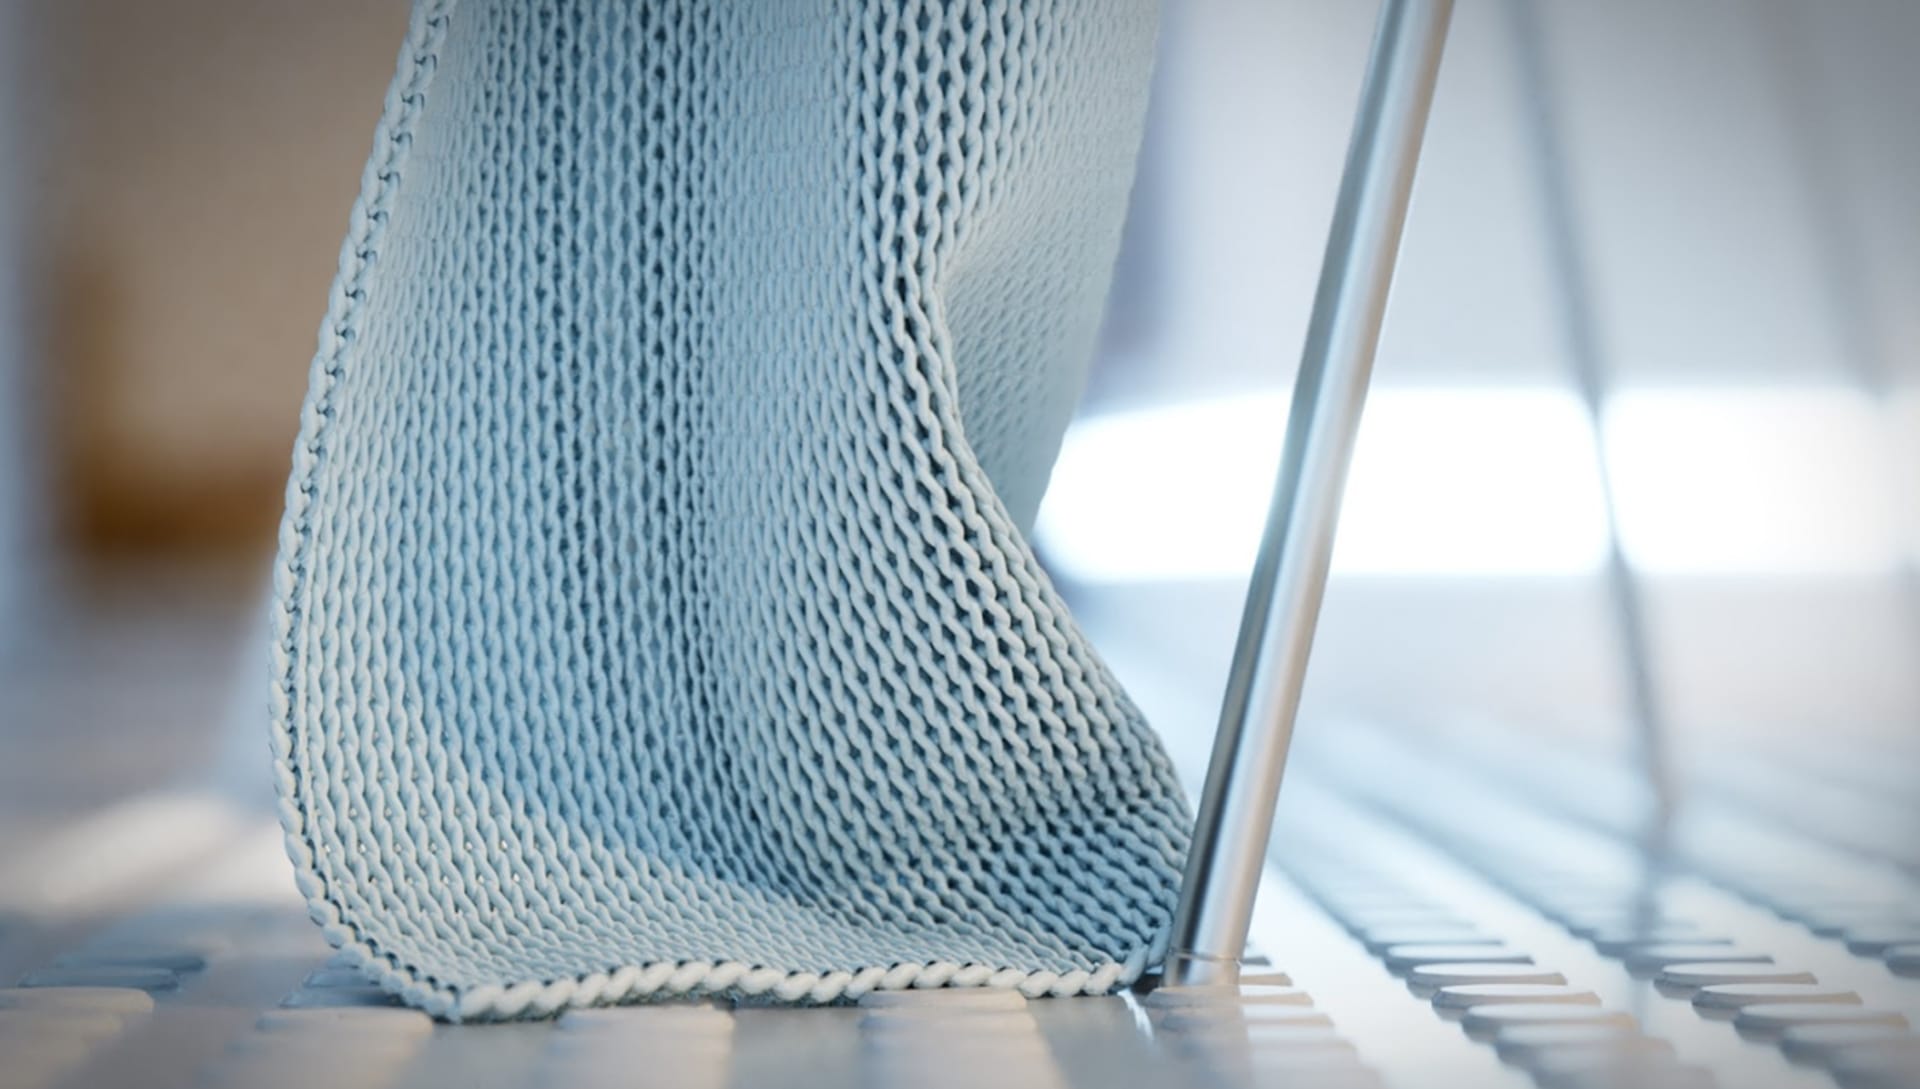
Modifying any surface at render time without having to model is a brilliant addition to any workflow. However, there are important things to keep in mind. Displacement mapping is based on images or procedural textures, while enmesh on geometry for seamless tiling is based on a premade pattern.
Quick optimization
Keeping View-Dependent Edge Length turned on to automatically optimize displacement for a faster workflow. Objects near the camera receive more subdivisions and greater detail compared to those further back.
Layer up
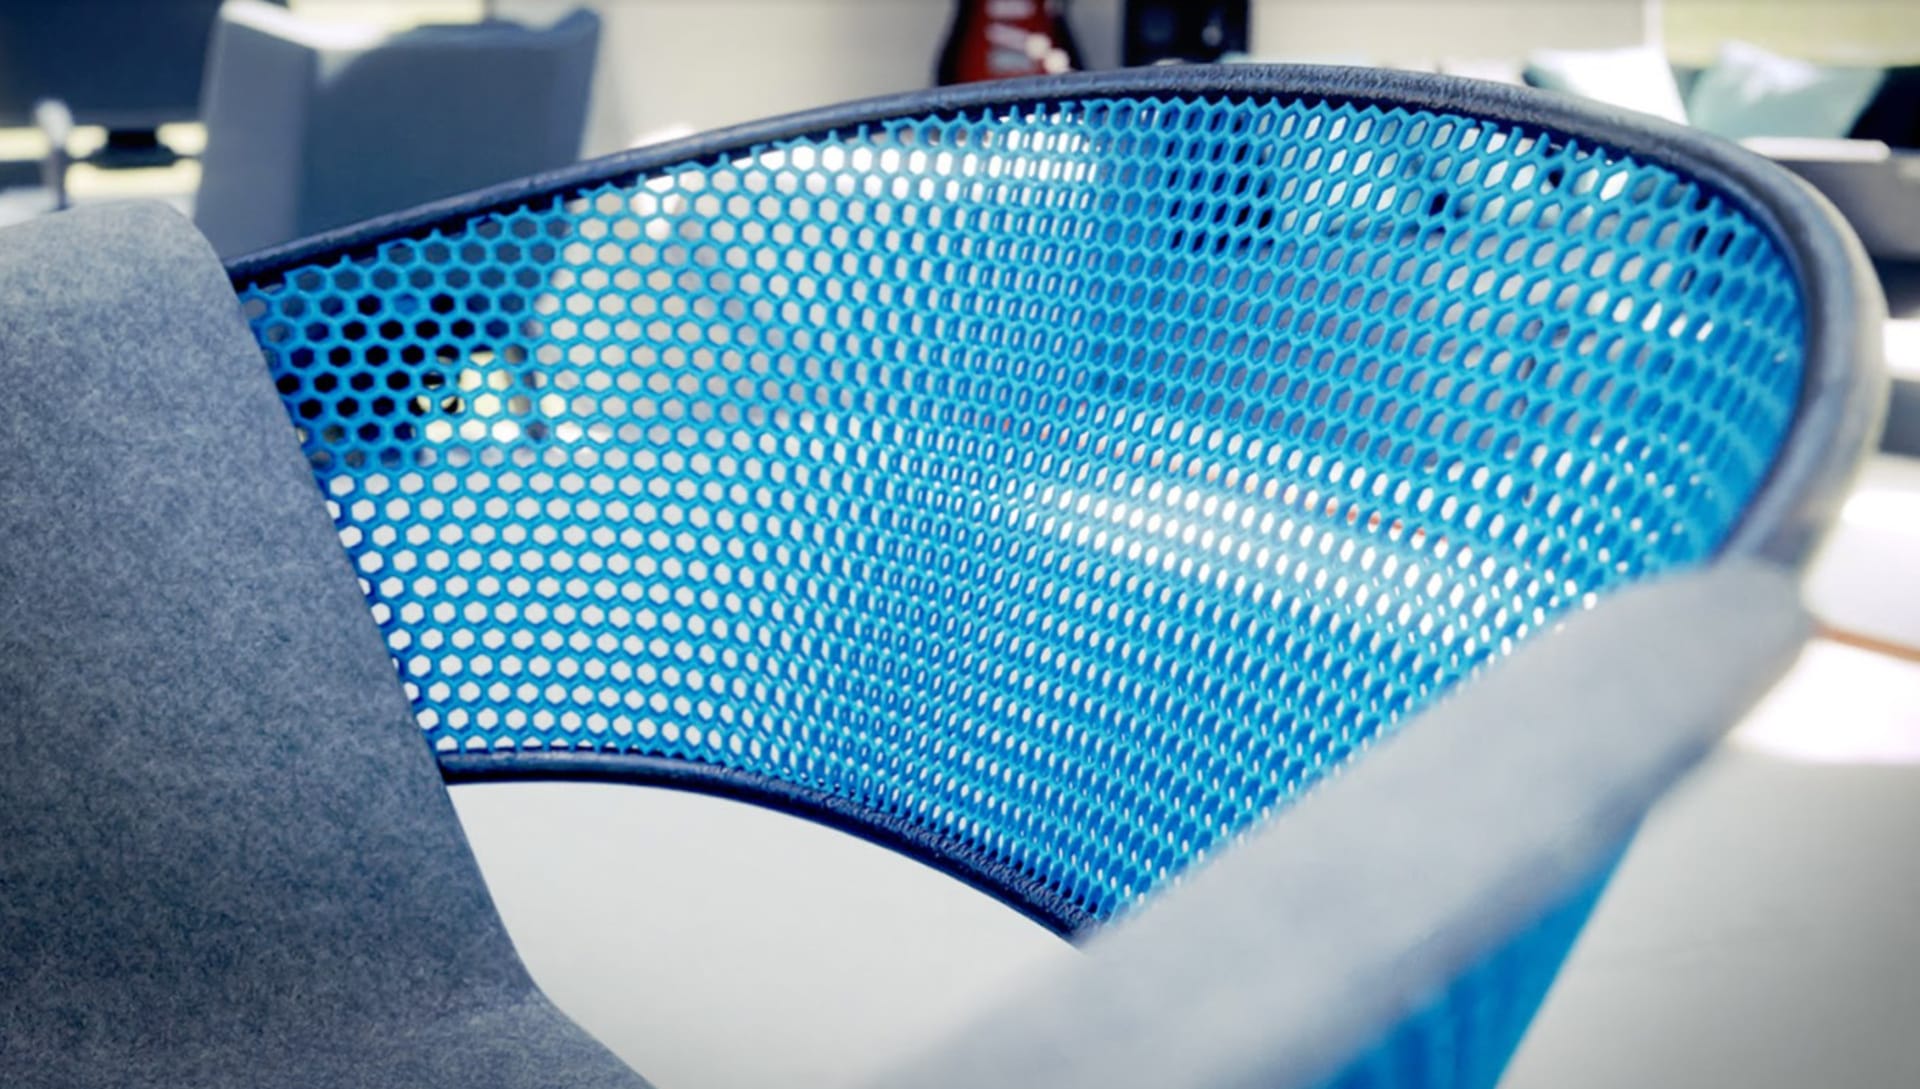
Did you know that you can place different enmesh patterns on a single plane? This may be very useful in cases in which you want to showcase contrasting geometric layers.
06. Bucket splitting
V-Ray has an algorithm that allows for bucket splitting with absolutely no change to the way a scene is set up. It uses 100% of your hardware resources to render all buckets continuously, allowing for larger bucket sizes and faster rendering.
Buckets split down to a pixel
The splitting is dependent on how many idle threads are available and how much of the image is left to render. Splitting ensures that there are no threads left without work. This way, no sample is lost and no data is thrown away.
Continue where you left off
Sudden power outage? Did your project get bumped by another project in the render farm? With resumable rendering, incomplete renders start again from where they left off.
Render selected for less visual distraction
You can use the Render mask feature in V-Ray on specific objects to make color corrections to the object. Make use of the Isolate selected feature for objects, materials and textures from the VFB to make them stand out and make them the focus point.
Apply what works best for you
We hope you found this advice helpful and that it serves as an start to help supercharge your arch viz workflow with all that V-Ray has to offer. While we covered several key optimizations using Cosmos and VFB, proxies, displacement mapping and enmesh, there’s still many more to discover.
Are there any V-Ray workflow hacks you use to make your rendering experience better? Let us know, and we’d be happy to include them in our next tips and tricks article!

