Understanding how to create an architectural rendering is the first step toward a successful career in archviz. This guide will get you up to speed in no time.
Architectural renderings have become a staple in the business: no project big or small can see the light of day without being visualized first. Not only do they sell the architect’s vision to their potential clients, but they’re also of great use in helping them in the creative process..
Even though this task may seem a little daunting at first, creating an architectural rendering is a mix of art and technique. The process becomes smoother the more you do it — as well as a lot of fun (no wonder so many archviz artists are so passionate about their craft and the architectural rendering software they use).
What is architectural rendering?
Architectural rendering is the process of creating realistic renderings and three-dimensional images of proposed architectural designs. This practice has evolved significantly, from hand-drawn sketches to sophisticated three-dimensional modeling software. Today, architectural illustration integrates technologies like virtual reality to enhance the design analysis process, providing a comprehensive view of the architectural design intent.
Benefits of architectural rendering
Architectural rendering offers numerous benefits in the design and construction process. Realistic renderings allow architects and designers to visualize design ideas accurately, ensuring that the final project aligns with the initial concept. Additionally, these renderings help in communicating the design intent to clients and stakeholders, making the approval process smoother and more efficient.
Types of architectural rendering
Architectural rendering encompasses various types, each serving a unique purpose in the visualization process:
Interior rendering
Interior renderings focus on the inside spaces of a building, highlighting design elements such as furniture, lighting, and textures. These renderings are crucial for presenting design ideas for interiors, helping clients visualize the final space in detail. Learn more about interior rendering.
Exterior rendering
Exterior renderings showcase the outside view of a building, including the facade, landscaping, and surrounding environment. They are essential for visualizing the building’s integration with its surroundings and for presenting the architectural design to clients and regulatory bodies. Learn more about exterior rendering.
Tools for architectural renderings
To create architectural renderings, various tools and software are available. Industry-standard software like SketchUp, Rhino, 3ds Max, and Revit are popular choices. Emerging technologies, such as V-Ray and Enscape, offer compatibility with leading CAD software, enhancing the rendering process with accurate lighting and detailed textures.
How to do an architectural rendering: Full guide
To help you create your own architectural renderings, we came up with this little guide to get you started in no time, from the first steps to the final render.
1. Understand the project
Before you start creating the rendering, gather as much information as possible about the project. This includes the building plans, elevations, sections, and any other relevant information. BIM (Building Information Modeling) can provide a detailed 3D digital representation of the building. If you're working with a client, make sure you understand their requirements and preferences.
Want to deep dive into the finer details of an archviz project? BIM (Building Information Modeling) can provide a 3D digital representation of the building, with detailed information about its design, materials, and construction.
2. Choose your software
There are many software options available for creating architectural renderings. Select the three-dimensional modeling software that suits your needs, such as SketchUp, Rhino, 3ds Max, Revit, and more. Choose the software that you're most comfortable using and that will help you achieve the desired outcome. It’s also important to make sure the software of your choice is compatible with every tool you intend to use during the process, such as your renderer, in the most seamless way possible so you can work back and forth without interruptions.
This process is made even smoother with V-Ray and Enscape’s compatibility with leading CAD software. Want to see for yourself? Download your V-Ray or Enscape trial.
3. Create the model
Using the CAD software of your choice, create a 3D model of the building. You can do this by importing the plans and elevations and building the model from scratch or with pre-built 3D models. Accurate and detailed modeling is essential for producing realistic renderings.
Remember: the more detailed the model, the more realistic the image. Photorealistic 3D architectural rendering is the best way to communicate your vision to your customer, as well as colleagues working on the project.

4. Add textures and materials
Once the model is complete, apply realistic textures and materials to the model to enhance the visual appeal and realism. This includes applying materials to walls, floors, and ceilings, as well as adding furniture and other details.
It’s always important to remember that materials are key to making your rendering more believable, so realism and variety can determine the difference between a good rendering and an awesome one. Using real-world photorealistic materials is crucial for creating believable architectural illustrations!
5. Set up lighting
Lighting is an important aspect of architectural renderings. Set up the lighting to create the desired mood and highlight important features of the building. This can be done using artificial lights or by using natural lighting with the help of the software, as they are both important for realistic renderings. A photorealistic rendering is a terrific way to communicate the design and evoke emotions, so make sure you take your time refining your lighting.
6. Art direction
A great model, materials, and lighting can benefit from a careful art direction. Think of your CG camera as a real one and choose the right angle, and the correct lighting. Thoughtful art direction can turn an OK rendering into an incredible, beautiful one. Check out our 5 artistic principles of photorealistic rendering blog article by Nikos Nikopoulos for inspiration.
7. Render
Once the model, textures, materials, and lighting are in place, render the image using the chosen software. This can take anything from a few minutes to several hours, depending on the complexity of the scene and the settings used. The important thing here is to choose the right rendering software for your needs so you can be sure you’ll always get the results you want both in quality and speed.

8. Post-processing
After the image is rendered, it's time to do some post-processing to make it look even better. This can include adjusting the colors and contrast, adding lens flare, and applying other effects. Layers can greatly enhance your control over the final output, so make sure you use them.
9. Presentation
Finally, present the final image to the client or use it in your portfolio. If you’re creating images for your portfolio, make sure to include any necessary annotations or notes to help explain the design and the features of the building. This will let viewers know exactly what they’re looking at and help them better understand and appreciate your work.
Creating an architectural rendering can be challenging, but it's an essential part of the design process. By following these steps, you'll be able to create stunning renderings that accurately represent your design and impress your clients.
Examples of architectural renderings
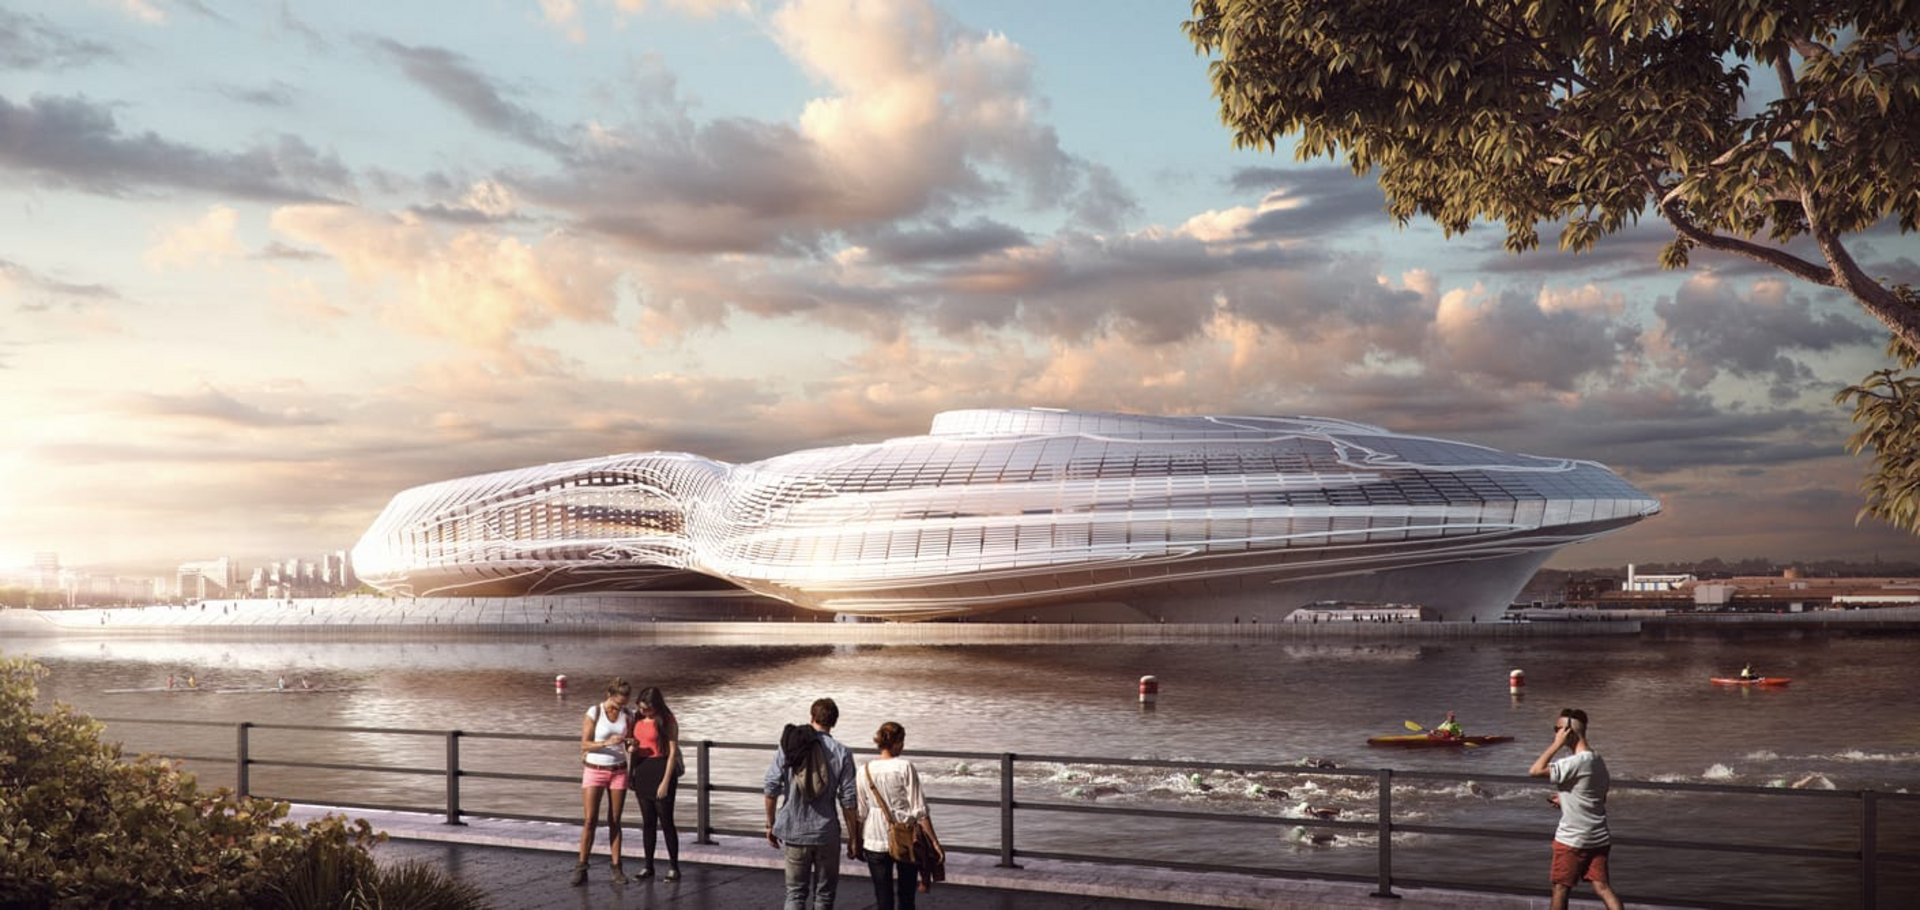
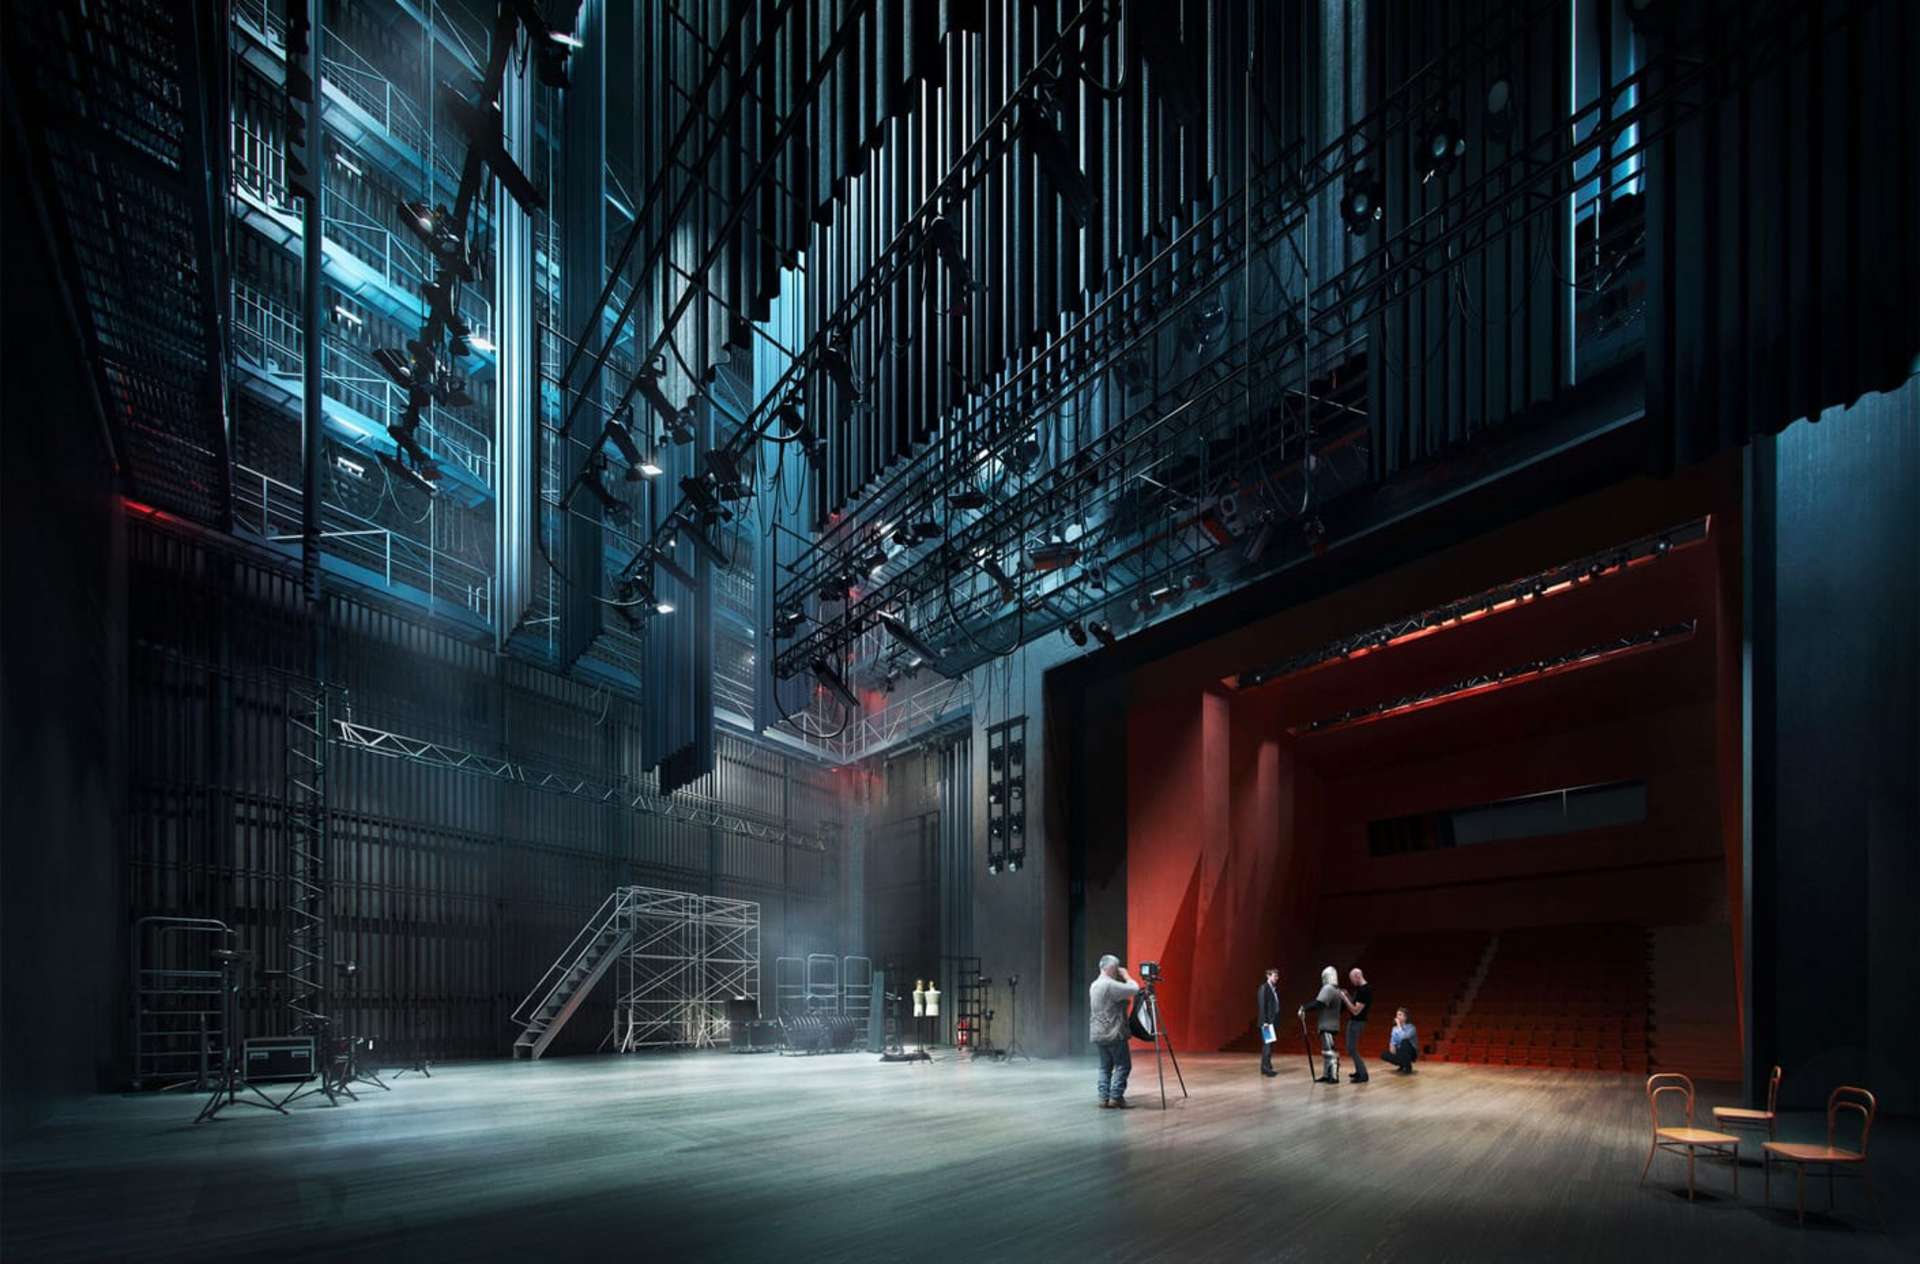
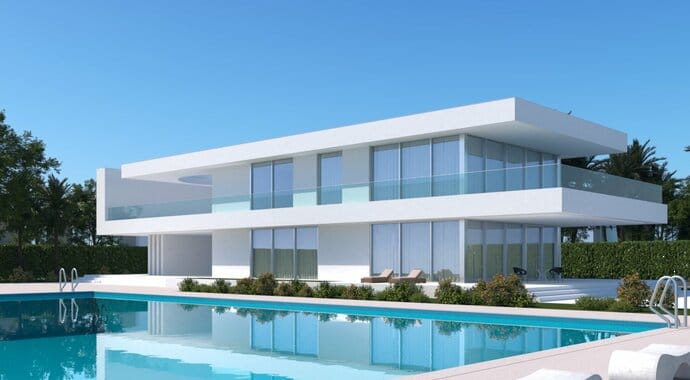
Now that you understand what makes a great architectural rendering, let’s explore some examples. We’ve gathered a small gallery to demonstrate how the principles we discussed can be applied to real-life projects for successful presentations.


