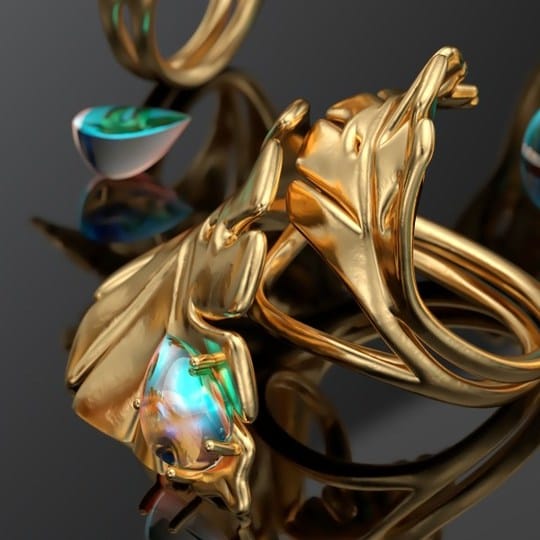
With V-Ray Next for Rhino product rendering software, Wild Design Studio can render stunning designs quickly from Grasshopper. The founders tell us how they do it.
Dirce Medina Patatuchi and Carlos Bausa Martinez are a golden couple of London’s design and architecture scene. They’re both accomplished architects, working at Heatherwick Studio and Zaha Hadid Architects respectively. But in their spare time, they’ve set up Wild Design Studio to experiment in different mediums, such as jewelry, furniture and installations, and explore new techniques. They even created and designed 3D wedding rings for one another.
Key to their design process is McNeel’s ubiquitous and versatile Rhinoceros software combined with V-Ray Next for Rhino, its V-Ray for Grasshopper extension and 3D printing (sometimes in their own home!) as a final step. We had a chat with Dirce and Carlos about how V-Ray for Grasshopper has transformed their approach to design.
Could we have a little background on how Wild Design Studio was founded?
Carlos and Dirce: Wild started before we even knew each other or became architects. We come from creative families and that empowered us when we found each other. We decided to set up a company based on our passion and love for design.
We are both full-time architects working for international architectural studios. When you are involved in big projects that take many years to be completed you spend less time designing and get more involved in technical problem-solving. In that sense, having our own projects, at different scales, in our own particular way, is our creative escape route. We like to experiment with concepts and materialize ideas that we believe have potential. This is what makes us feel alive.
We have worked in diverse areas like installations, furniture, lighting, and jewelry. The latter is the one we have developed most and we find lots of joy in it. But the smaller scale doesn’t necessarily mean it’s less challenging! As a final plus for us, it’s quicker when compared to architecture from design, to prototype, to commercial production.
© Wild Design Studio
What are the pros and cons of being a husband-and-wife team?
C&D: We both know what our strengths are and that helps us to balance things. We have different inputs from our experiences at our full-time jobs, so that also nurtures the conversation and brings fresh air to what we do.
For jewelry pieces, for instance, we design under our own style, depending on the aesthetic of the design we try (or not) to make it part of the same collection. The fundamental idea is not to be limited by anything; after all, that was one of the principles that gave birth to Wild. However, we still share our opinions on each other’s pieces. We are open to feedback that can help improve things that might have gone unnoticed.
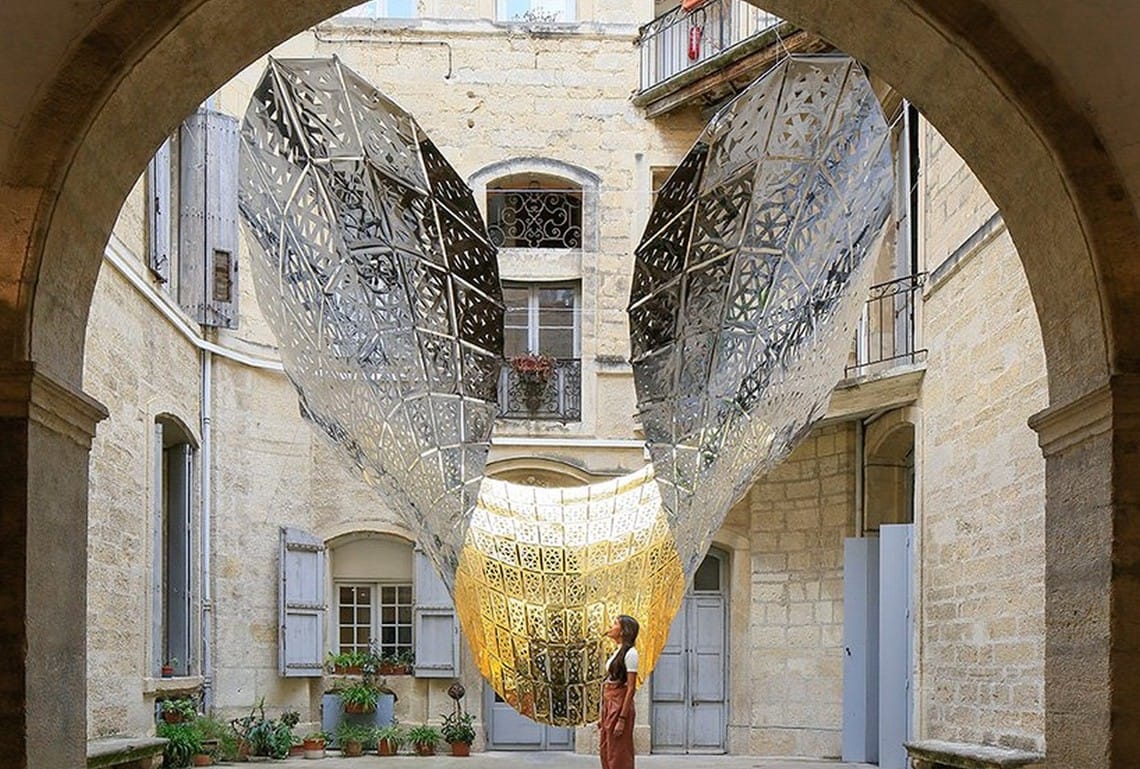
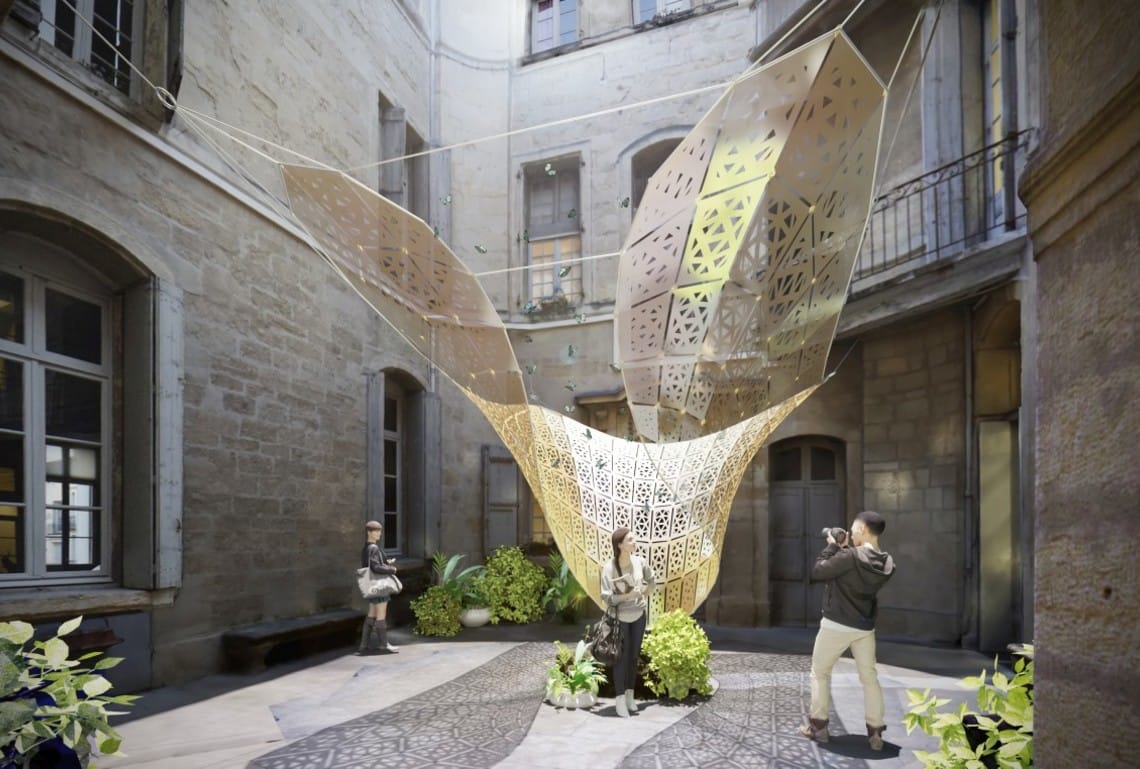


Most of the time, it’s fun. When we differ in opinion, we try to meet halfway or to reach a common point where we both feel pleased. For example, last summer we worked on an artistic installation we built in France in collaboration with a friend from Edinburgh University. There was a lot of pressure involved, due to tight deadlines and our full-time jobs.
The installation was like a large jewelry piece, suspended from a courtyard. On our Wild Design Studio website, we did a nice post of the final installation, with 360-degree panoramas everybody can navigate through. It was also covered in an article on Design Boom.
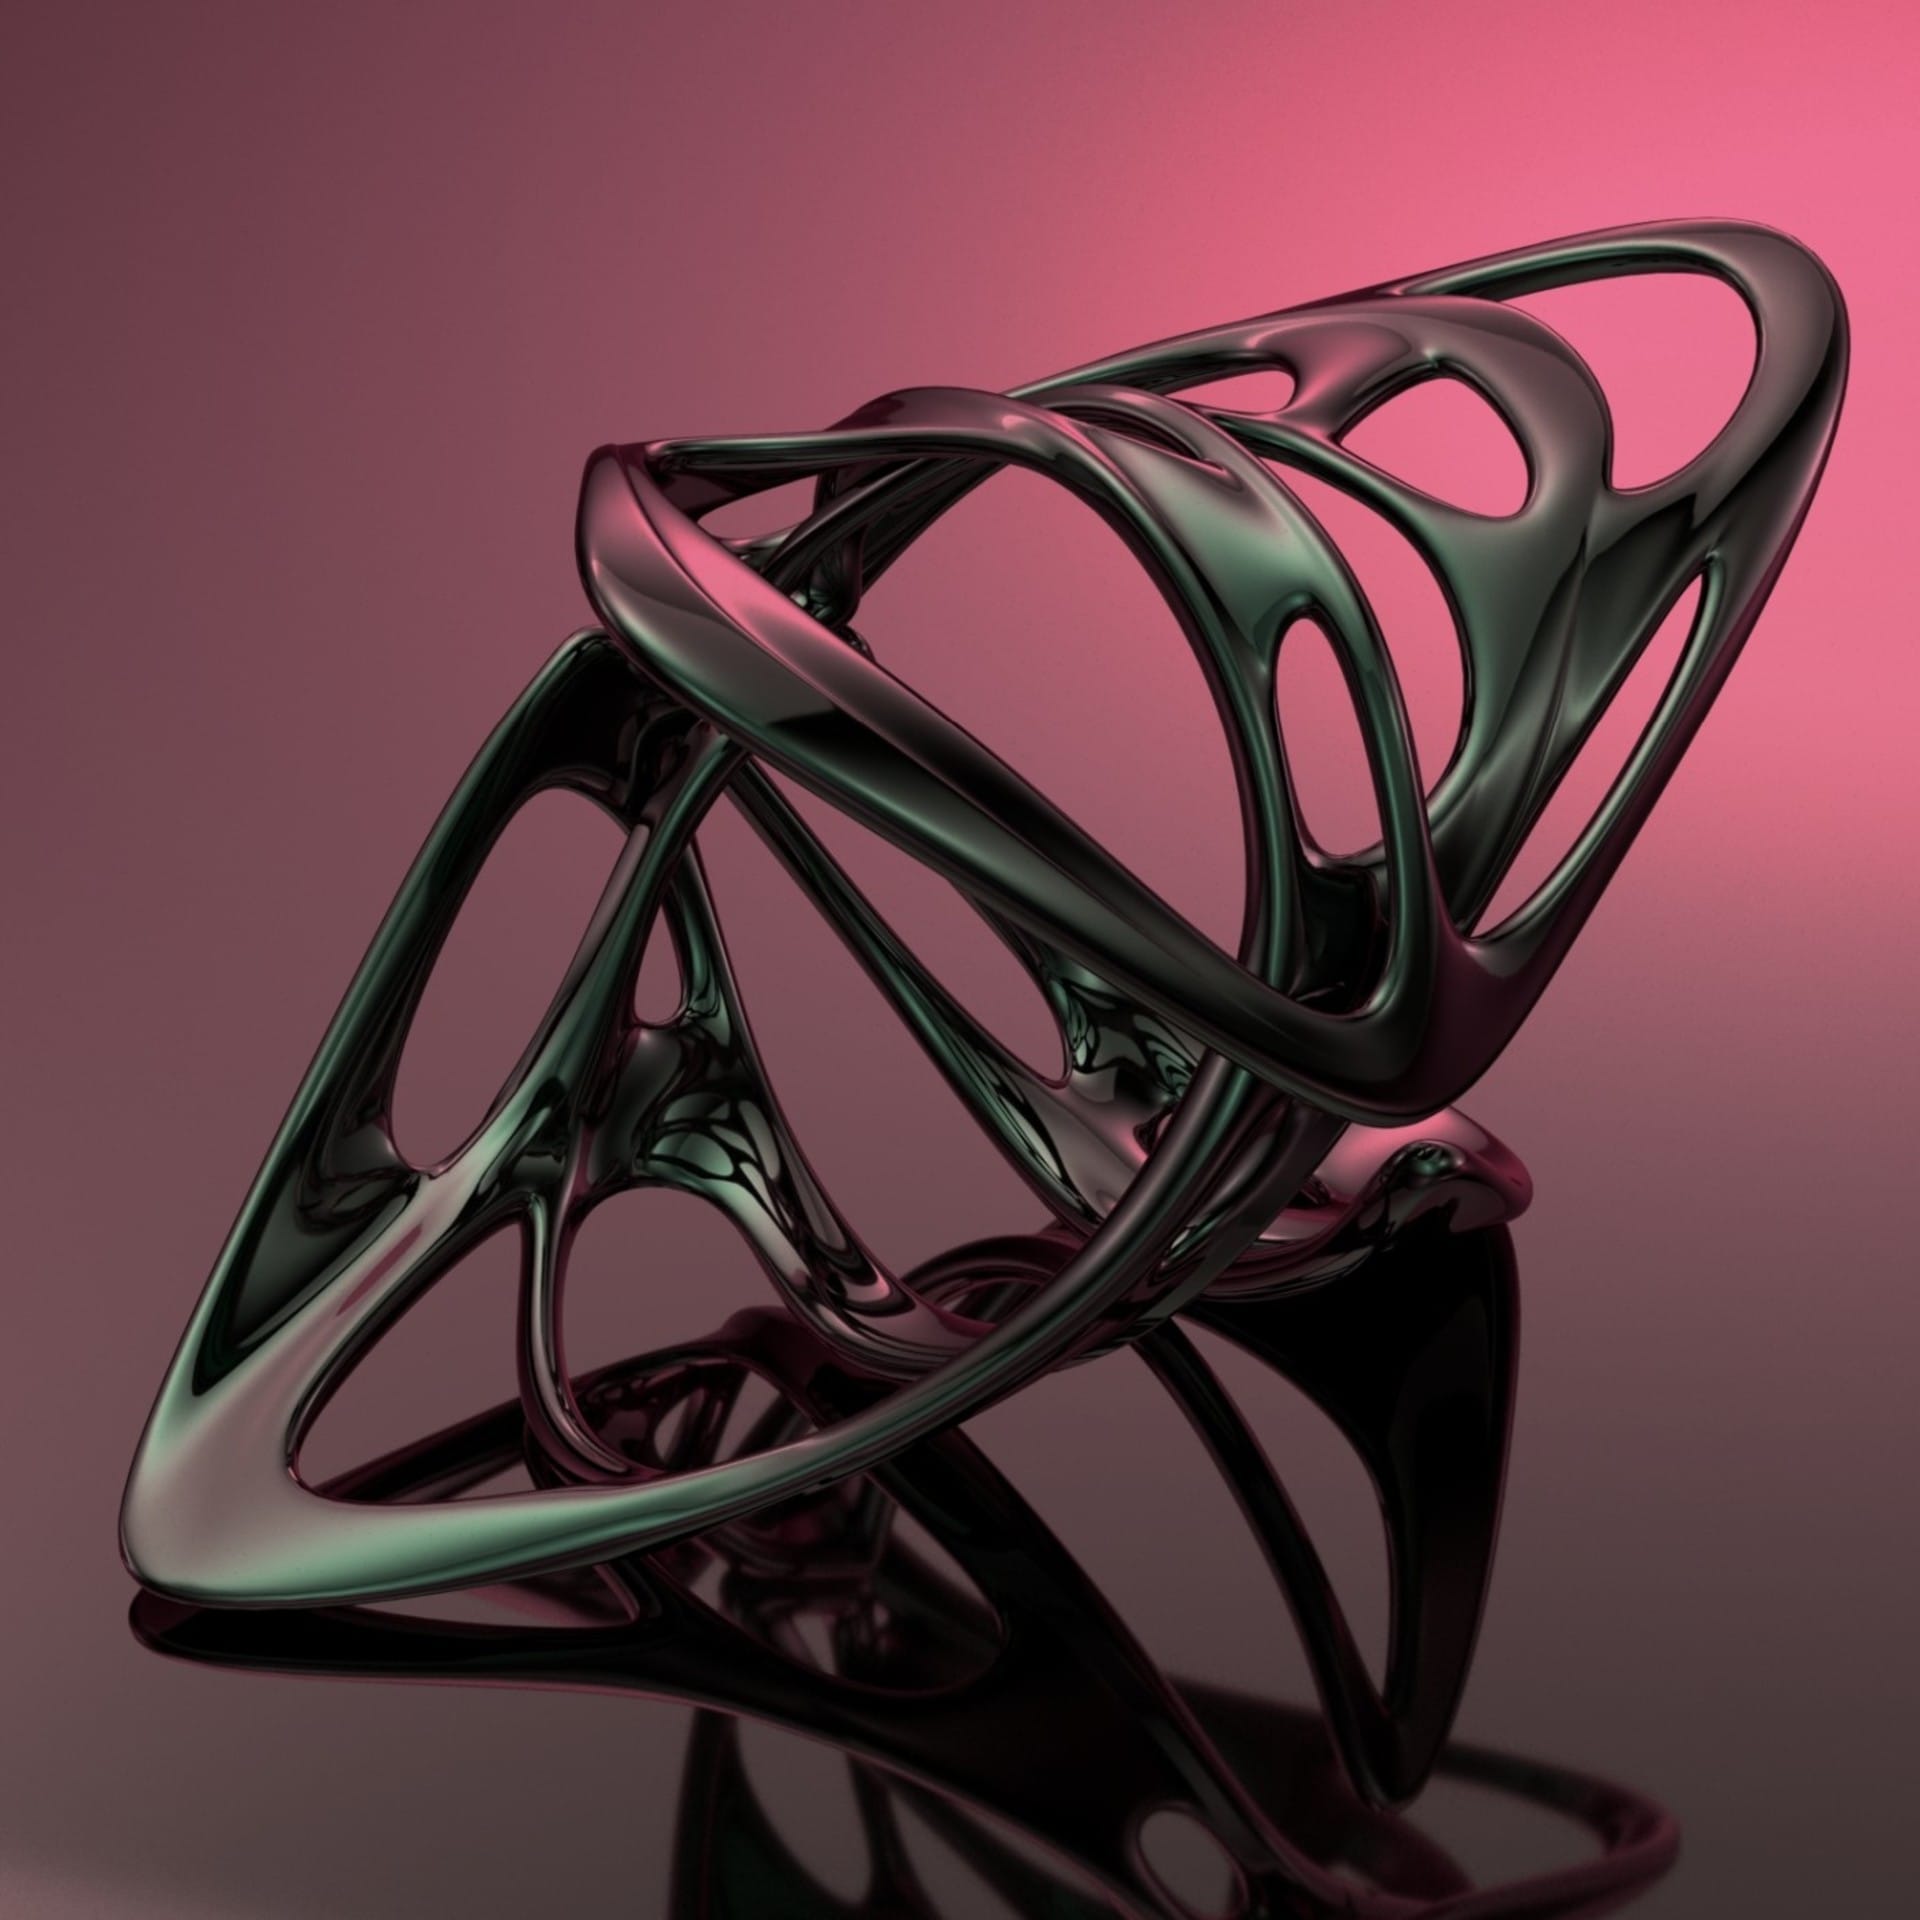
“We used V-Ray to build a shader that could help us to see how those stones would look if they were set in our jewelry pieces.”
Carlos and Dirce, Wild Design Studio
Could you tell us about the jewelry project you posted on Instagram?
C&D: We experiment with whatever we can in our minds. Sometimes it’s about shapes we like, or materials, or simply elements that could have a connection with an interesting story behind them.
For instance, our latest designs were inspired by the things we see while traveling. Recently, we went to Mexico, an amazing land full of inspiring landscapes. In some locations, it’s possible to find rare gemstones called Fire Opals because of their color sparks and iridescent rainbow reflections. We became mesmerized by them!
We used V-Ray to build a similar shader that could help us to see how those stones would look if they were set in our jewelry pieces. We designed some new pieces that we hope to have in production soon.
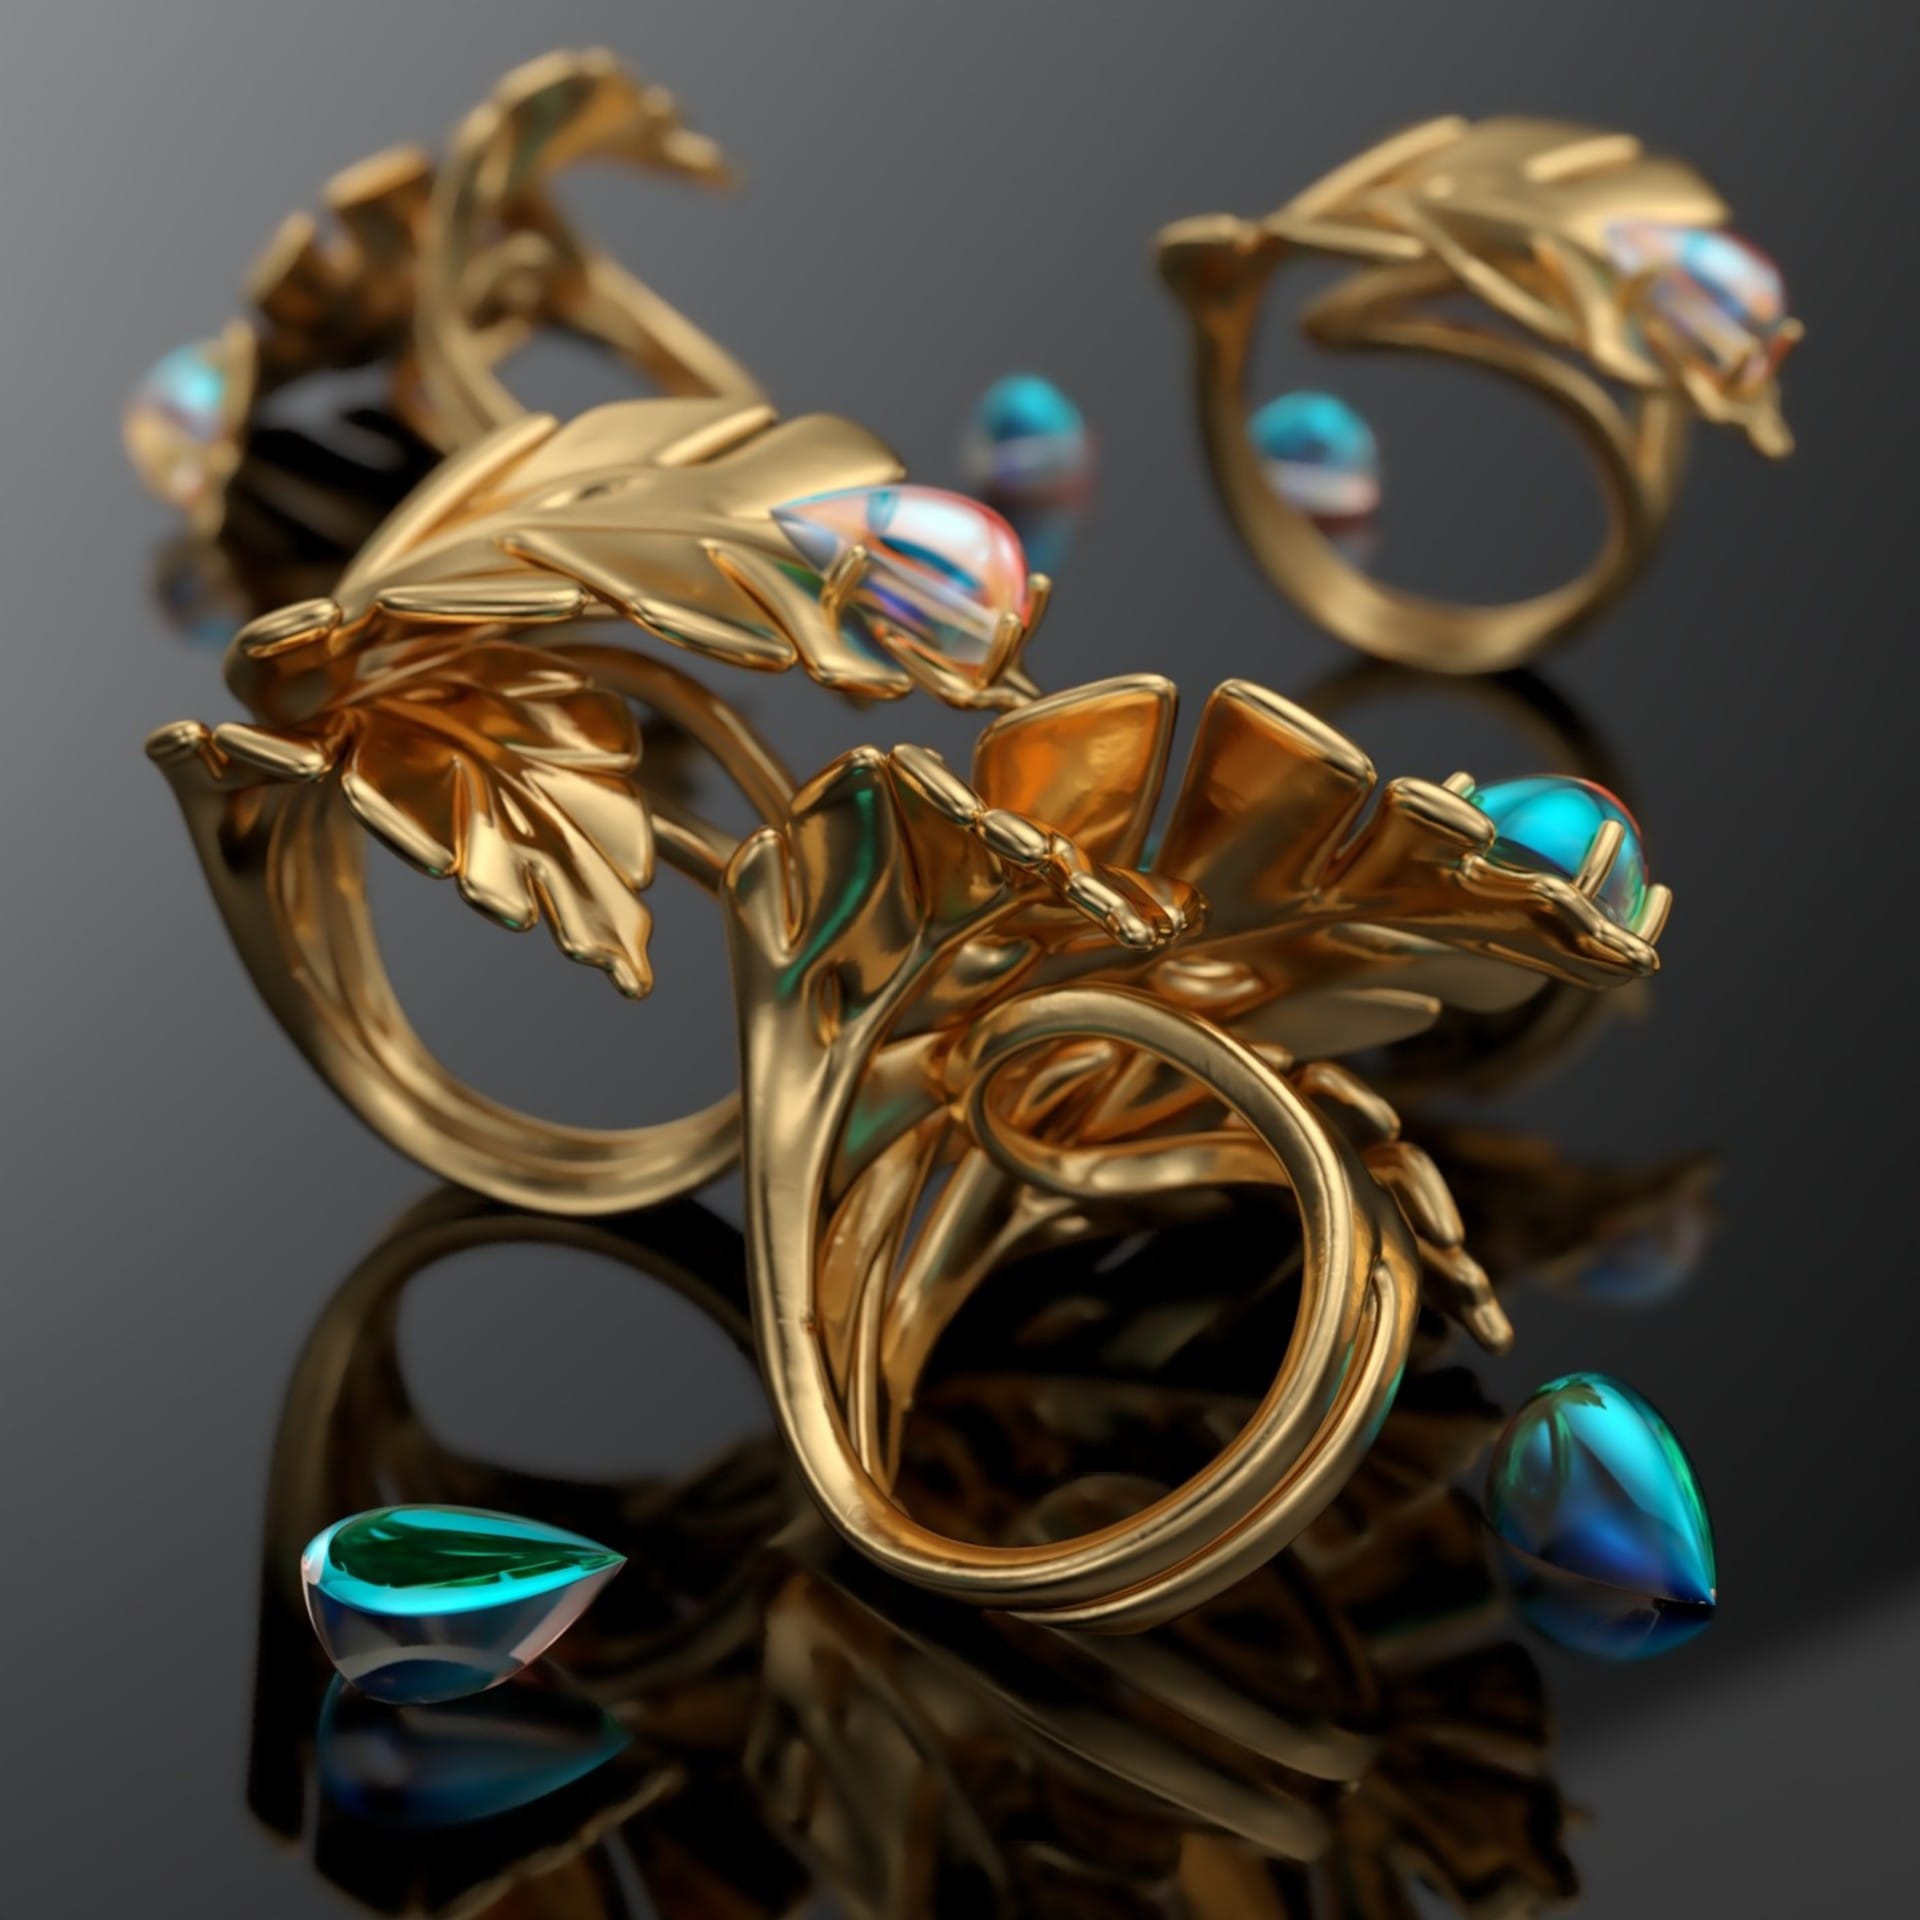
The fact that V-Ray is in Grasshopper now helps us to make all this visualization way faster without needing very heavy files with baked geometry.
Carlos and Dirce, Wild Design Studio
How did the release of V-Ray for Grasshopper change the way you work?
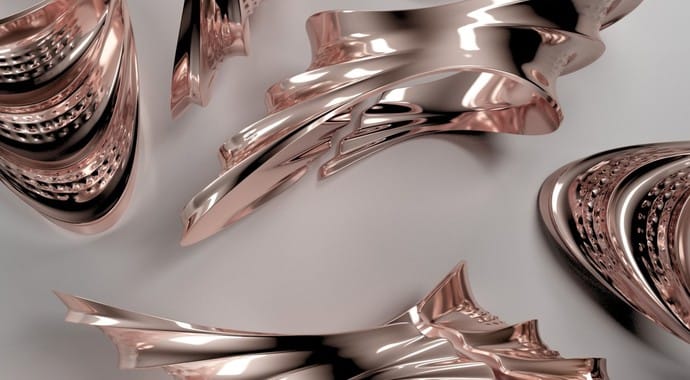
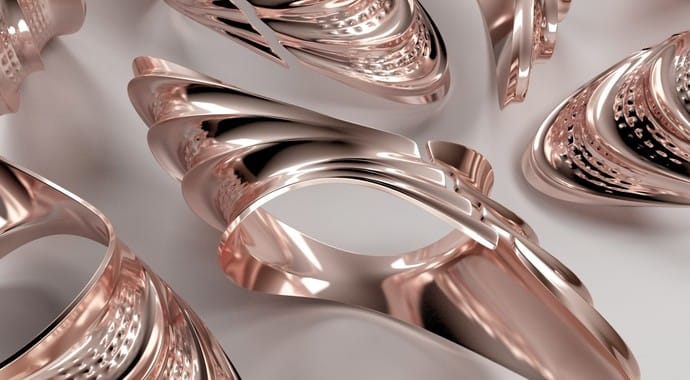
C&D: Visualization tools such as V-Ray have been in our workflow since the very beginning of Wild. We have always used it to truly understand the material choice we would like to apply in our designs. Initially, we were using rendering for still images, to get an impression of the appearance of our 3D models.
Over time, we boosted our computing power, and with the arrival of the RTX 2080 ti, we jumped into GPU-based rendering and animation. That allowed us really short rendering times per-frame directly from Grasshopper. We like to produce simple animations and that allows us to see our pieces rendered from many angles, with simple camera paths, light rigs, and textured materials.
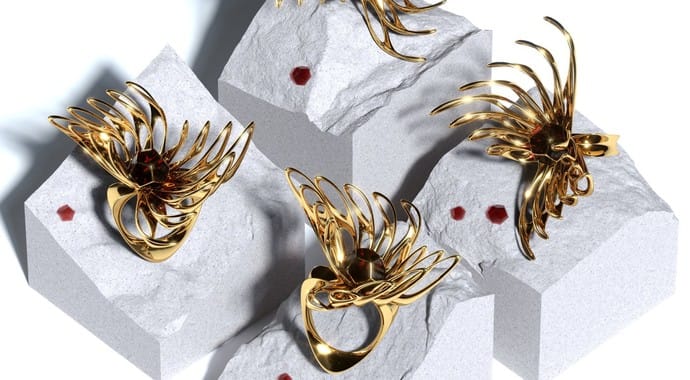
© Wild Design Studio
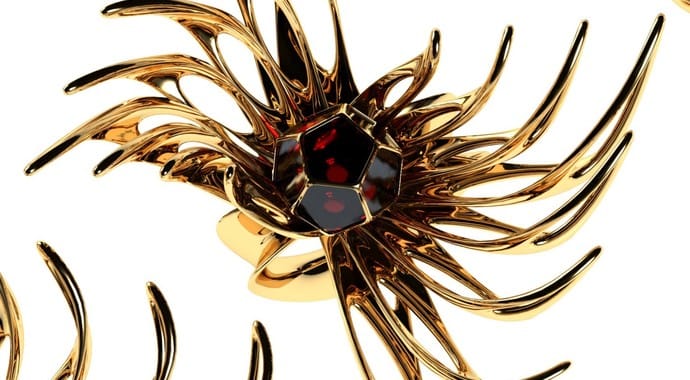
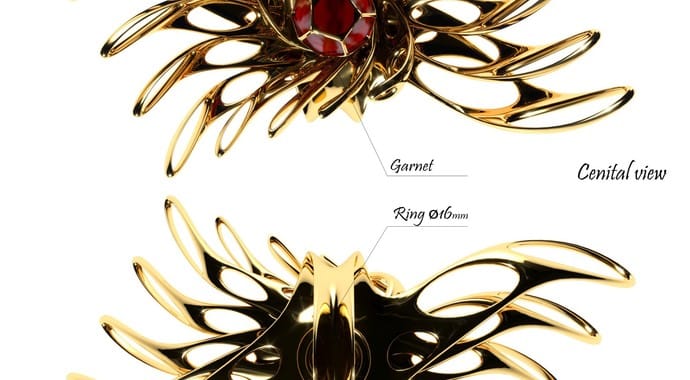
All our creations are modeled in Grasshopper to a certain extent. In many cases when we use parameters to control the shape or patterns, we like to visualize through animation rendering. The fact that V-Ray is in Grasshopper now helps us to make all this visualization way faster without needing very heavy files with baked geometry, since all the heavy smooth geometry is in the script, and the hand-made polygonal model is in the Rhino file. We just bake it when we are happy with the results and then we send it for 3D printing.
On the other hand, the fact that V-Ray Next has Grasshopper tools is great for those who love this parametric software. You can keep working in this environment and, when it comes to getting good rendering, we don’t have to export our models to any software outside Rhino.
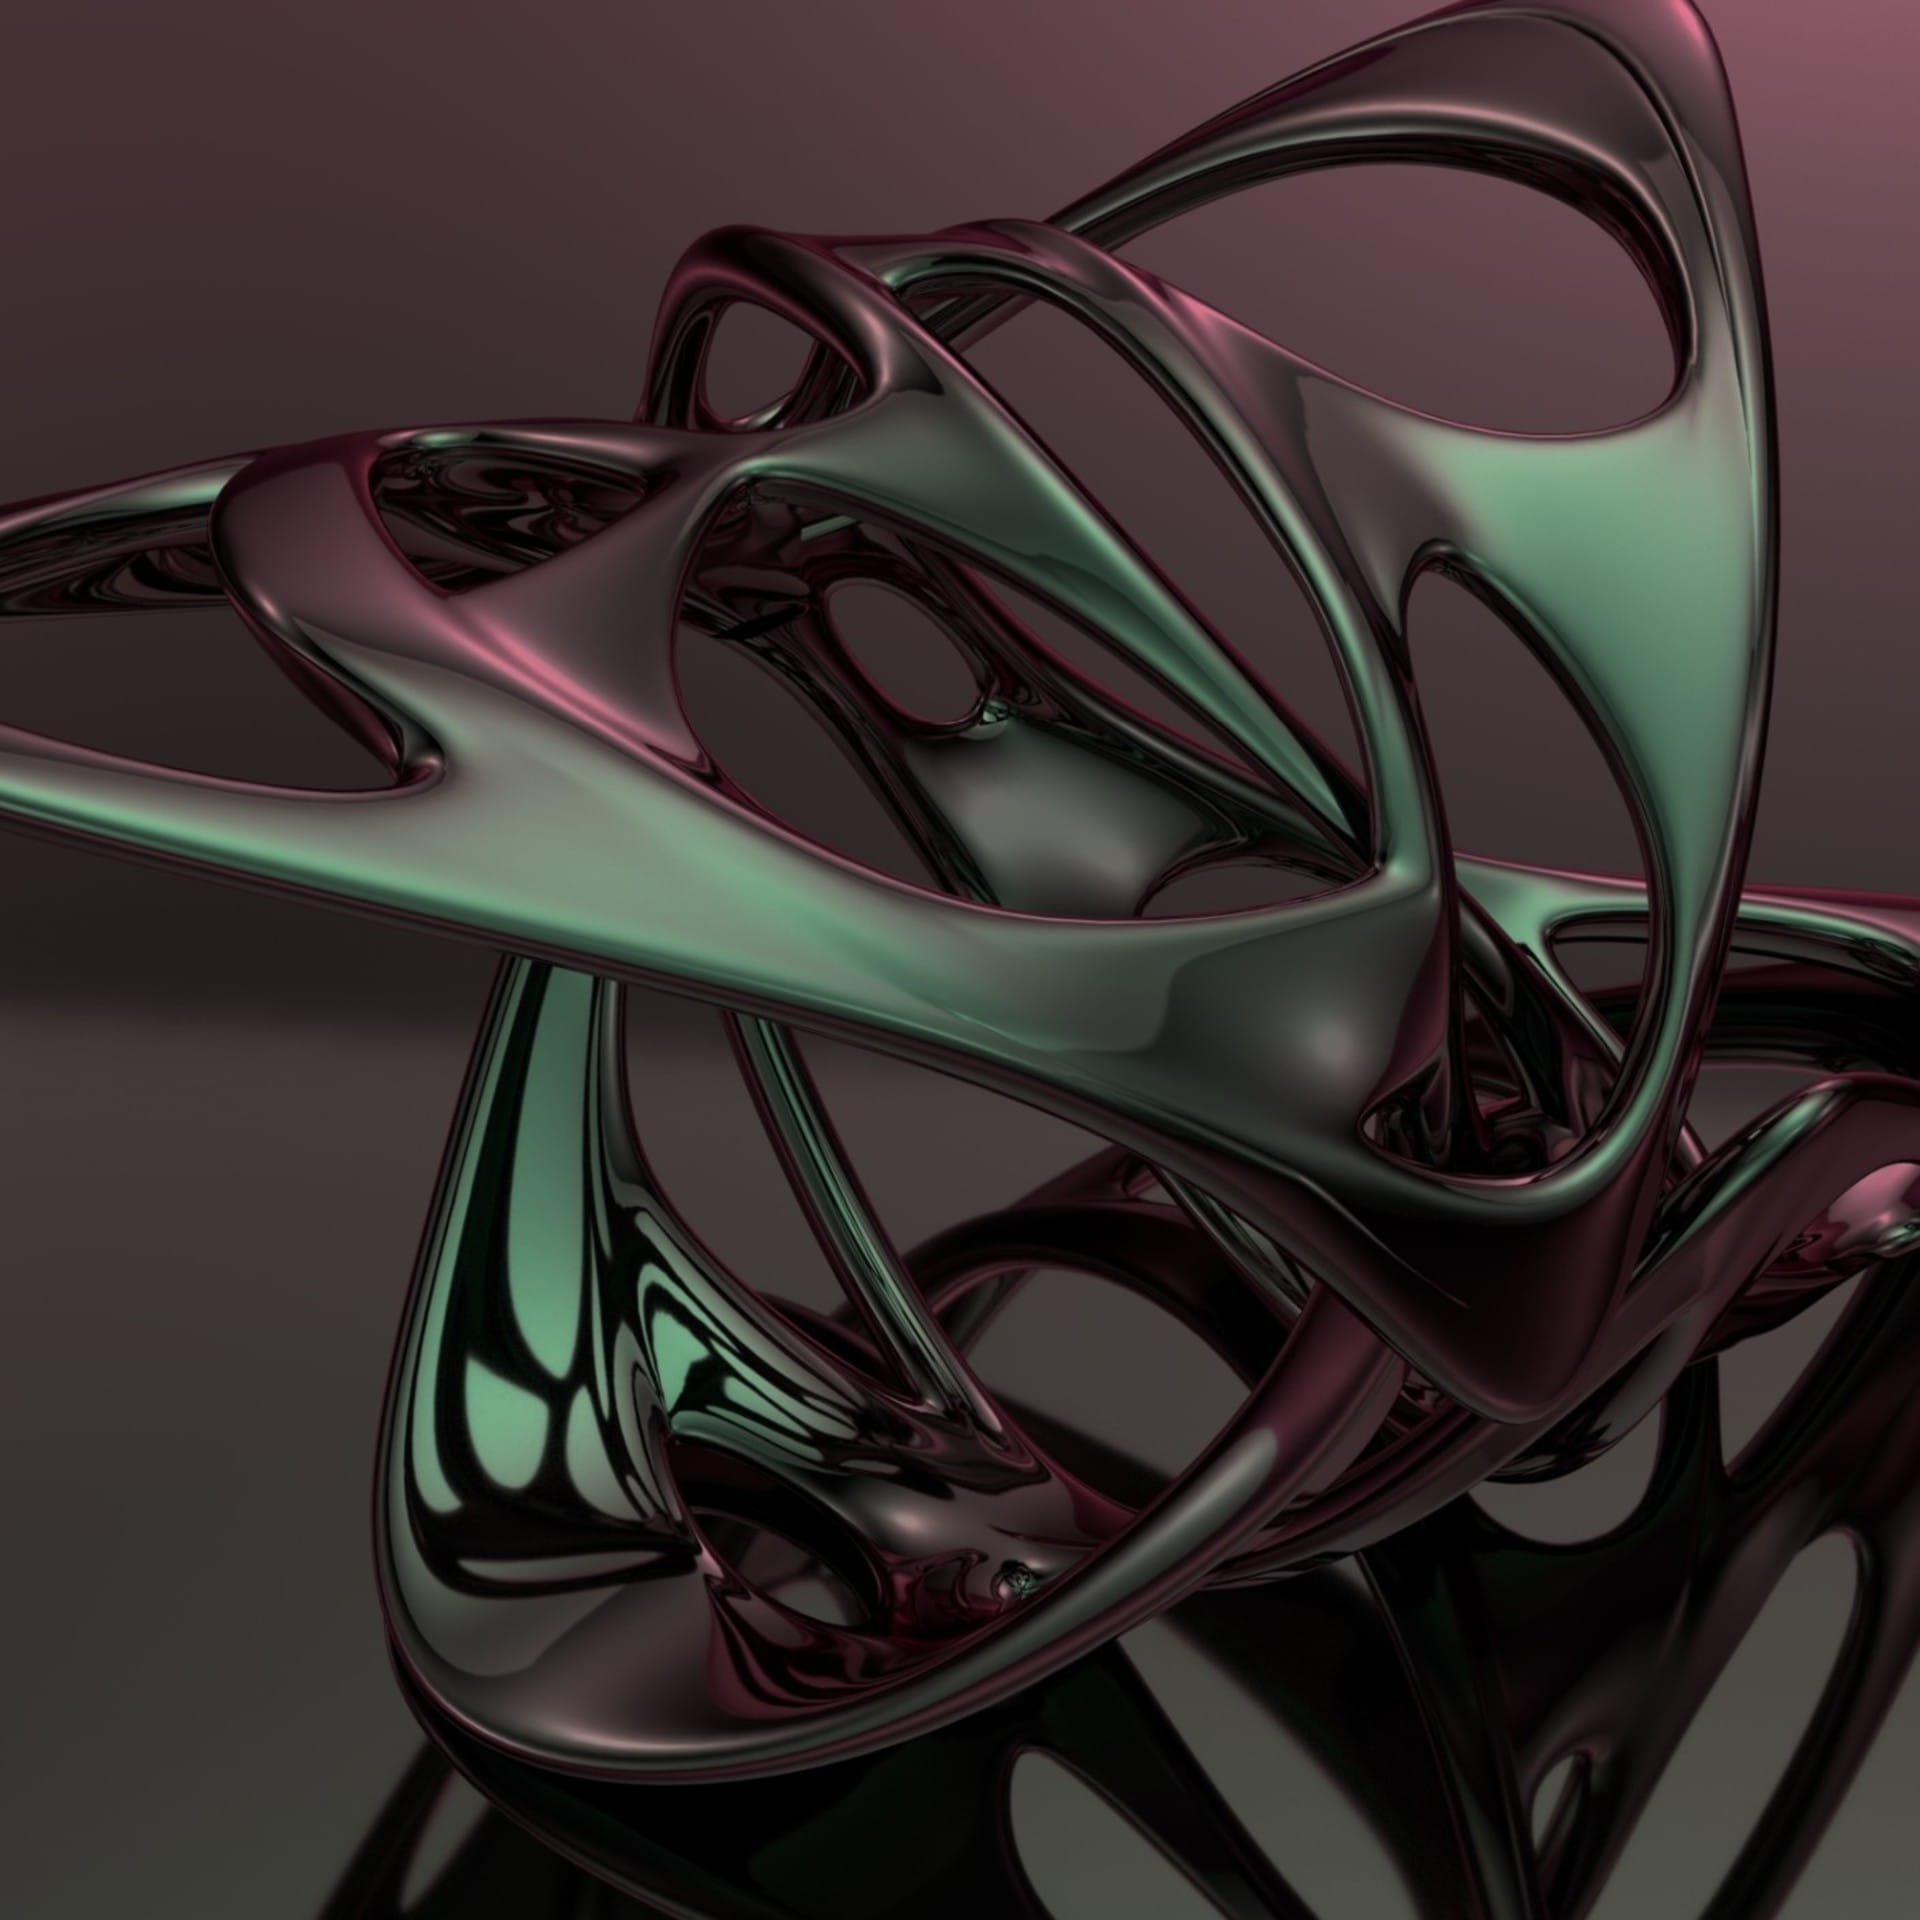
Leaps and bounds: The new techniques V-Ray for Grasshopper has enabled for Wild Design
V-Ray for Grasshopper opens up entirely new workflows for design, experimentation and analysis. Carlos and Dirce tell us about their favorite new features.
Rendering colored meshes
Sometimes we do lighting analysis or solar studies for architecture projects we have been involved with. This allows us to share fully rendered images, without using Photoshop to create layers. Before we were spending hours rendering a neutral base image for the background and a camera export of the render mesh with the colors from Grasshopper, which was really time-consuming. Now, with the UVW shader that gets vertex colors, it is really straightforward.
Animation of shapes and patterns connected to parameters
This is quite useful and was not possible before. Lots of times, we were animating sliders to create diagrammatic animations that show the evolution of a shape to a client or to ourselves, but now this is possible with fully rendered animations. Depending on the computer’s power, it will take more or less time, but it is always great to see this.
Sunlight animations and shadow studies
Because the V-Ray Sun Light system can be geolocated and connected to a slider, we can see how this will move along the day. This helps us to study the evolution of the sun and the impact it will have on our building in terms of shadows, solar exposure and glare studies.
Adding proxy objects to the scene
Sometimes we need to add context geometry surrounding a building meaning we should model lots of stuff in a traditional way. But with the use of V-Ray Proxy Mesh Objects, those elements can be instanced, keeping the weight of the 3D file really small.


How do V-Ray renders compare to the finished product?
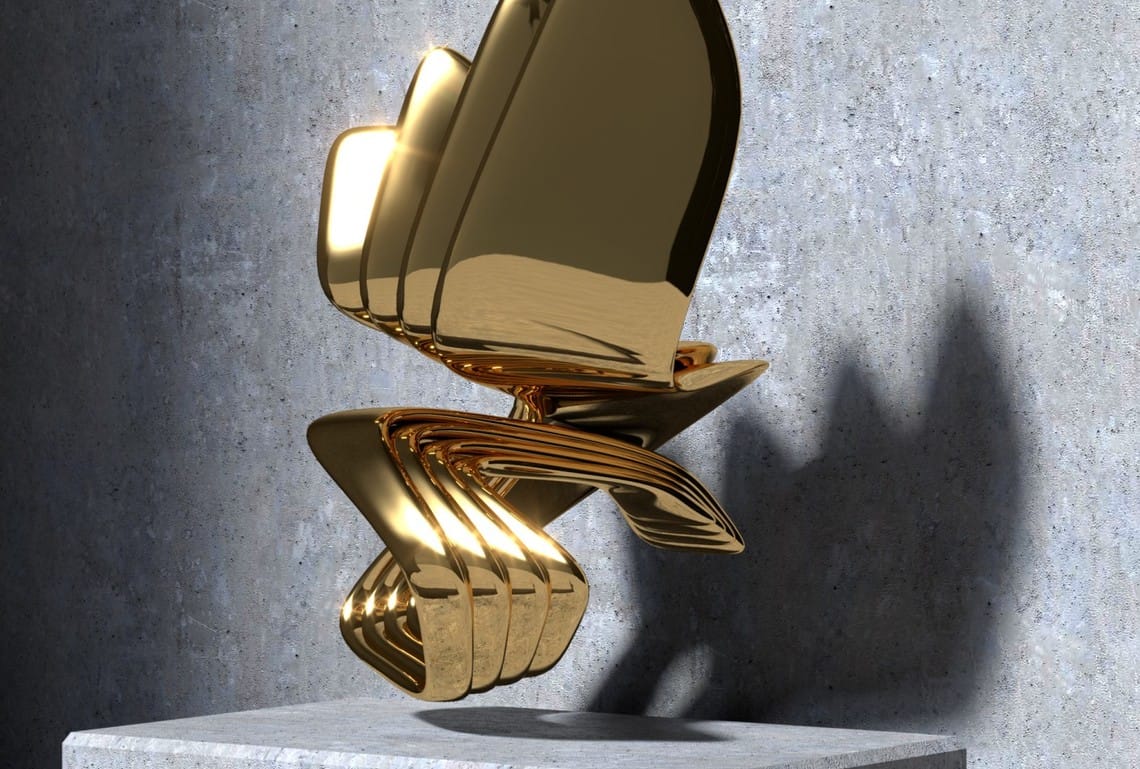
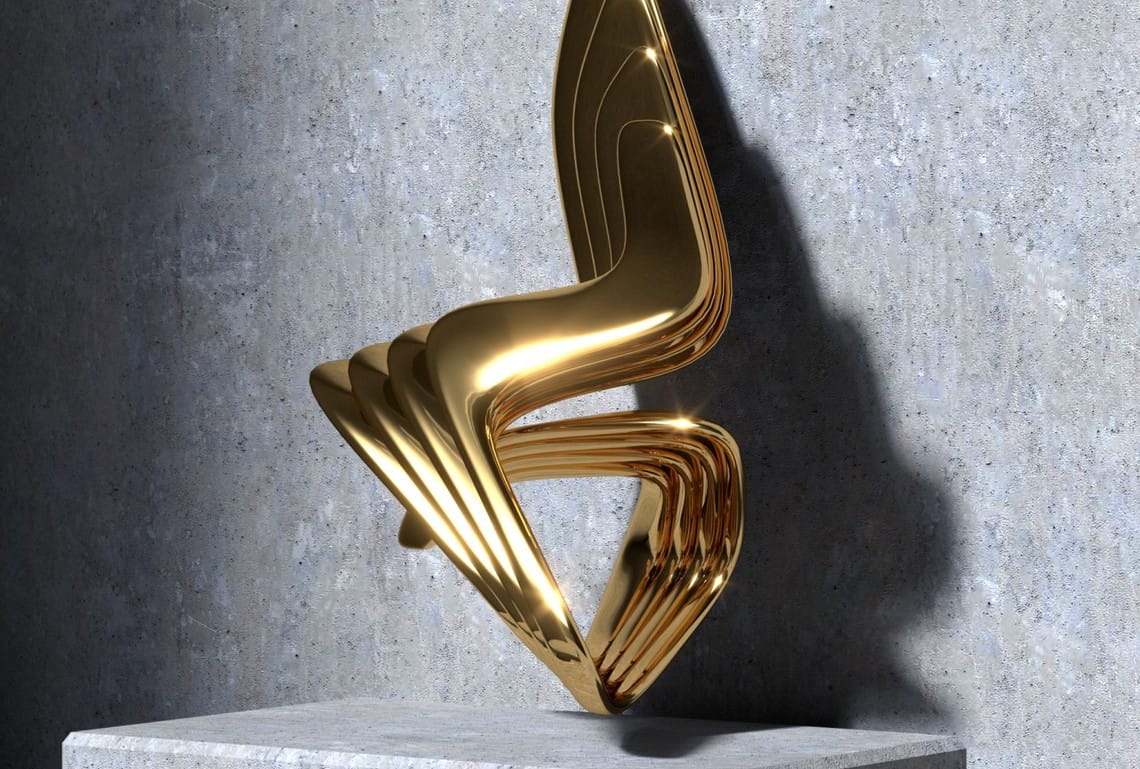
C&D: Renders have always brought us very close to reality. But reality sometimes has more imperfections, and, in the end, jewelry always goes through the hands of a maker who will — inadvertently — imprint their own stamp. We create shaders that can show 3D print and polishing imperfections to our audience. When we share them on Instagram or our website, we raise more interest in our audience and expectations about the future production of pieces.
However, the goal will always be to go as close as the image. After all, it was the rendering in the first place that persuaded us to move to production.
Do you have any tips for anyone looking to use a similar workflow?
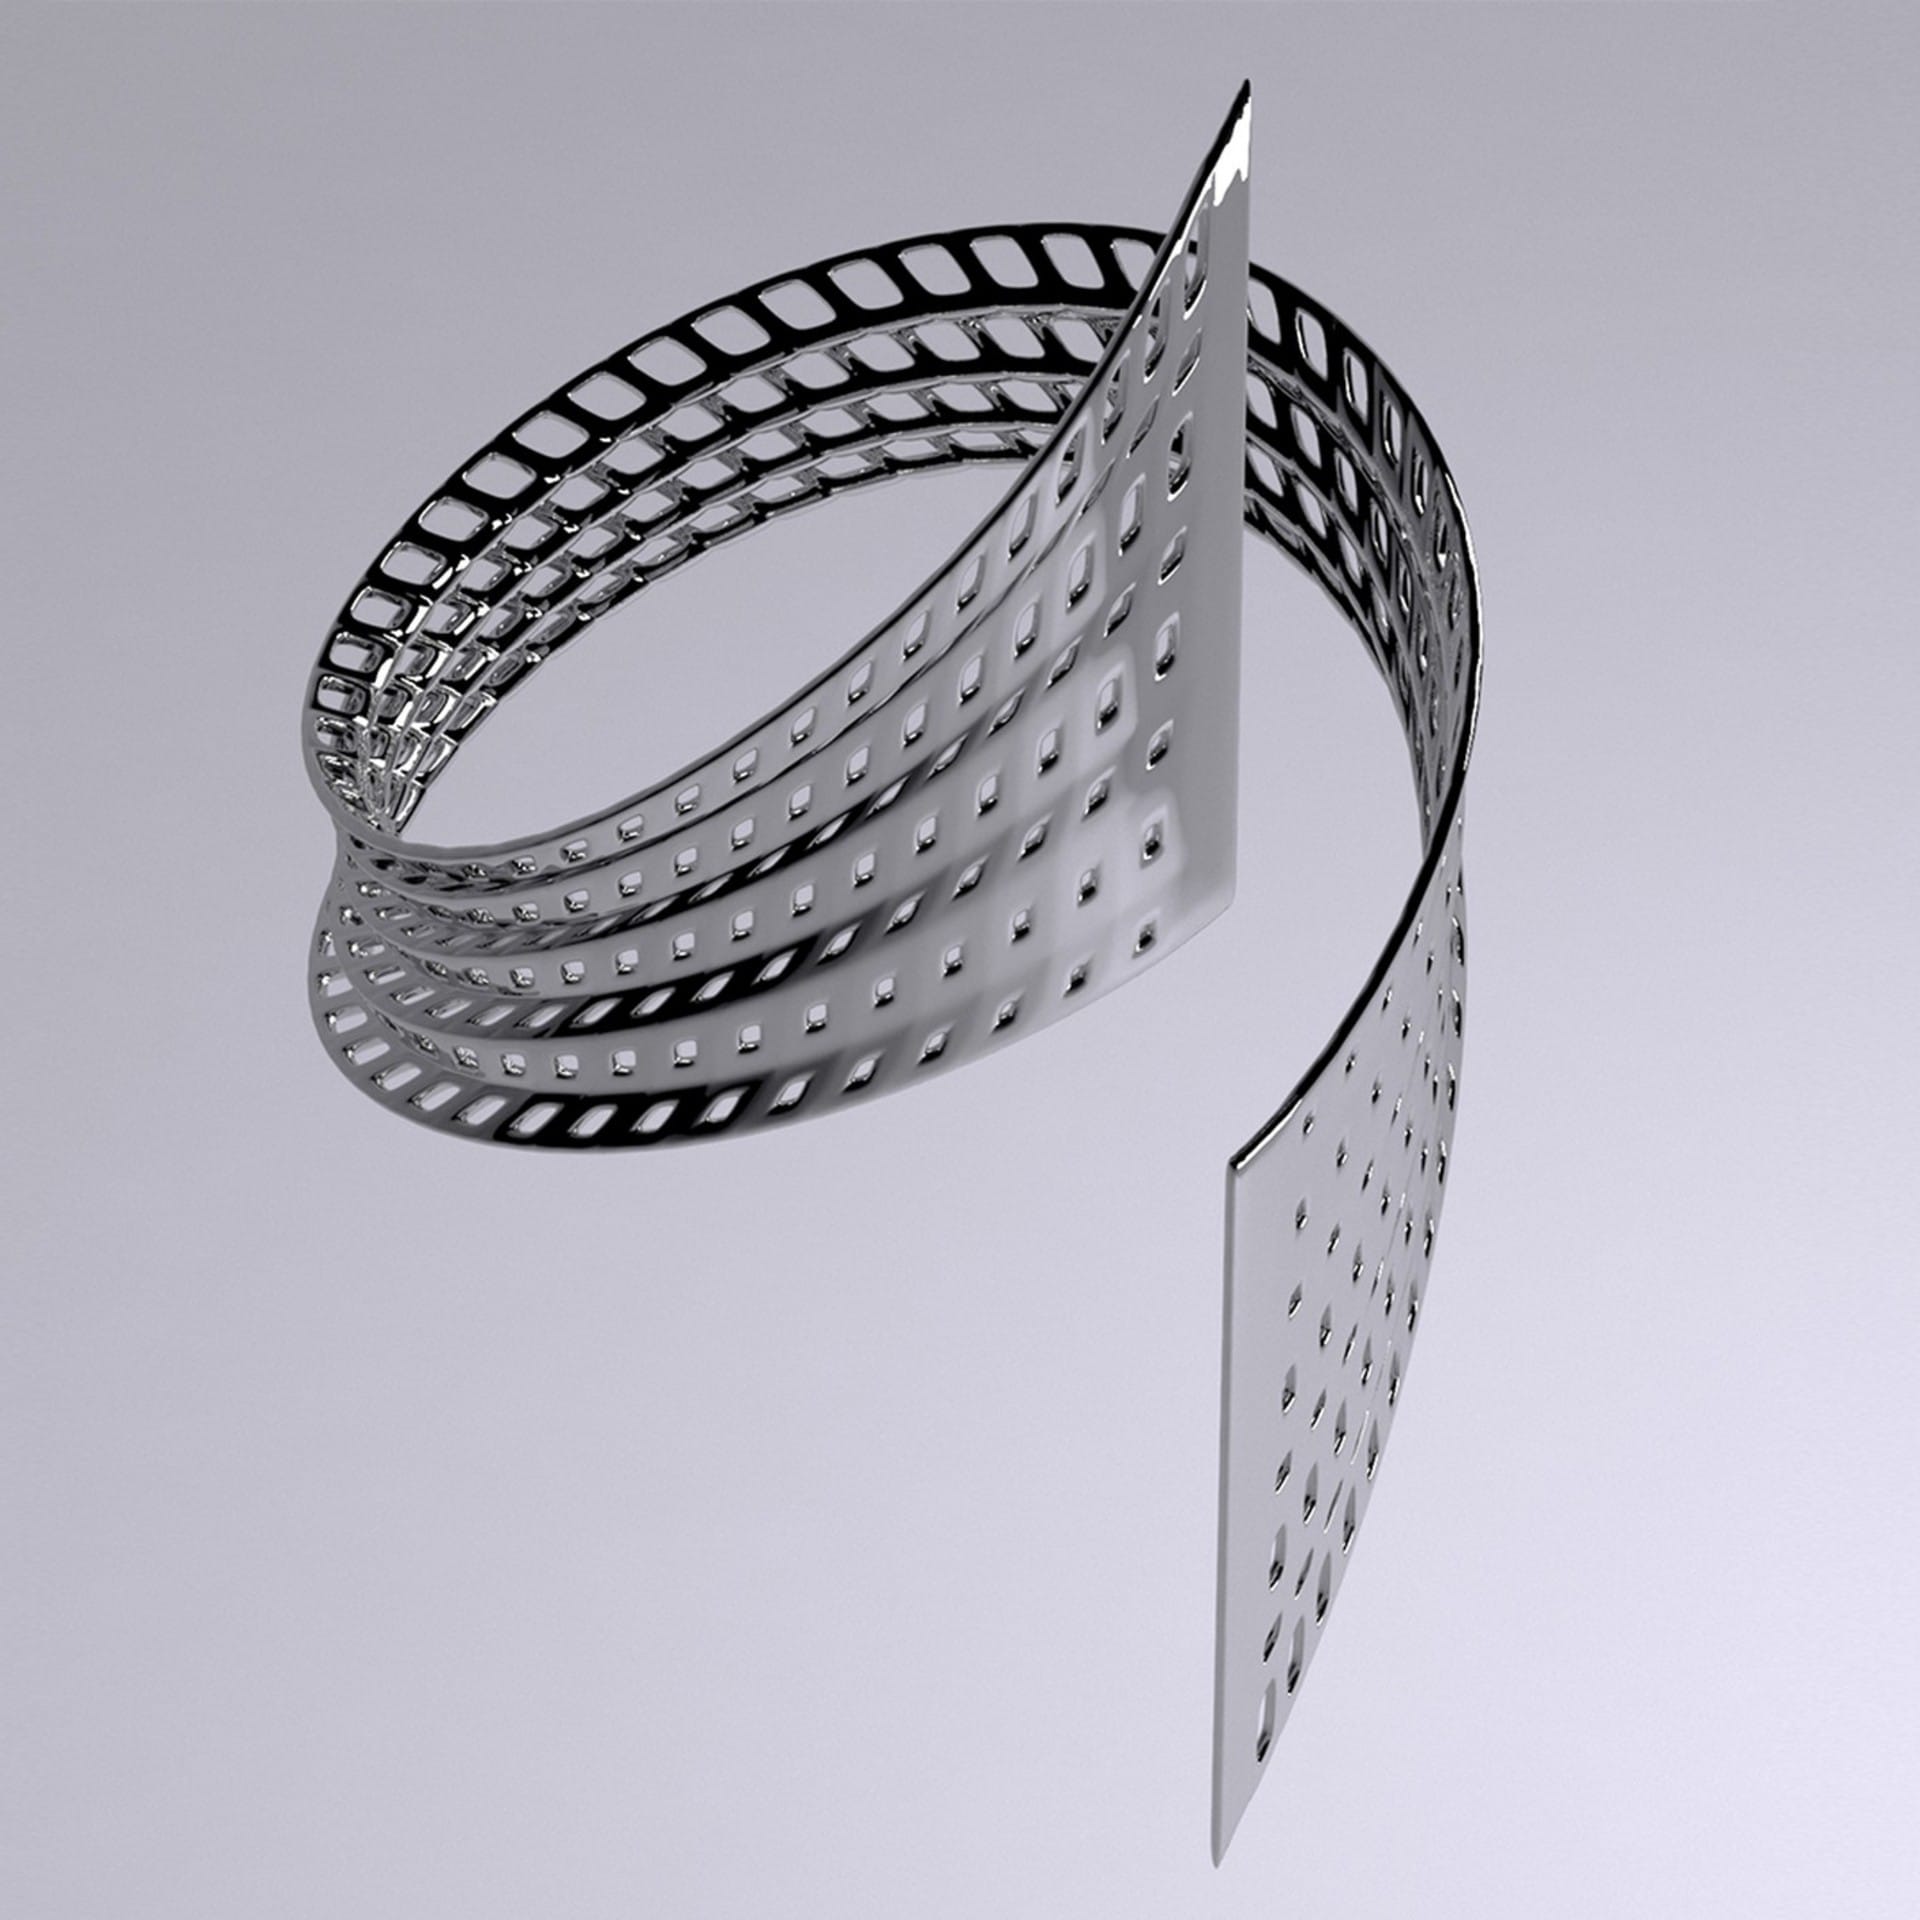
C&D: I think everyone’s journey is different, prior experiences and various backgrounds make your own workflow refine through the years. Nevertheless, I believe that as creative people, we need to keep up our motivation to explore new tools, programs, etc. It is impressive what plugins and new software versions are able to produce once in the right hands. We would encourage people to never stop exploring new things and techniques, and if you feel you’ve been in your comfort zone for too long, just move away. Start looking around. The world of technology changes really fast and people are always looking for new ways to be on the cutting edge.
What will you create with V-Ray for Rhino? Try it for 30 days and find out.

