V-Ray Luminaires, introduced with V-Ray 7, is a new method that rapidly renders complex light fixtures in a fraction of the time. Vlado walks us through how it works.

Realistic light fixtures are essential for creating photoreal visualizations — both interior and exterior. In the real world, these fixtures can be very complicated combinations of light sources and diffuse, transmissive or reflective surfaces surrounding them in order to create the desired light distribution. However, accurately simulating the overall illumination from such fixtures is a computationally intensive task, and most often than not, they end up being simplified in order to get a result in a reasonable time frame.
The Cosmos library — included with most Chaos products — includes many light fixtures, some of which are provided by companies producing the original physical versions of these fixtures. As such, they are modeled in a realistic way in order to correctly represent the product in 3D scenes. While these models are very accurate, they may also be somewhat challenging to render.
The V-Ray Luminaires, introduced in V-Ray 7, provide a completely new way to efficiently and accurately render such light fixtures. In a pre-computation step, we calculate a very accurate version of the light field surrounding the light fixture — i.e., the amount of light emitted in any given direction from the surface of the luminaire — and store this in a file that accompanies the relevant Cosmos models. When the model is imported from the Cosmos library, in addition to the geometry and the light sources, a new type of light source is created as well, called a VRayLuminaire light. This light encompasses portions of the light fixture and emulates its emission when viewed from outside. The VRayLuminaire light references the precomputed light field and also allows to control aspects of the light fixture as a whole — including the color of the lights and their intensity.
Here is an example of a simple setup where a scene is lit by two light fixtures. Each fixture consists of a light source surrounded by a lamp shade as can typically be seen in the real world.
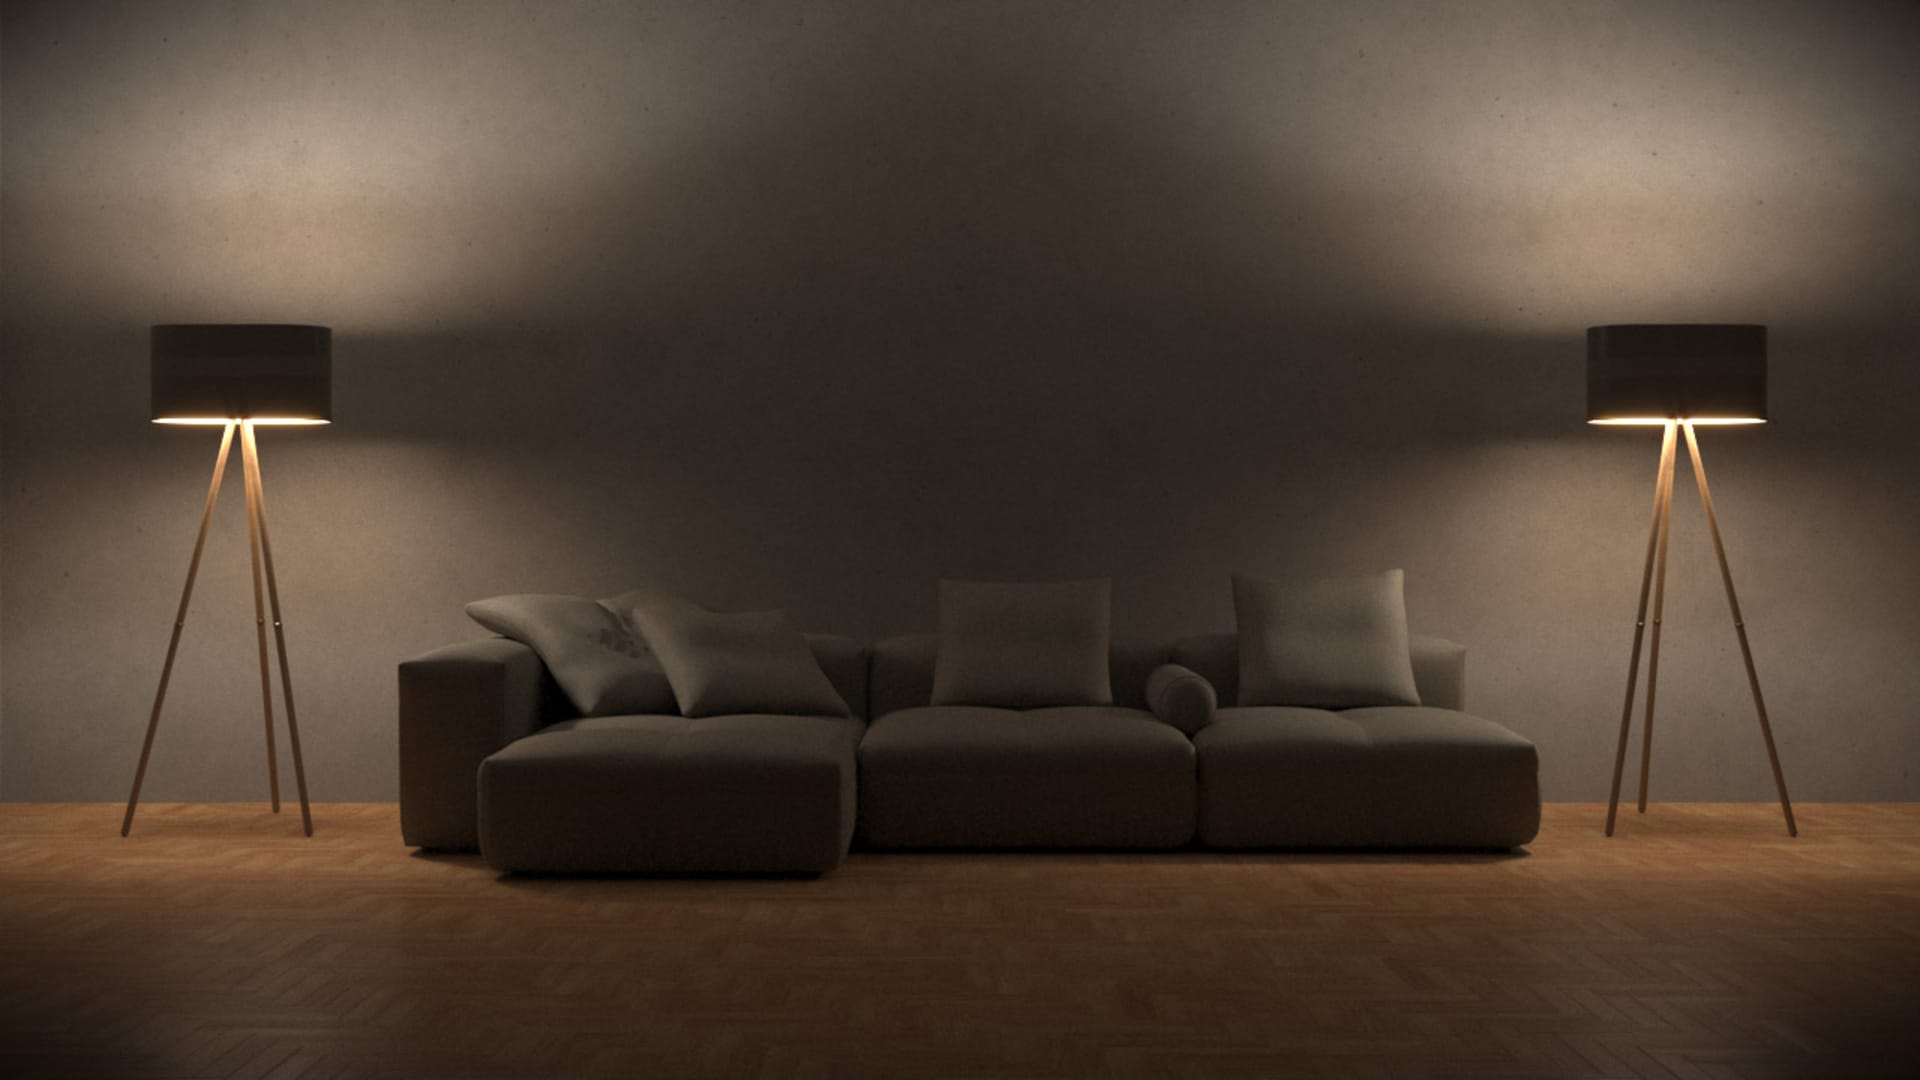
If we render this without the help of the luminaire light field, the result would look like this:
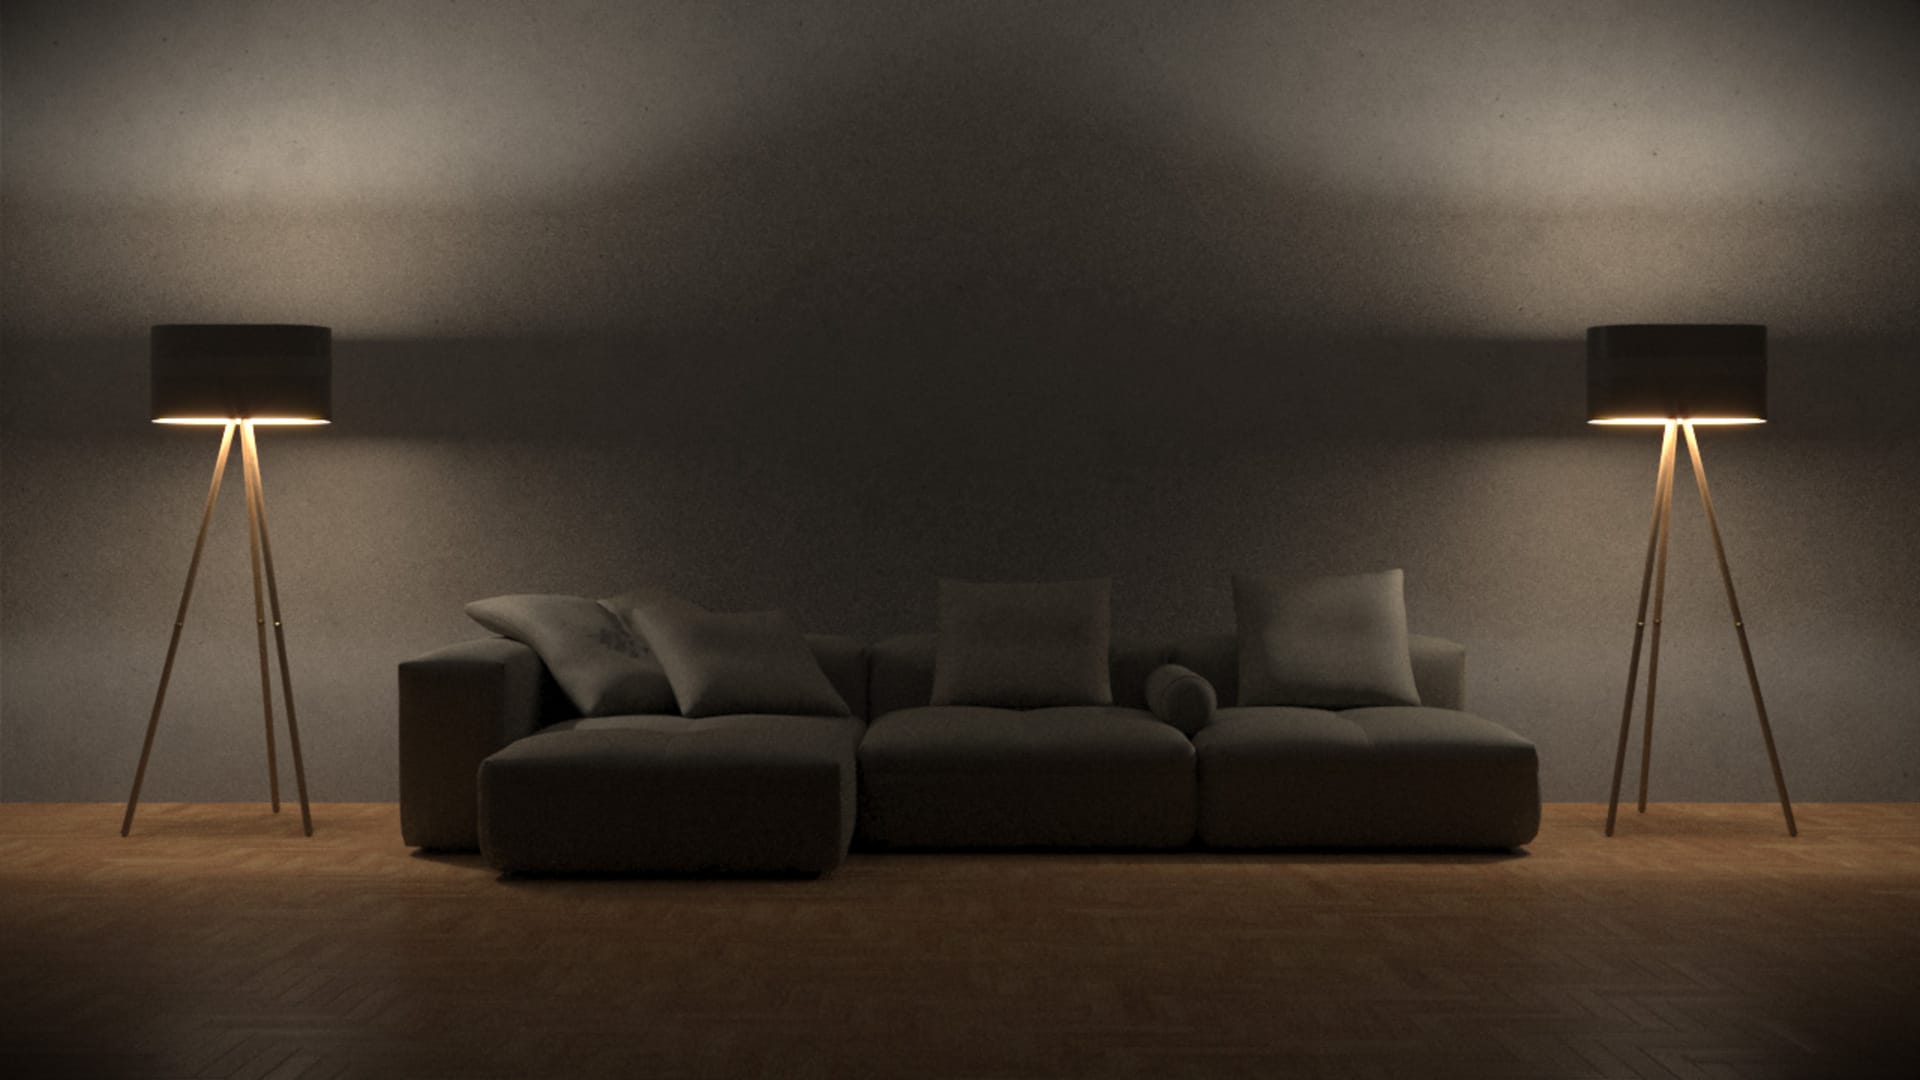
Rendering the scene without luminaire light fields in 21m 50s
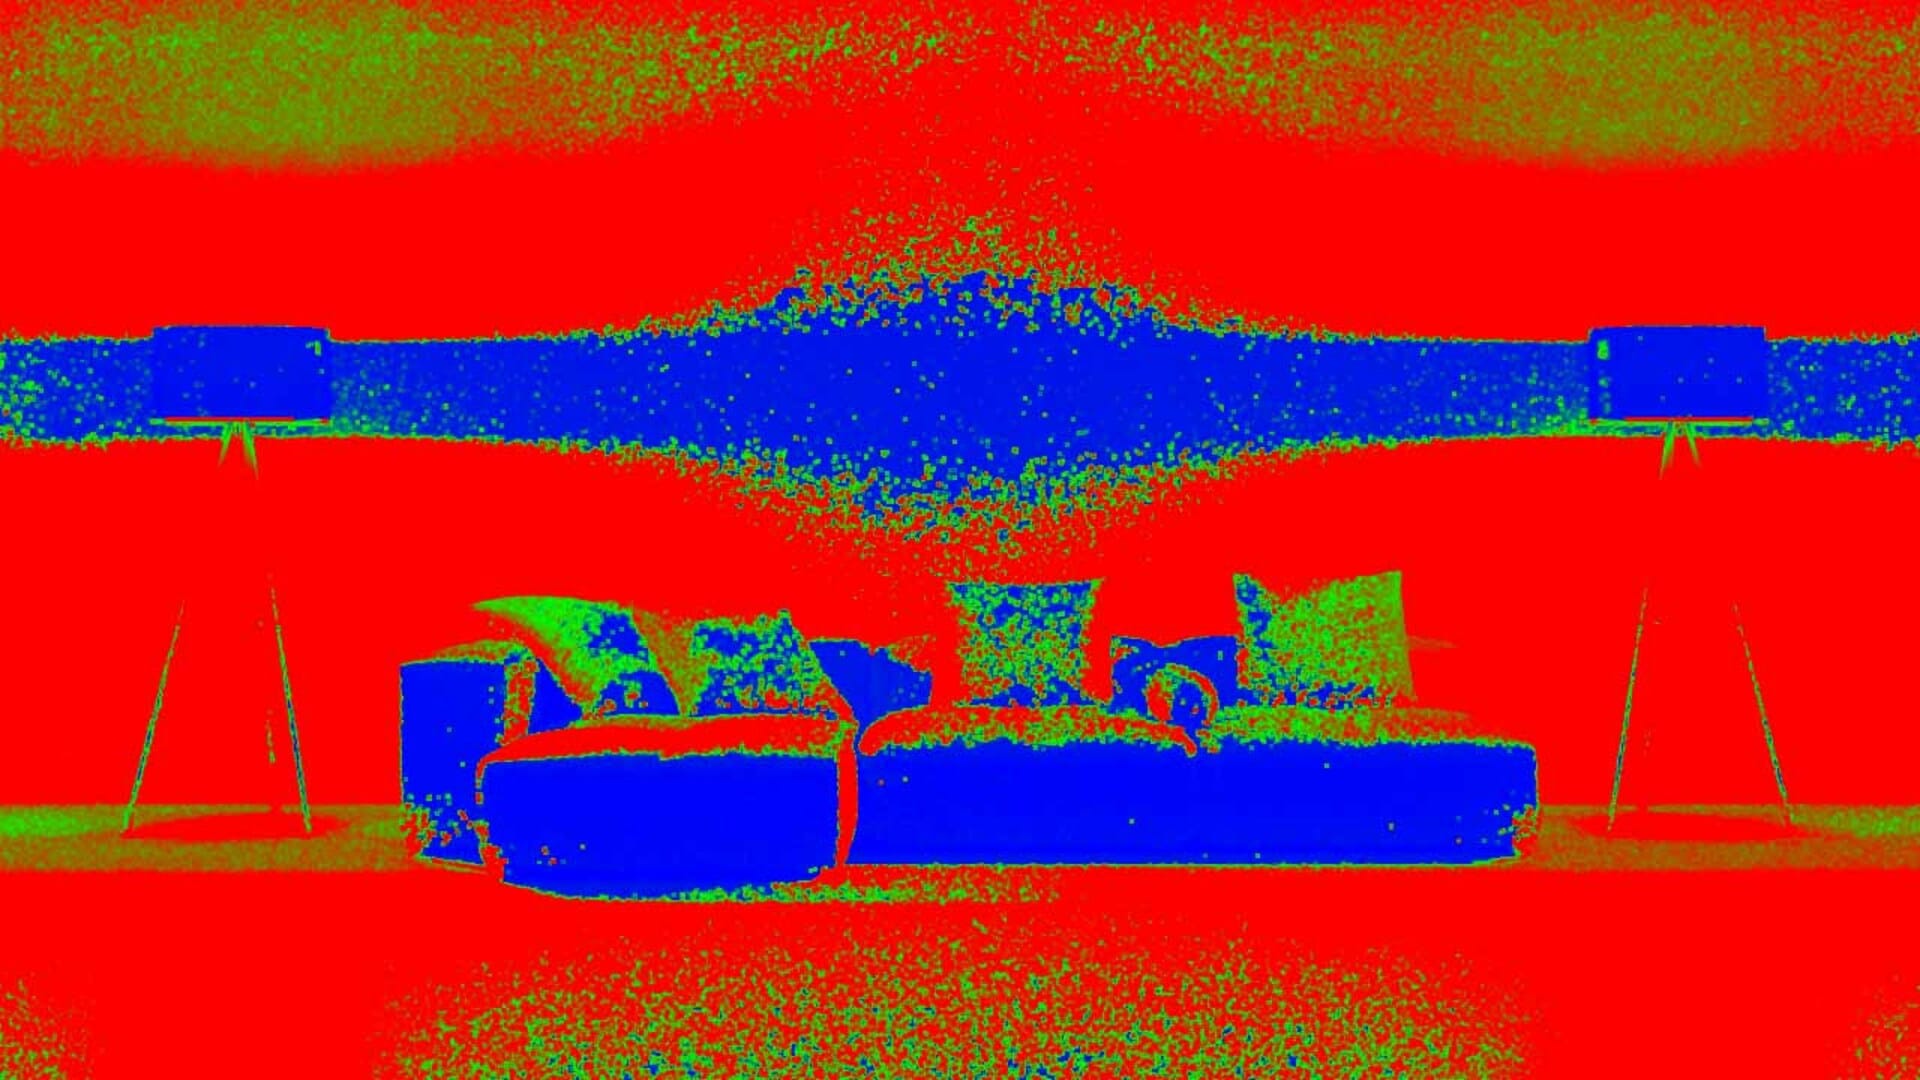
The resulting sampling rate
The scene renders in about 22 minutes on an AMD Threadripper 2990WX CPU. The result is quite noisy even with 1/40 AA subdivs and for most of the pixels in the image, the maximum number of samples per pixel were used (the red pixels in the sample rate render element) without reaching the specified noise threshold. This is because a large portion of the illumination is due to light bouncing off the interior of the lampshade and into the scene. Additionally, by default V-Ray clamps some of the GI in order to make the rendering happen in a reasonable amount of time (this is controlled by the “Max ray intensity” parameter) — however this leads to slightly darker illumination from the light fixture.
On the other hand, if we render the same scene with the help of luminaire light fields, the result looks like this:
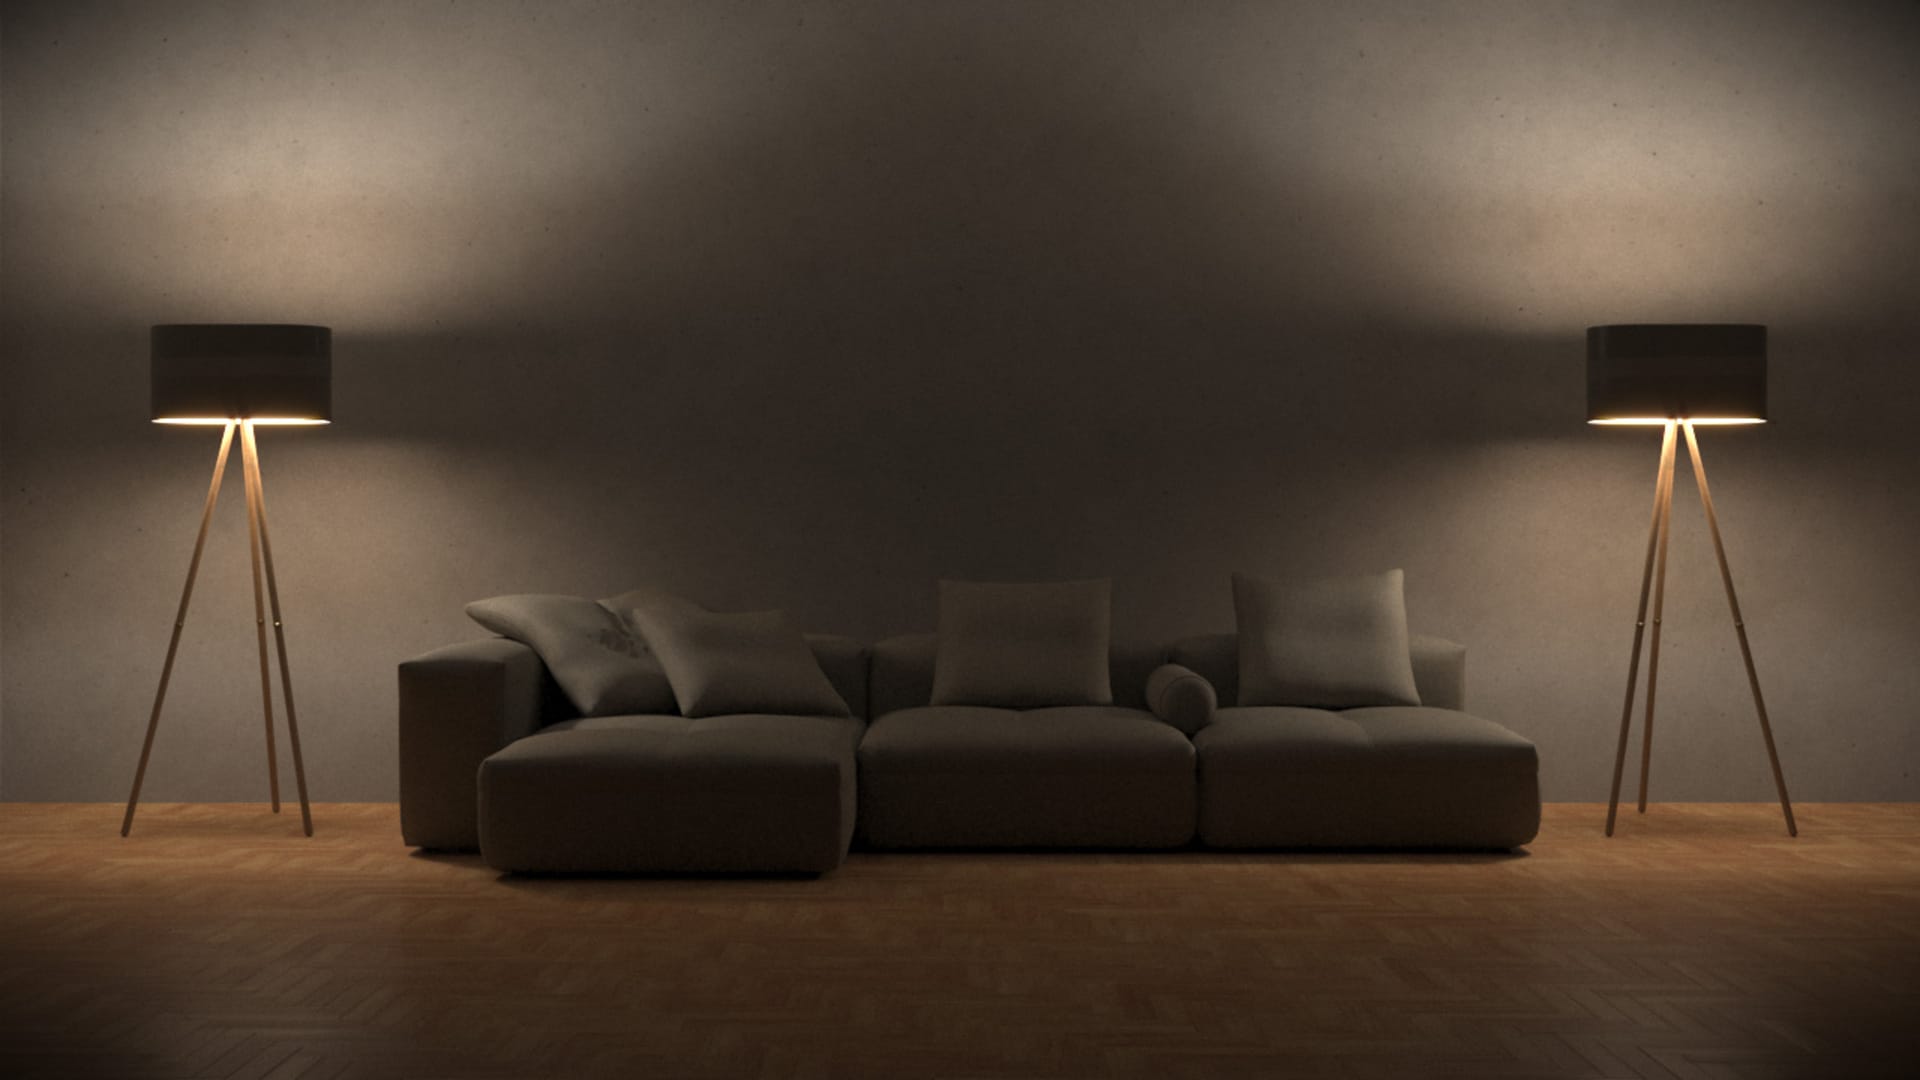
Rendering the scene with luminaire light fields in 1m 1s
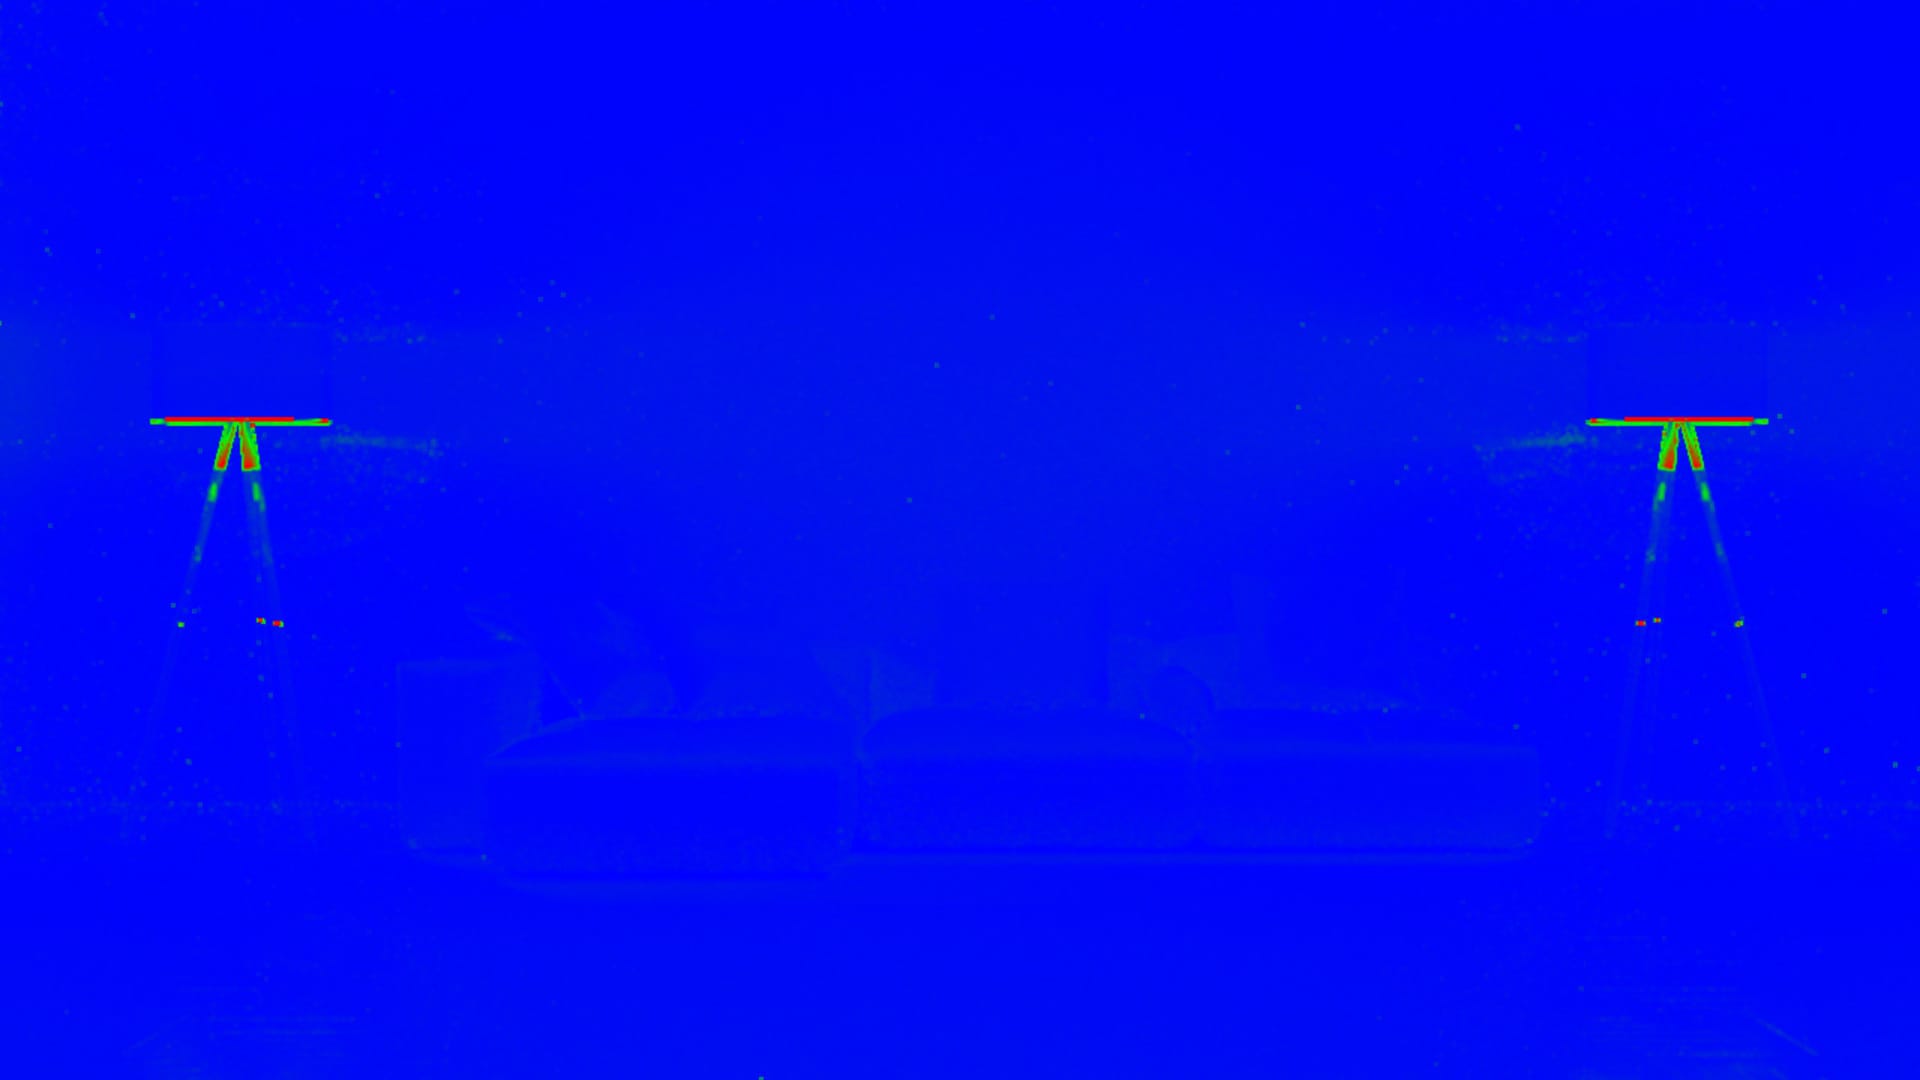
The resulting sampling rate
The luminaire version renders much faster (1 minute vs 22 minutes before) while at the same time the final result is less noisy because the noise threshold was reached almost everywhere. Furthermore, the lighting distribution is also more accurate with no light lost due to clamping.
Another example shows the advantages of the VRayLuminaire when complex light transport paths must be computed. In the following example, the light emitted by the fixture comes from a thin paper material that scatters the light coming from the spherical sources inside it. This is a complicated situation to render with any renderer. Without the luminaire, the image renders very slowly and is darker than it should be — by default V-Ray clamps the contribution of GI rays to help reduce render times. If we want to get a more accurate emission from the fixture, we have to disable the “Max ray intensity” parameter — this brings the result closer to the expected brightness but it takes even more time to calculate. Even with 1/100 adaptive image samples, this was not enough to reach the desired noise threshold everywhere in the image (there are red areas in the sample rate render element). In contrast, using a VRayLuminaire helps to render the image at a small fraction of that time with a more accurate lighting distribution.
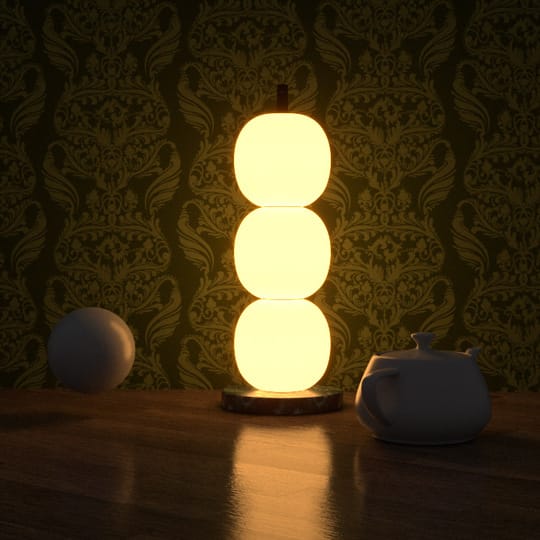

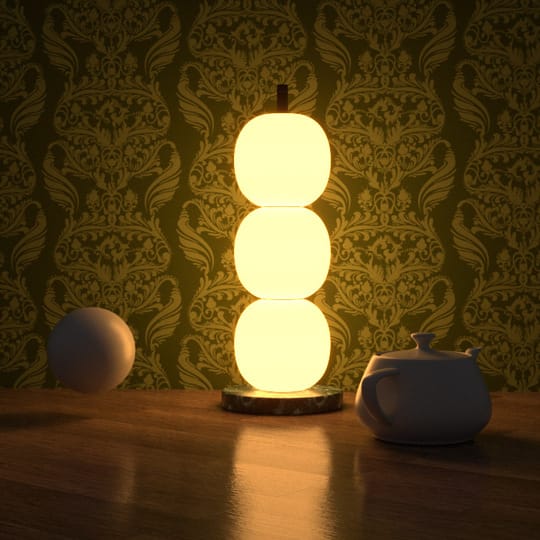

Lorem Ipsum is simply dummy text of the printing and typesetting industry. Lorem Ipsum has been the industry standard dummy text ever since the 1500s, when an unknown printer took a galley of type and scrambled it to make a type specimen book.
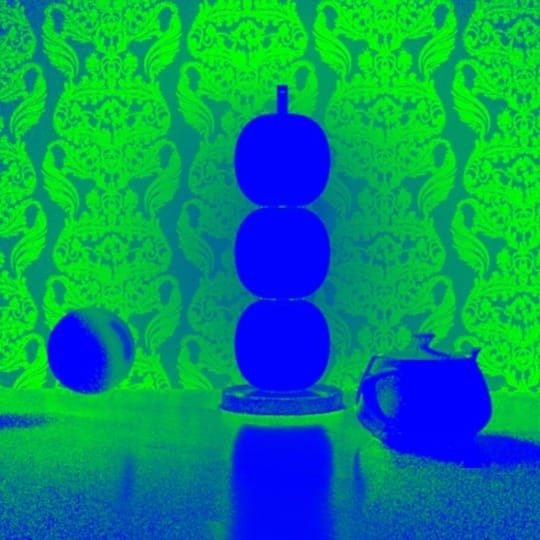
No VRayLuminaire, Max ray intensity enabled, 53min
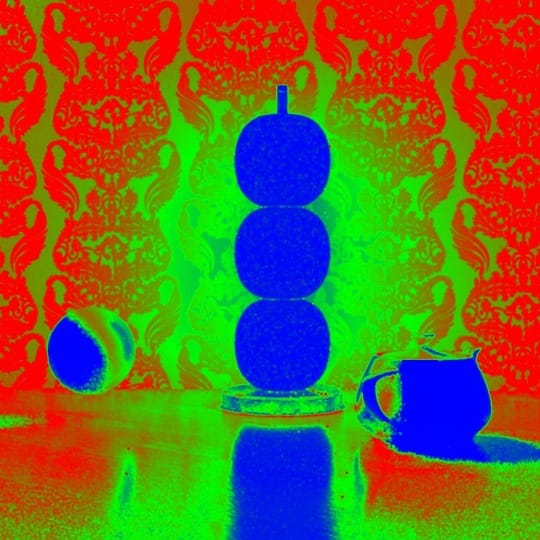
No VRayLuminaire, Max ray intensity disabled, 2h 46min
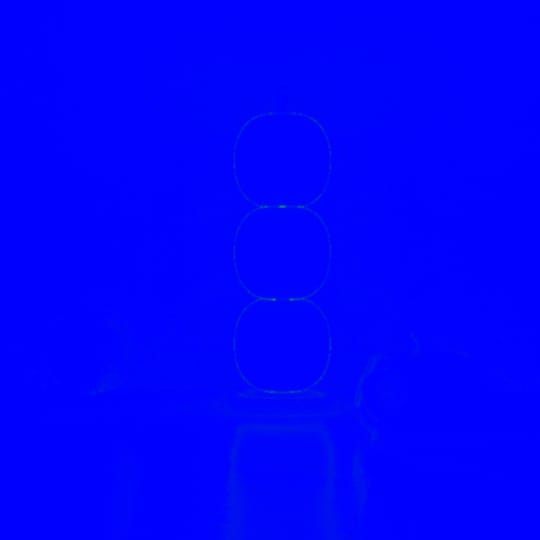
With VRayLuminaire, 1m 11s

No VRayLuminaire, Max ray intensity enabled, 53min
Most of the light fixtures in Chaos Cosmos come with luminaire files so using them is simply a matter of drag and drop. If a light fixture doesn’t have a luminaire file, it either has no light sources, or adding a luminaire does not improve the results (for example if the light sources directly illuminate the scene and there is no complex light transport). A tutorial on creating luminaire files for custom light fixtures is coming soon.
Working with VRayLuminaire light sources
If a light fixture has a VRayLuminaire object attached to it, then control of the light emitted from the fixture, like intensity and temperature, should be handled from the VRayLuminaire object. However at this time, disabling a VRayLuminaire light simply disables the light field calculation and not the regular light sources that are a part of the light fixture. An easy way to disable all of the light emitted from the fixture is to set the intensity of the VRayLuminaire light to 0.0.
Similarly, in the VRayLightMix system, the original lights in the fixture and the VRayLuminaire light will appear separately; this is something that will be improved in subsequent V-Ray 7 releases.


