Wondering how to make the most out of entourage in your scene? Read through these methodologies and workflows for a smooth integration of 3D assets.
Creating a photorealistic image of an architecture or interior design project forces us to contextualize the space. The formal expressions of our designs complement each other when we bring them to life with objects, nature, people, vehicles. Visualization professionals use this entourage to contextualize their designs and help the viewer relate to them in the real-world.
Today, adding entourage with rendering millions of polygons is easy — but this was not always the case. In this two-part article, I will talk about some of the methodologies that have made it possible to work with high levels of geometry, and the importance of having a wide library of 3D assets for our work.
Dynamic geometry
When we integrate high-quality 3D assets, these objects usually contain a high density of polygons. If we add many of these objects in our scene, we increase the consumption of our computing resources, RAM memory specifically, limiting its performance and complicating the rendering process.
The best solution for this situation is the use of dynamic geometry, this methodology allows storing the information of a complex geometry on disk and is loaded only at render time, this allows us to maintain the agility of the scene and easily render a lot of information.
Chaos developed a dynamic geometry solution called VRay Proxy that allows artists to manage high-density and detailed objects, Plus, with VRay Proxy, artists can easily exchange geometries between multiple 3D applications.
Other uses of dynamic geometry are found in Fur, Displacement, and Subdivision evaluations, which are very important features that allow us to add extra detail to our models and scenes.
Instancing
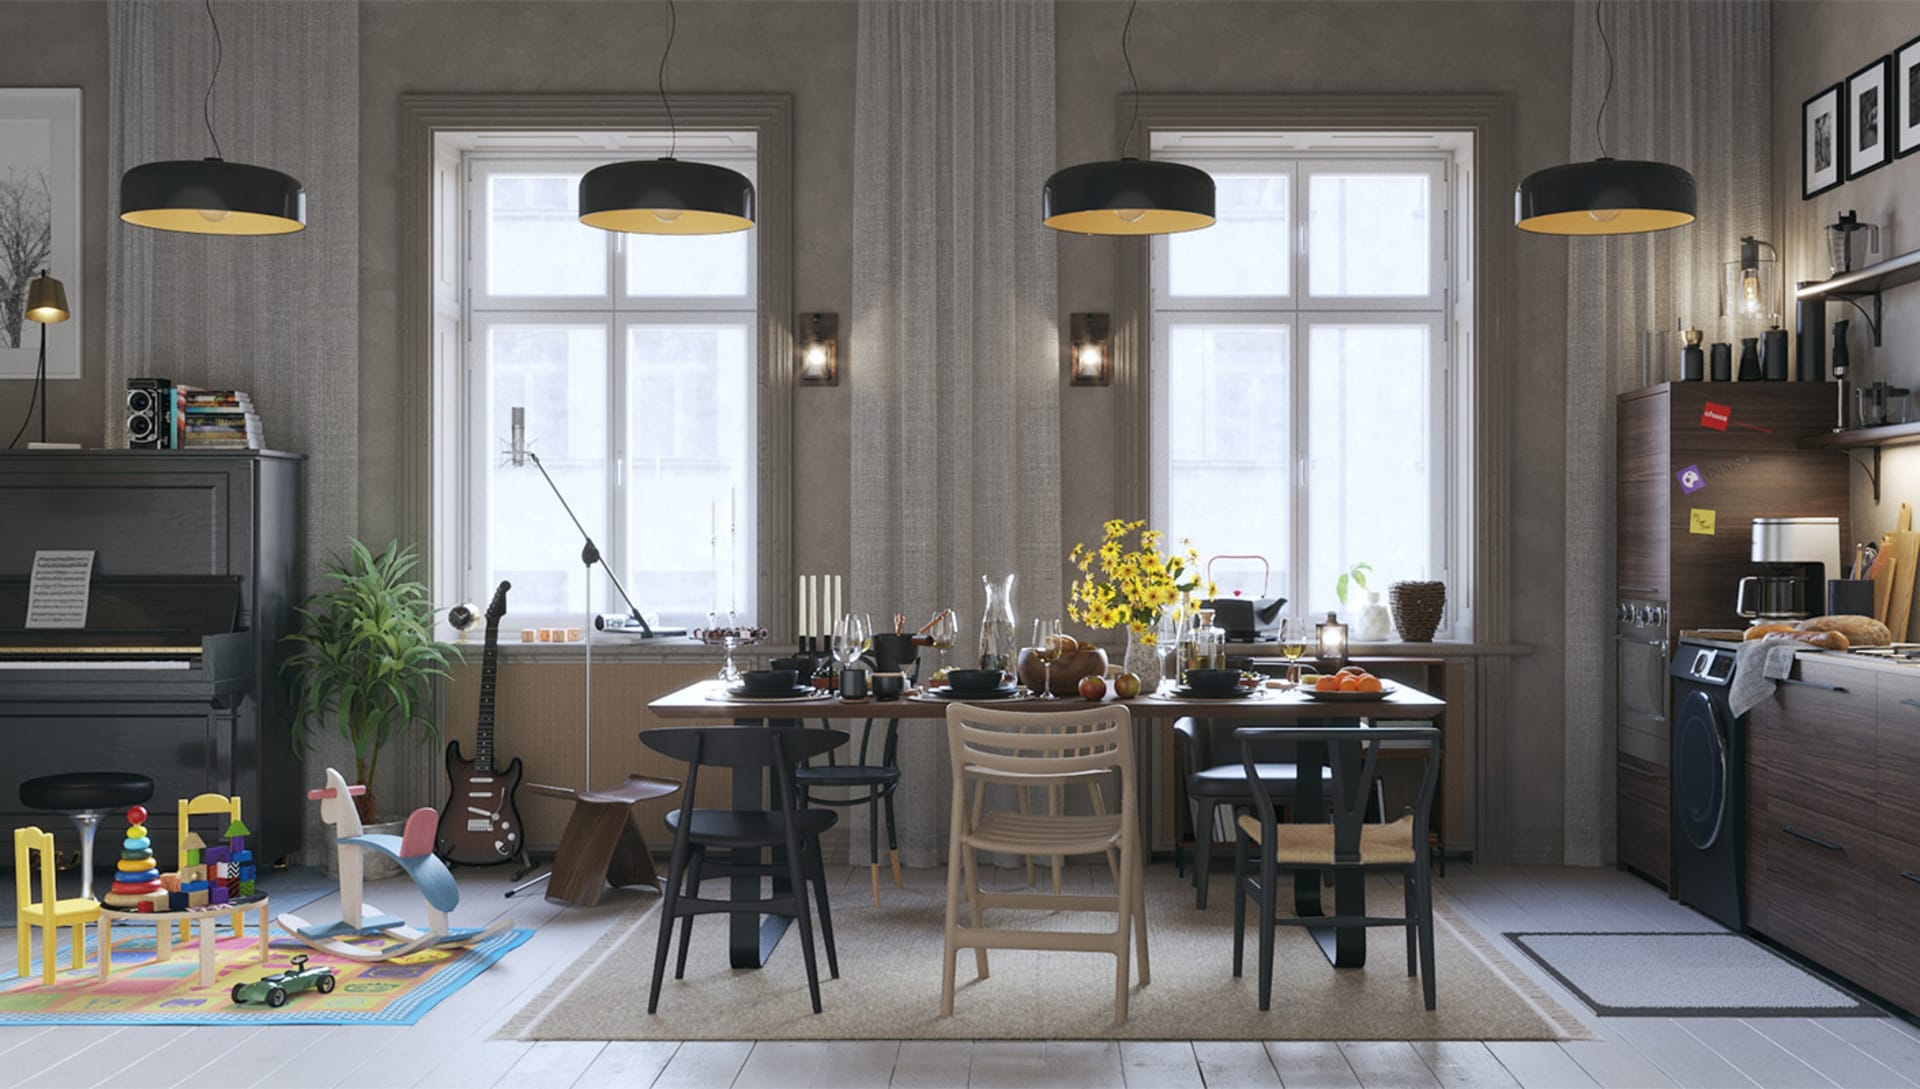
A typical scene of an interior can be totally set with proxy objects, it is common that the interior scenes have unique objects -perhaps what we repeat the most are chairs in a dining room- we could have many objects in the scene, in these situations, the render engine has to load data of each geometry, but even with several of these elements and knowing that they are proxies, we can render the scene with no problems.
But what happens if we want to set an exterior with a large garden, a park, or even a forest, this situation would be very complicated if we consider that a park can have hundreds or thousands of trees, plants and flowers. If we only take into account trees, many of the 3D tree assets can contain millions of polygons, with this, the situation would be very complicated. So the solution for this problem is found in what we call instancing.
An instance geometry is a cloned and renderable geometry that is loaded only once by the render engine. This means that if I add a 3D asset of a tree and clone it as an instance 1000 times, the render engine will load the 3D mesh data of a single tree but in render we will see the 1000 trees rendered.
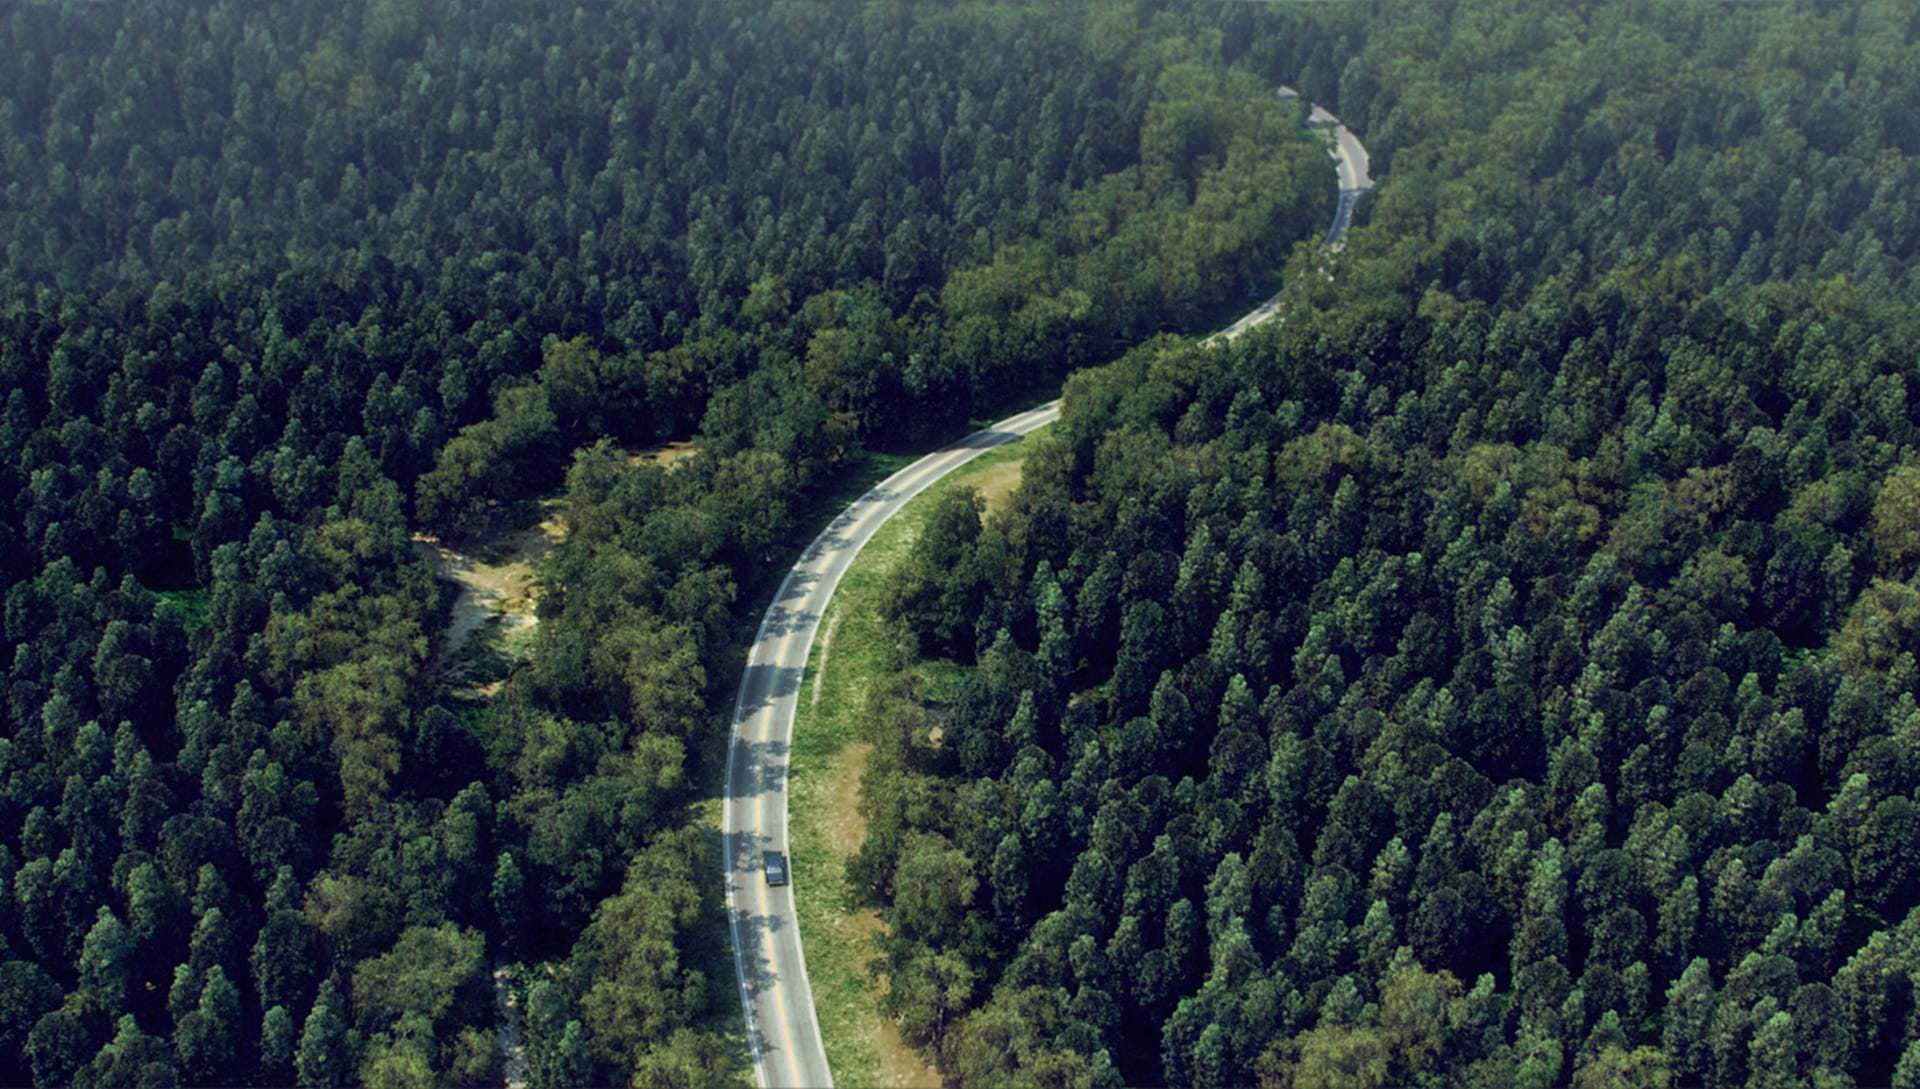
Instance scattering and randomization
Thanks to the Proxy geometries and instancing we can create a massive scene, but you may wonder, a tree cloned 1000 times will look the same and with that our scene would lose realism. To fix these situations, there are tools that offer randomization of instances with basic transformations such as rotation, scale and position, and also, randomization tools for materials and textures.
With the randomization of instances, we can make multiple versions of a single element, generating variation and a very much realistic result.
Tools
So far I have mentioned some of the very basic methodologies for a correct work when we set our scenes, sometimes the integration process can be quite complex and time consuming cause we must import many assets, adjust textures, rebuild shaders, convert in proxies etc. and this is one by one.
Fortunately, software developers have provided us with many tools to streamline this process. It is important to have a wide library of 3D assets, but also, it is important to know the correct workflow that allows us to shorten times and keeps us focused on our creative process .
Here are some key tools that every V-Ray visualization artist should know.
Chaos Cosmos
Chaos Cosmos is a smart library with hundreds of carefully constructed and hand-picked 3D assets, you can find furniture, trees, cars, people and more. They are ready to render with V-Ray, with a simple drag and drop we can integrate each element in our scene.
Chaos Cosmos assets are smart, which means they automatically show the right amount of detail wherever you view them. In the viewport, they’re lightweight for smooth interactivity. In V-Ray Vision, they’re more detailed and optimized for real-time. And in Chaos Vantage or when rendering with V-Ray, they show in full photoreal detail Chaos Cosmos is built into V-Ray 5 and V-Ray 6 versions of the 3ds Max, Maya, SketchUp, Rhino, Revit, Cinema 4D integrations, as well as Corona 8 and Chaos Vantage.
Chaos Scatter
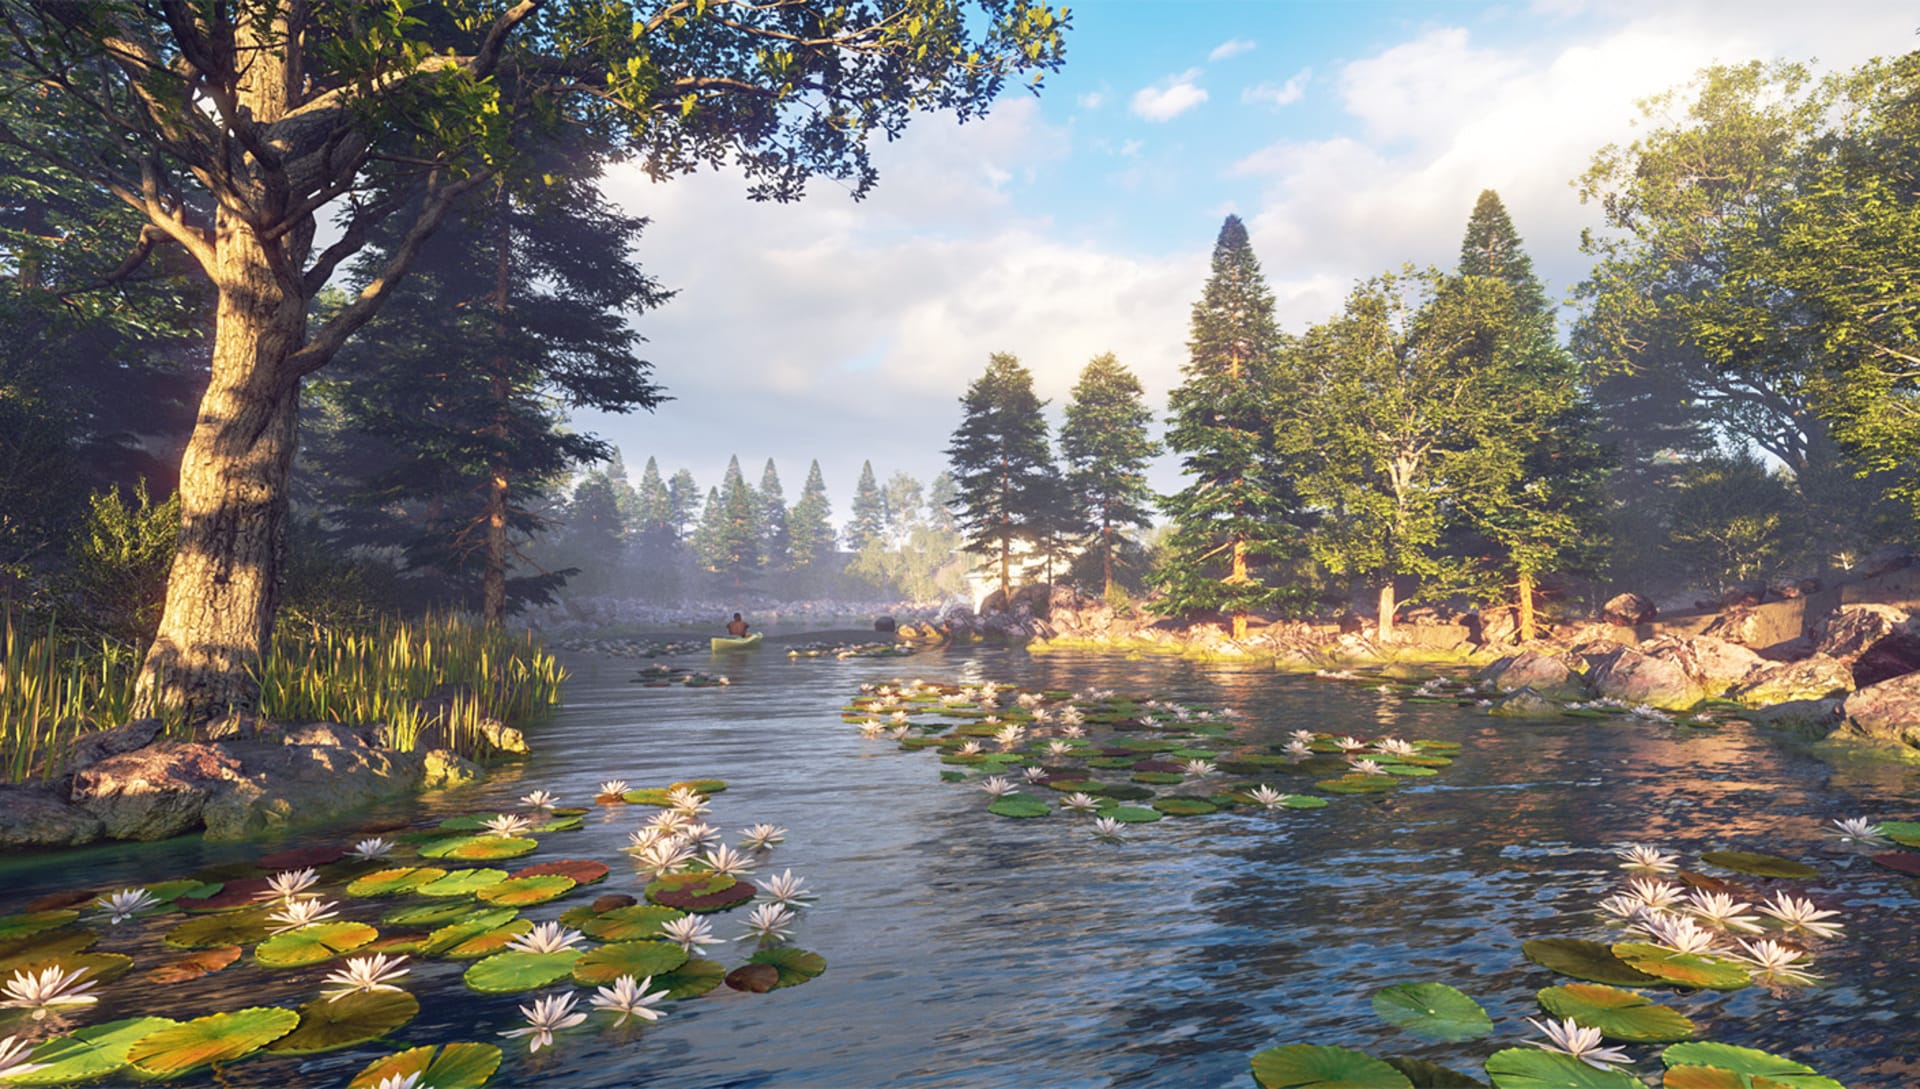
Chaos has added a new tool called Chaos Scatter, this tool allows us to create instancing systems easily and quickly, actually, one click solution thanks to several presets.
We can use it in different types of scenes, in addition, it offers us a large number of transformation variables to achieve the distribution of instances and multiple randomization controls.
VRayMultiSubtex and UWV randomizer
Some V-Ray utilities allow us to generate randomization of textures and materials for instancing and cloning systems in general.

Technology is on our side
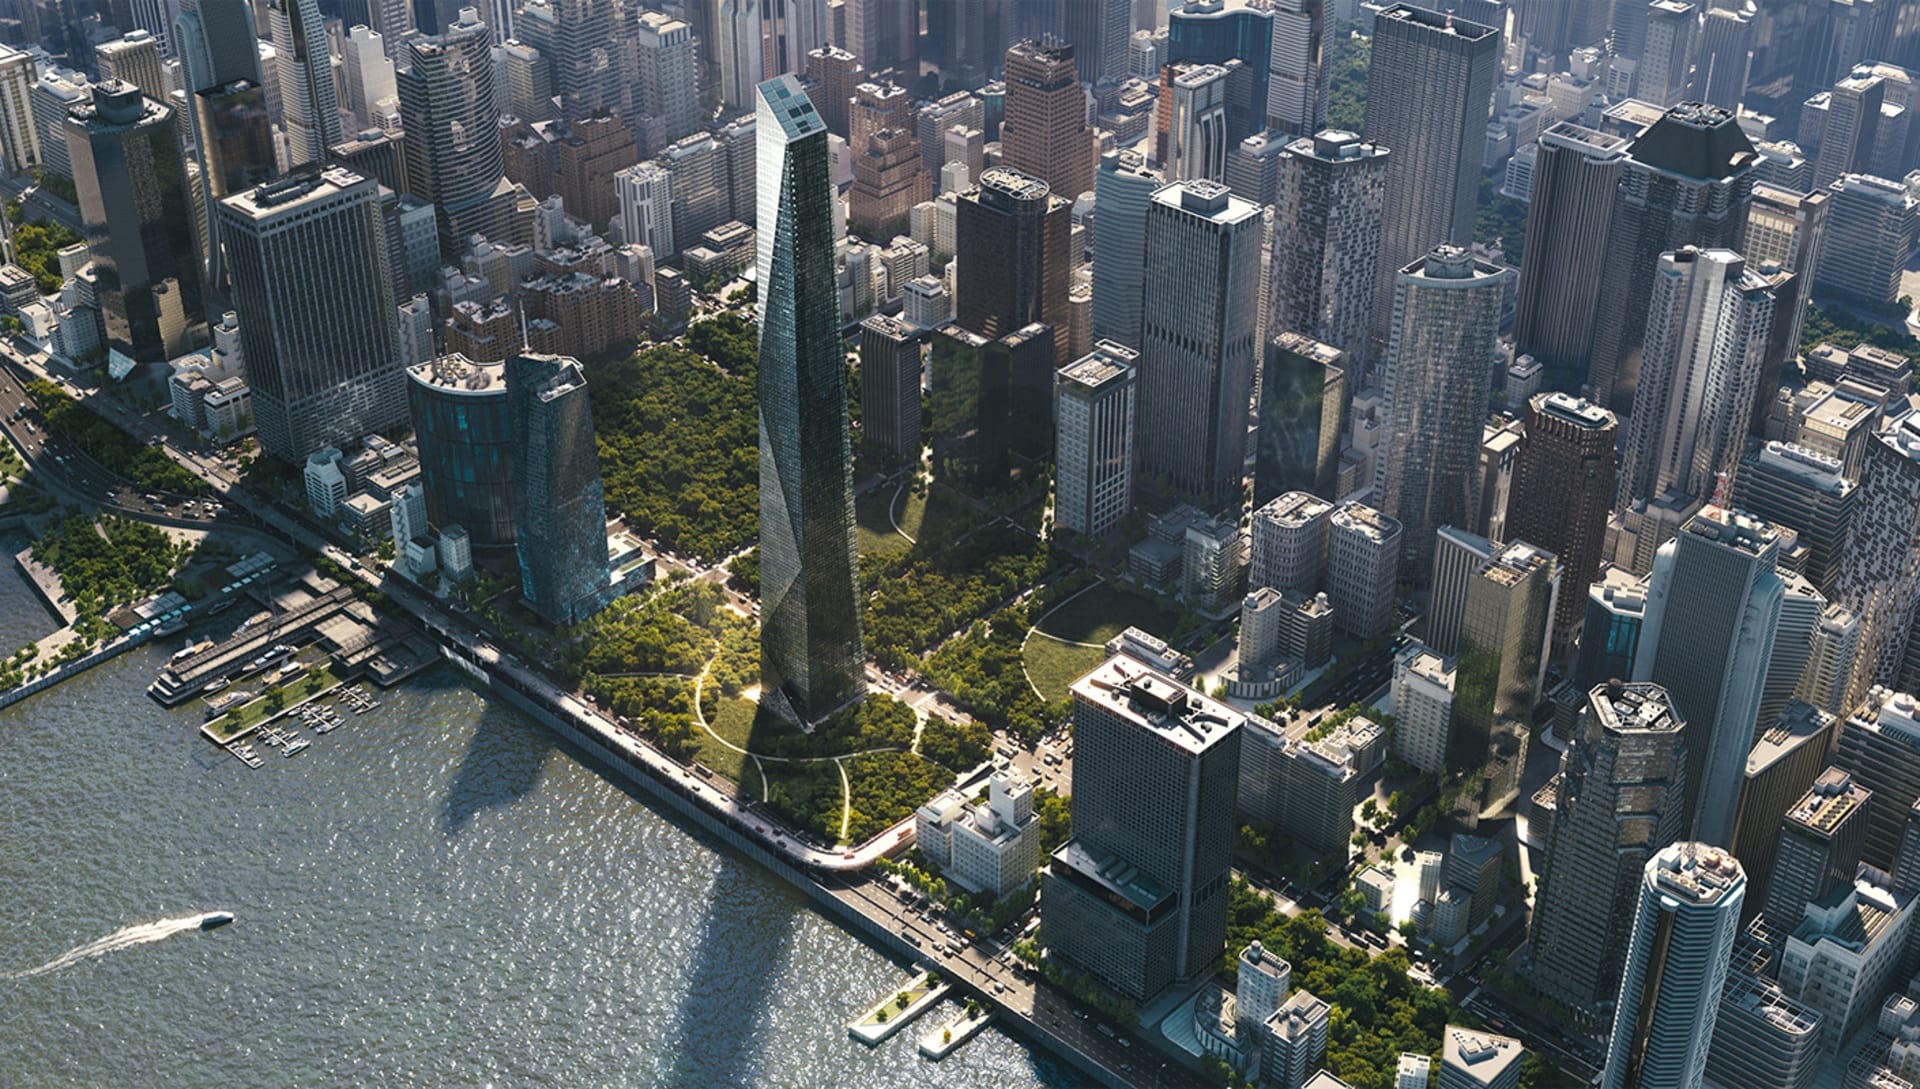
Today we can easily create large scenes with a high level of detail. Residences with extensive gardens, green walls, houses in a forest, or even an entire metropolis city. Our industry will demand more and more and we as avant-garde visualization artists should know how to respond, with our talent and thanks to the hardware and software technologies that are in a constant evolution, we can do more every day.
