
Your cart
There are no items in your cart.

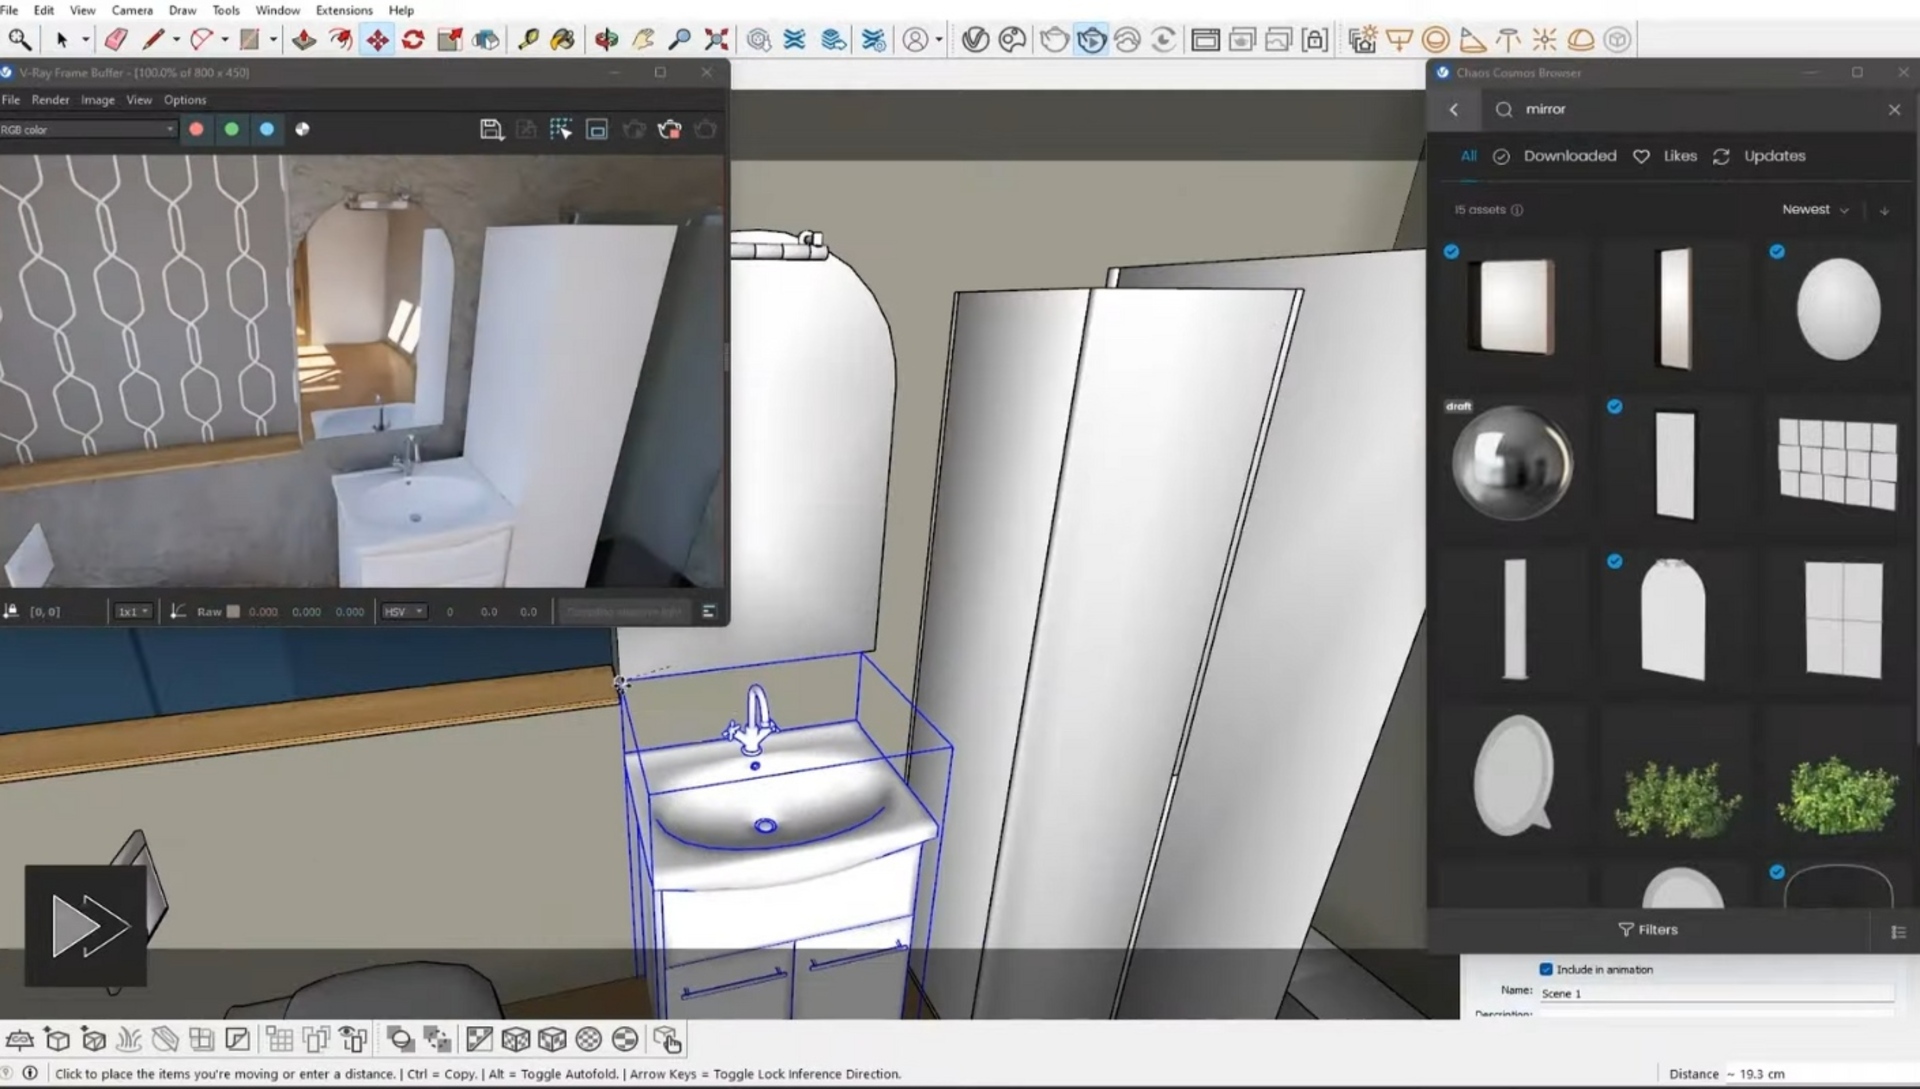
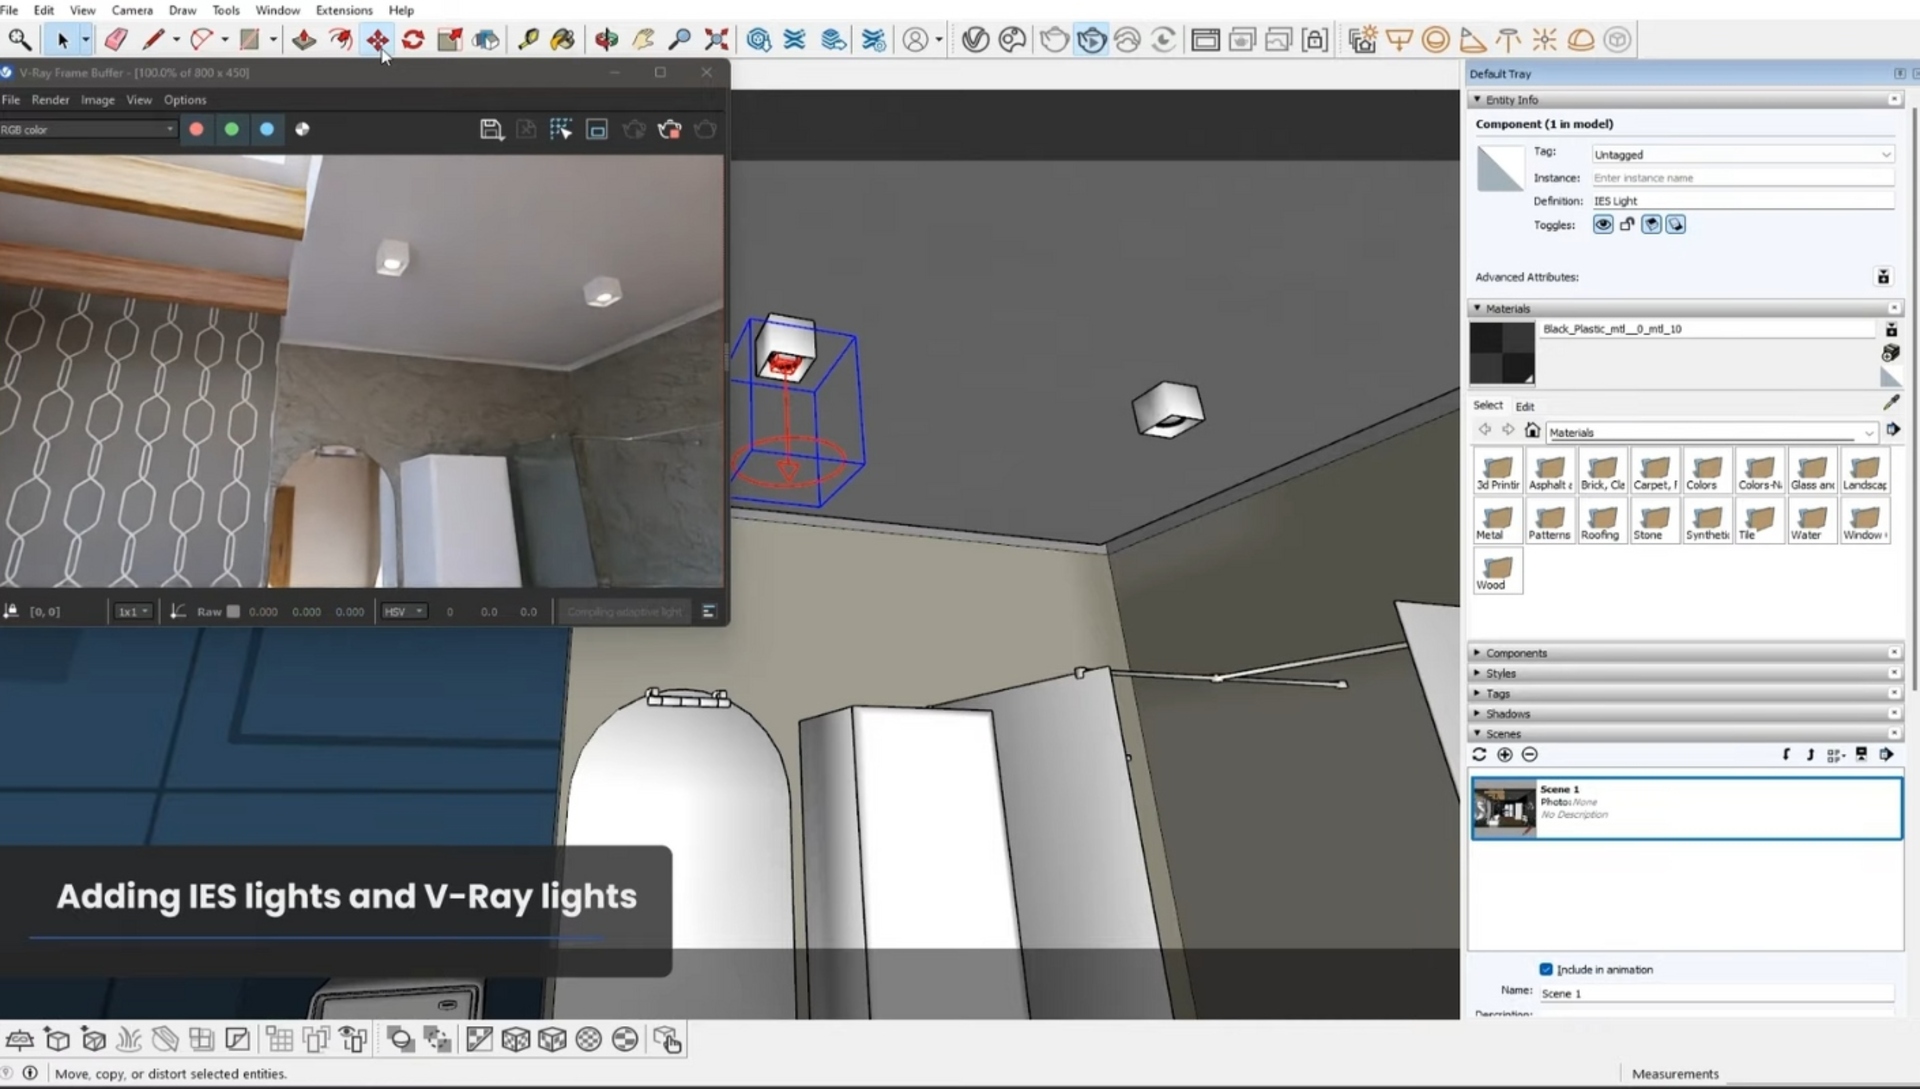
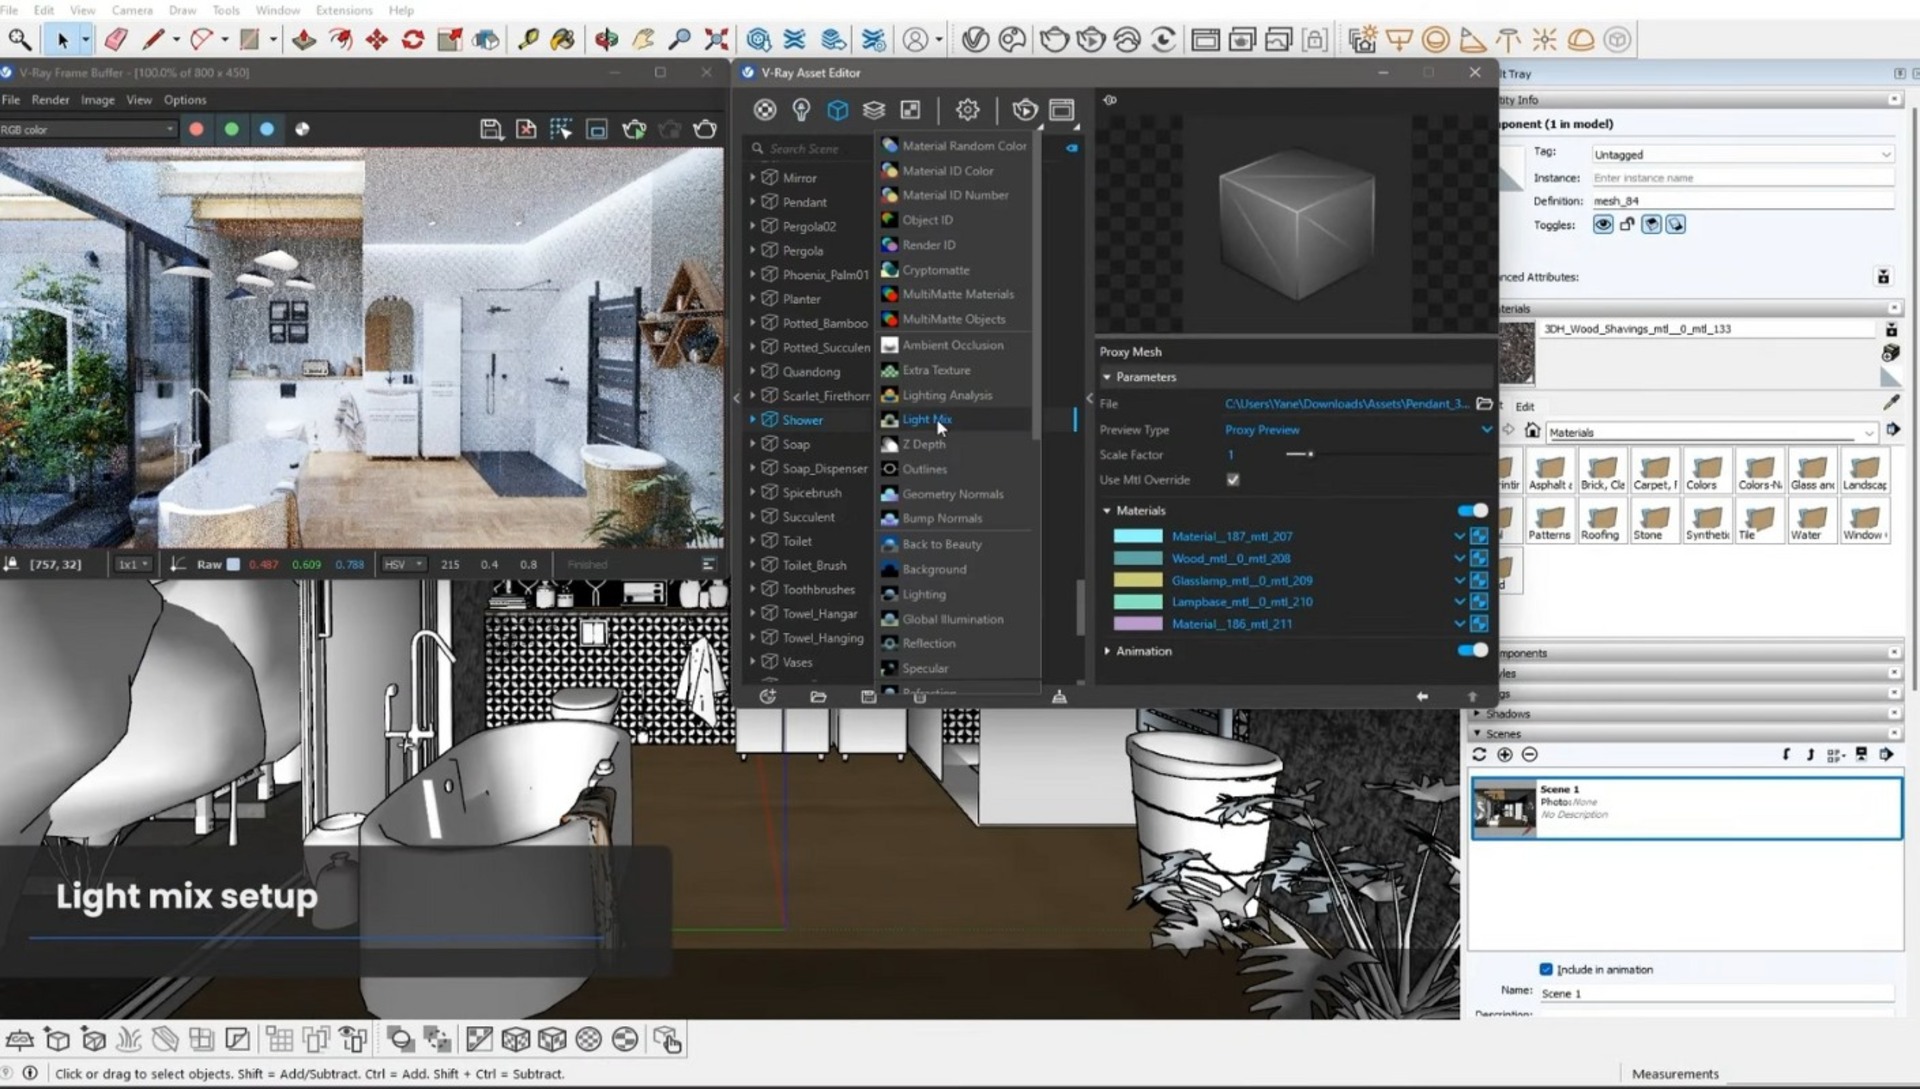
 Chaos © Yane Markulev
 Chaos © Yane Markulev
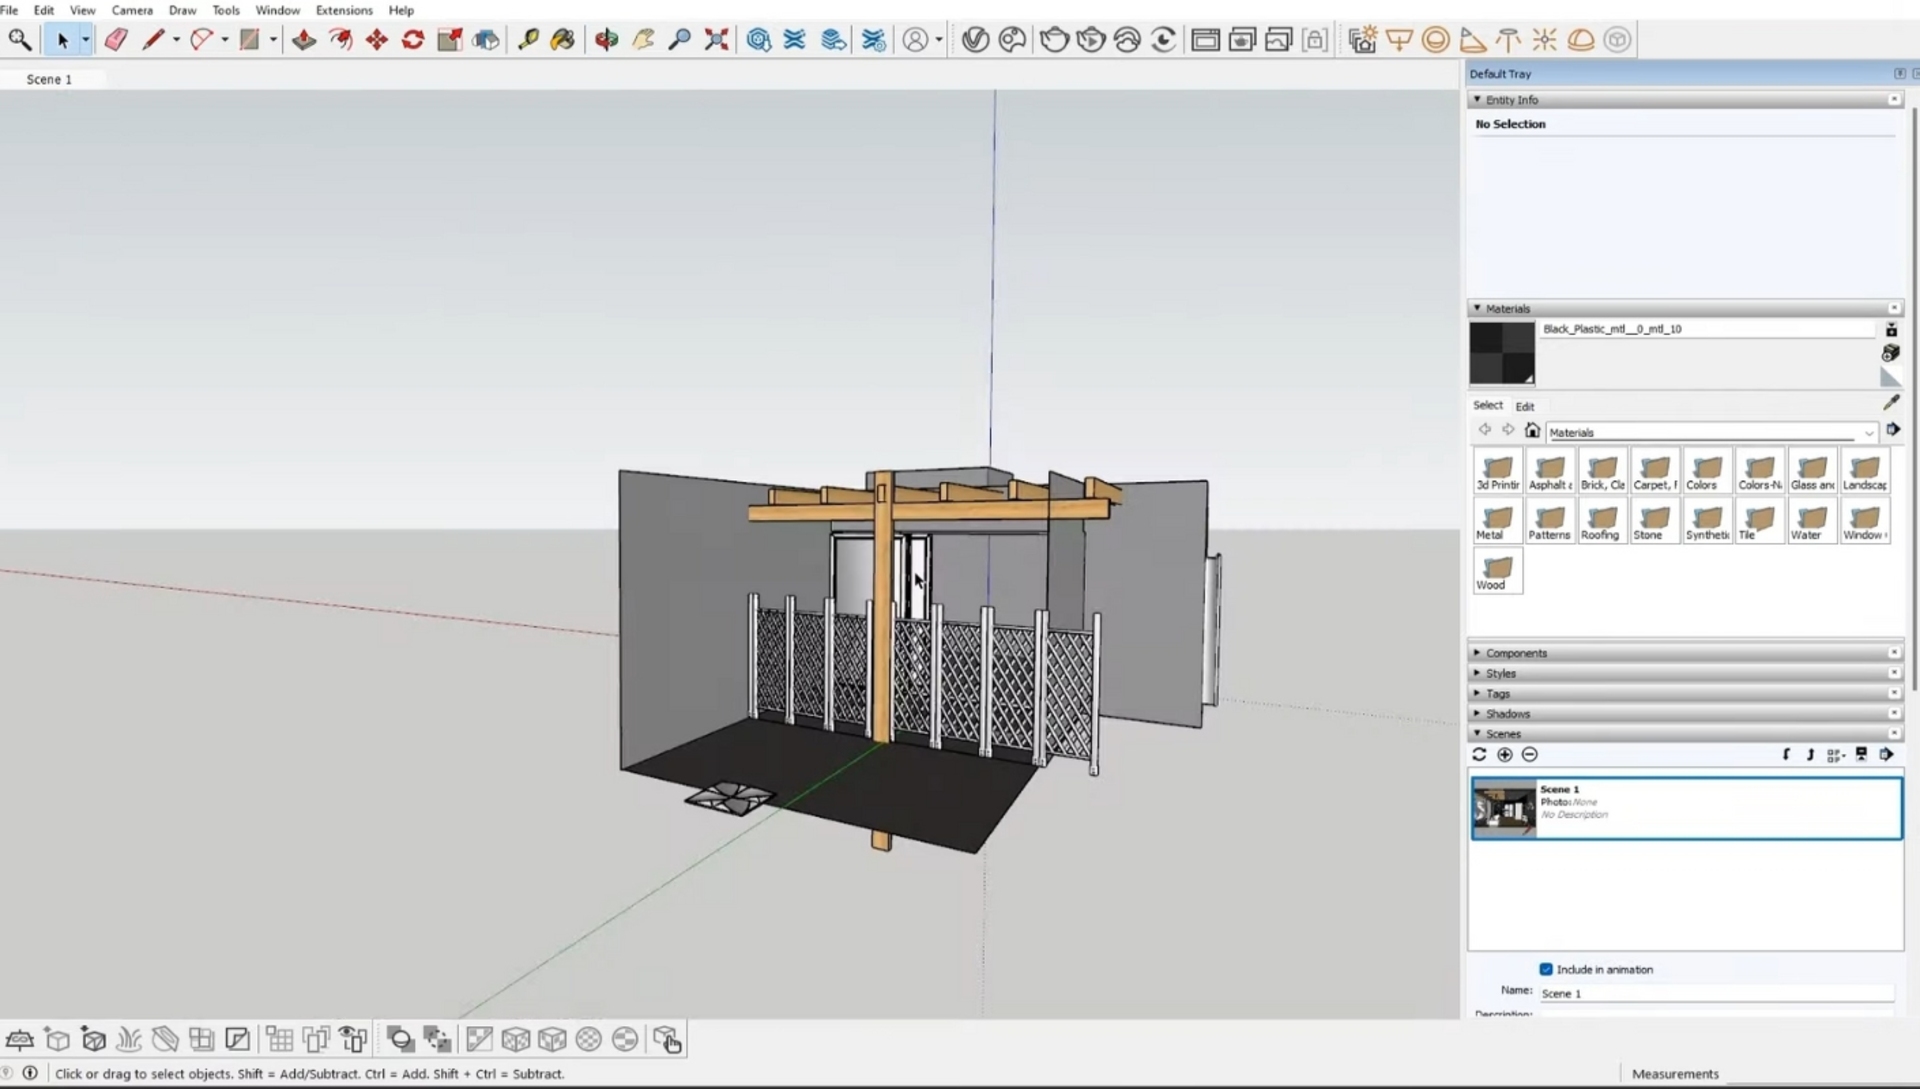
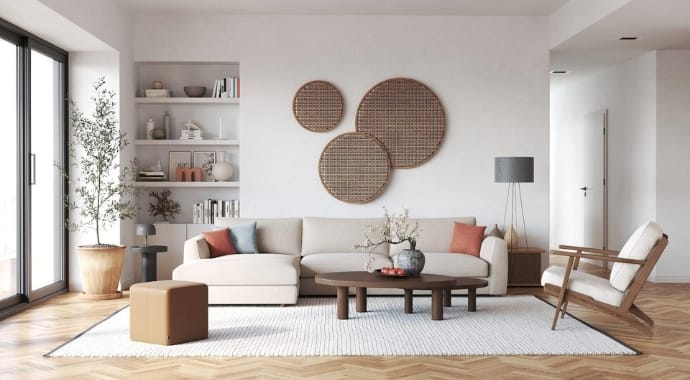
Improve your design skills by creating a cozy living room design in V-Ray for SketchUp with expert guidance from Chaos 3D artist Anastasia Zhivaeva.
Discover where to find amazing free SketchUp textures and learn best practices for using them in your next project with our comprehensive guide.
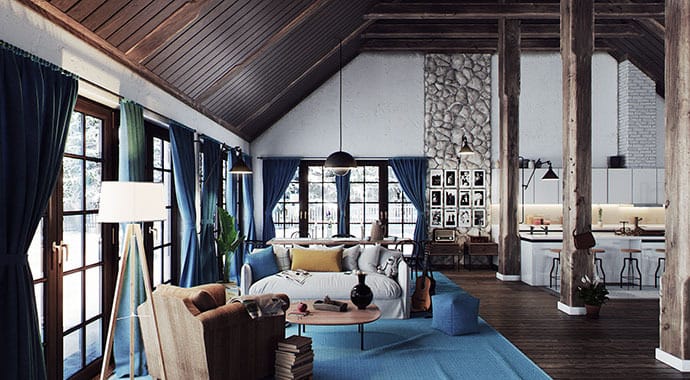
 © Glass Cow Studio
Glass Cow Studio’s Adam Clark has demonstrated his arch-viz skills with this autumnal project. We find out how V-Ray 5 for SketchUp helped him create it.
 © Škoda Design
Get the latest news, artist spotlight stories, tips and tricks delivered to your inbox.