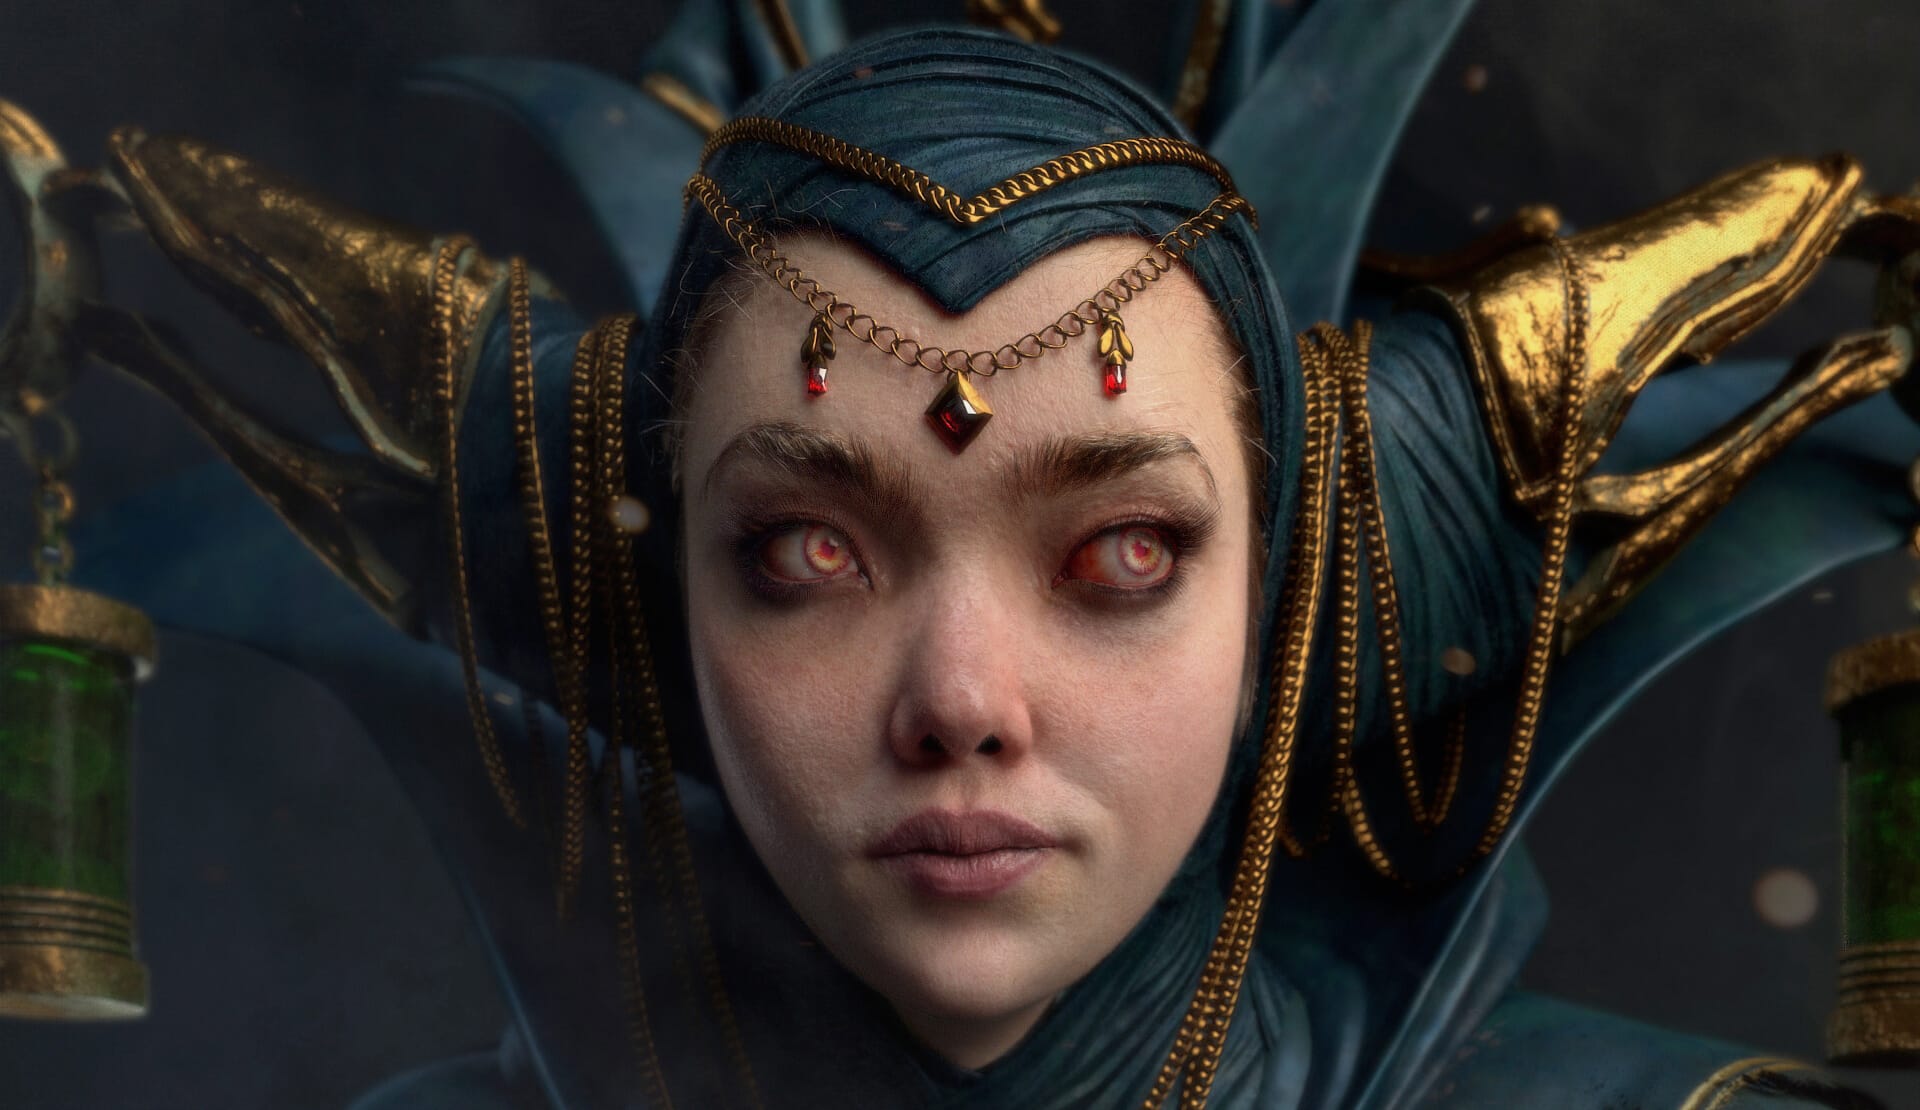
In Part 2 of the making of Jjahawa, Taj Nabhani details how he created the eyes and used VRayHairNext and using the VRayAlSurface shader for convincing 3D hair and skin.
In part 1, we learned how Taj Nabhani selected the Jjahawa concept to push his 3D skills to new levels. You can read Part 1 here.
In this second part of the 3-part article series, Taj now walks through the creation of the eyes and divulges how he made the hair and skin of his 3D character model look ultra convincing using VRayHairNext and the VRayAlSurface shader.
About Taj Nabhani
Taj Nabhani is a 3D artist based in Montreal, Quebec, currently working as a Modeler at Framestore. He’s been working in the VFX industry for over 6 years after graduating from OCAD University with a Bachelor of Design in Illustration and a post-grad at Sheridan College in Computer Animation. Drawing, sculpting, visual storytelling and staying creative are lifelong pursuits of Taj’s and he is constantly developing his skills while looking to learn from other people. You can follow or contact Taj on Instagram via @tajnabz.
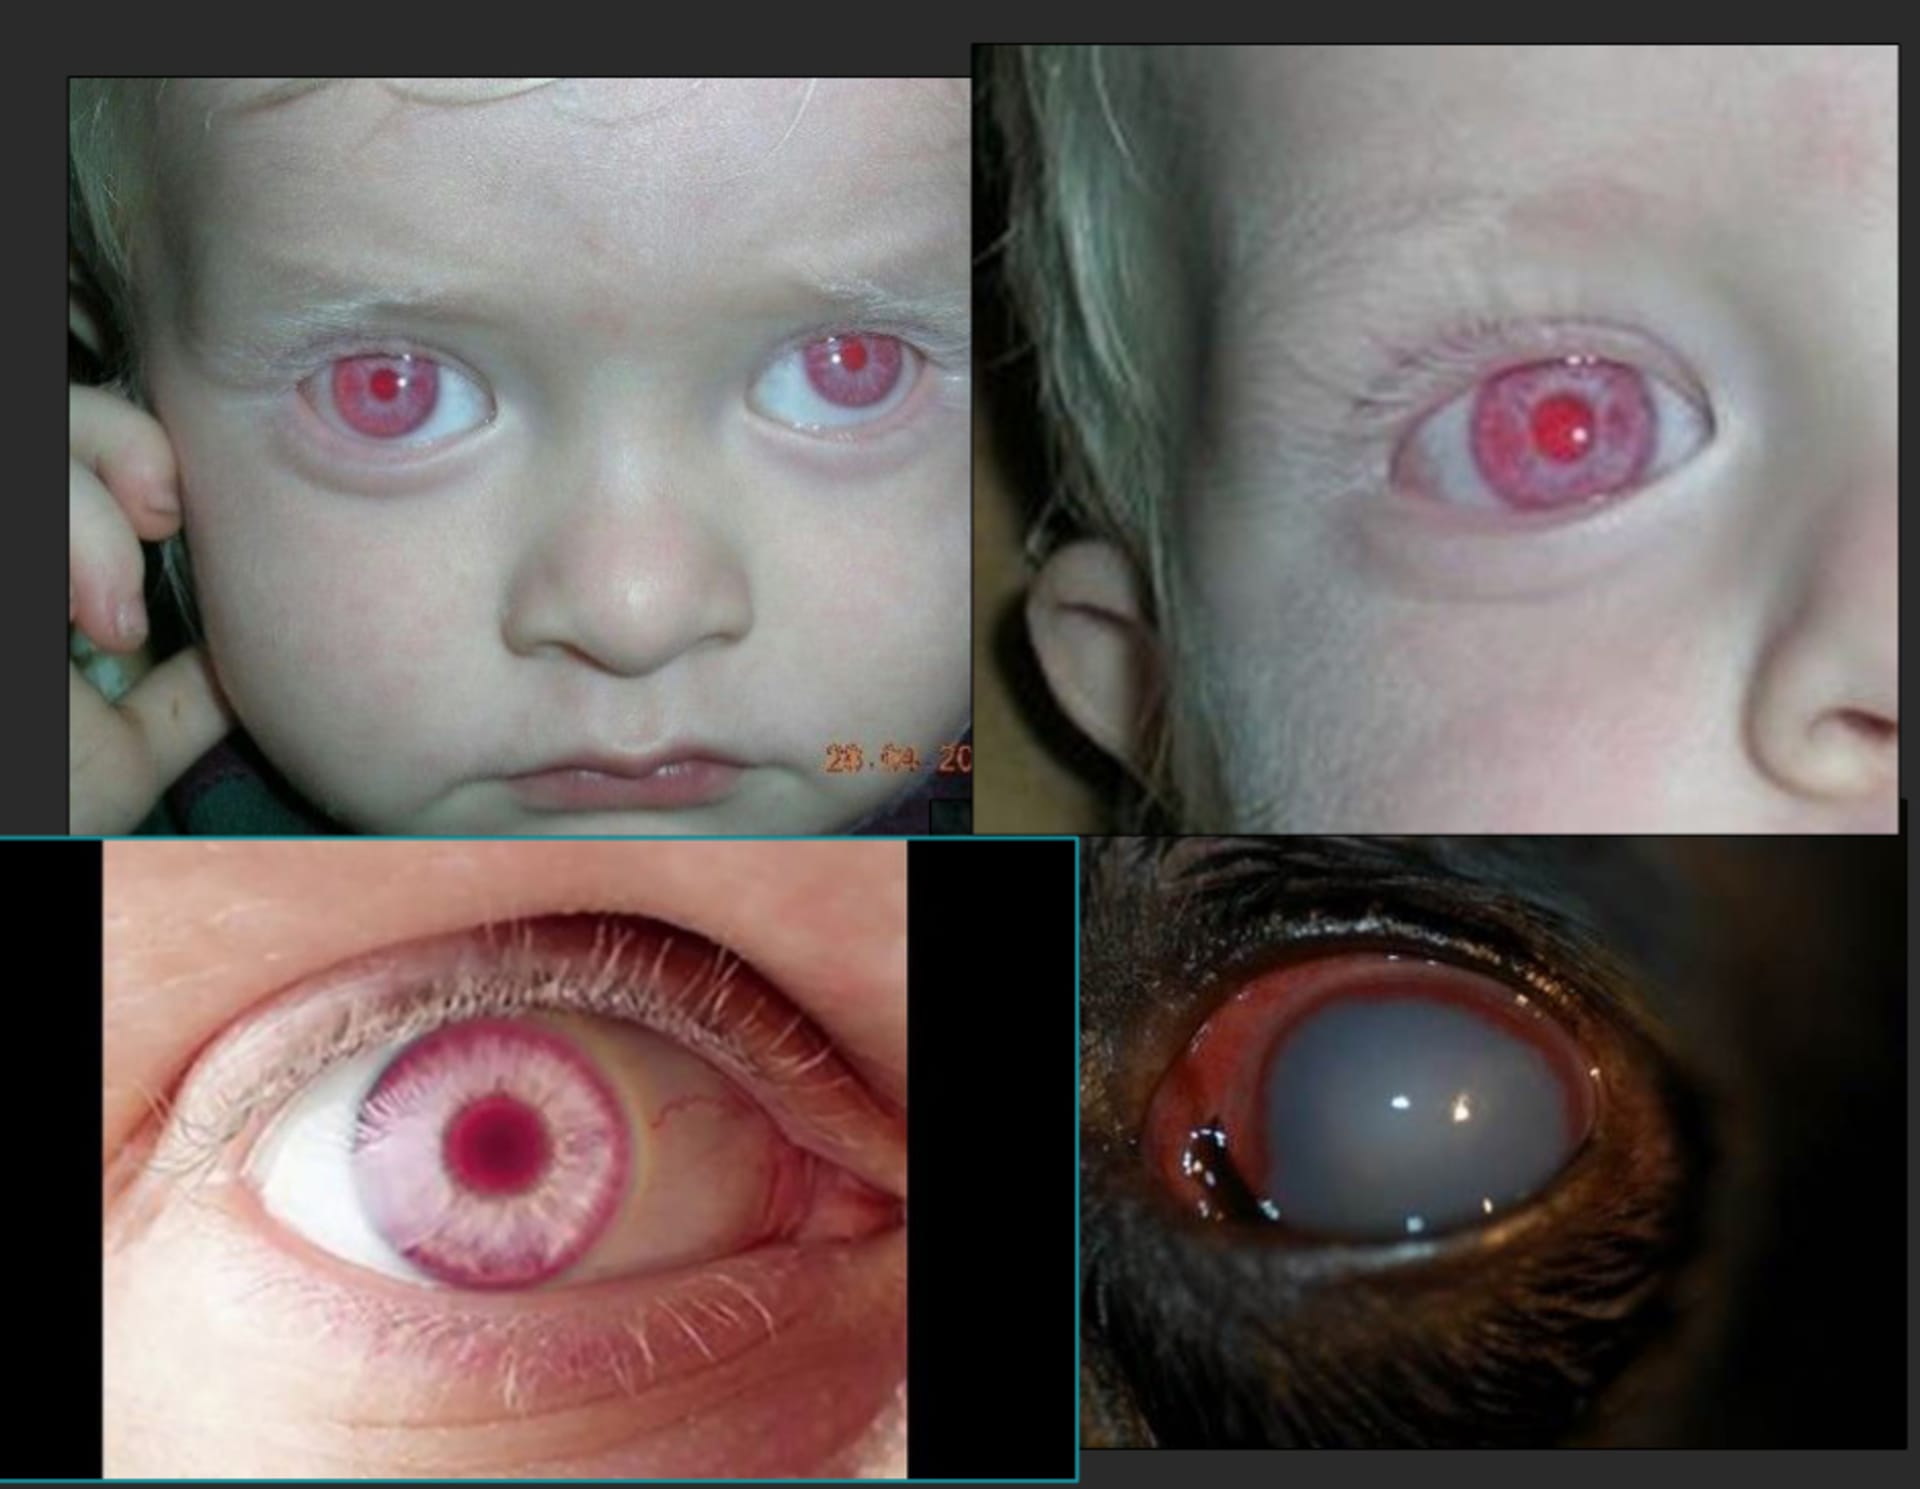
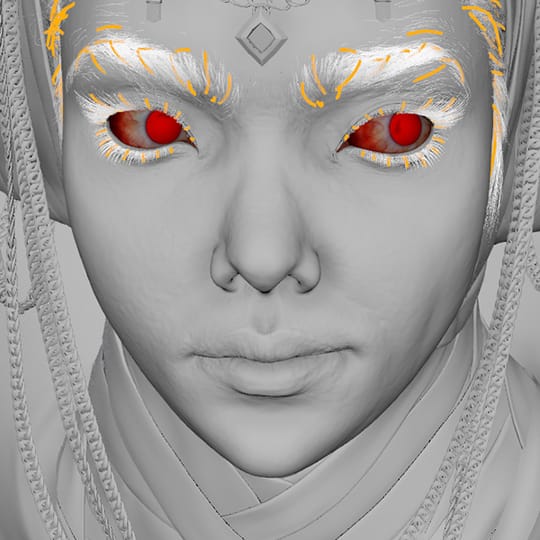
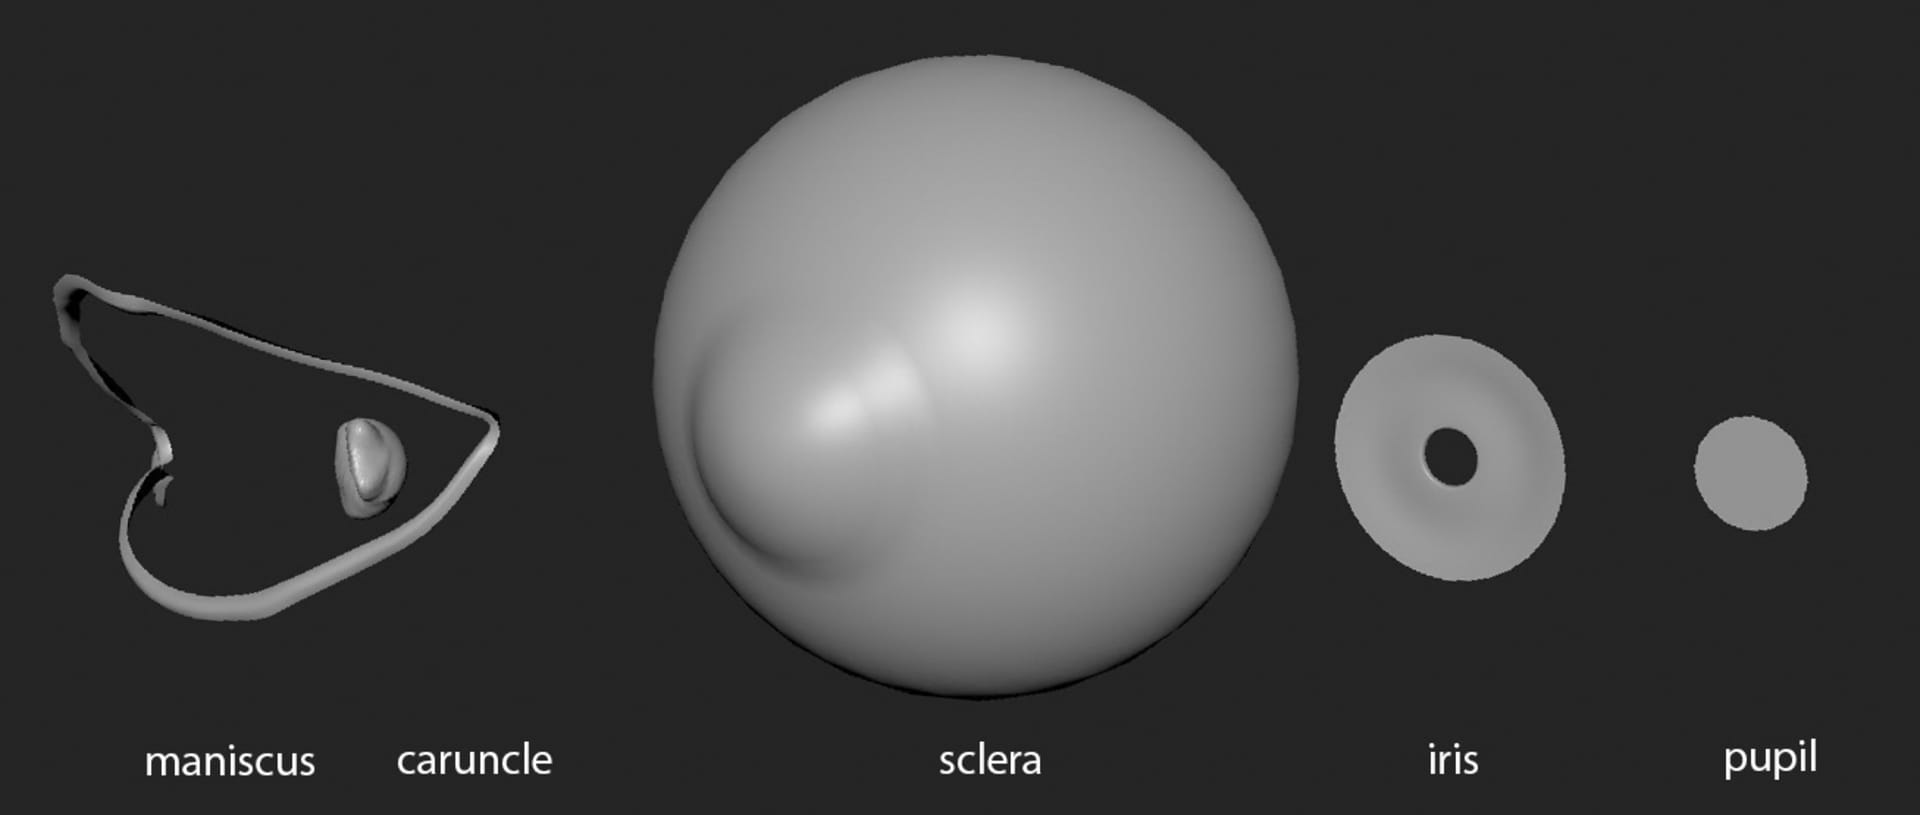
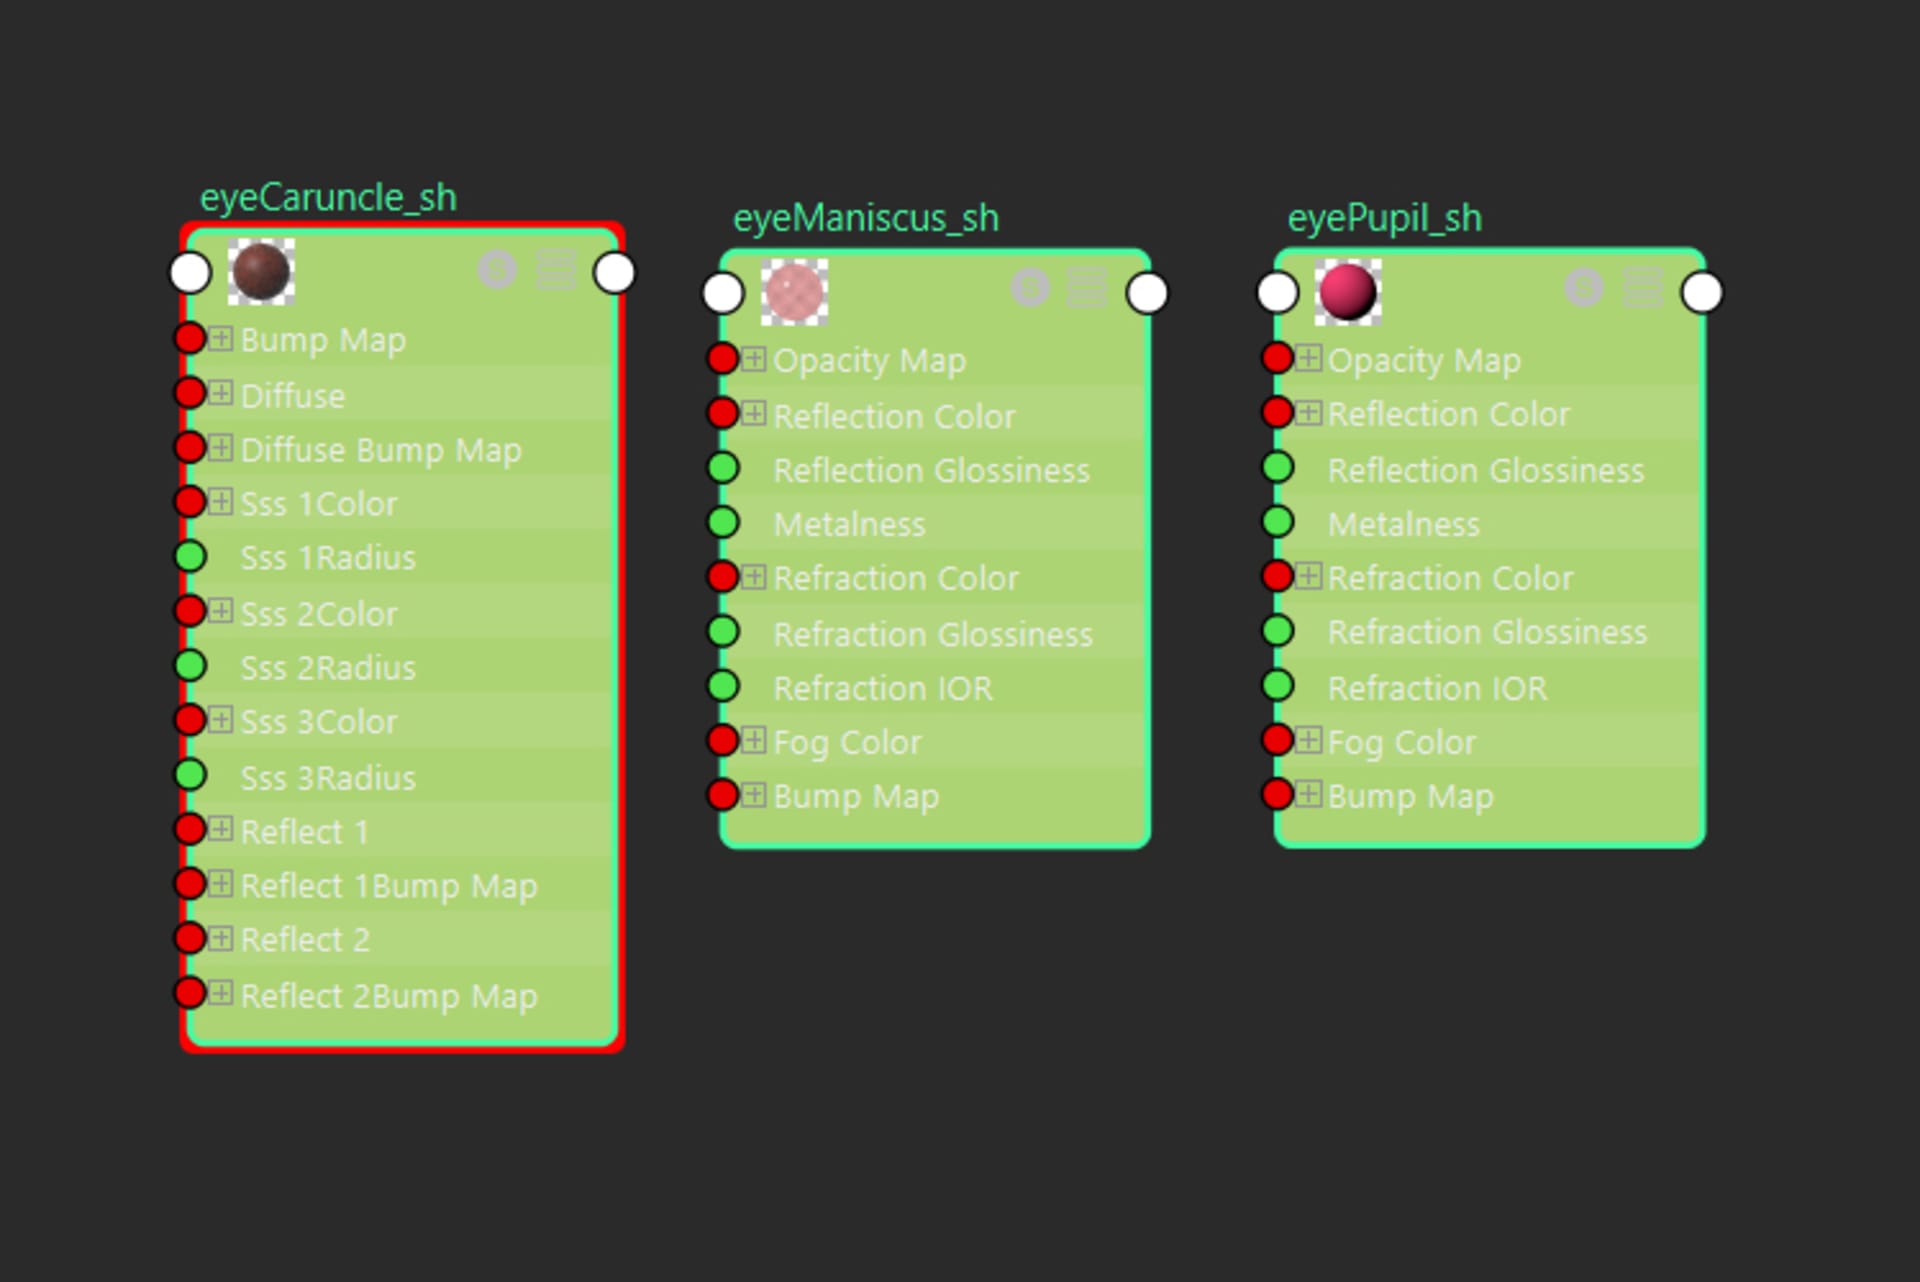
Once I was satisfied with my reference images, I felt confident that I had a good bar set for my final image. I used a classic eye setup with 3 pieces of geometry: the iris, pupil and sclera.
I did some research and found a couple of great resources for building eyes. The first came from the Wikihuman Digital Emily project — which is a really great read and goes much deeper than just the eyes. It’s a highly valuable free resource for you to start building from.
My second priceless resource was Tom Newbury. He has a fantastic series of artworks on different aspects of rendering and texturing with various renderers, but his concepts are all applicable to V-Ray. You just have to do a bit of research and find the corresponding node/setting to create similar effects and shader networks.
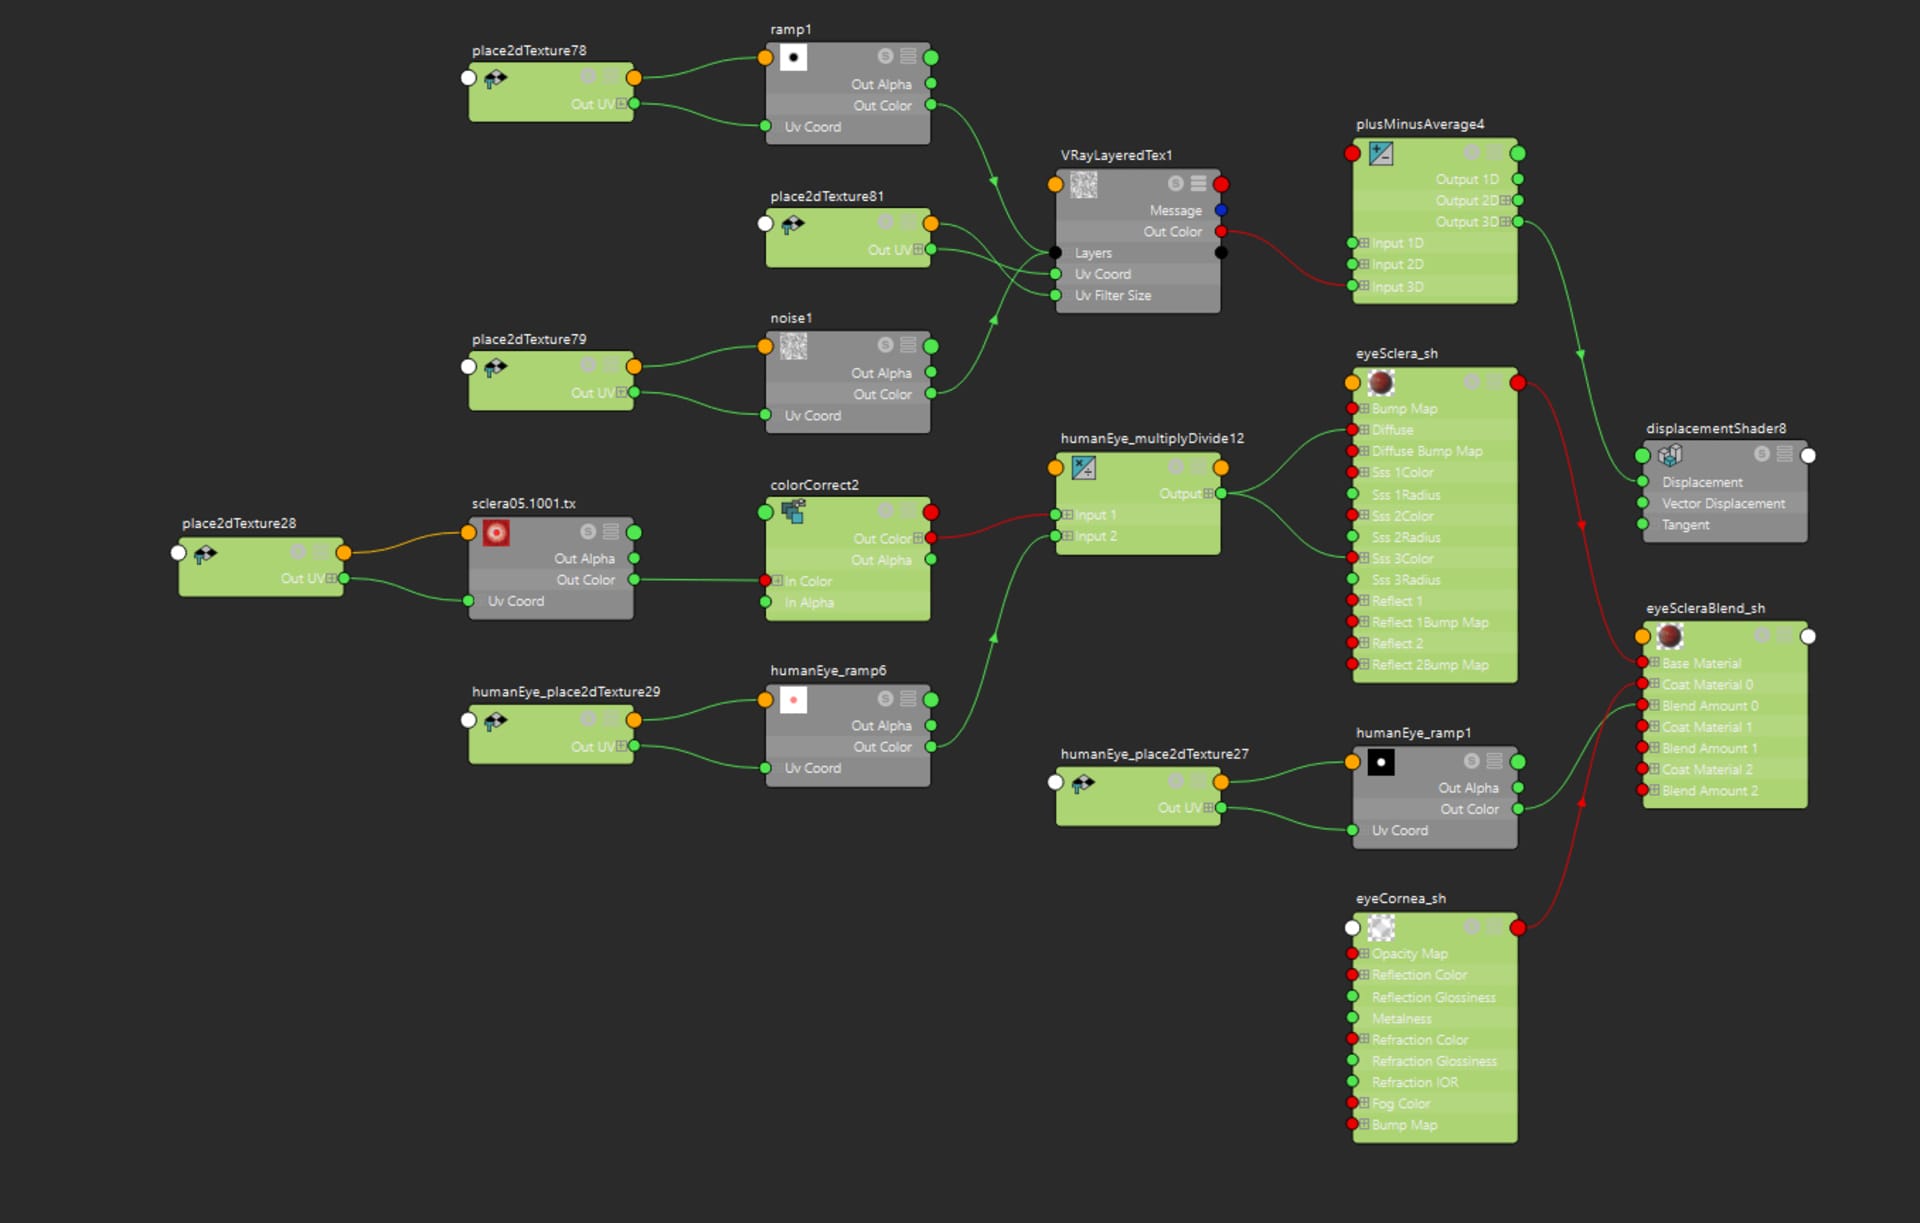
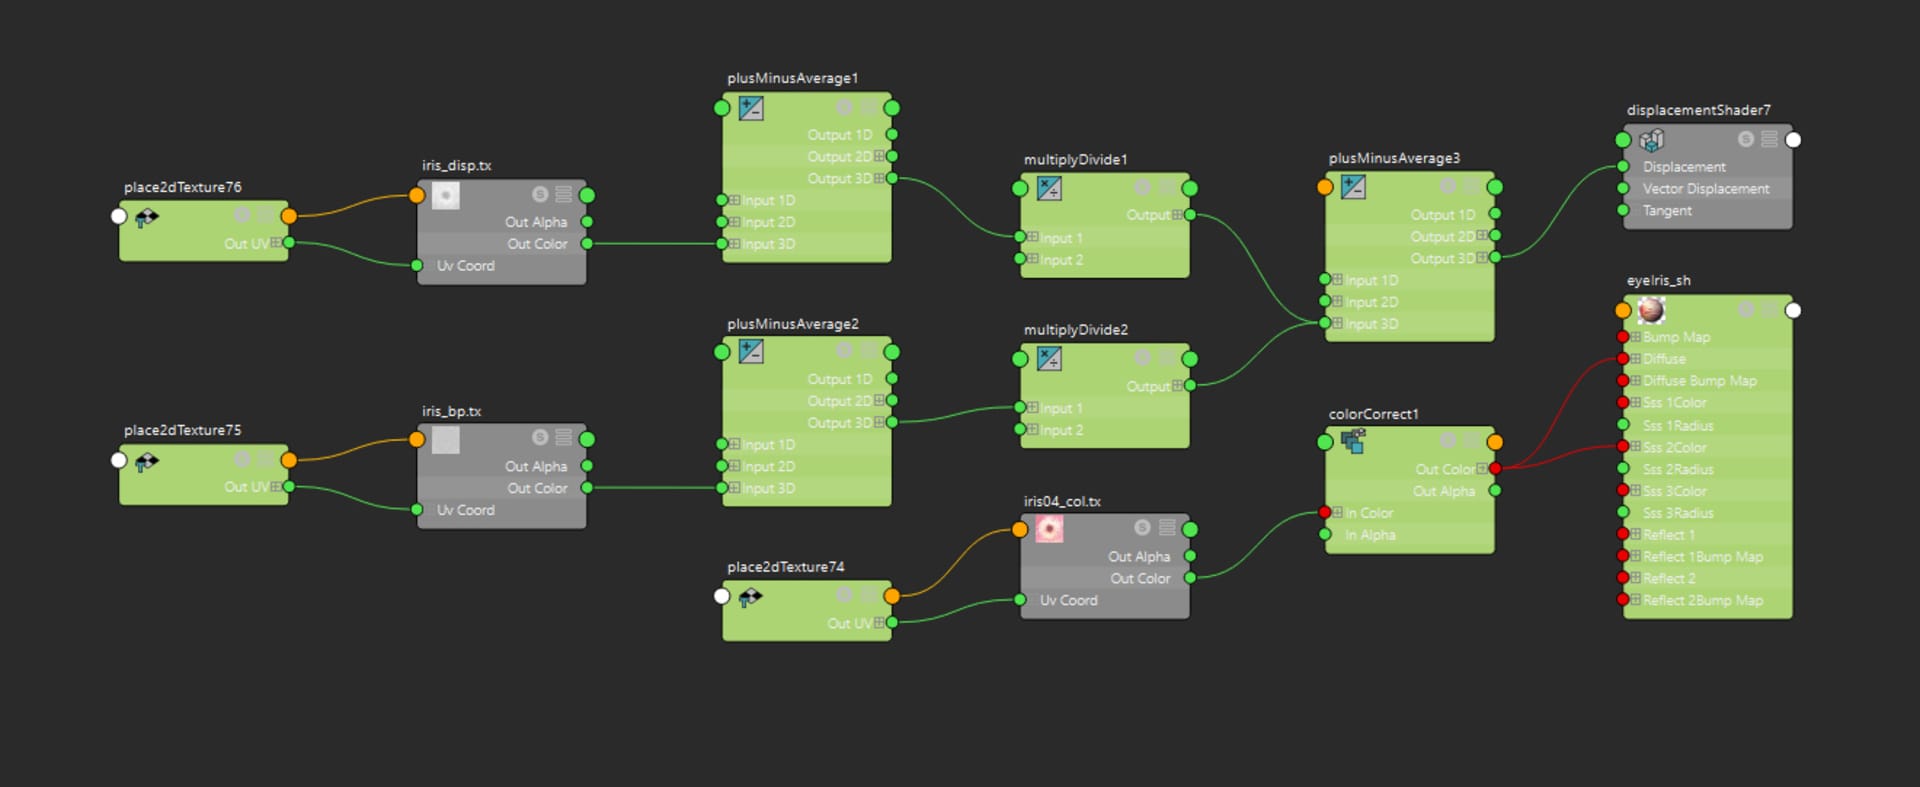
Here is the shader network I used:
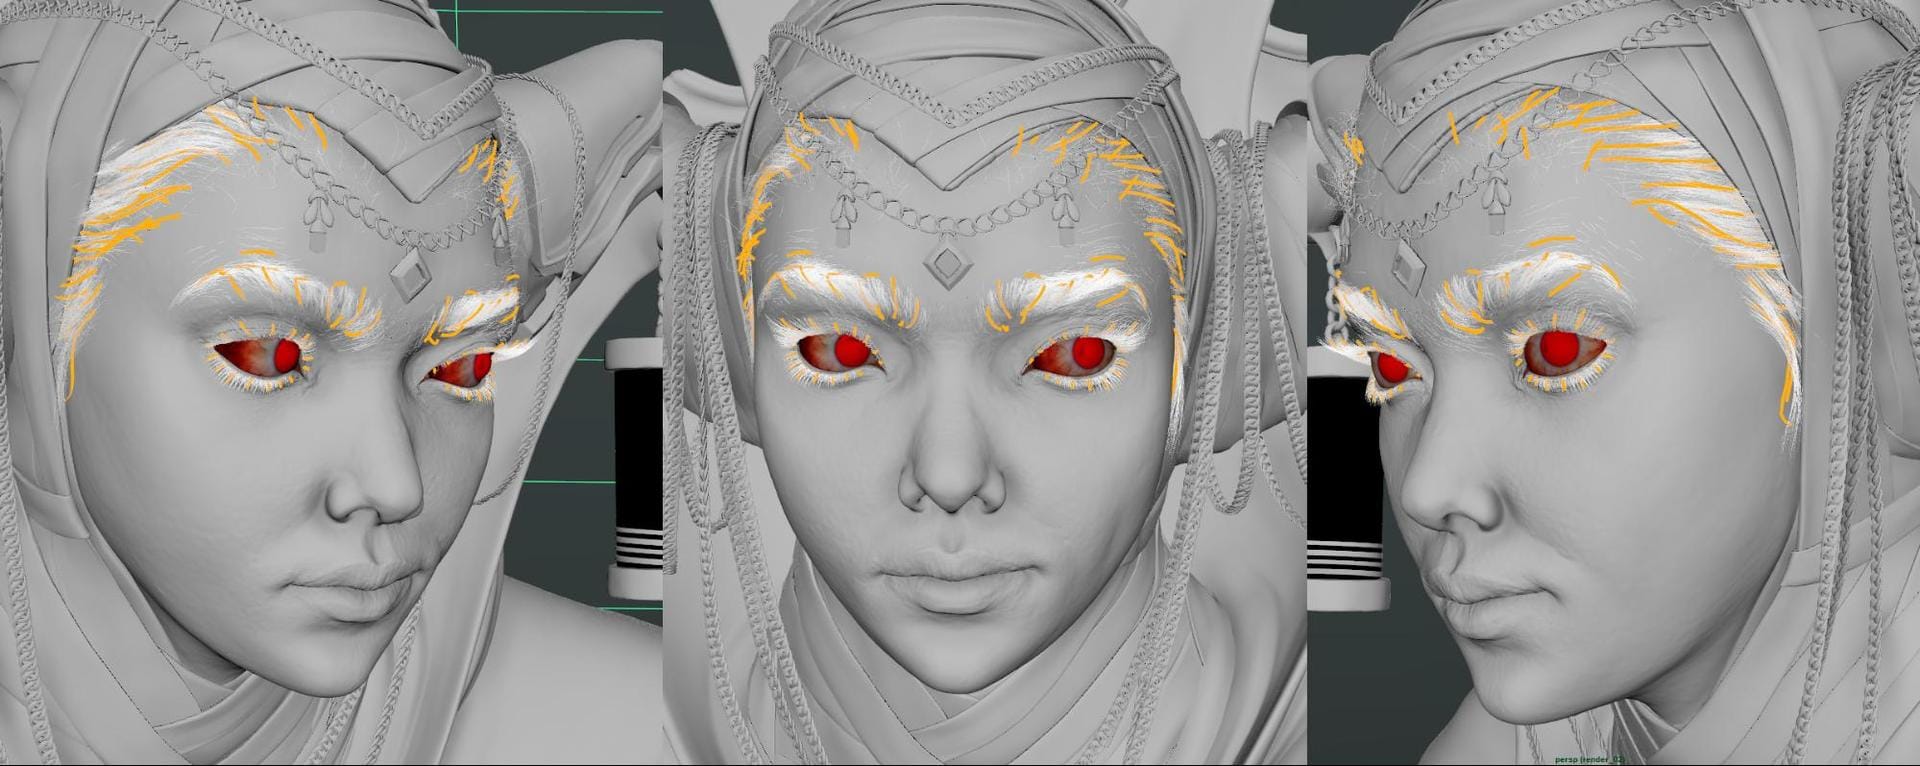
The hair was pretty straightforward. It was my first foray into XGen and I kept things relatively simple. Michael Robson has a fantastic breakdown of his character on 3dtotal.com, which you might find useful. Luckily, you can get great results from just a few clumps and noise modifiers. You can also learn more about these from this great free tutorial series by Jesus FC, as well as via his Patreon.
The real complexity of 3D hair comes from the direction and gesture of it, as well as the shader. Luckily, the VRayHairNextMtl is by far the most powerful 3D hair material I've worked with. The randomization controls make all the difference in adding some life to the hair which you would otherwise have to paint or code in.
Texturing and shading
I’m aware that V-Ray has become more flexible as a render engine throughout its evolution. PBR was recently implemented into the shaders and combining that with Substance Painter has made texturing a far easier and more creative process. Here's a couple of fantastic comprehensive resources to learn the basics from:
- Light and Matter: The Theory of Physically Based Rendering and Shading
- Practical Guidelines for Creating PBR Textures
- Understanding Metalness
Once I’m done with my high-resolution sculpting and detailing, I export a displacement map from ZBrush. You can find a comprehensive guide here on applying an accurate displacement to your model in V-Ray for Maya, 3ds Max and Cinema 4D.
In a previous article with Ian Spriggs on the Chaos Group blog, he discussed how he doesn’t go crazy with textures, shaders or lighting and prefers simpler approaches for both speed and efficiency. I also try to keep this in mind for my own work as well.
Something I will keep reiterating is that: Reference is key! Especially when painting textures. Be sure to collect a library of materials that you want to mimic in your renders.
Taj Nabhani
As previously mentioned, I keep my UVs organized by material. This helps me to get an initial block-in pass done quickly. I like to work with 2K, 4K and 8K maps at 8-bit and 32-bit depth (reserved for displacement/height maps).
In the beginning, I spend a lot of my time in Substance Painter, while I experiment and sort out the material definition between objects immediately. I like to use Substance Source for the base of my textures as it gives me a variety of materials to try out.
In this project, it was really important to pay attention to the details of the costume — and to remember that every piece on the character has its own history. You need to create a decent amount of wear and tear for any material to lend a more lived-in, real-world feeling to your work.
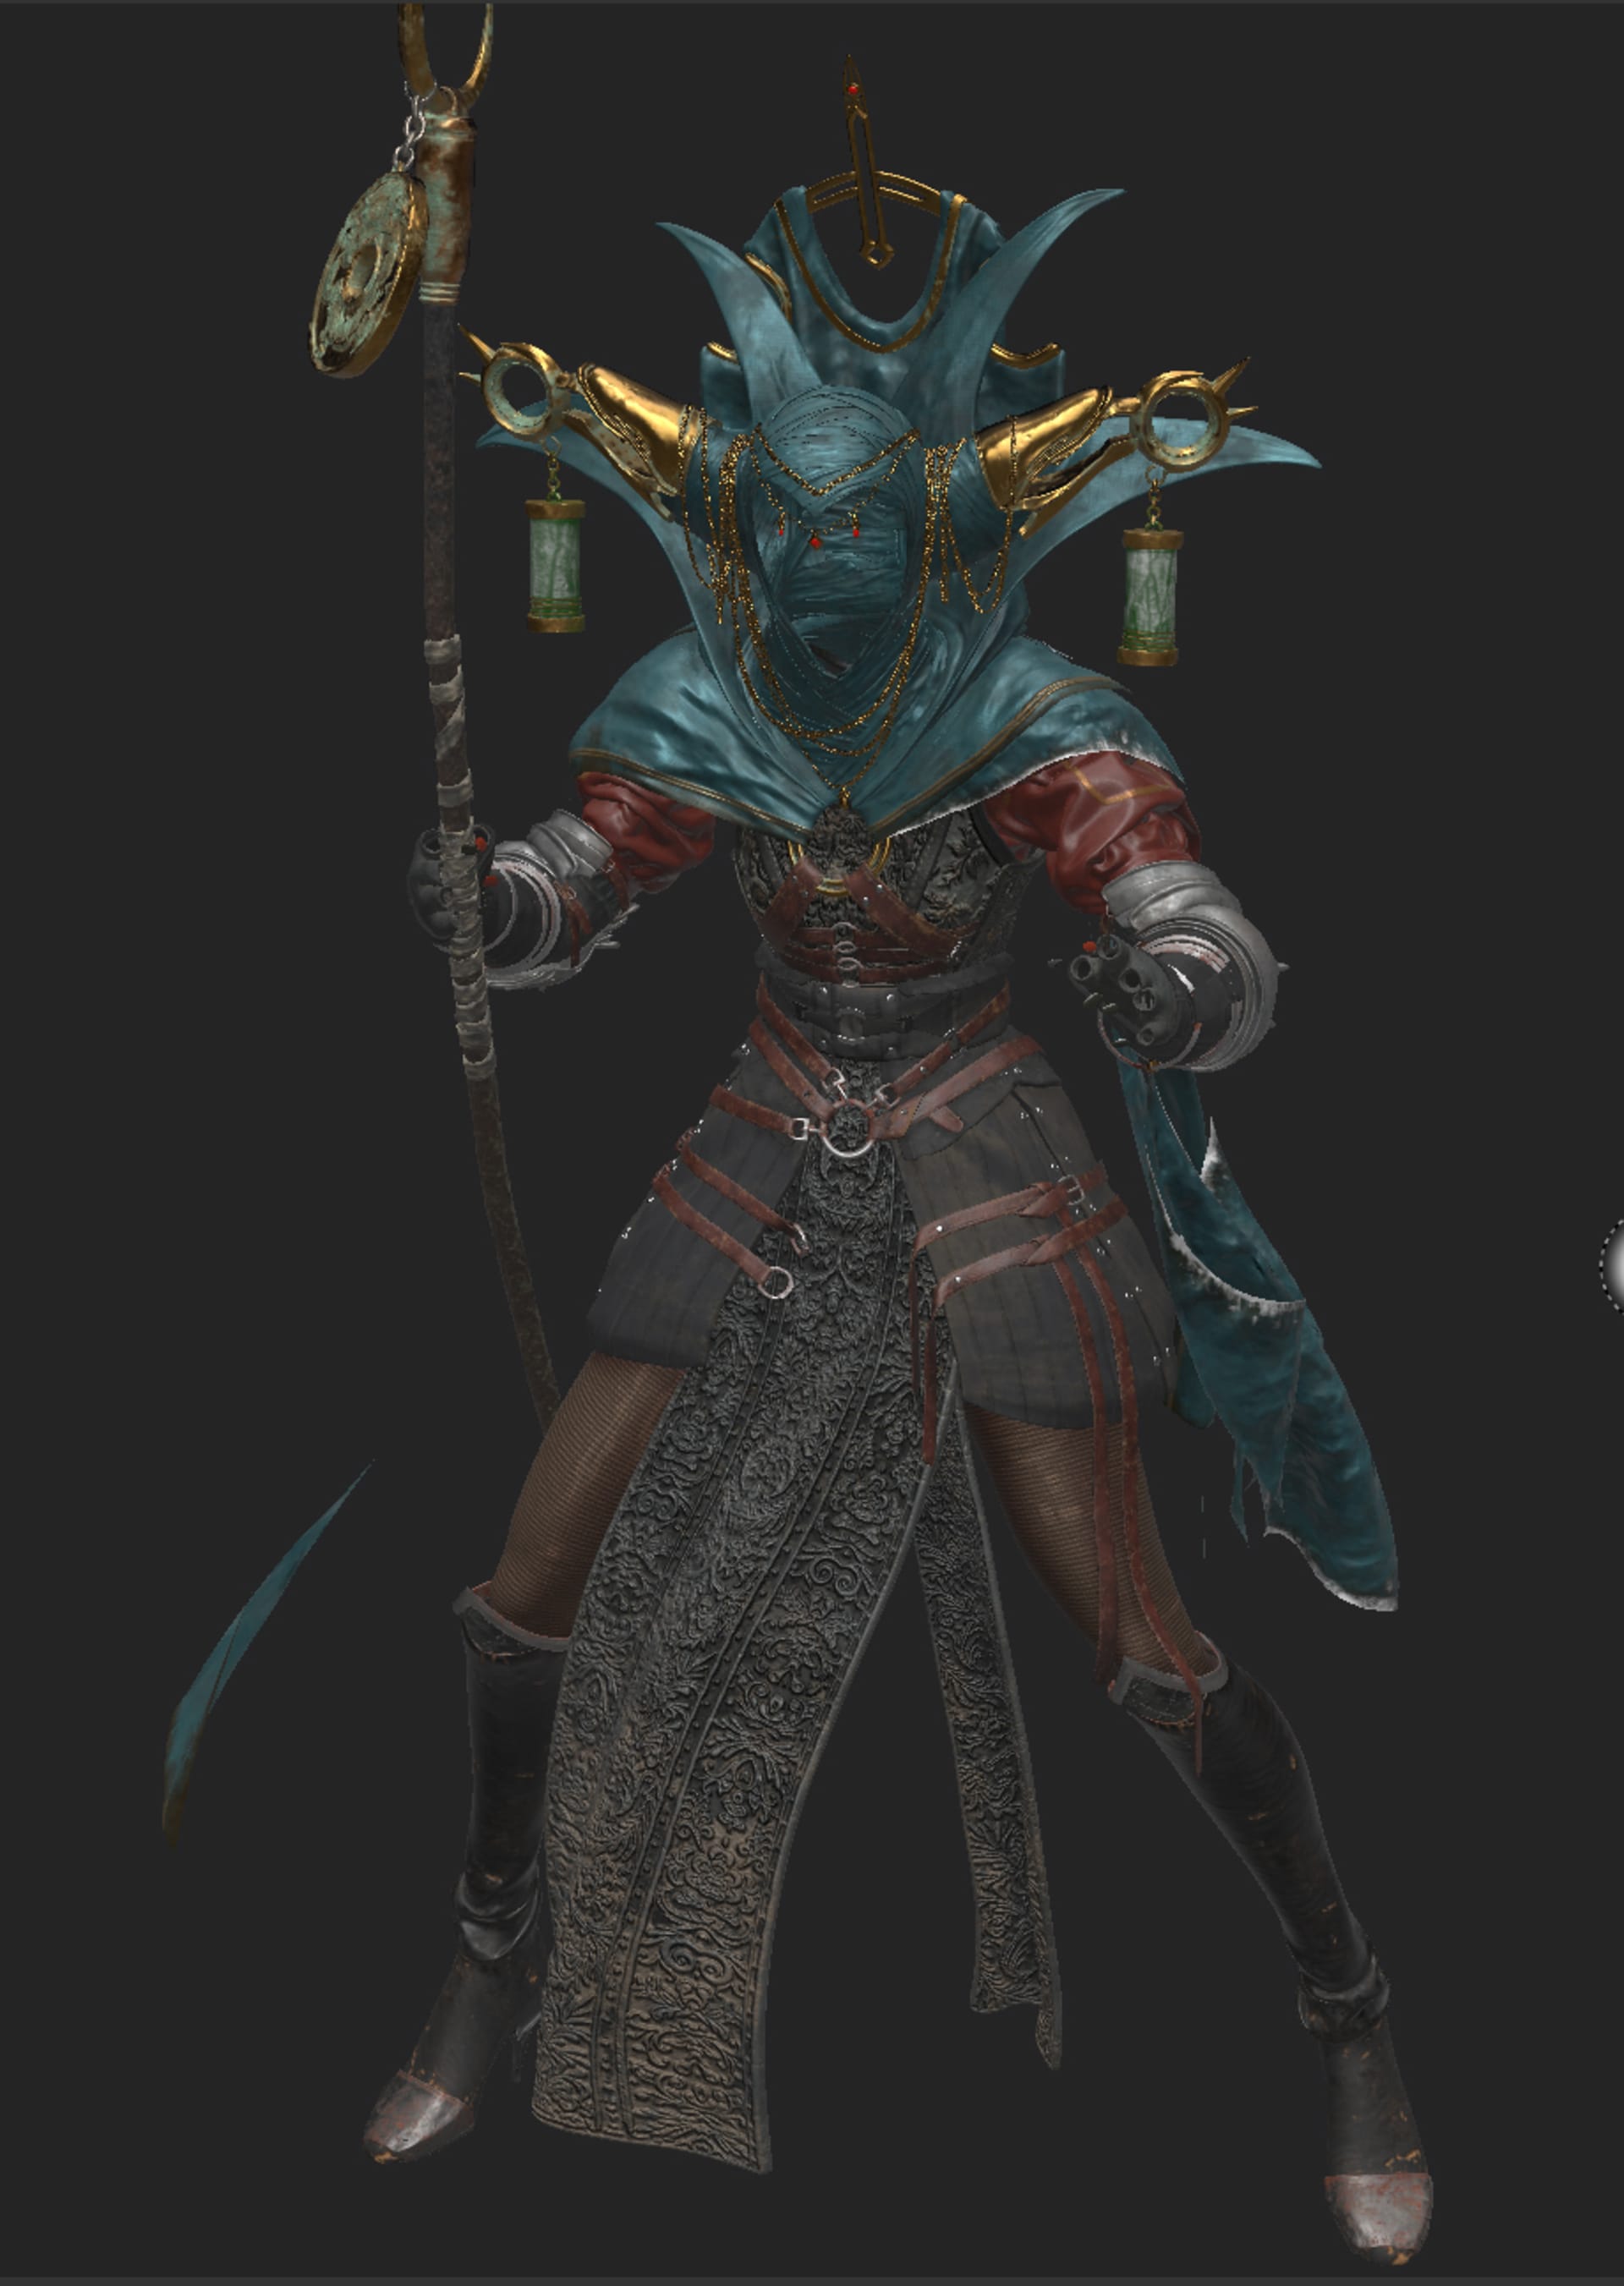
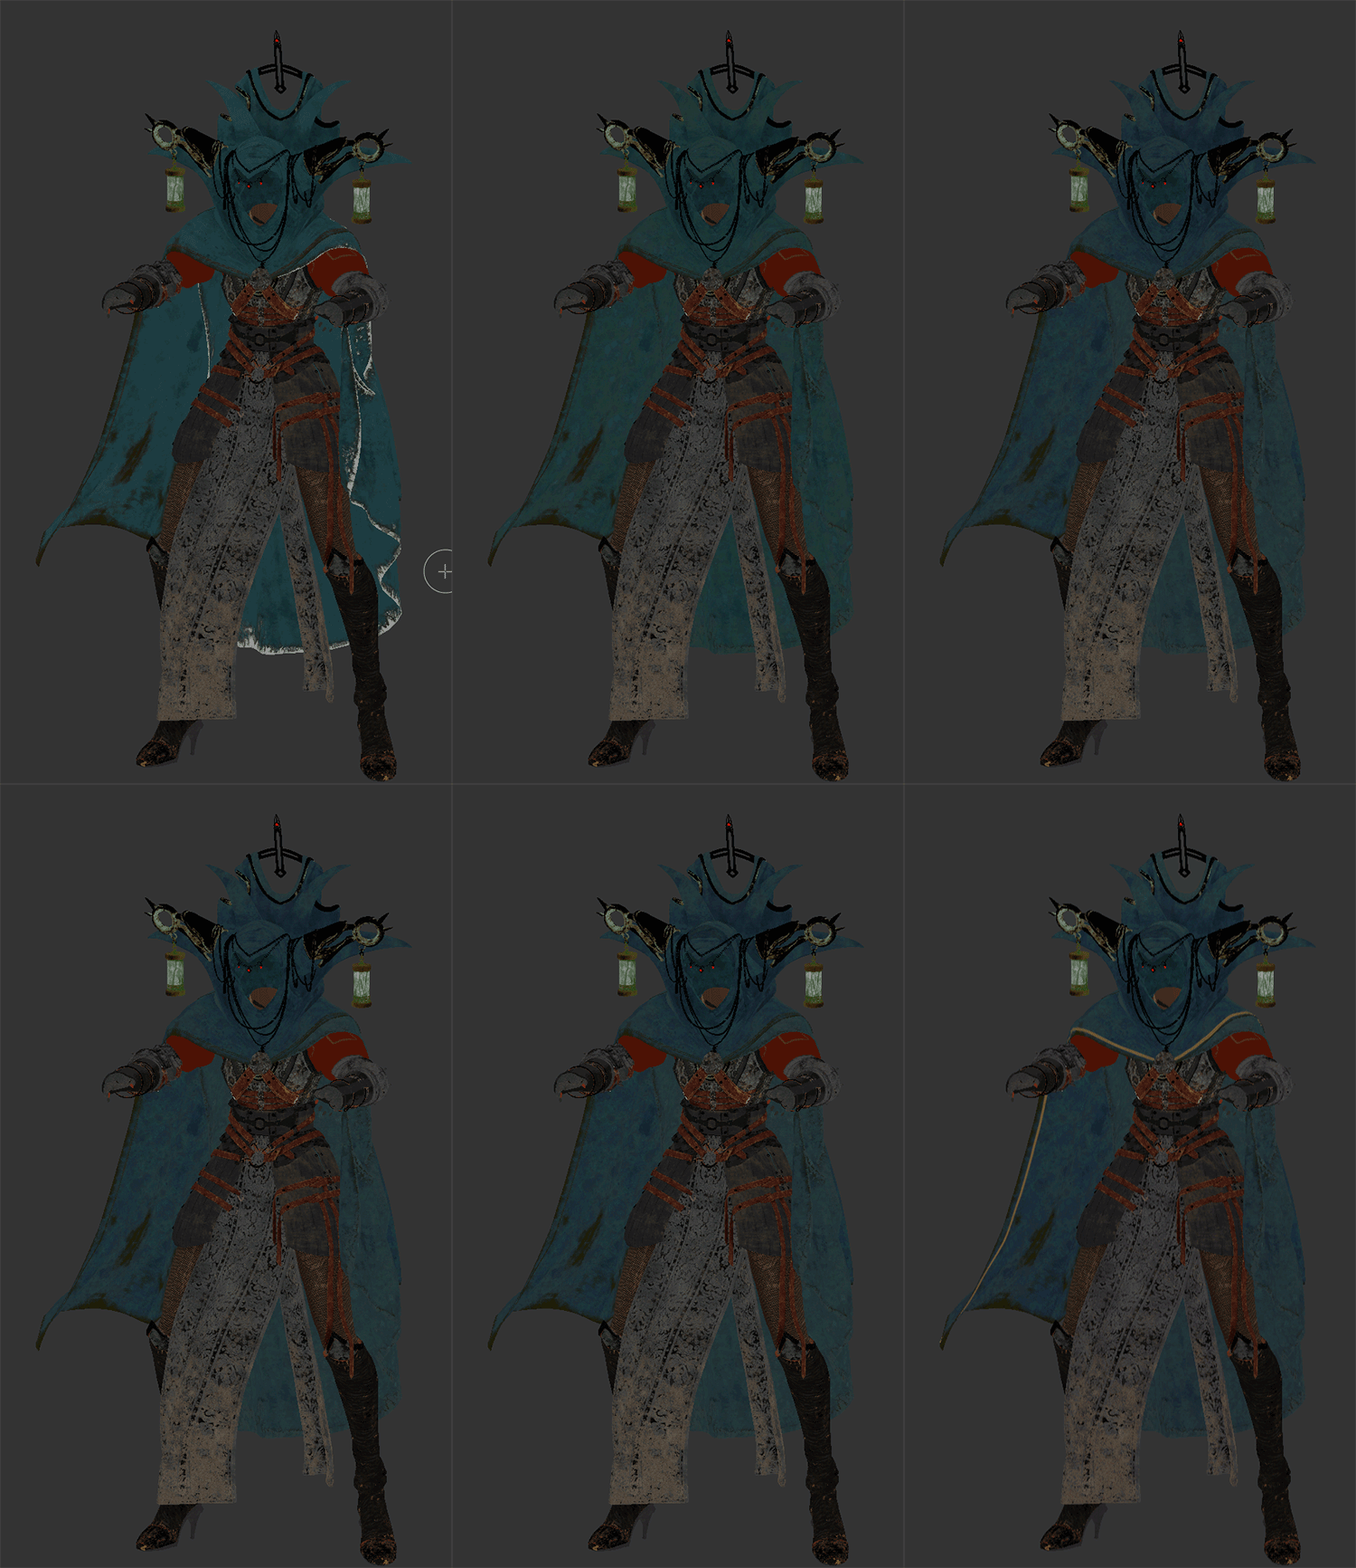
When it comes to the skin and other organic areas, I like to paint these in Mari at a slightly higher resolution — it's always easier to start with a big texture and down-res it later on. I start this process by packing all my maps together to create a master file so my 3 layers of skin detail are painted with precision and congruent with each level of detail.
I then use a variation of the "Killer workflow” method — but, rather than using Zwrap, I use Wrap 3. I much prefer this method over painting the displacement maps and textures in Mari manually; primarily because it's a simpler process that helps nail in the pore detail faster and more accurately.
Once you get the grain of the skin and surface details, it’s important that you go back to your ZBrush sculpt and integrate these elements by sculpting a little on your character.
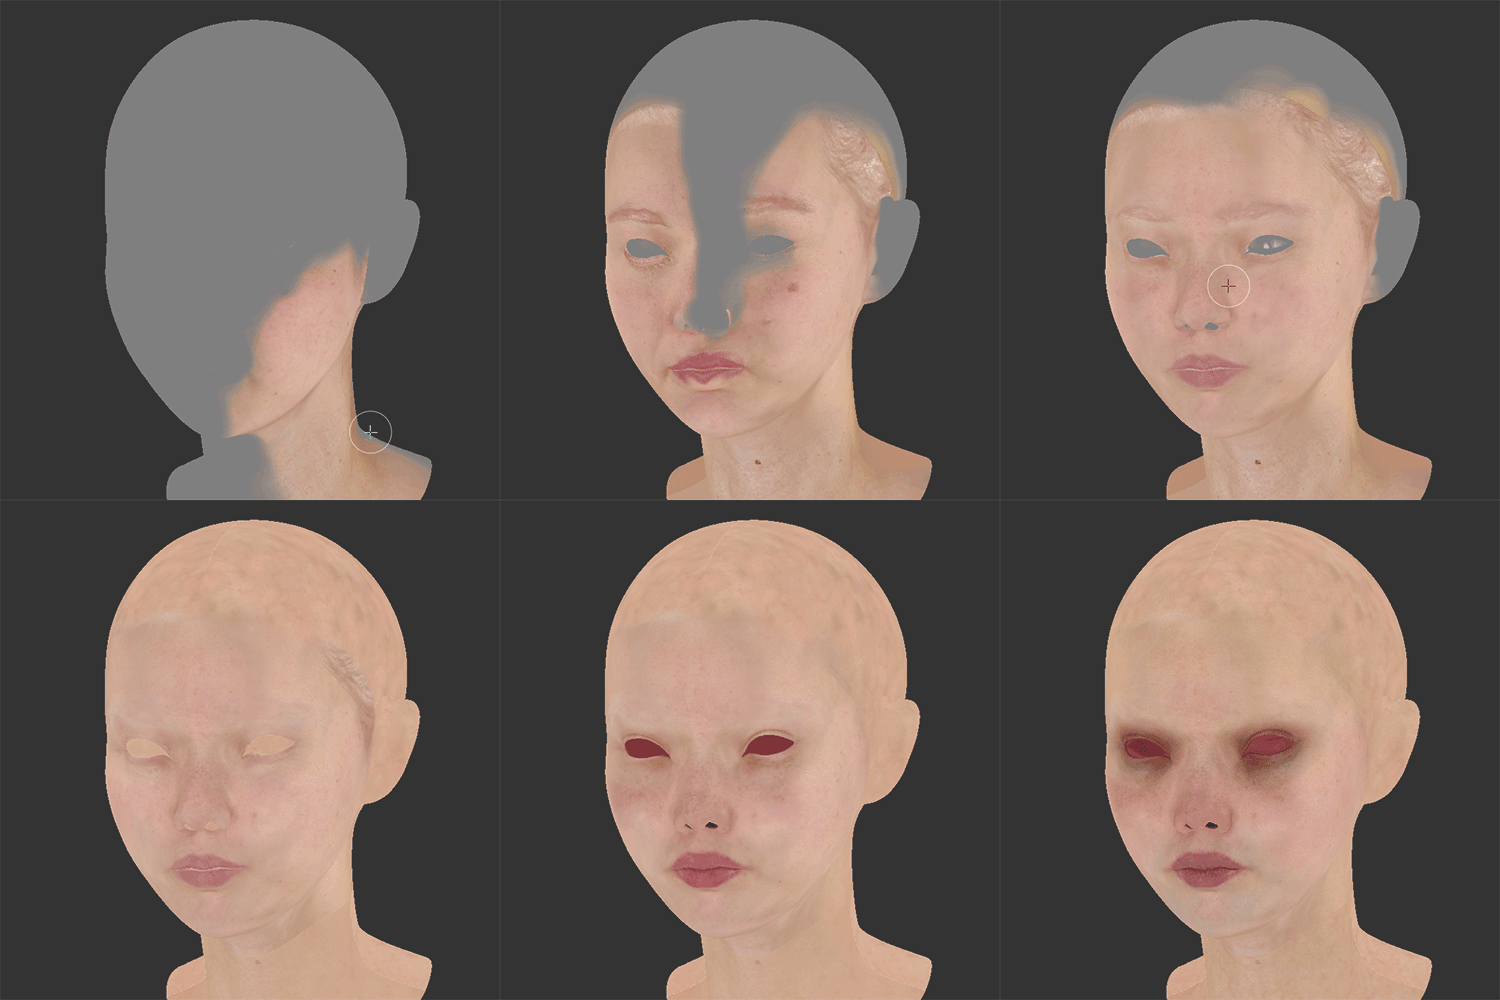
I use the same method previously mentioned for projecting my base skin textures — the "Killer workflow” method — which gets me almost 75% of the albedo on the face done within a day. Once I'm done with my projections I layer them in Mari and mask out any stretched or unusable areas.
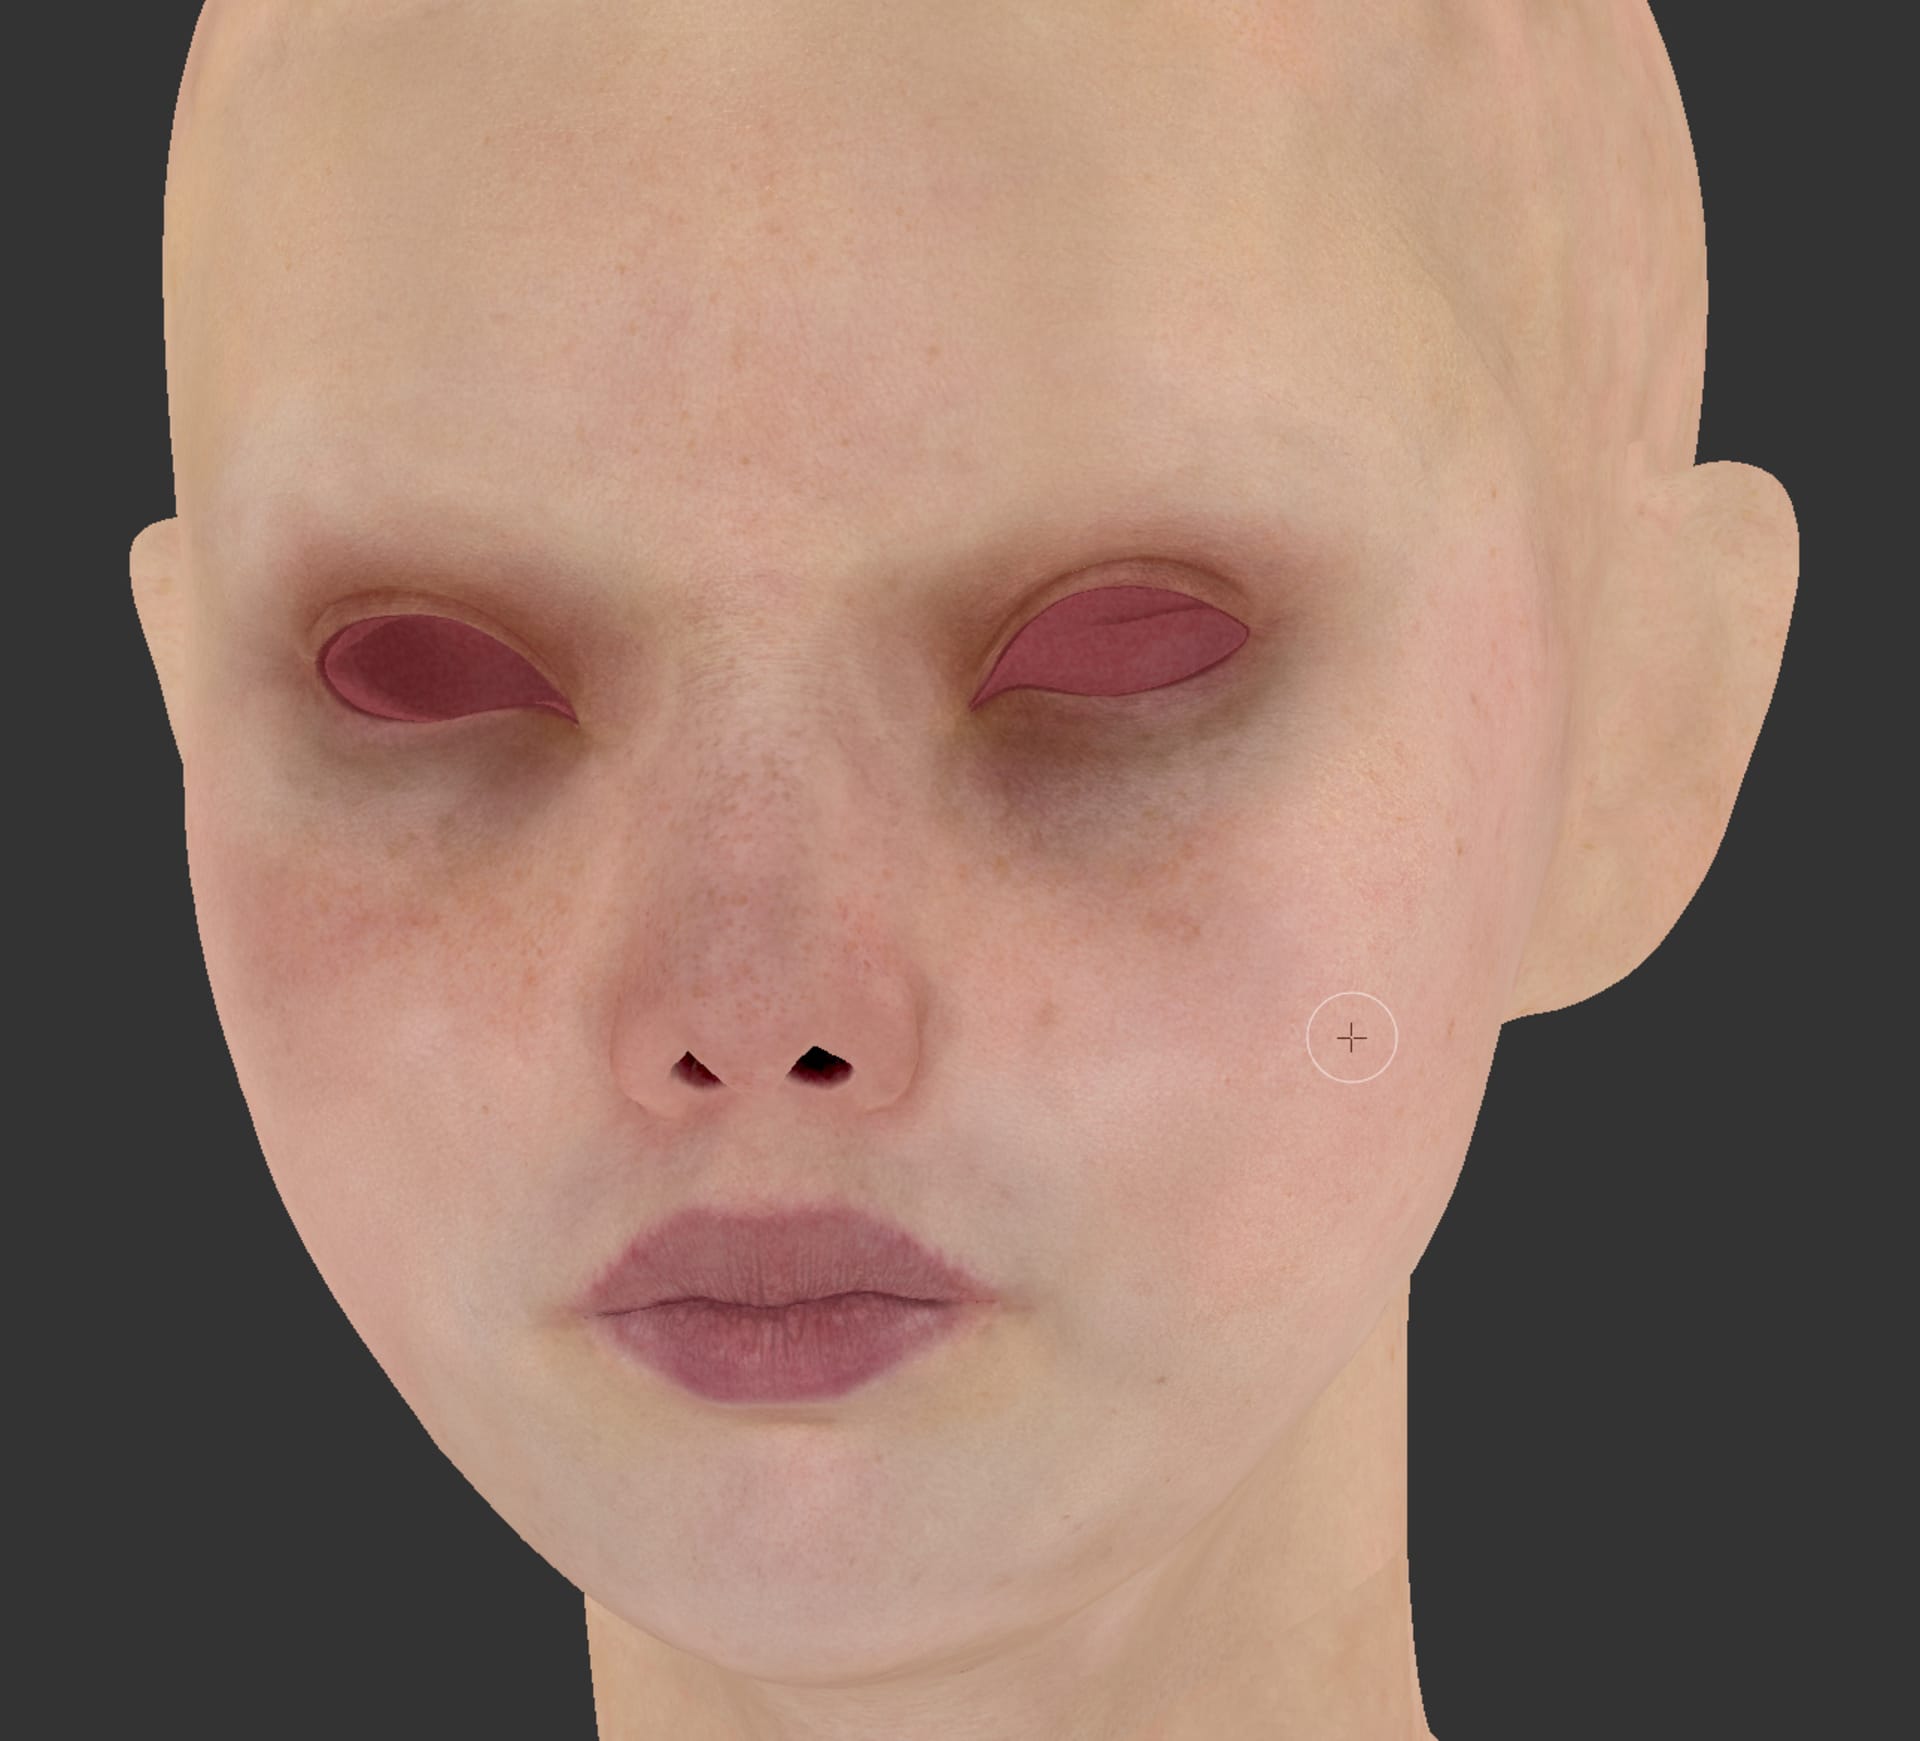
Once I have a base skin from the cross-polarized images projected onto my character, I can start adding some breakup manually with Mari and integrating the skin with the previously projected pore detail. This is especially important if you are using two different faces from Texturing.xyz to transfer the displacement and albedo.
Adding skin irregularities:
There are some simple procedural things that I like to do in Mari to add interest and irregularity to the skin, as below. I also like to use some of my sculpted information to enhance my albedo map.
- I begin with a simple Cloud procedural over my skin at a small size. I like to change the colors by sampling the lightest color of the skin and the darkest color on the skin. I set this layer to a Contrast blend mode and lower the opacity till it's barely visible. Subtlety is key when you're going for realism.
- The second layer I like to paint is for adding hue variation on the face. I achieve this by using the color zones of the face based on where blood/fat accumulates and builds up versus the bony landmarks. Here is a good quick reference that's commonly seen on the web. I set this layer to Soft Light or Overlay and again lower the opacity till it's barely visible.
- The final layer I like to add is based on a Cavity Map from the high-res sculpt, which can be extracted in a variety of ways. Once I have it in Mari, I like to use this as a mask to paint almost all the cavities red. I set this layer’s blend mode to Multiply and, once again, lower the opacity.
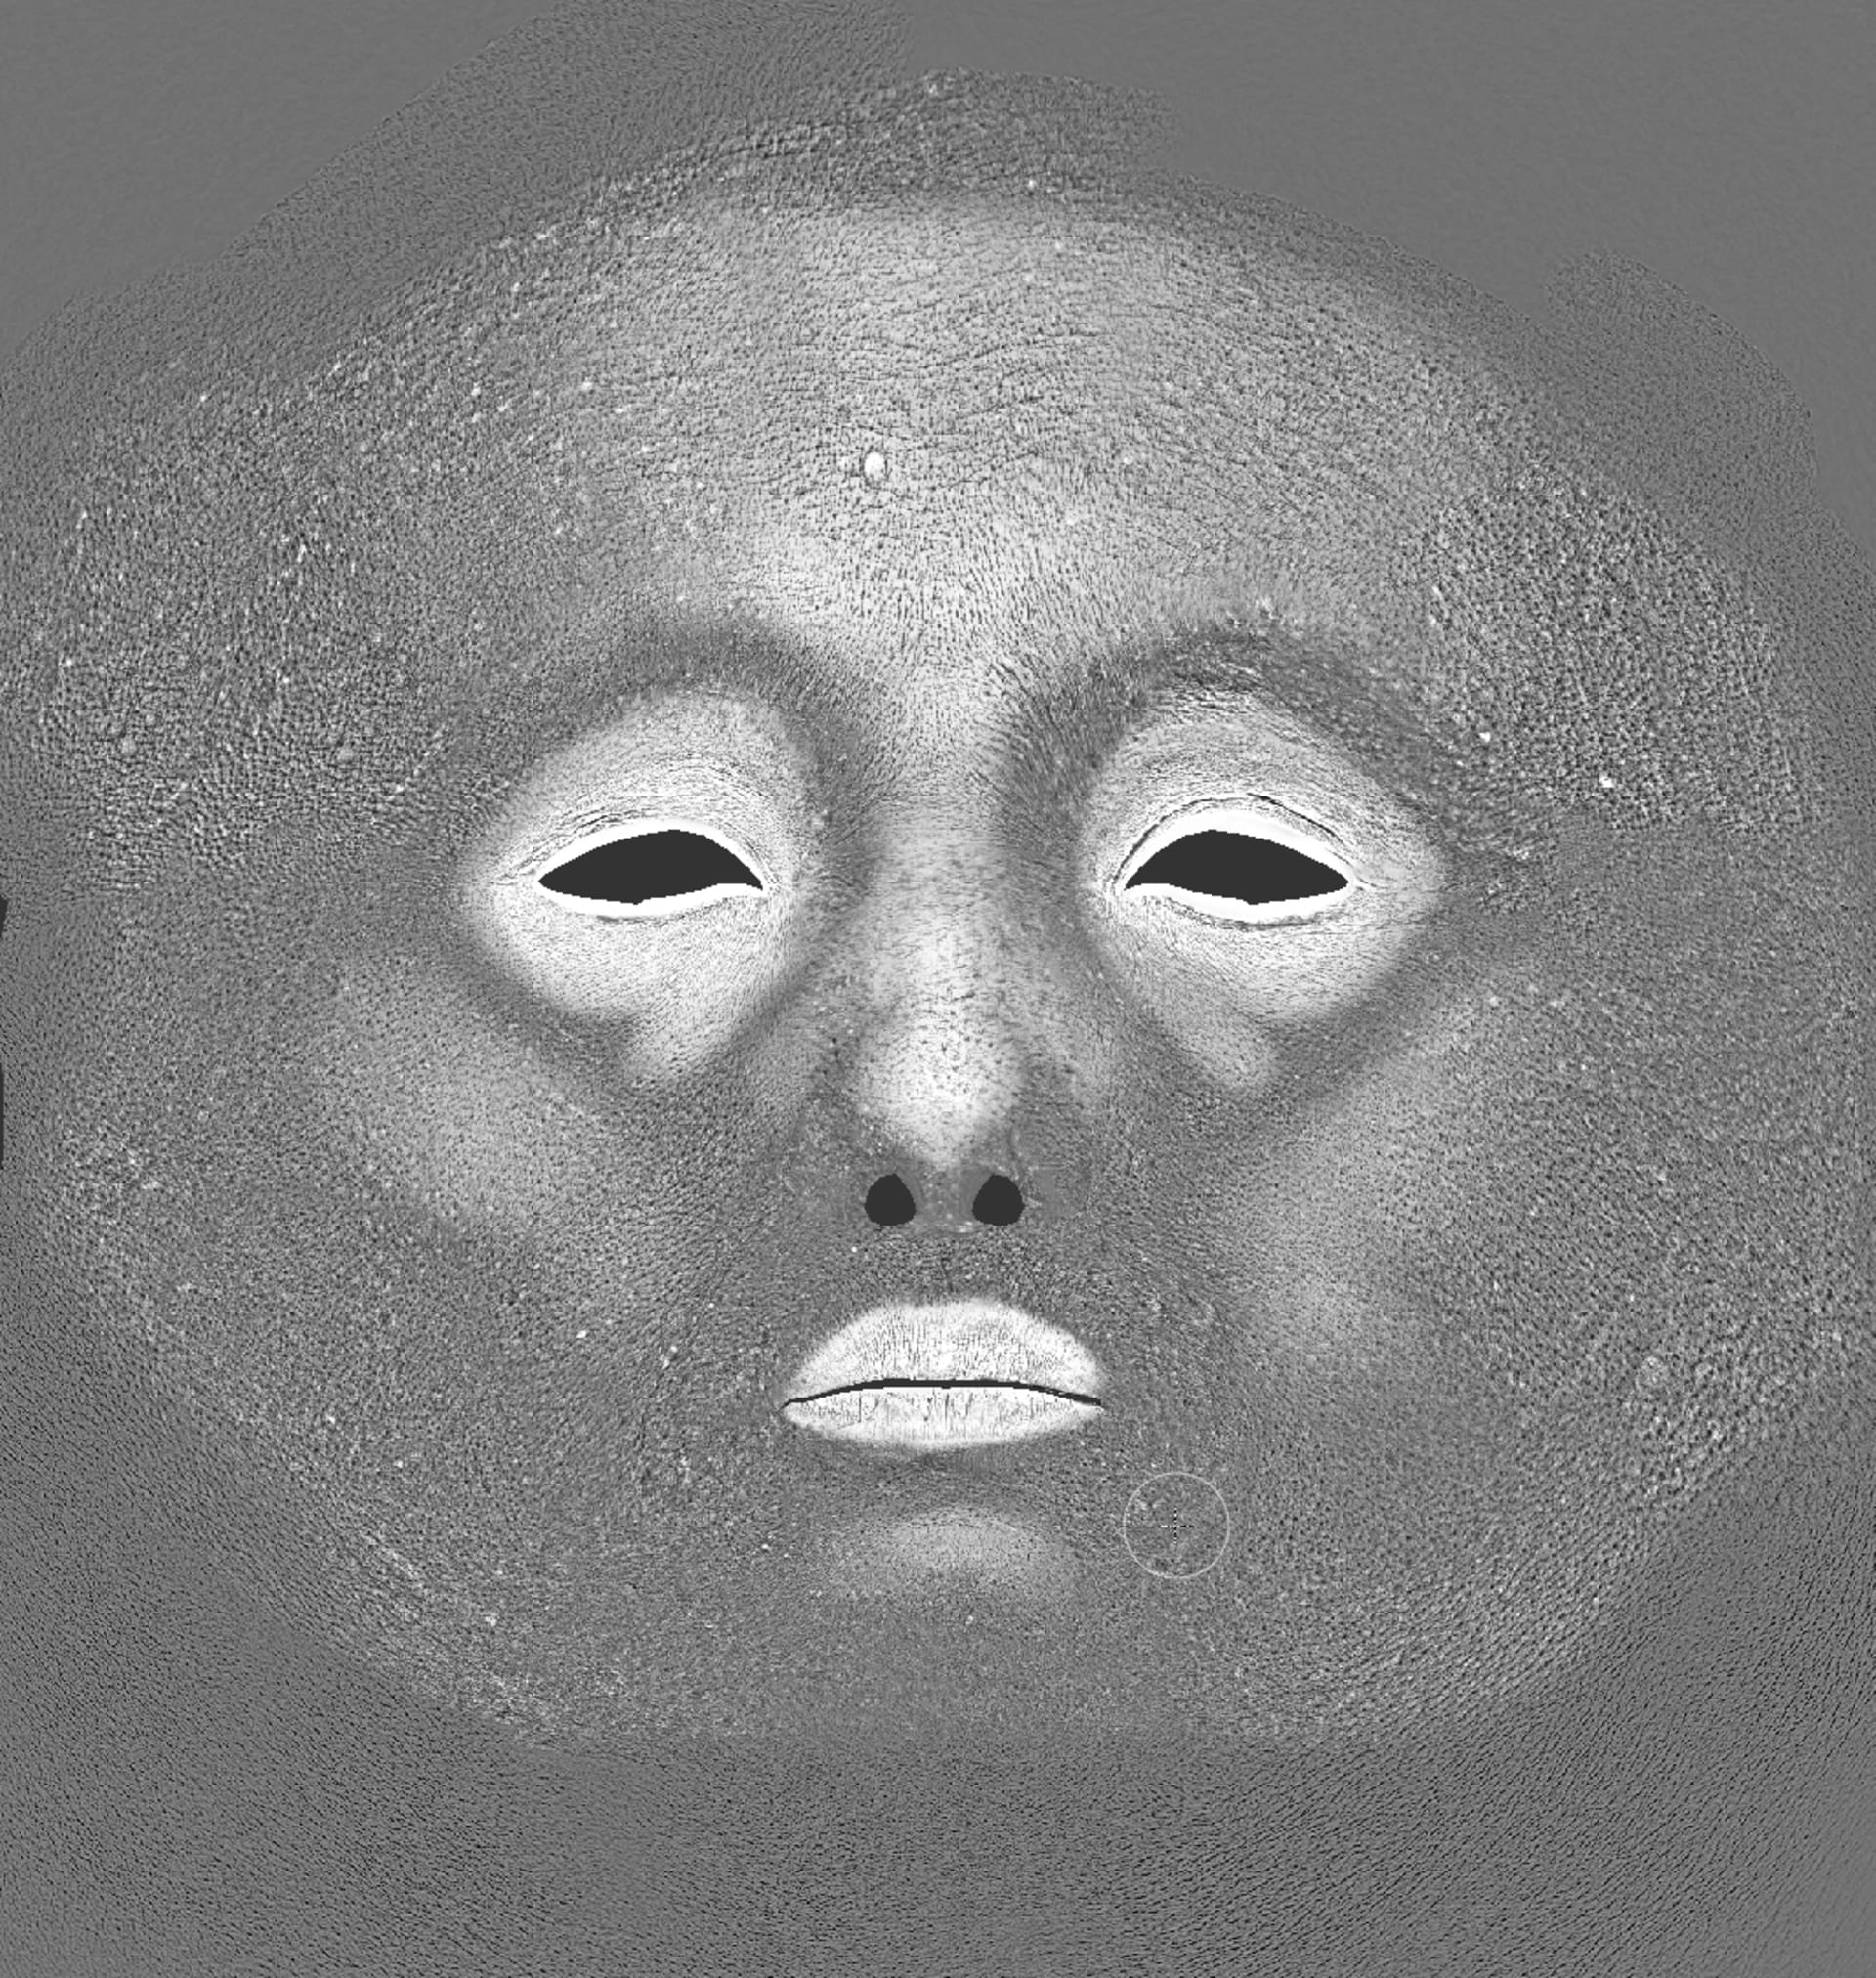
To conclude this stage of the process, I also paint a very simple roughness map to indicate the areas I want to be either more or less shiny. If your sculpt is detailed enough this can be a superfluous step, but it’s always nice to have this level of control.
Optimizing your textures
I like to work with UDIMs — and I’m not shy about using as much space as I need for the highest quality renders. Nevertheless, I try to use each patch to group similar materials and optimize my UDIM usage. It's a cleaner system of working and helps while I'm texturing my objects down the line. I can speed up my workflow by applying linked textures in Substance Painter or Mari instead of painting masks to mix materials on patches.
I also convert all my textures using the Chaos Group tool Image to Tiled Multiresolution EXR Converter. Converting your images saves you some RAM and processing power at render time — and can help prevent lock-ups or crashes.

Using VRayMtl and the VRayAlSurface shader
With all my textures painted, I take them into V-Ray and start testing them out. As I’ve already mentioned, I prefer to keep things simple — so much so that I used only two shaders for this whole character: One for clothes and one for the skin. These are my base shaders and, from here, I can duplicate and build upon them as I see fit.
The shader I used for my costume is a basic VrayMtl and, since I created all the textures in Substance Painter, plugging them into my material was incredibly quick and simple. I just followed the instructions on Substance Painter’s Wiki — and got fantastic results.
The skin was a little more complex so I opted for VRayAlSurface, which you should read all about here to take full advantage of it.
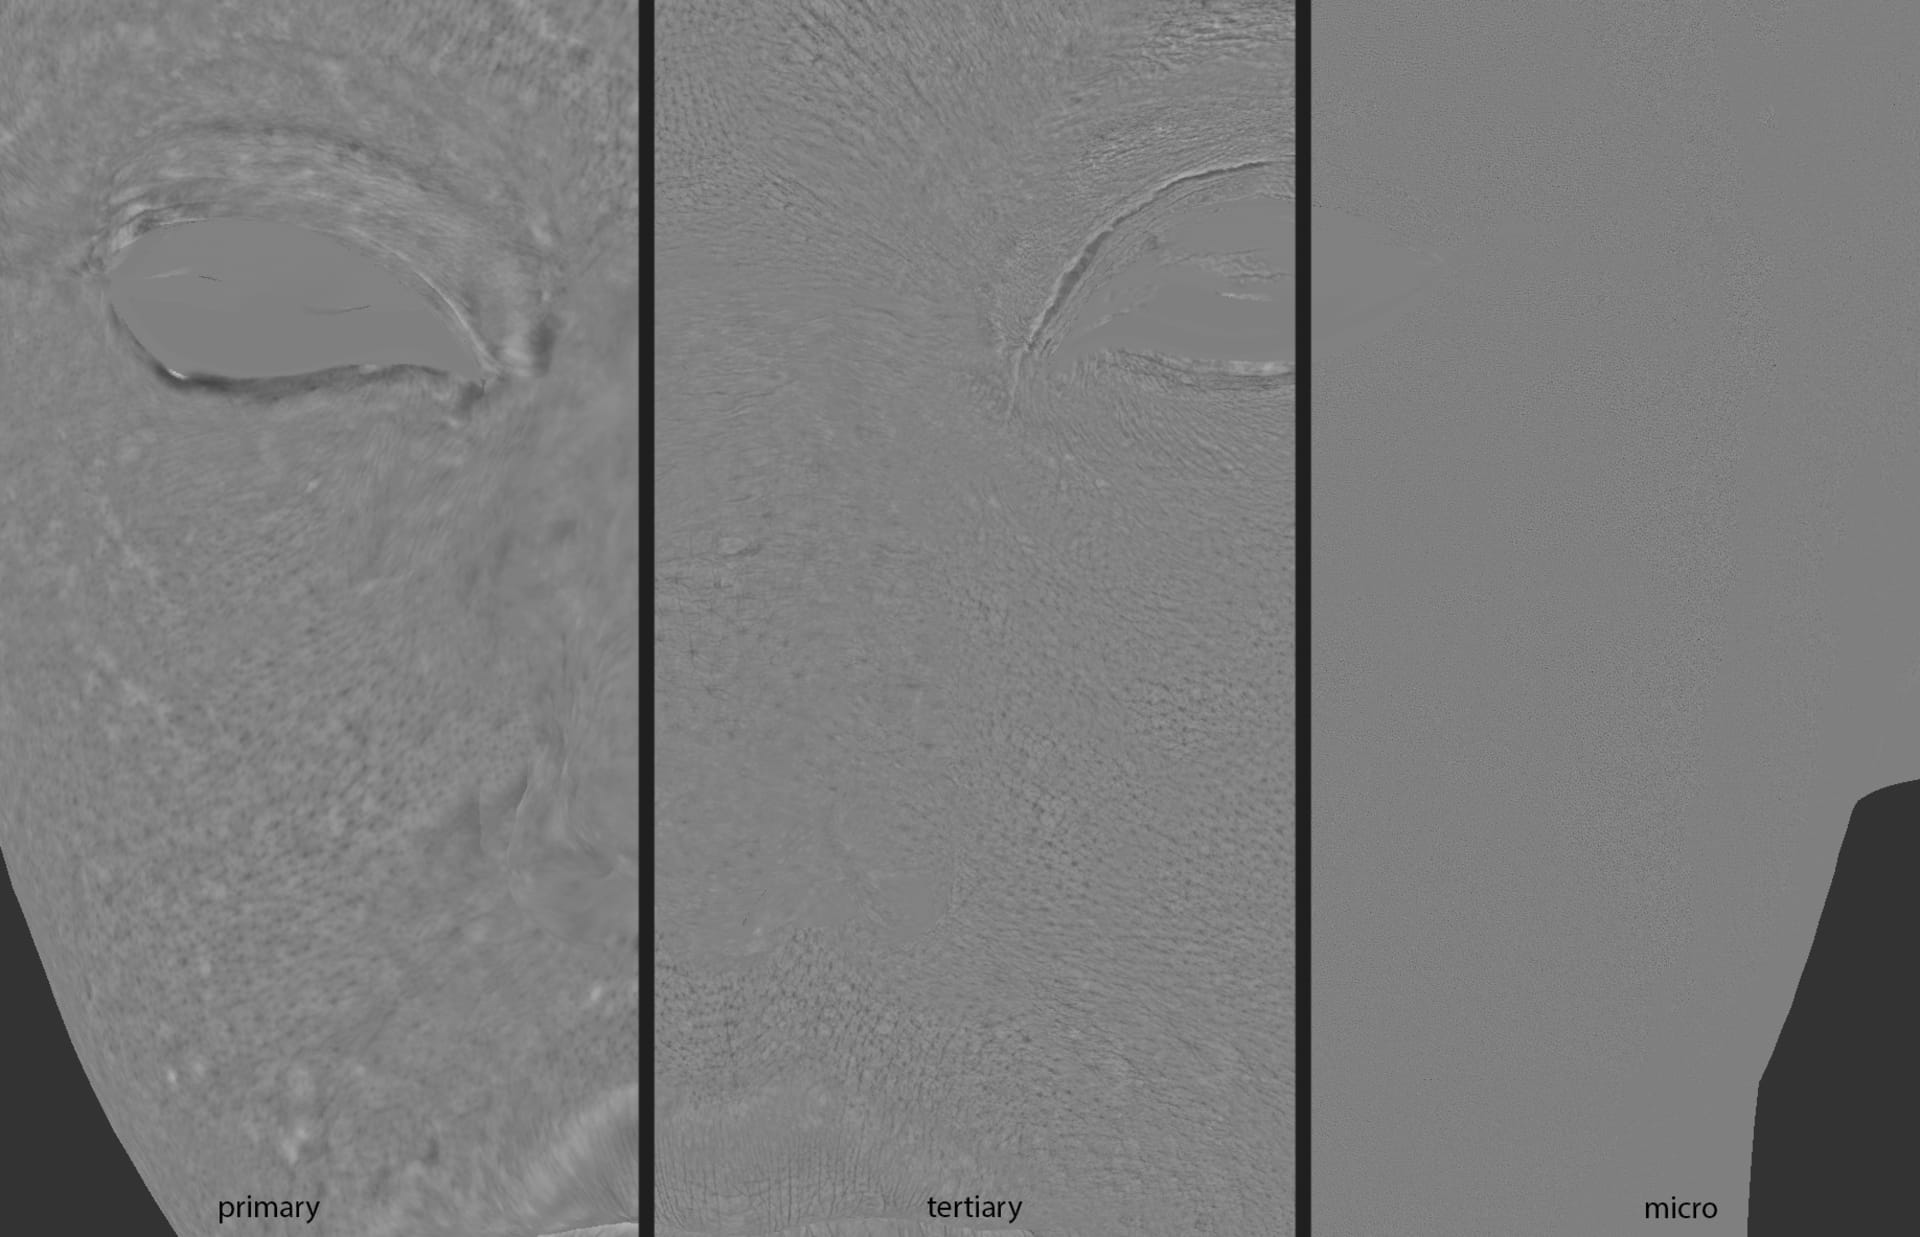
The first thing I like to do is test out my displacements and I prefer a method I learned from Tom Newbury in his Gumroad tutorials. I layer all my displacements individually for maximum control. The 4 layers include:
- My ZBrush sculpt layer, extracted from my low-res mesh.
- The primary pores from my Texturing.xyz map.
- The secondary pore detail from my Texturing.xyz map.
- My micro detail from the Texturing.xyz map.
I set these up using a combination of Akin Bilgic’s Accurate Displacement workflow and Tom Newbury’s workflow featured in his Gumroad series.
In brief, I chain all the displacement textures through a series of Plus Minus Average nodes into a Multiply Divide utility, which controls the strength of the displacement and then all back into a plusMinusAverage node that combines them. This way, I have complete control over the strength of individual layers of detail and can fine-tune it for maximum impact. Of course, there are other nodes available in the most recent versions; this is the workflow I used for this particular character.
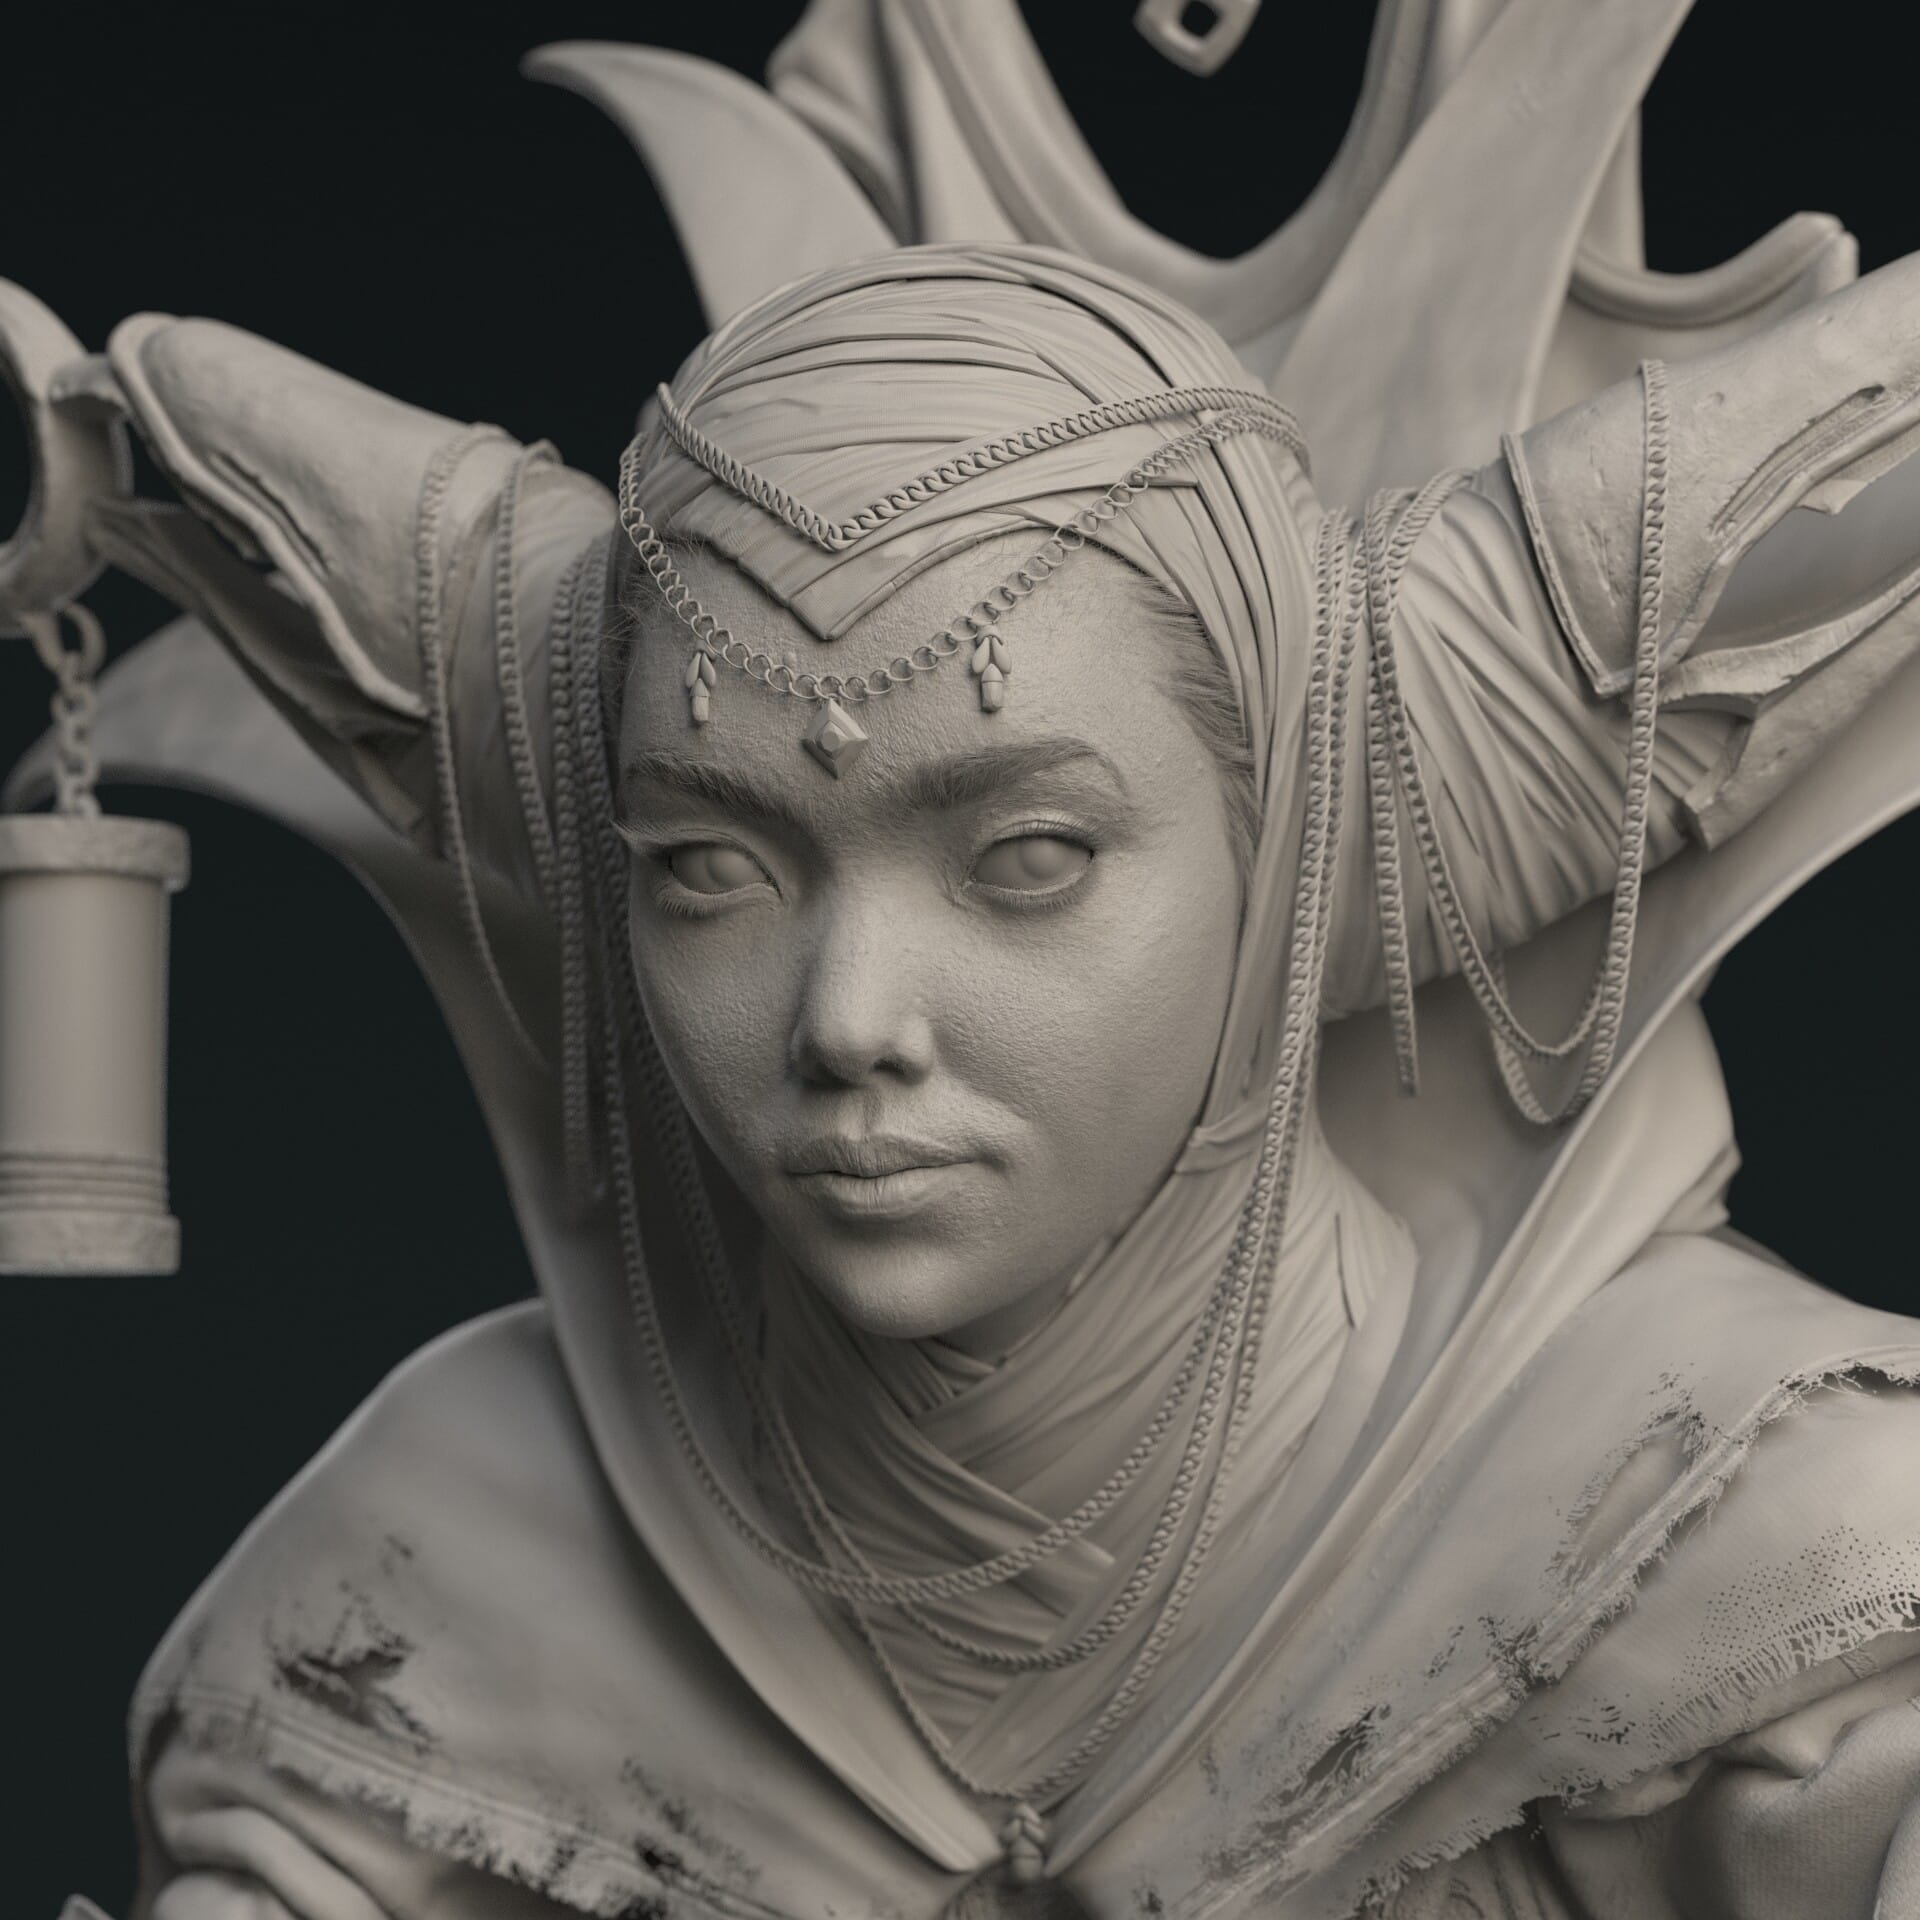
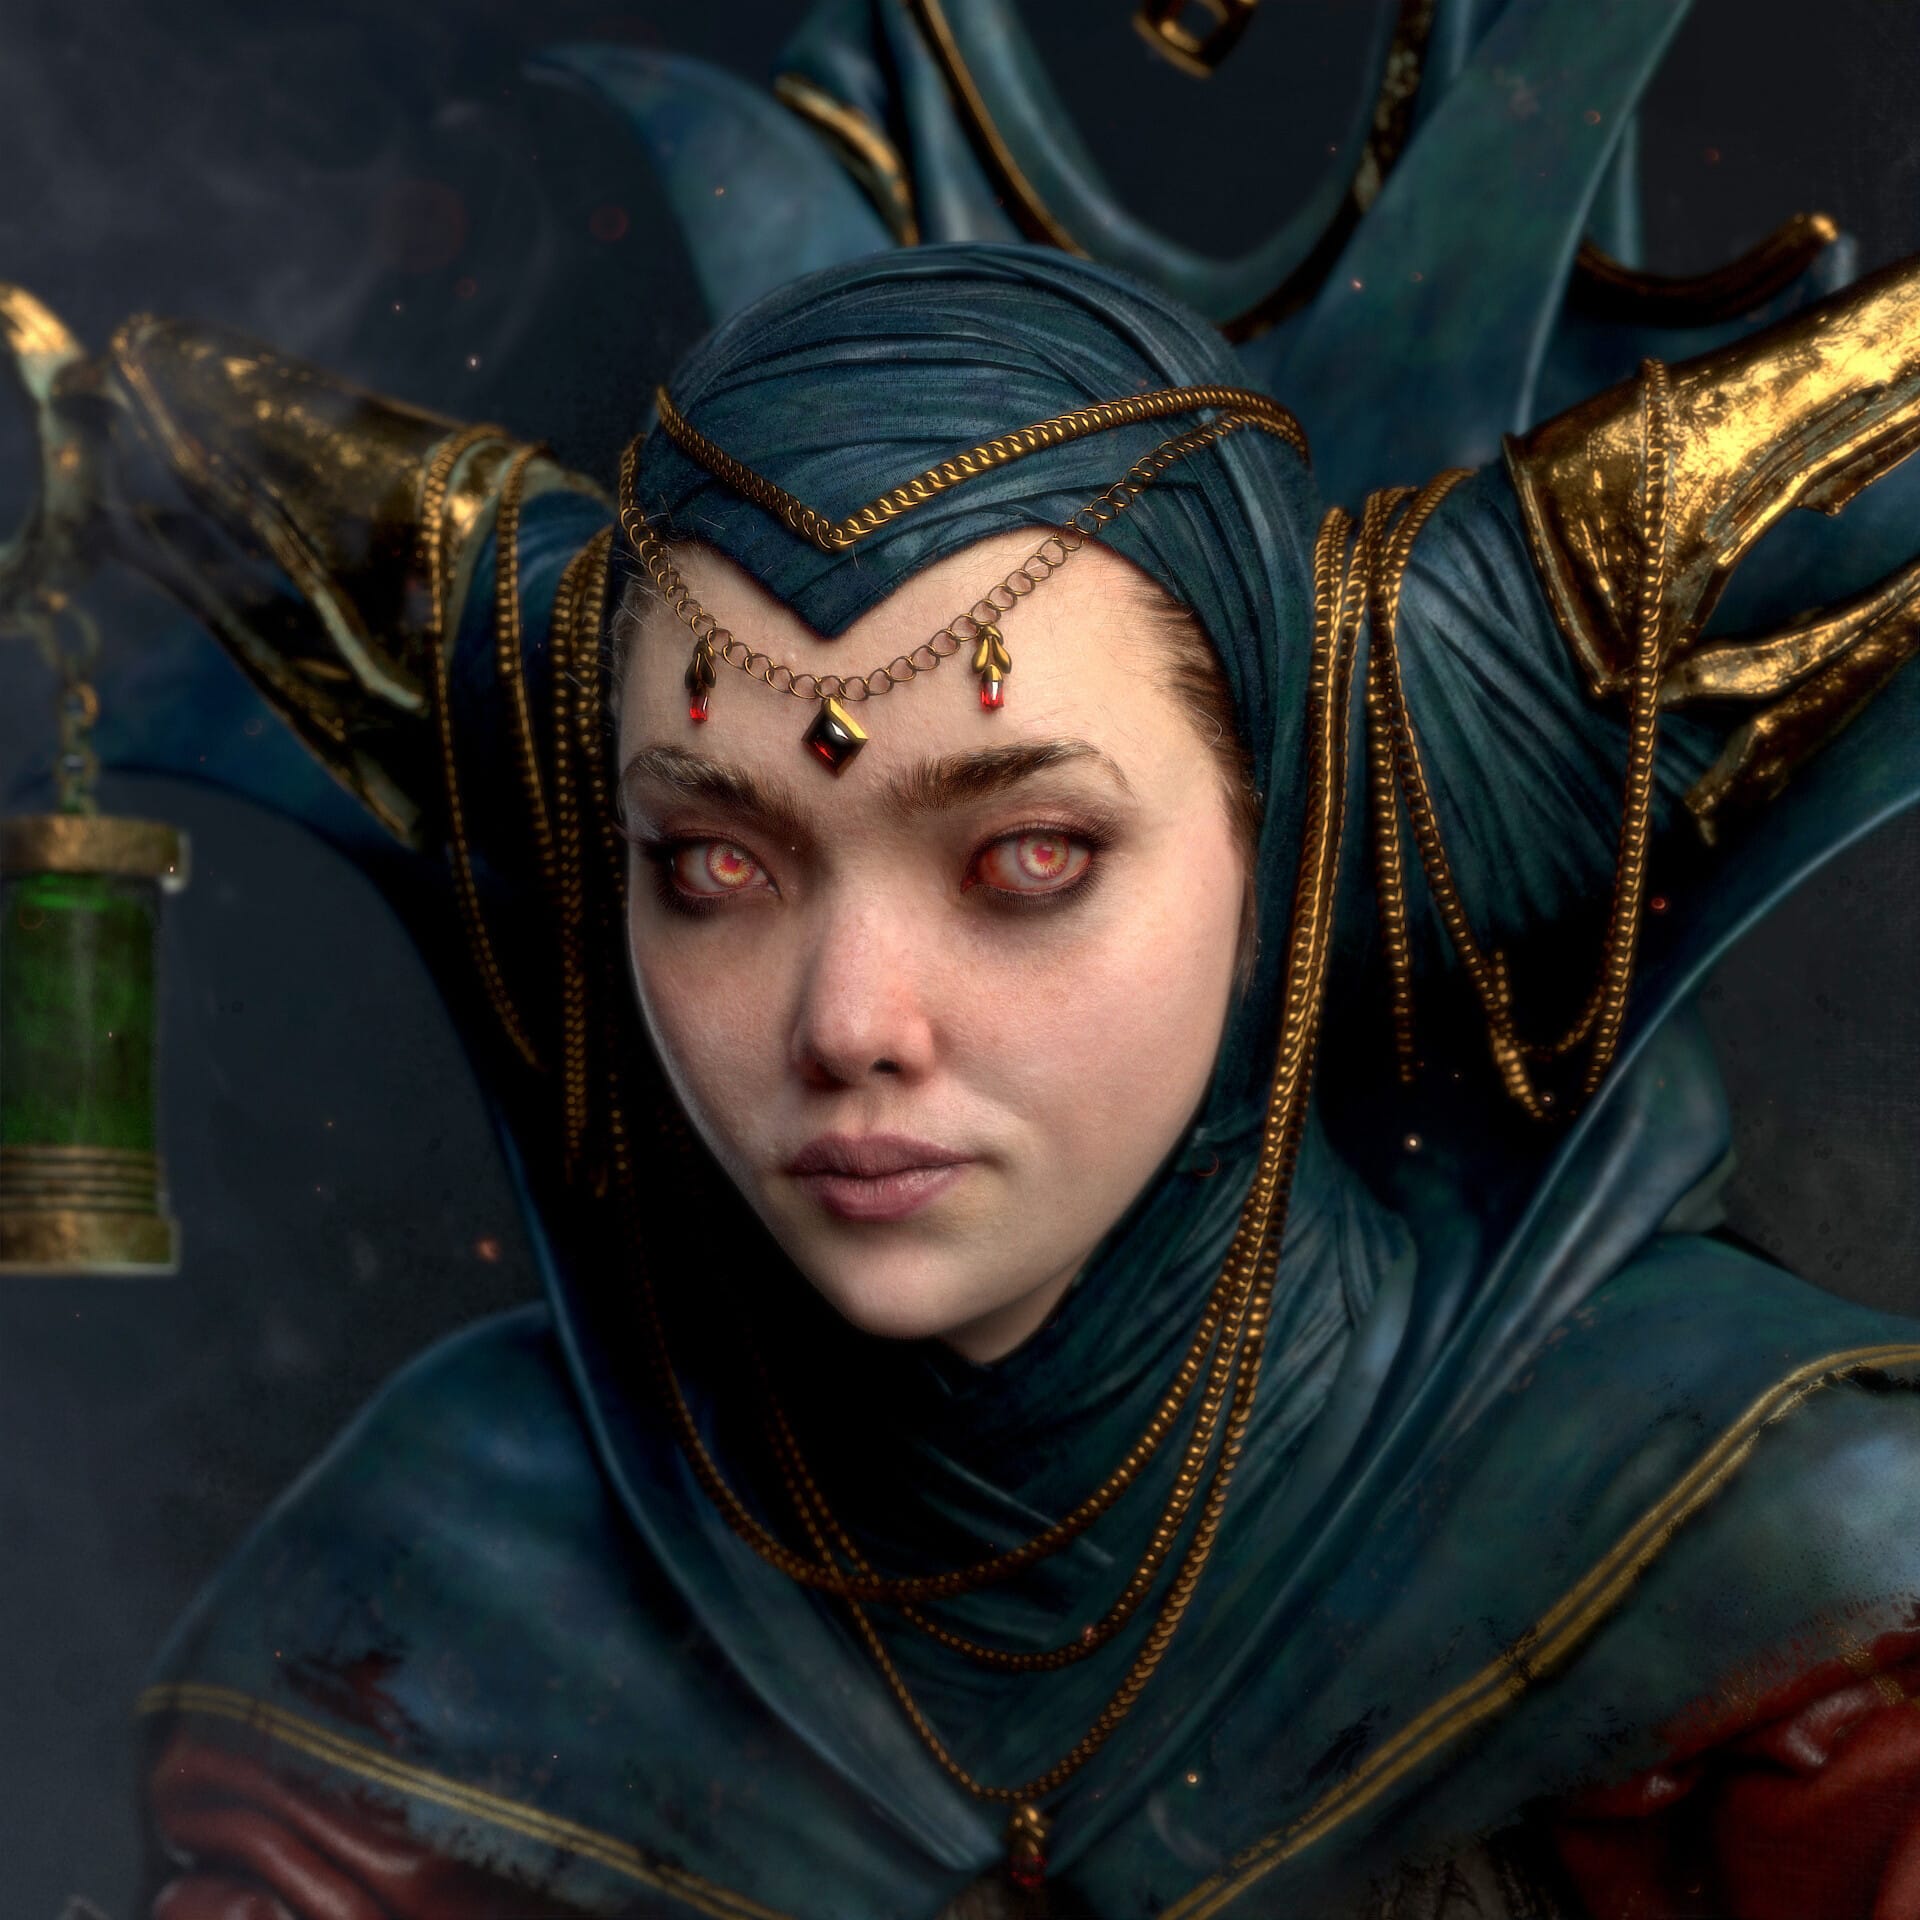
Once I have the displacement working, I turn it off while I work on the subsurface scattering effect separately — you can also do this in your render settings without disconnecting the node in your network.
The default setup works great but I wanted to push it further. I had to do quite a bit of research but, from what I learned, the layering system works similar to other SSS materials. Some great articles I suggest reading through include this article by Chris Nichols for CG Labs as well as this test from the Wikihuman project.
Some important tweaks I made in order to finalize the character’s skin included:
- The first adjustment was to change the SSS mode to Directional, which helps retain more detail from the model.
- I also switched my Reflection 1 Distribution to GGX as it has a softer fall-off than the traditional Beckman; the same goes for Reflection 2.
- Finally, I activated my SSS by switching the SSS mix to 1 and played with the density scale.
Here are the settings that I personally find give a nice “fleshy” feeling to the material:
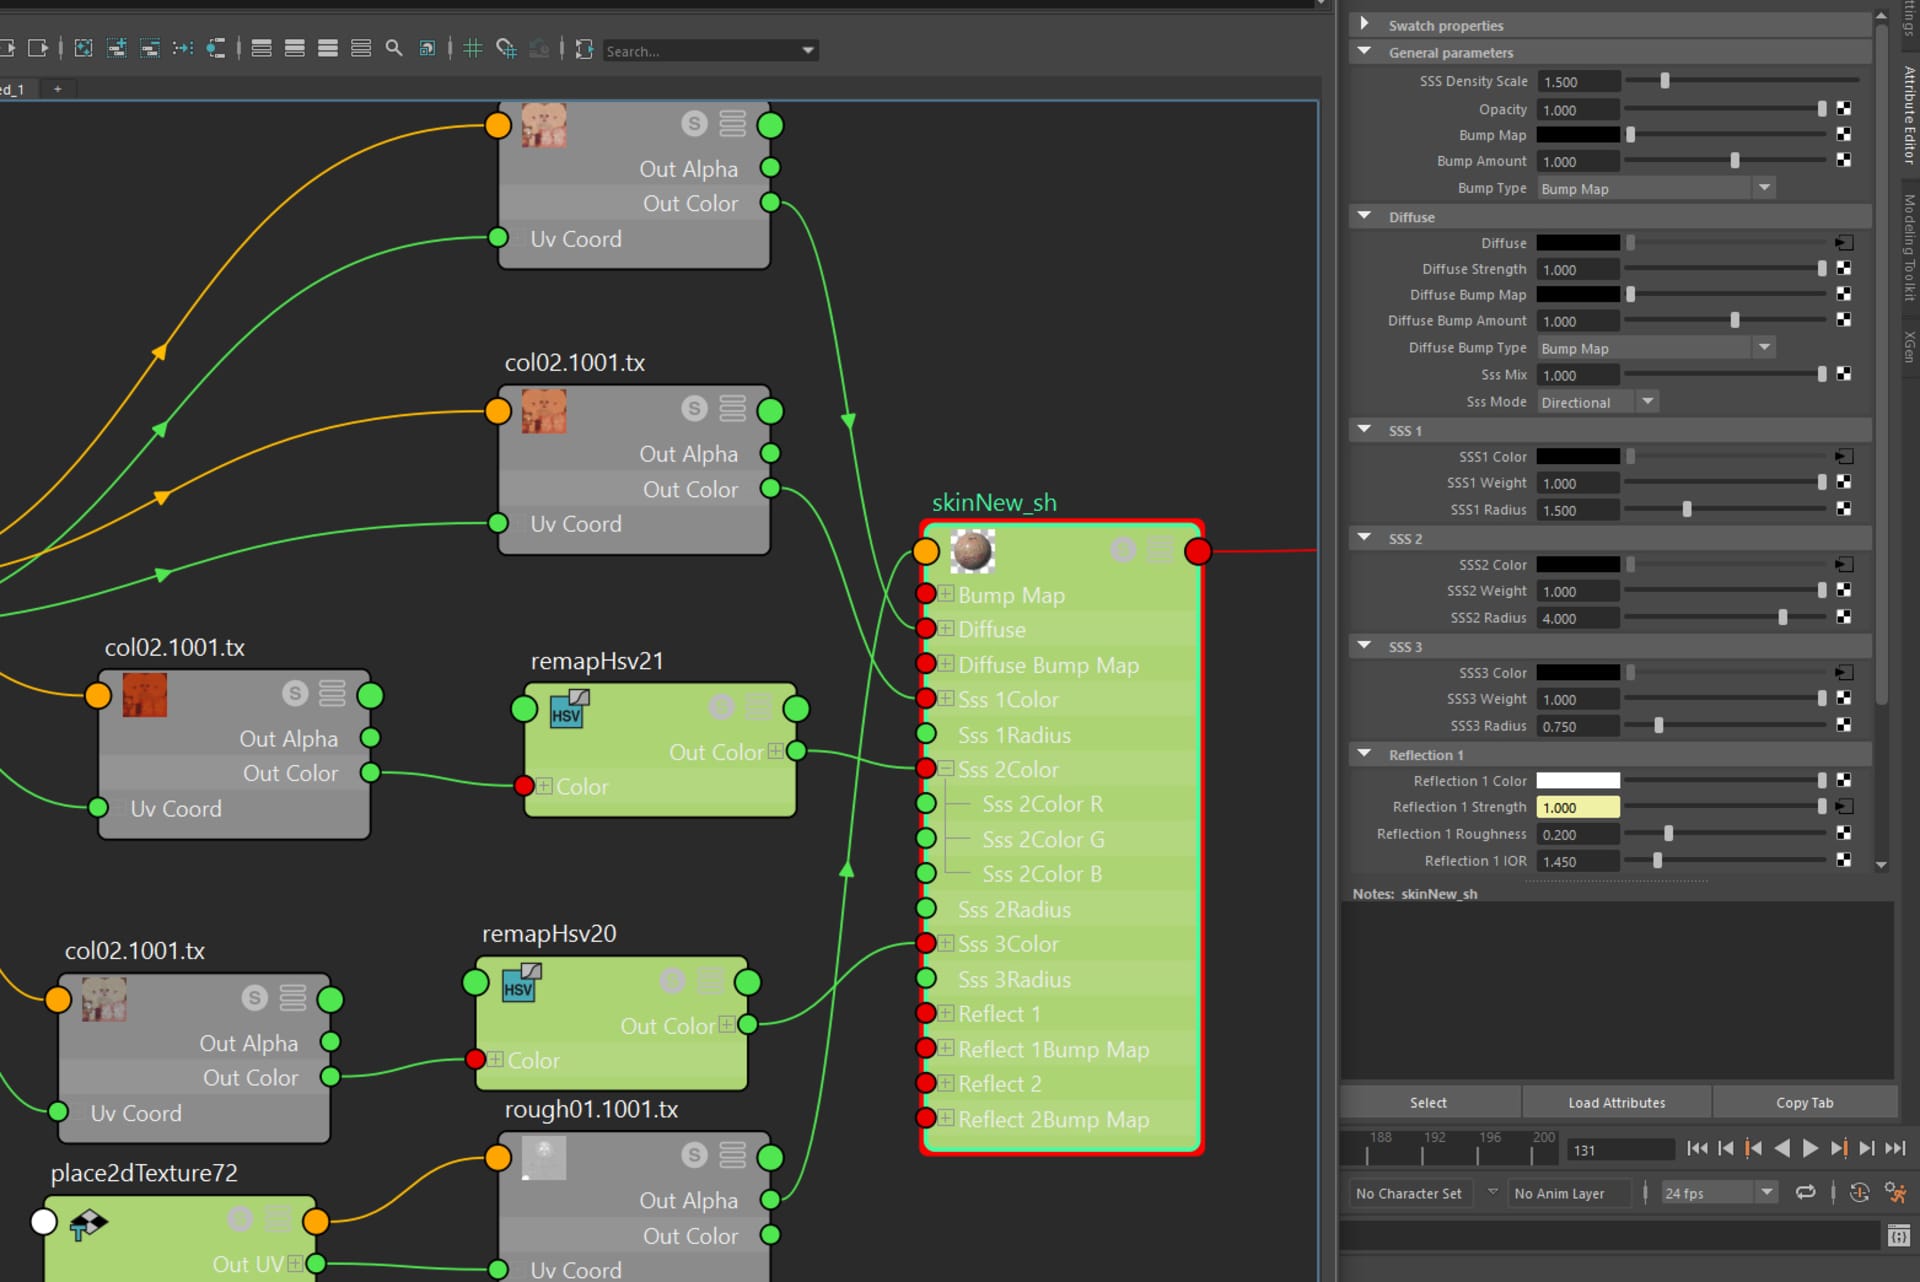
Finally, I enjoy taking advantage of the 3 subsurface scattering layers provided. It’s here that you can dial in the shallow, mid and deep scatter colors of your shader and sell any sort of alien or human skin that you like. The radius is an indication of how deep the scatter will go and you can experiment with these, but for my own requirements, I left them at the default and created 3 maps that reflect a typical skin layering, as you can see below.
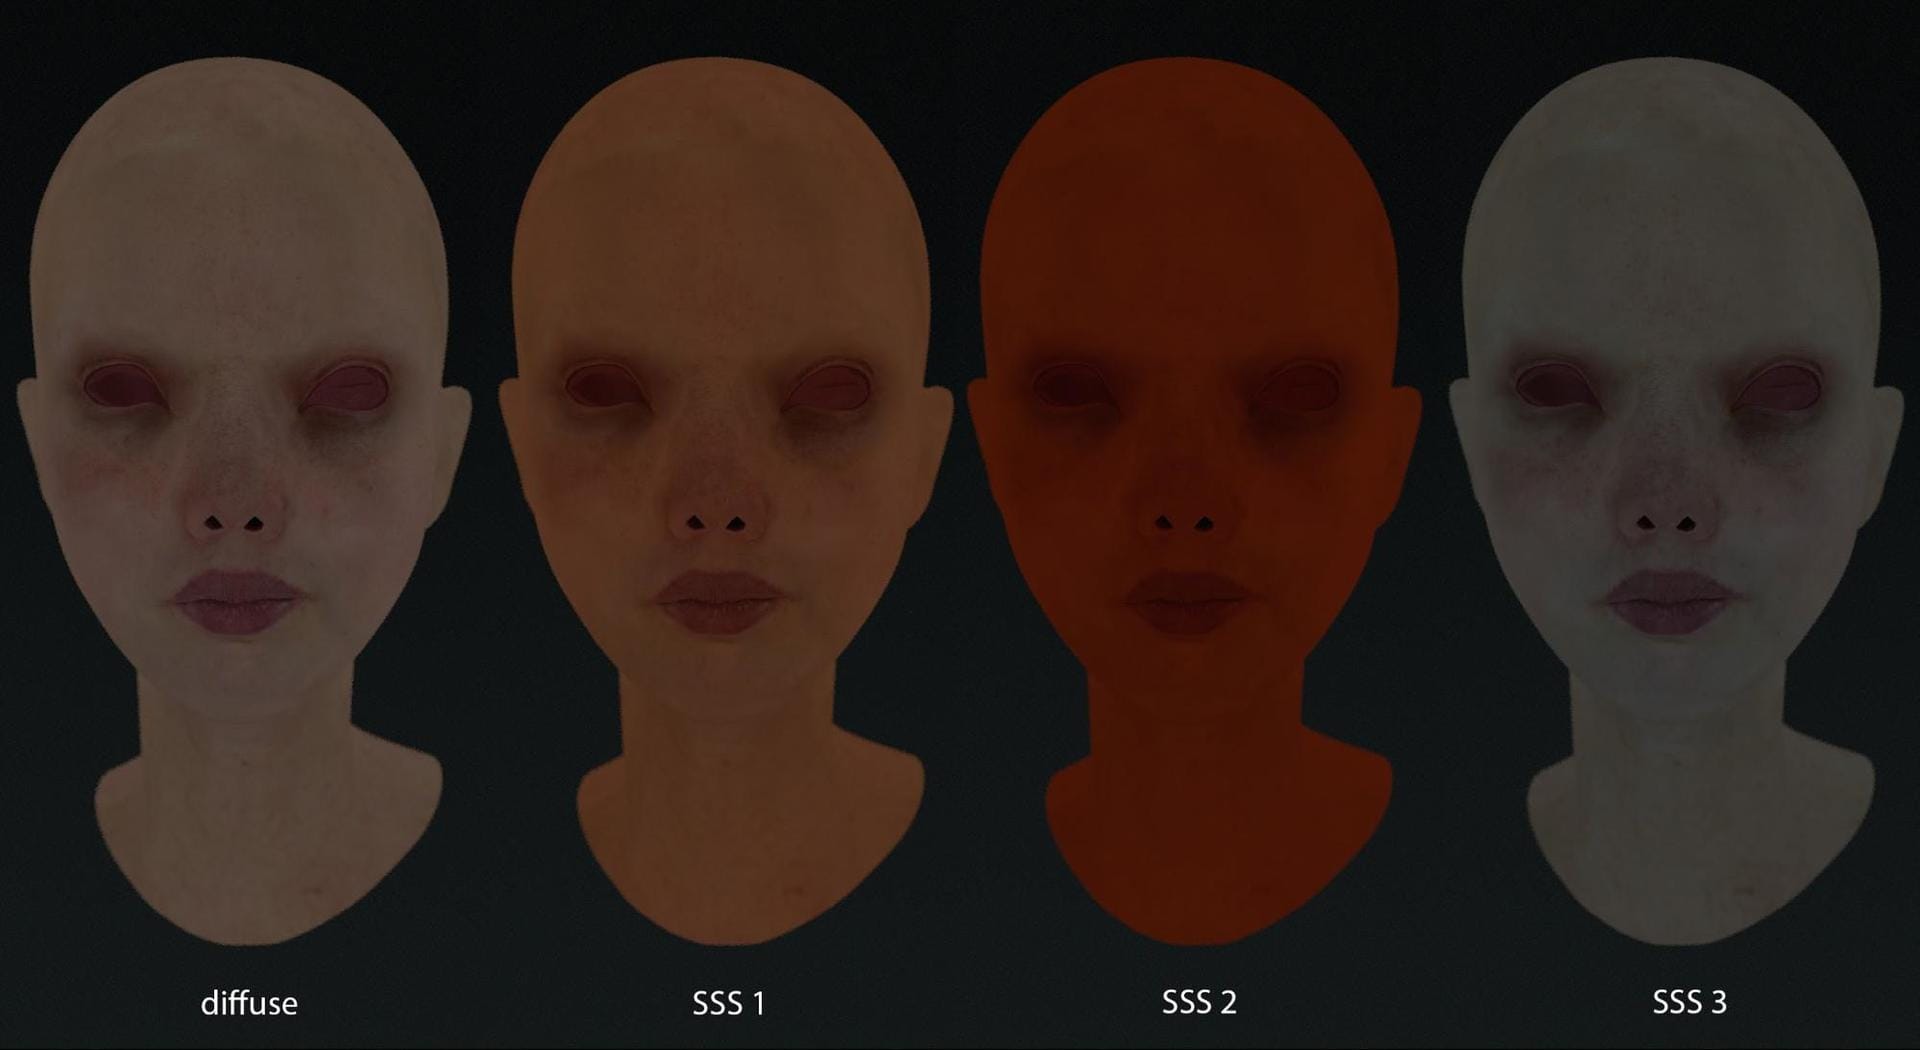
It’s important to play around with these on your own character or creature to find the settings you prefer. Using IPR with V-Ray GPU, I was able to test out every setting — combined with the official Chaos help docs — and achieve the look I was happy with. The last step was to turn the displacement on and adjust accordingly.
My final results for the skin took a few days of experimentation to get the exact results I was looking for and, in the end, I got it to a place where I was satisfied. But, as with any artwork, there is room for improvement. The V-Ray community is huge and always available to help, and I used the forums extensively throughout this project. I highly recommend you check the forums out, too.
- Read part 1 covering the modeling and sculpting process.
- Read part 3 covering the lighting, rendering and post-production.
Want to see how quick and easy it is to render your own character concepts in V-Ray?
Try V-Ray for Maya free for 30 days.

