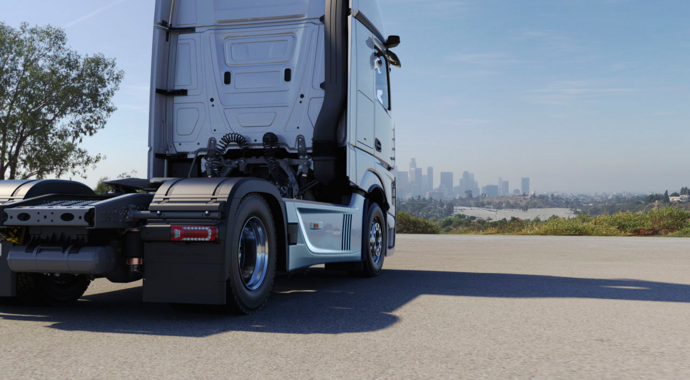
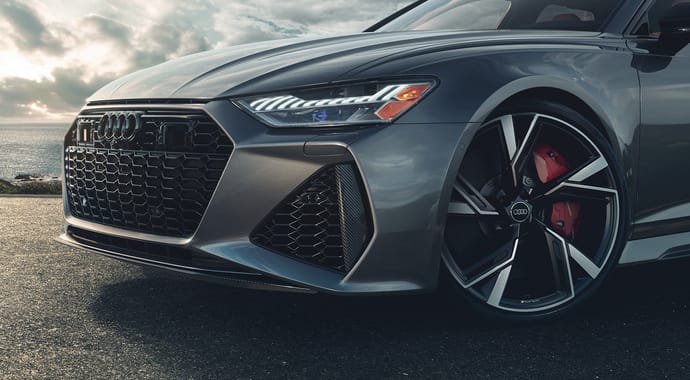
Crunch time: Discover how V-Ray 5 for 3ds Max, Chaos Scans and Phoenix for 3ds Max helped VFX Artist Hagen Gilbert unleash mayhem in this dramatic car rendering.
A car crash isn’t something most of us want to experience—but, thanks to Hagen Gilbert’s crash scene, we can see a realistic vision of an intersection impact. The VFX artist smashed together his experience in automobile imagery and surgical reconstructions to create this dramatic vision, using it as a chance to experiment with V-Ray 5 for 3ds Max and Chaos Scan’s versatile materials, and Phoenix for 3ds Max’s fluid sims.
In this tutorial, you’ll find out how Hagen tackled every step of the scene, from intricately modeling the damage to applying the final touches to the car rendering—and you’ll pick up some pro V-Ray 5 for 3ds Max tips and tricks along the way.

About Hagen Gilbert
Hagen started his VFX career as a production assistant at the LA branch of the Michigan-based Speedshape Inc, where the experienced team helped him become an artist. He then moved to Mind Over Eye and spent time as a CG Supervisor at Motor Trend Group, both of whom create content for the motor industry. Today, he specializes in accident and surgical reconstructions at DK Global.
I created this image of a vehicle collision in an urban environment using 3ds Max and V-Ray 5 for 3ds Max, with Phoenix FD for 3ds Max for some smoke and fluid effects. I wanted to create an image that would highlight the use of V-Ray 5's built-in material library and Chaos Scans on the cars, environment, and fluids. The environment utilizes iToo software's Forest Pack, Evermotion trees and buildings and humans, the street texture is from Textures.com, and the vehicles are from Turbosquid. The goal of the image is to present a dynamic and realistic vehicle collision.
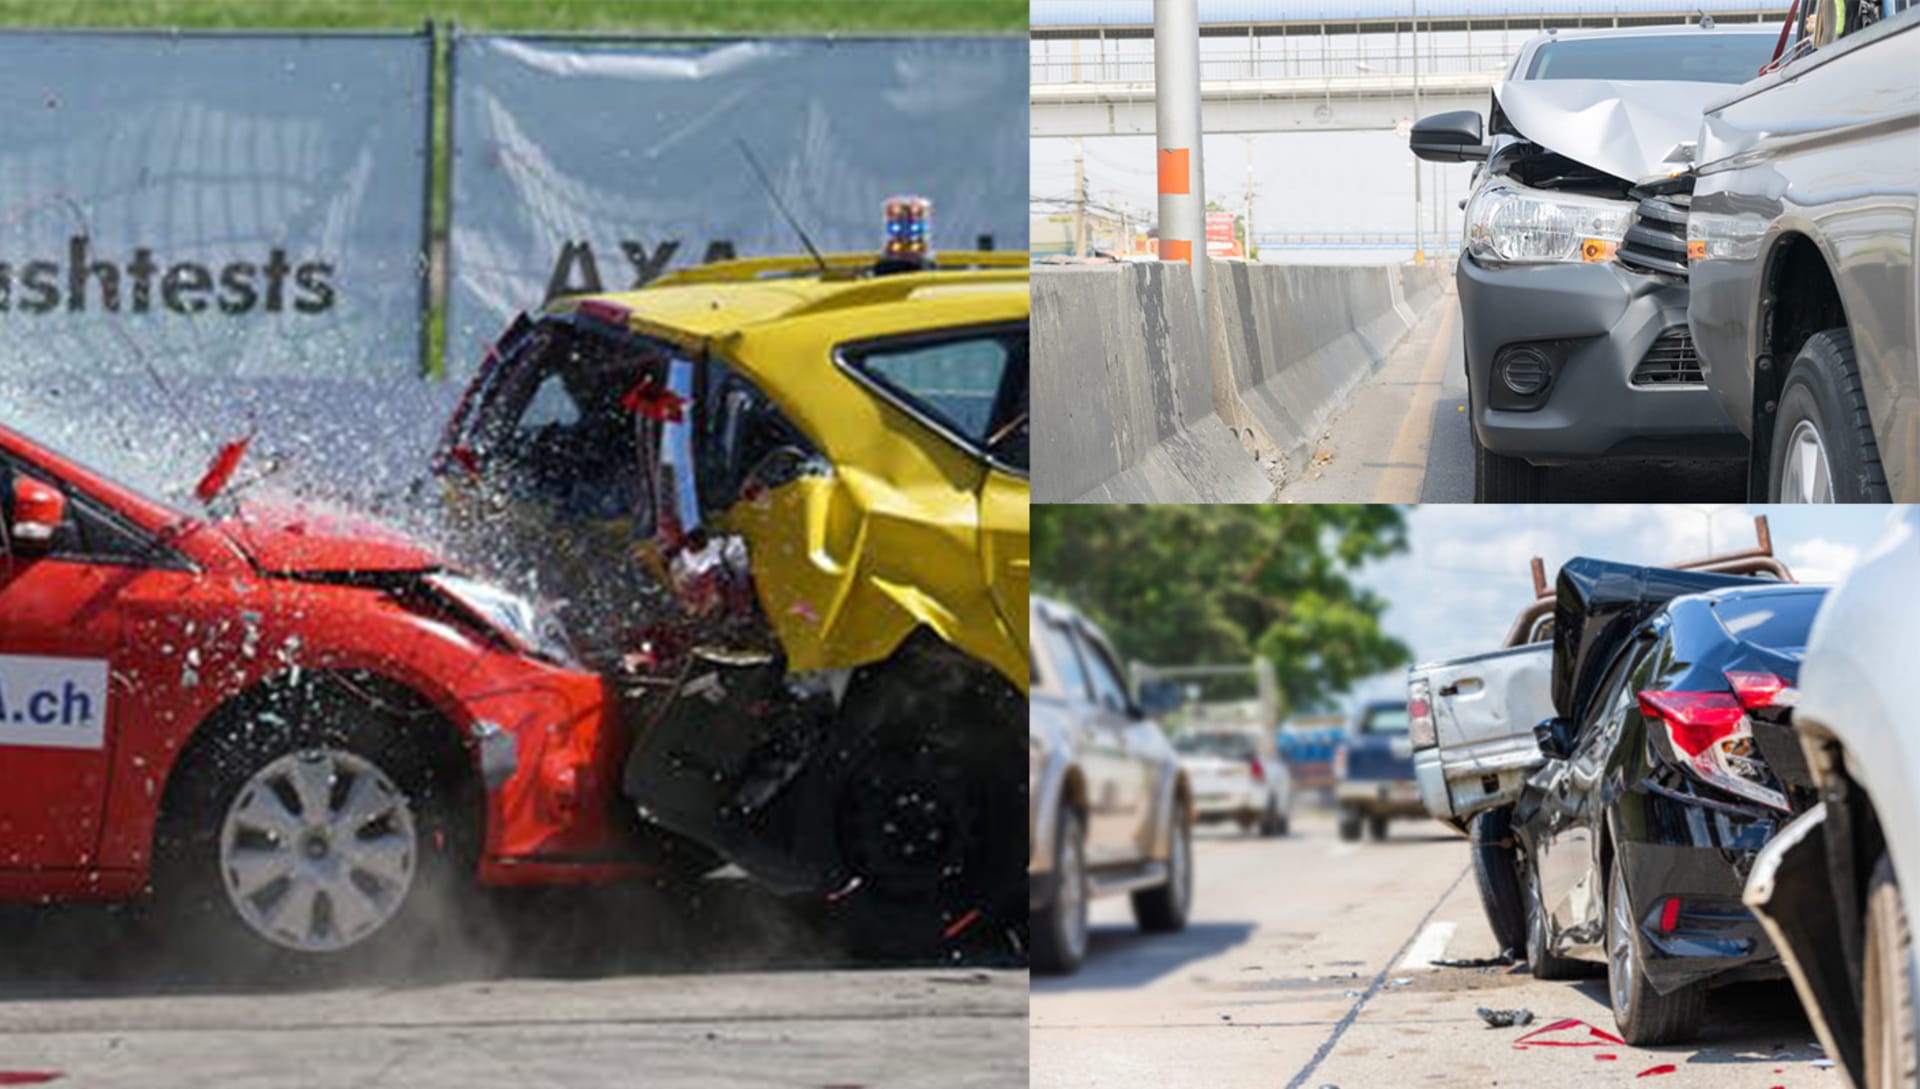
Modeling
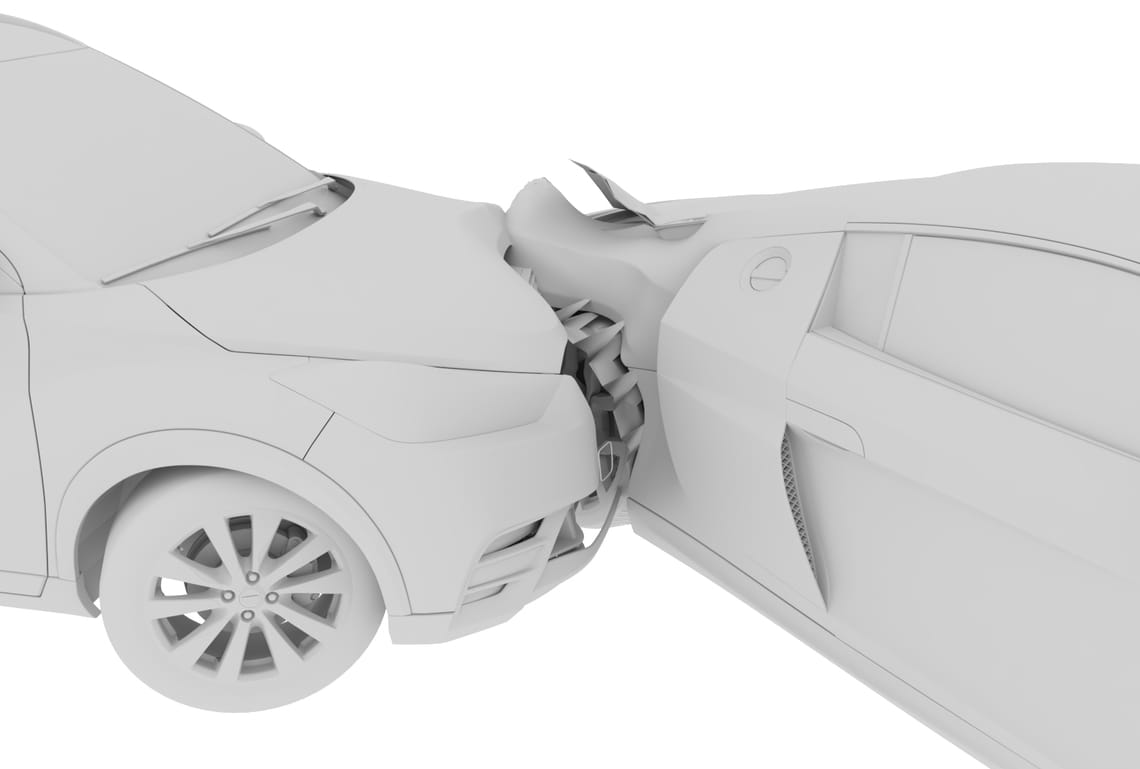
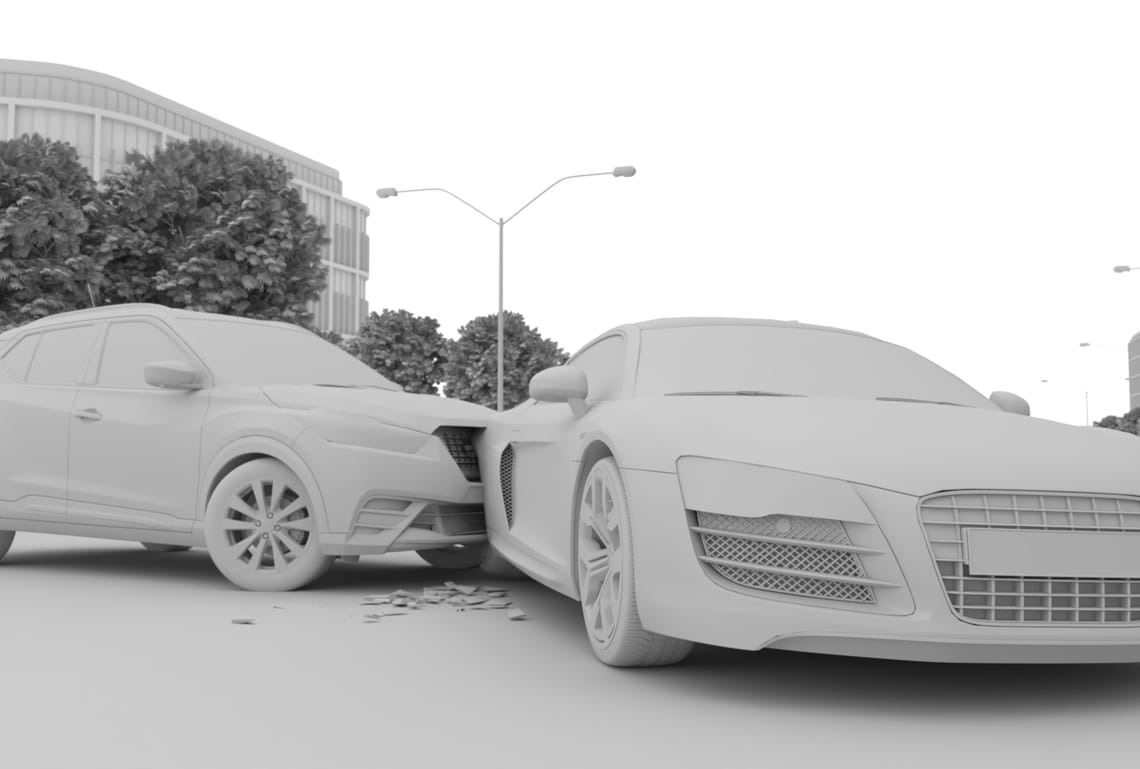
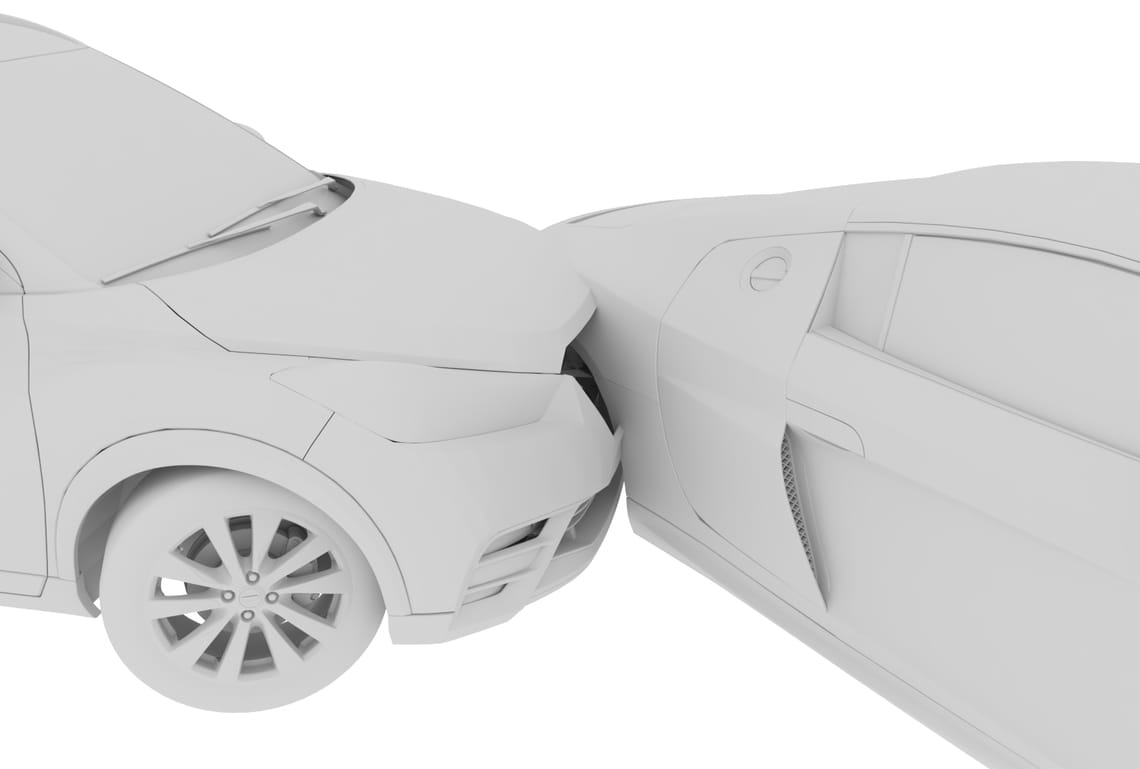


The vehicles have had a collision, so damage modeling to their exterior is required. I started with a mesh select modifier to select what I wanted to adjust, using a 4x4x4 free form deformer modifier in 3ds Max. After moving the geometry in the desired dents and crushed areas, I applied an edit poly modifier.
To add detail to the damaged areas, I used a vertex paint deformation in the edit poly modifier and a noise modifier to add some minor details to the mesh. On the top of the modifier stack, I added an extra turbo smooth to clean up any jagged areas that may have appeared. The use of 3ds Max modifiers helps reduce the hand modeling time and allows me to make quick adjustments thanks to their modular nature.
A V-Ray blend material showing some tarnished metal beneath the paint was also applied. Finally, to create the geometry for the smashed tail light on the ground, I did a basic MassFx simulation.
Materials and textures
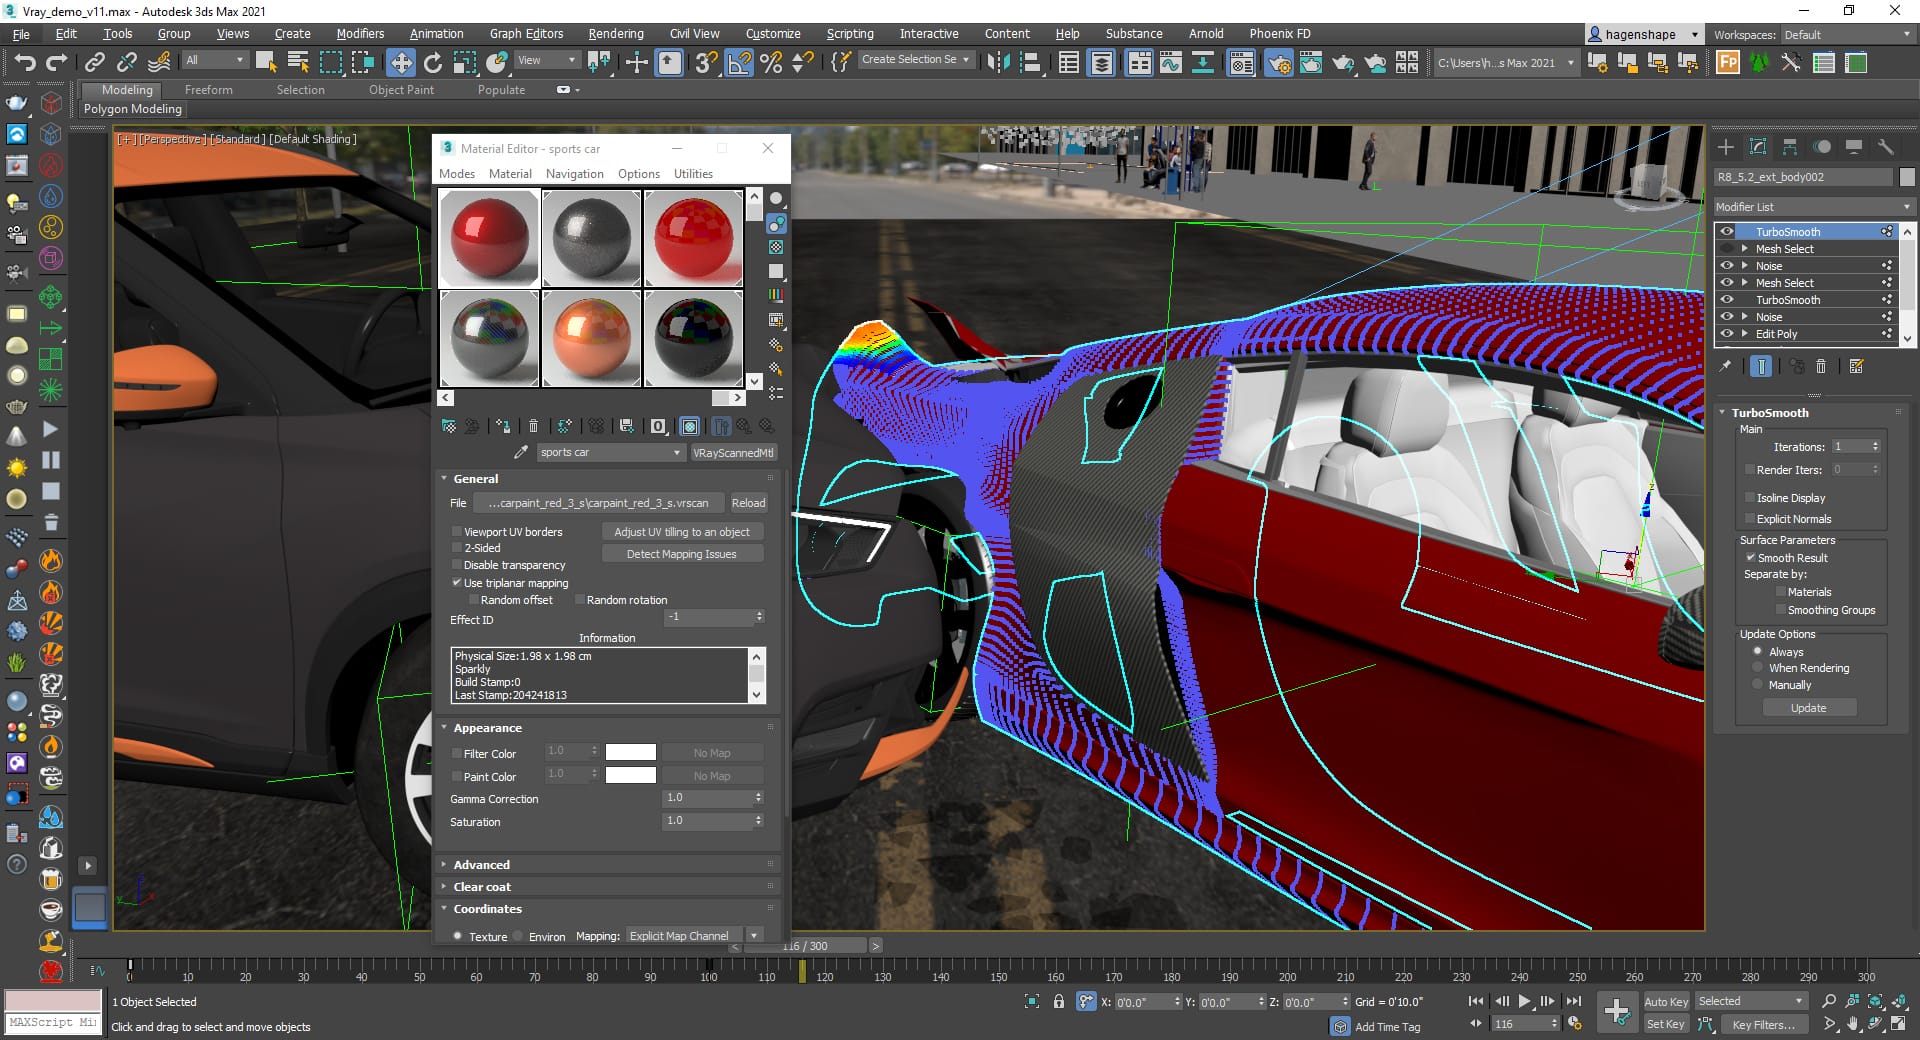
I wanted to showcase the new V-Ray 5 material library and Chaos Scan's ability to provide awesome out-of-the-box materials. The vehicles use a combination of the built-in V-Ray 5 library and Chaos Scans for the car paint and carbon fiber. Some Evermotion materials, such as the streetlights and cement, were replaced with built-in V-Ray materials, but the Evermotion trees distributed with Forest Pack as custom objects retained their native materials and textures.
As the camera is so close to the road, I needed a high-resolution 4K texture from textures.com with the required height and reflection maps. A V-Ray blend material was utilized to a small degree in the damaged areas to let some raw metal show through the car paint. Finally, I made a color adjustment to the built-in olive oil fluid material and used a Phoenix for 3ds Max fluid simulation to represent leaking antifreeze.
Camera setup
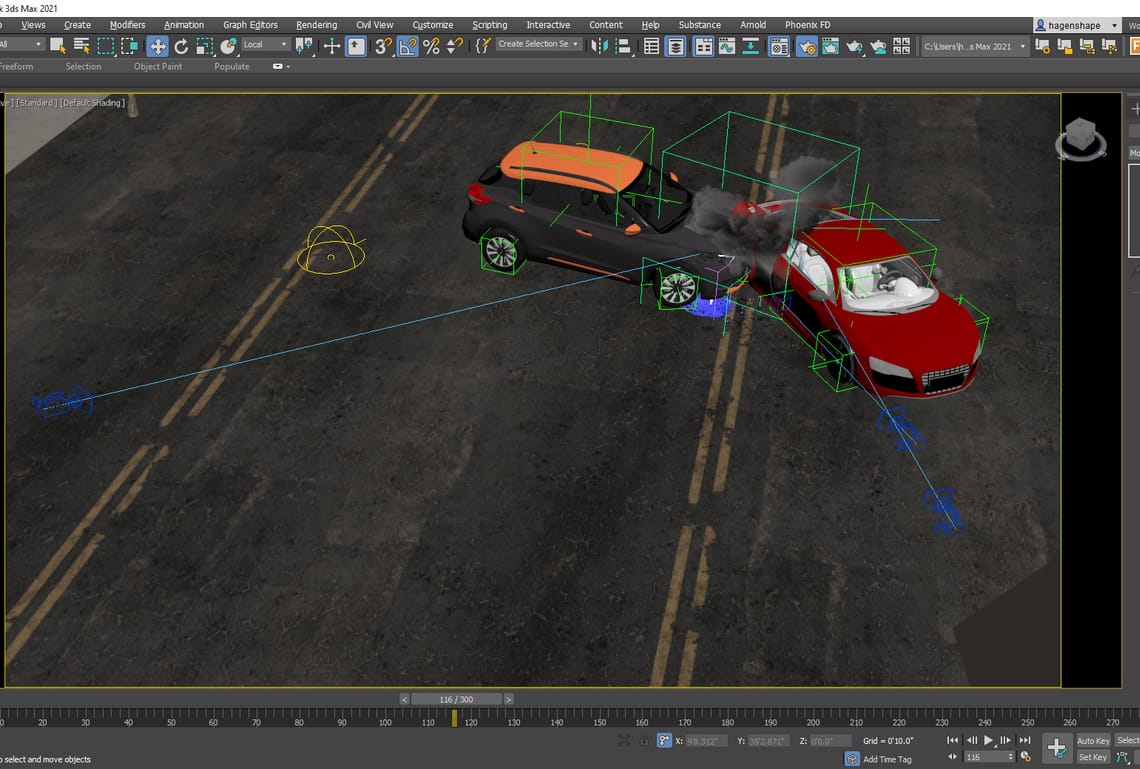
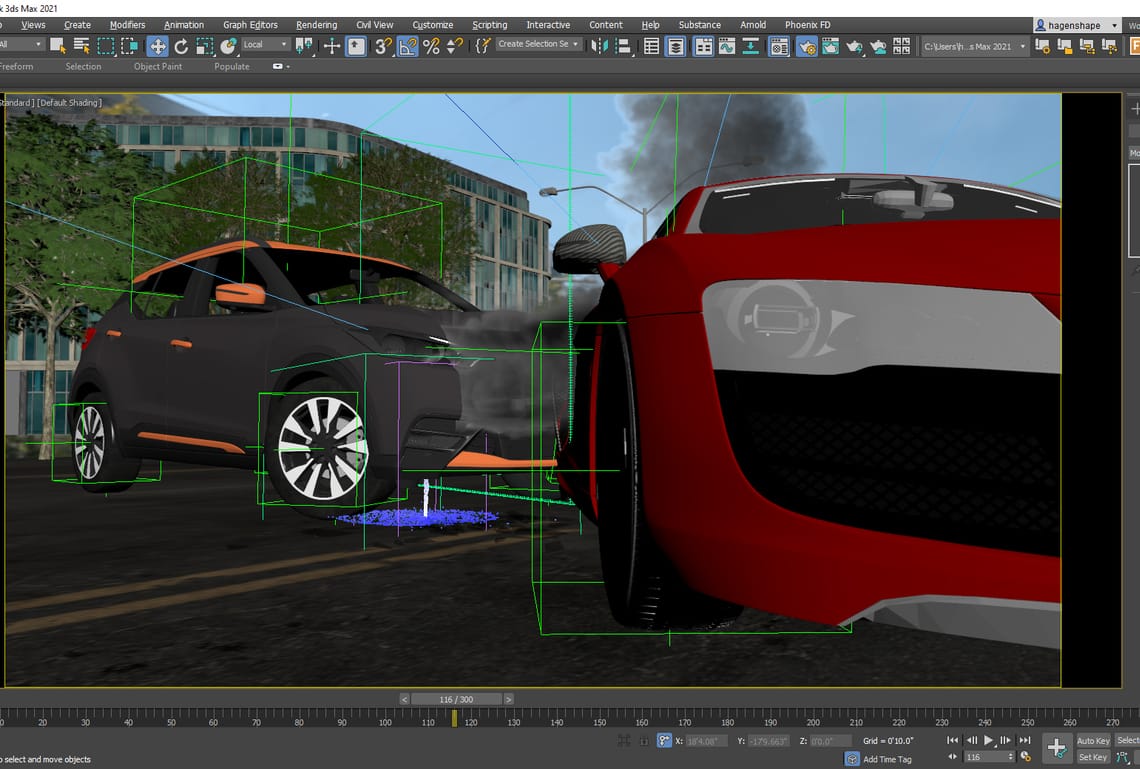
Once I had that all in-camera, I decided to show off more of the vehicles and the V-Ray materials. I moved the camera to more of an overhead three-quarters angle. However, it started to get too much of an orthographic look, which was not very dynamic.
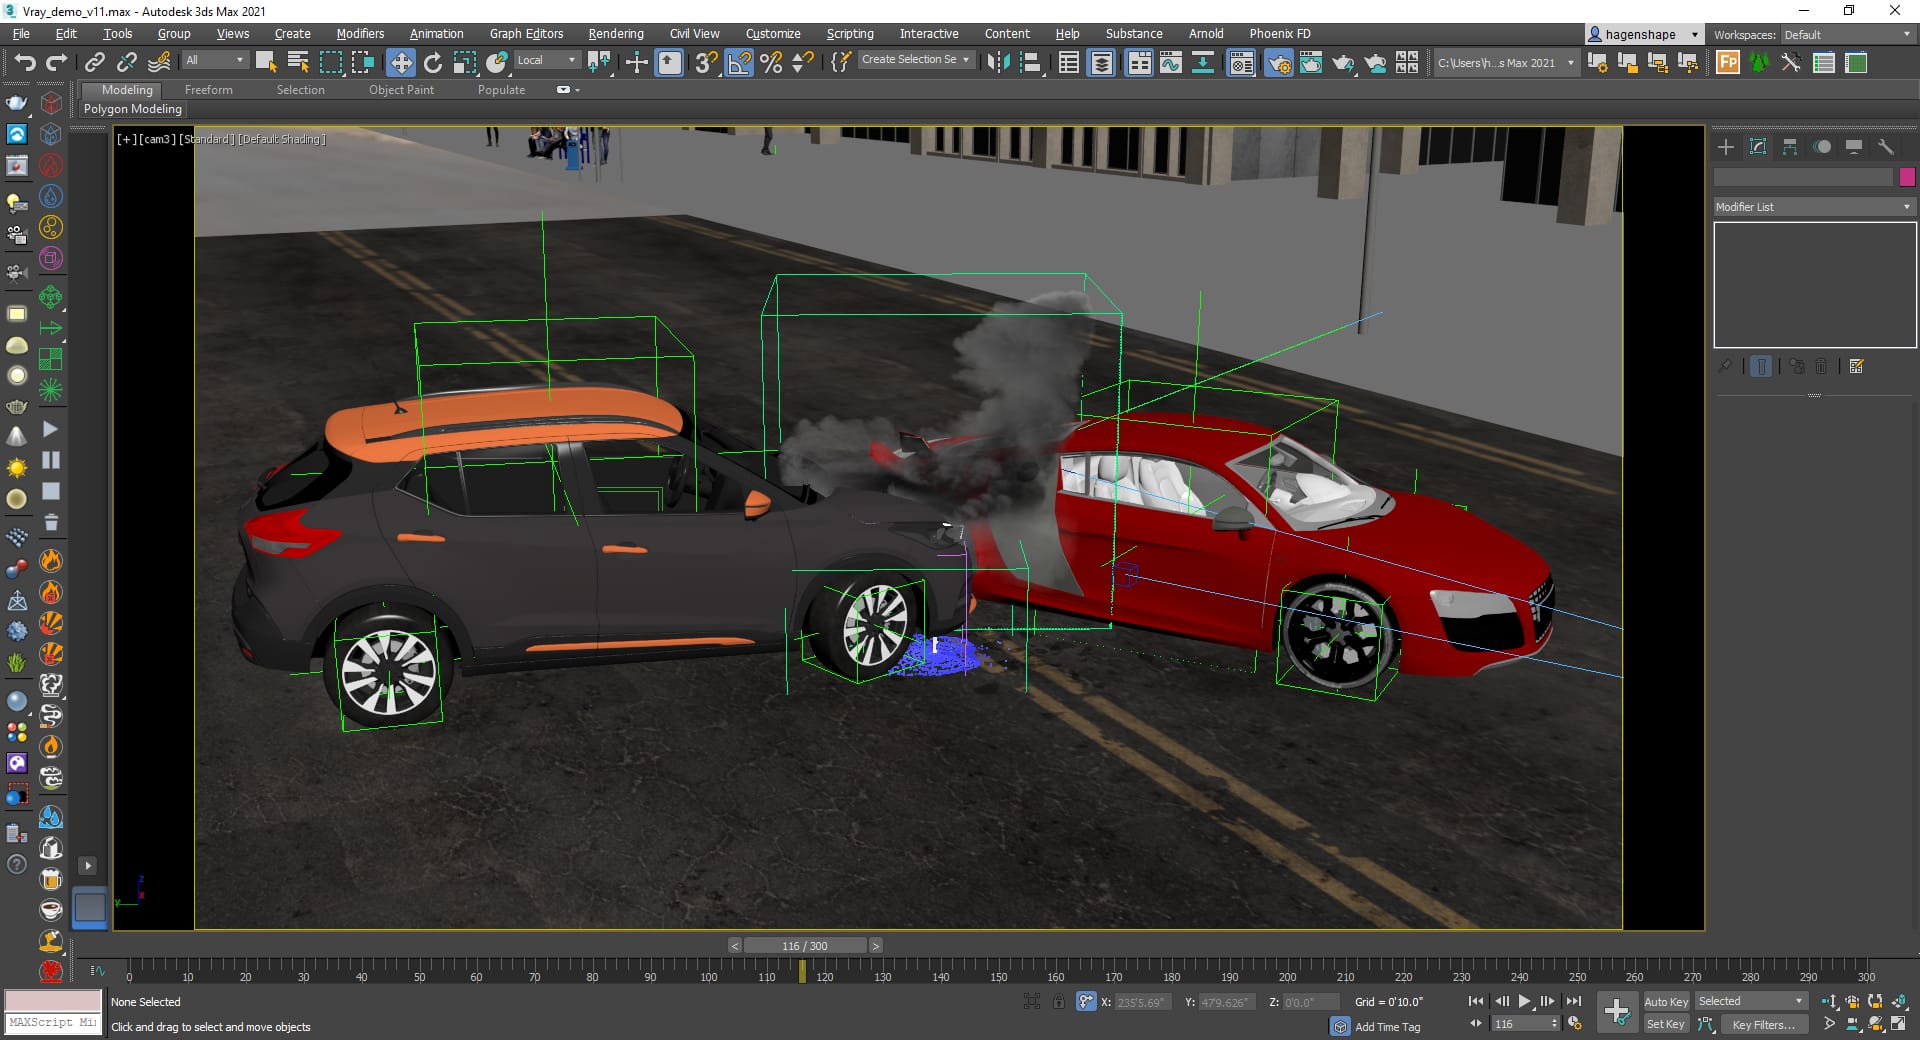
So, I lowered the camera and dropped the lens to 30mm to get that nice wide-angle, dramatic shot. With this perspective, I could also show off the vehicles in the sunlight and have more of the Phoenix sims visible. By filling the shot with the cars, I was able to reduce the amount of background work, such as sidewalk props and extensions, as well.


Lighting
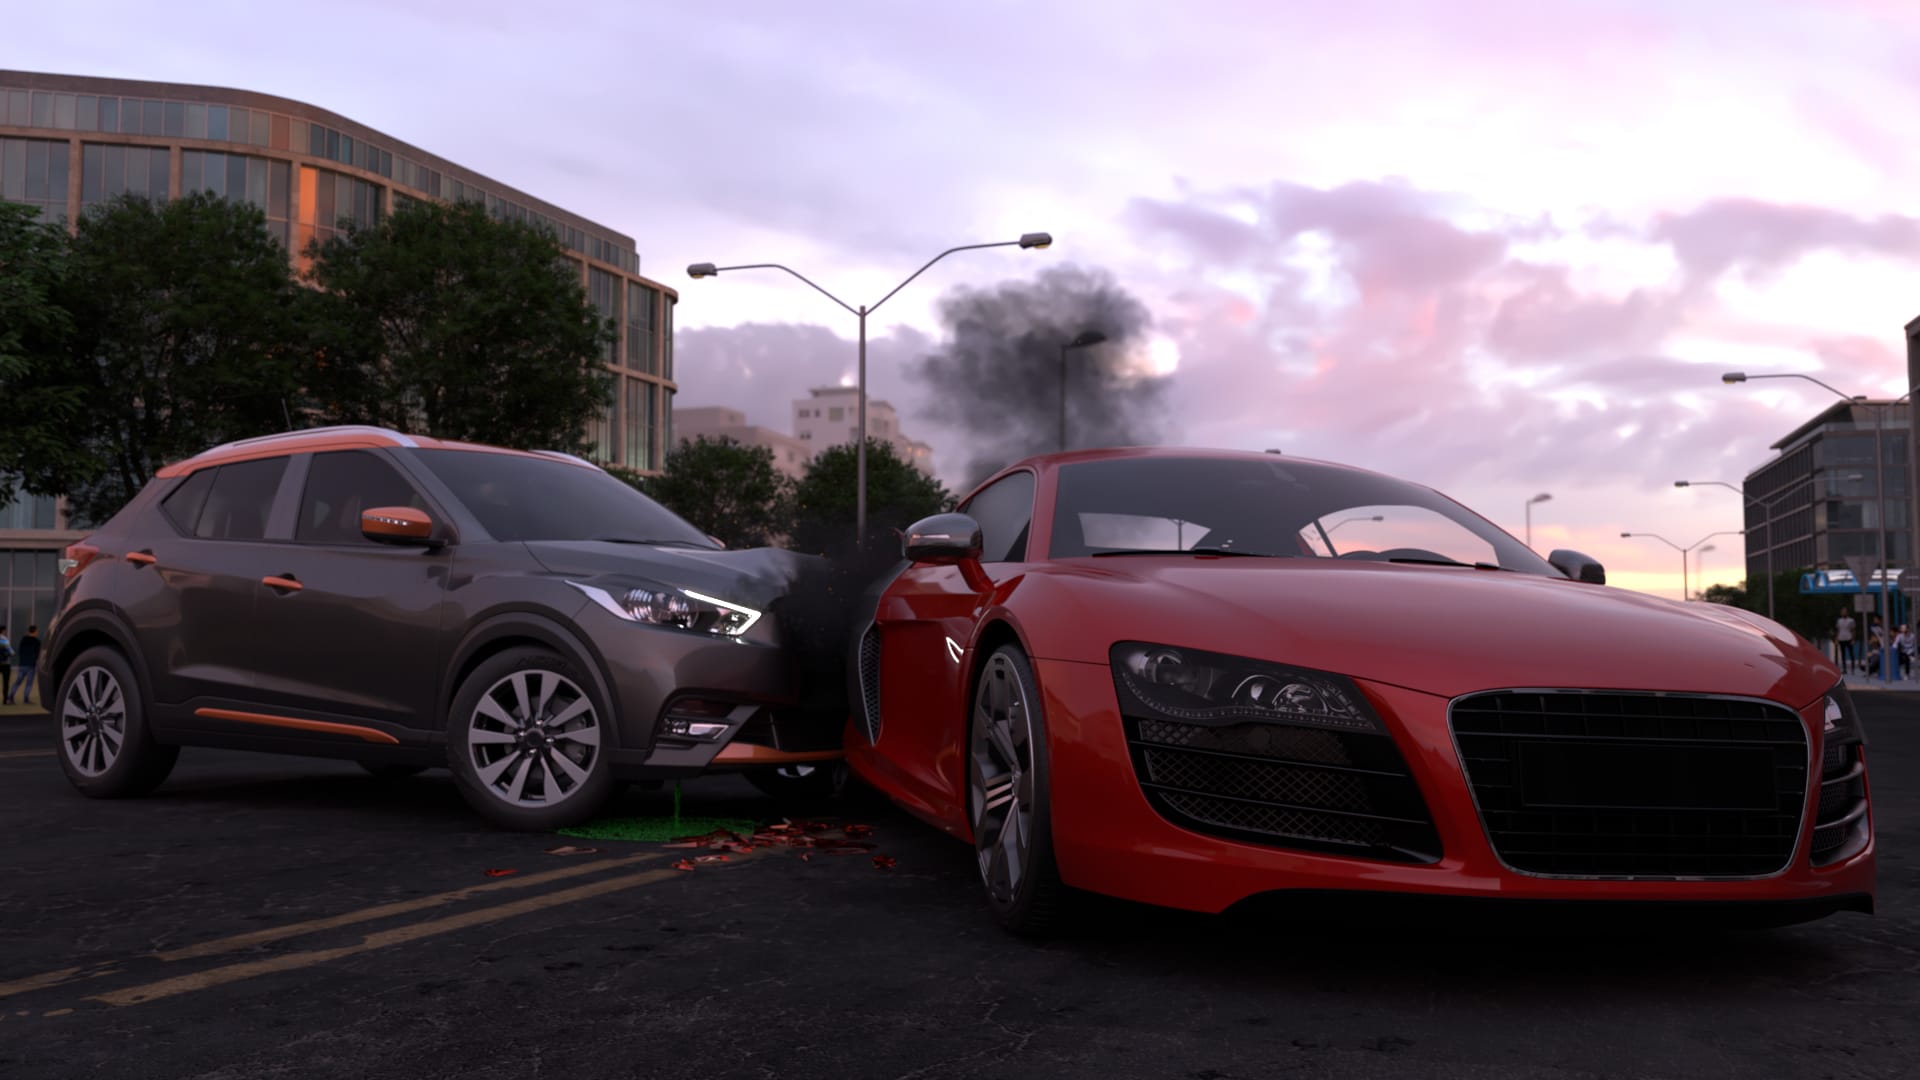
I created the lighting for this scene with a V-Ray sun and a 16k HDRI from hdrihaven.com, which has many HDRIs suitable for a mid-day scene of an urban environment. I then used scriptspot.com’s Find and Bind script, which applies the HDRI to a dome light and environment while also wiring a V-Ray sun to the sun position in the HDRI.
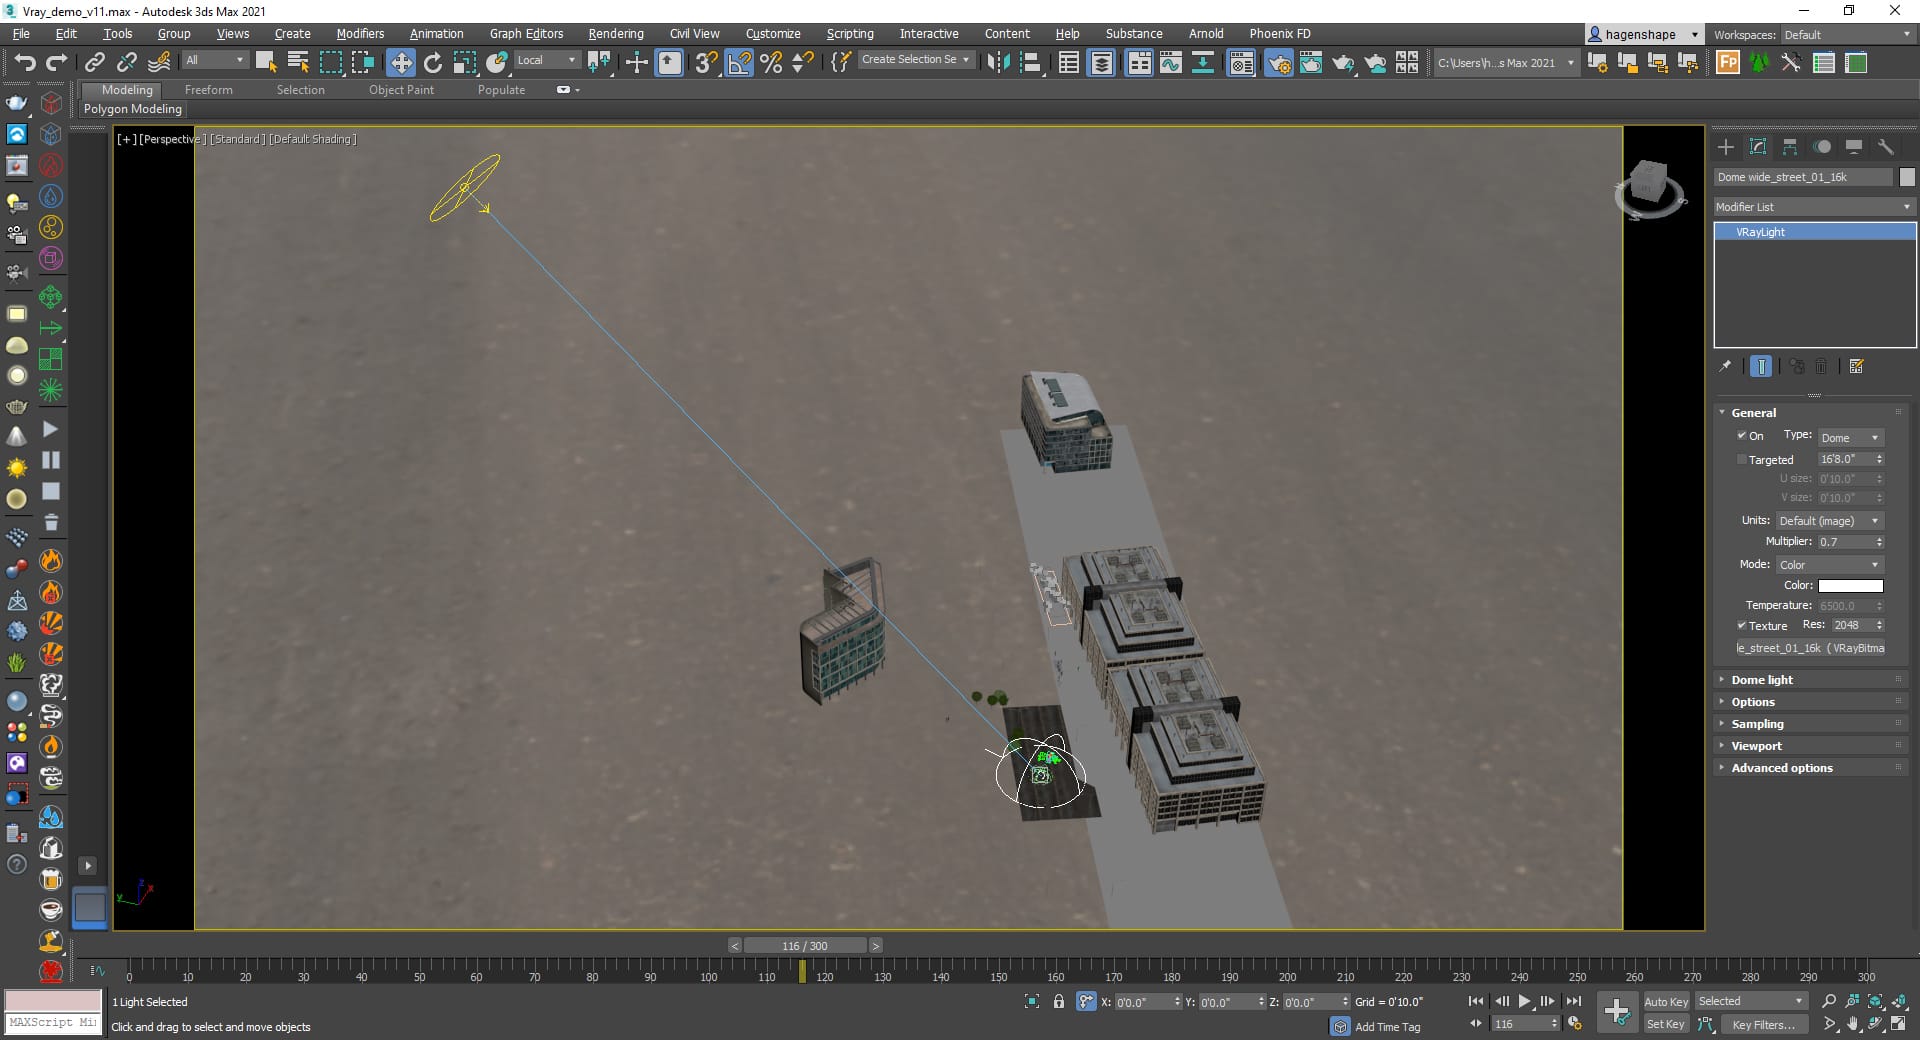
From here, I can rotate the dome light to adjust where the light is hitting the scene. I did not use exposure on my camera, so I needed to drop the V-Ray sun intensity multiplier down to .007 to keep things from blowing out. There is also a self-illuminated material in the SUV lights.
Rendering
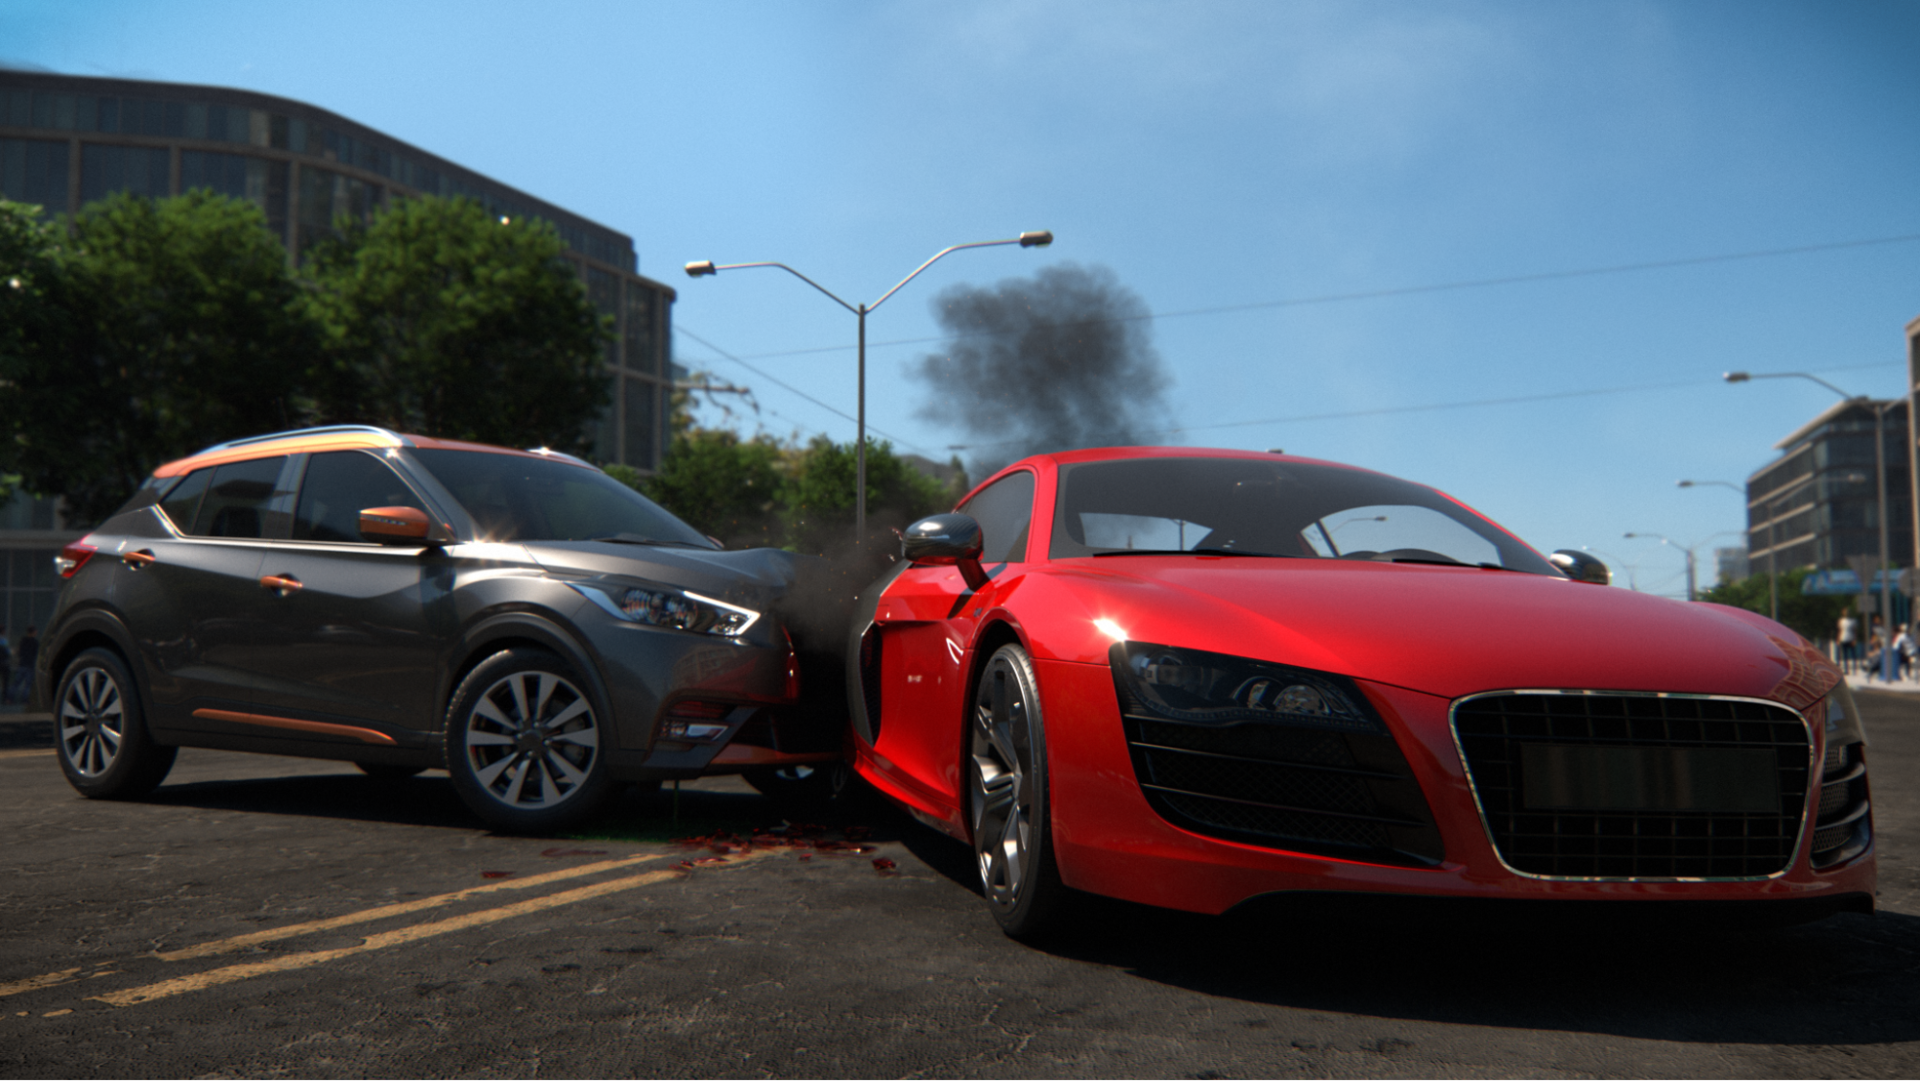
I rendered the scene with V-Ray 5 for 3ds Max's CPU renderer. The final render is a 3840x2160 image. I used the bucket image sampler with 1/24 min/max subdiv, a noise threshold of .007, and a bucket width of 16 pixels. I used brute force for the primary GI (bounces set to 3) and light cache for the secondary with a 3000 subdiv setting.
I went with the CPU render because I'm more familiar with it and how materials react to it. If I'm doing an animation, I would generally use the V-Ray denoiser render element, utilizing the NVIDIA AI denoiser. However, as this piece was a still render, I decided not to and just upped my settings and resolution to clean up the image as needed. I also added a Z-Depth render element set to 2,000 feet and a V-Ray extra tex render element with a dirt map for ambient occlusion.
Post-production
Although I had some in-camera depth of field, I wanted more control to increase it with the render element in Photoshop. Once I achieved a depth-of-field I liked, I brought in the ambient occlusion render element, added it in, and masked it away from any areas where it was not wanted. On still images, I like to add a chromatic aberration to the image.
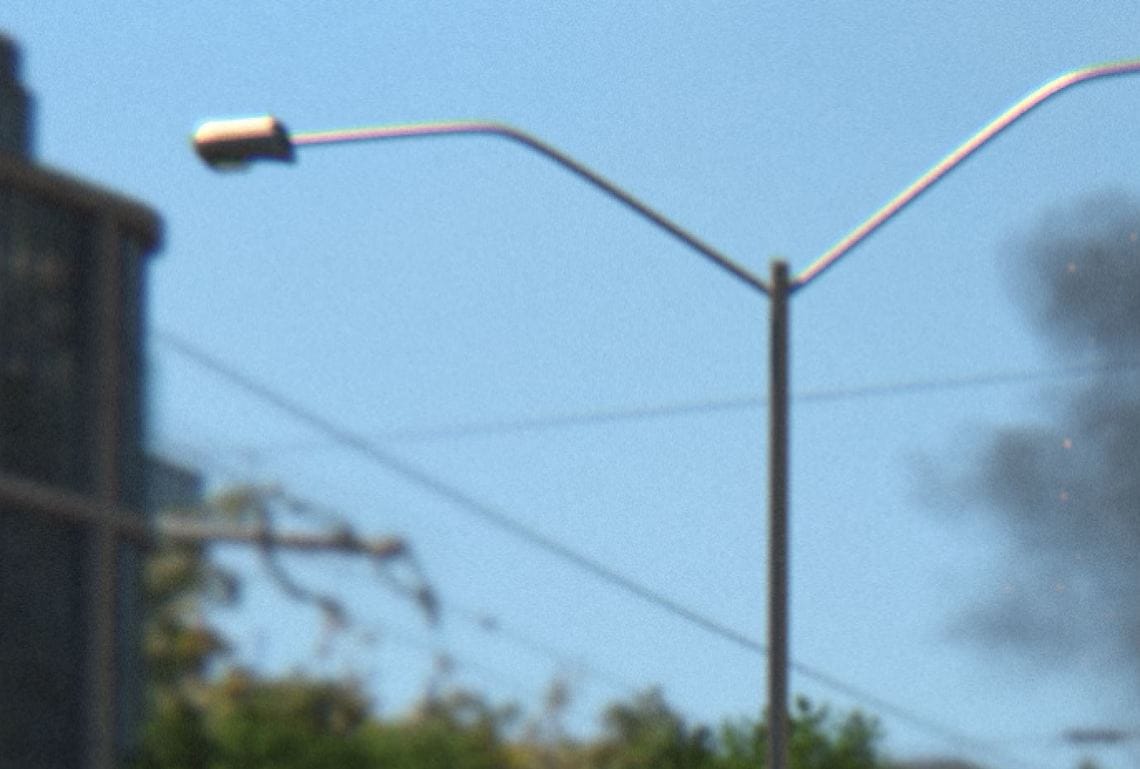
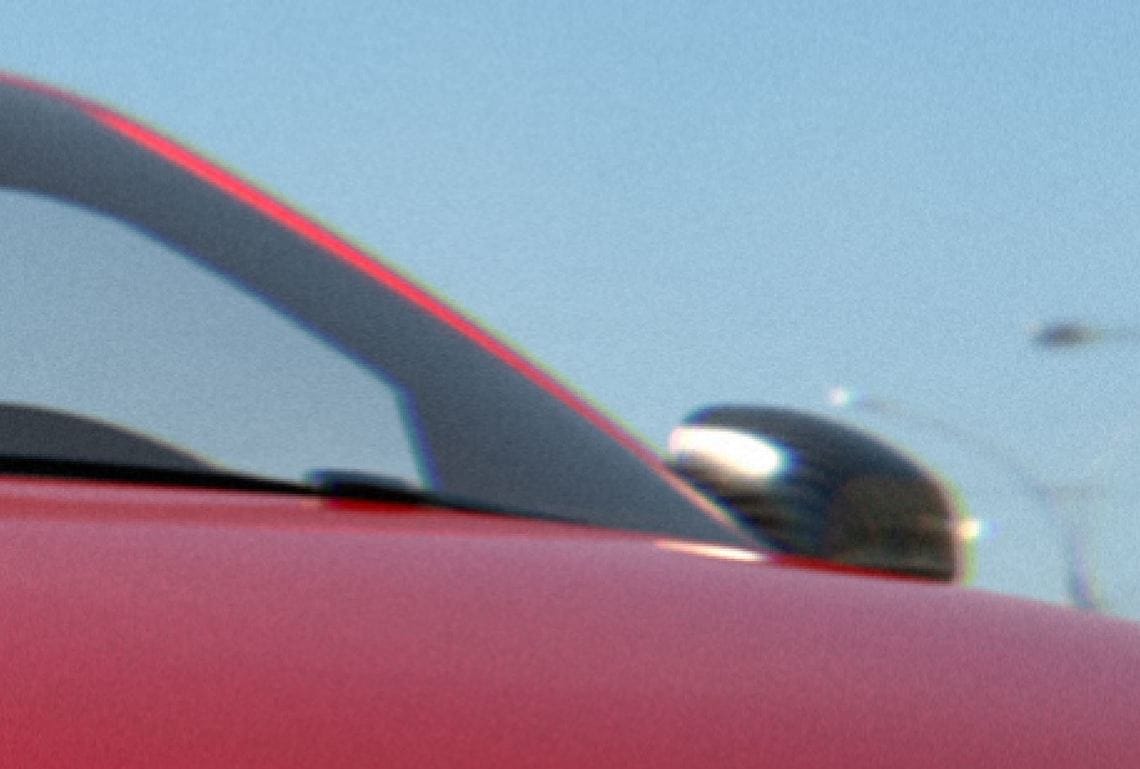


This can easily be overdone and is not really a desired effect for photographers—but I think it adds a subtle level of realism as it is an artifact that physical cameras have. Finally, I added a slight vignette to the overall image.
Conclusion
I feel this image represents my original concept. The V-Ray out-of-the-box materials look great, and the ease of V-Ray 5 to render a clean image at a fast speed made it an ideal tool for this project.
More details could be added to the environment, and having some background vehicles would have been nice, but the image started to feel busy and cluttered as I tried adding more cars to the edges of the scene. I would have liked to have refined the fluid simulation more, have it running out of different areas below the SUV with various colored fluids, plus dark or stained areas on the road surface.
Another thing I might have done differently is to have the displacement on the road created in the actual geometry instead of the material, and run the sims and mass fx over that. With the displacement in the material, I ended up having to adjust the fluid and broken glass geometry with trial-and-error renders.
But overall, I am satisfied with the image, and I had a great experience with V-Ray 5 for 3ds Max, its built-in material library, and Chaos Scans.


