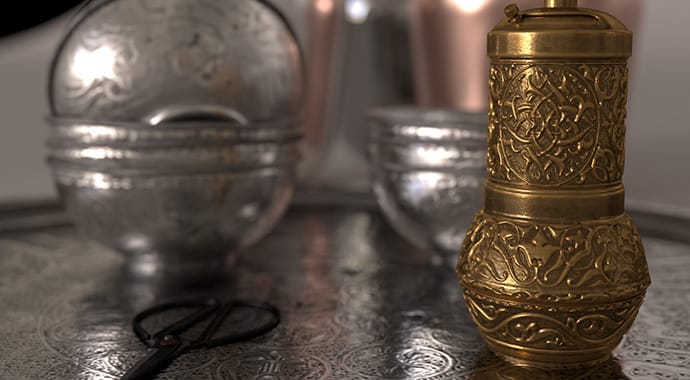
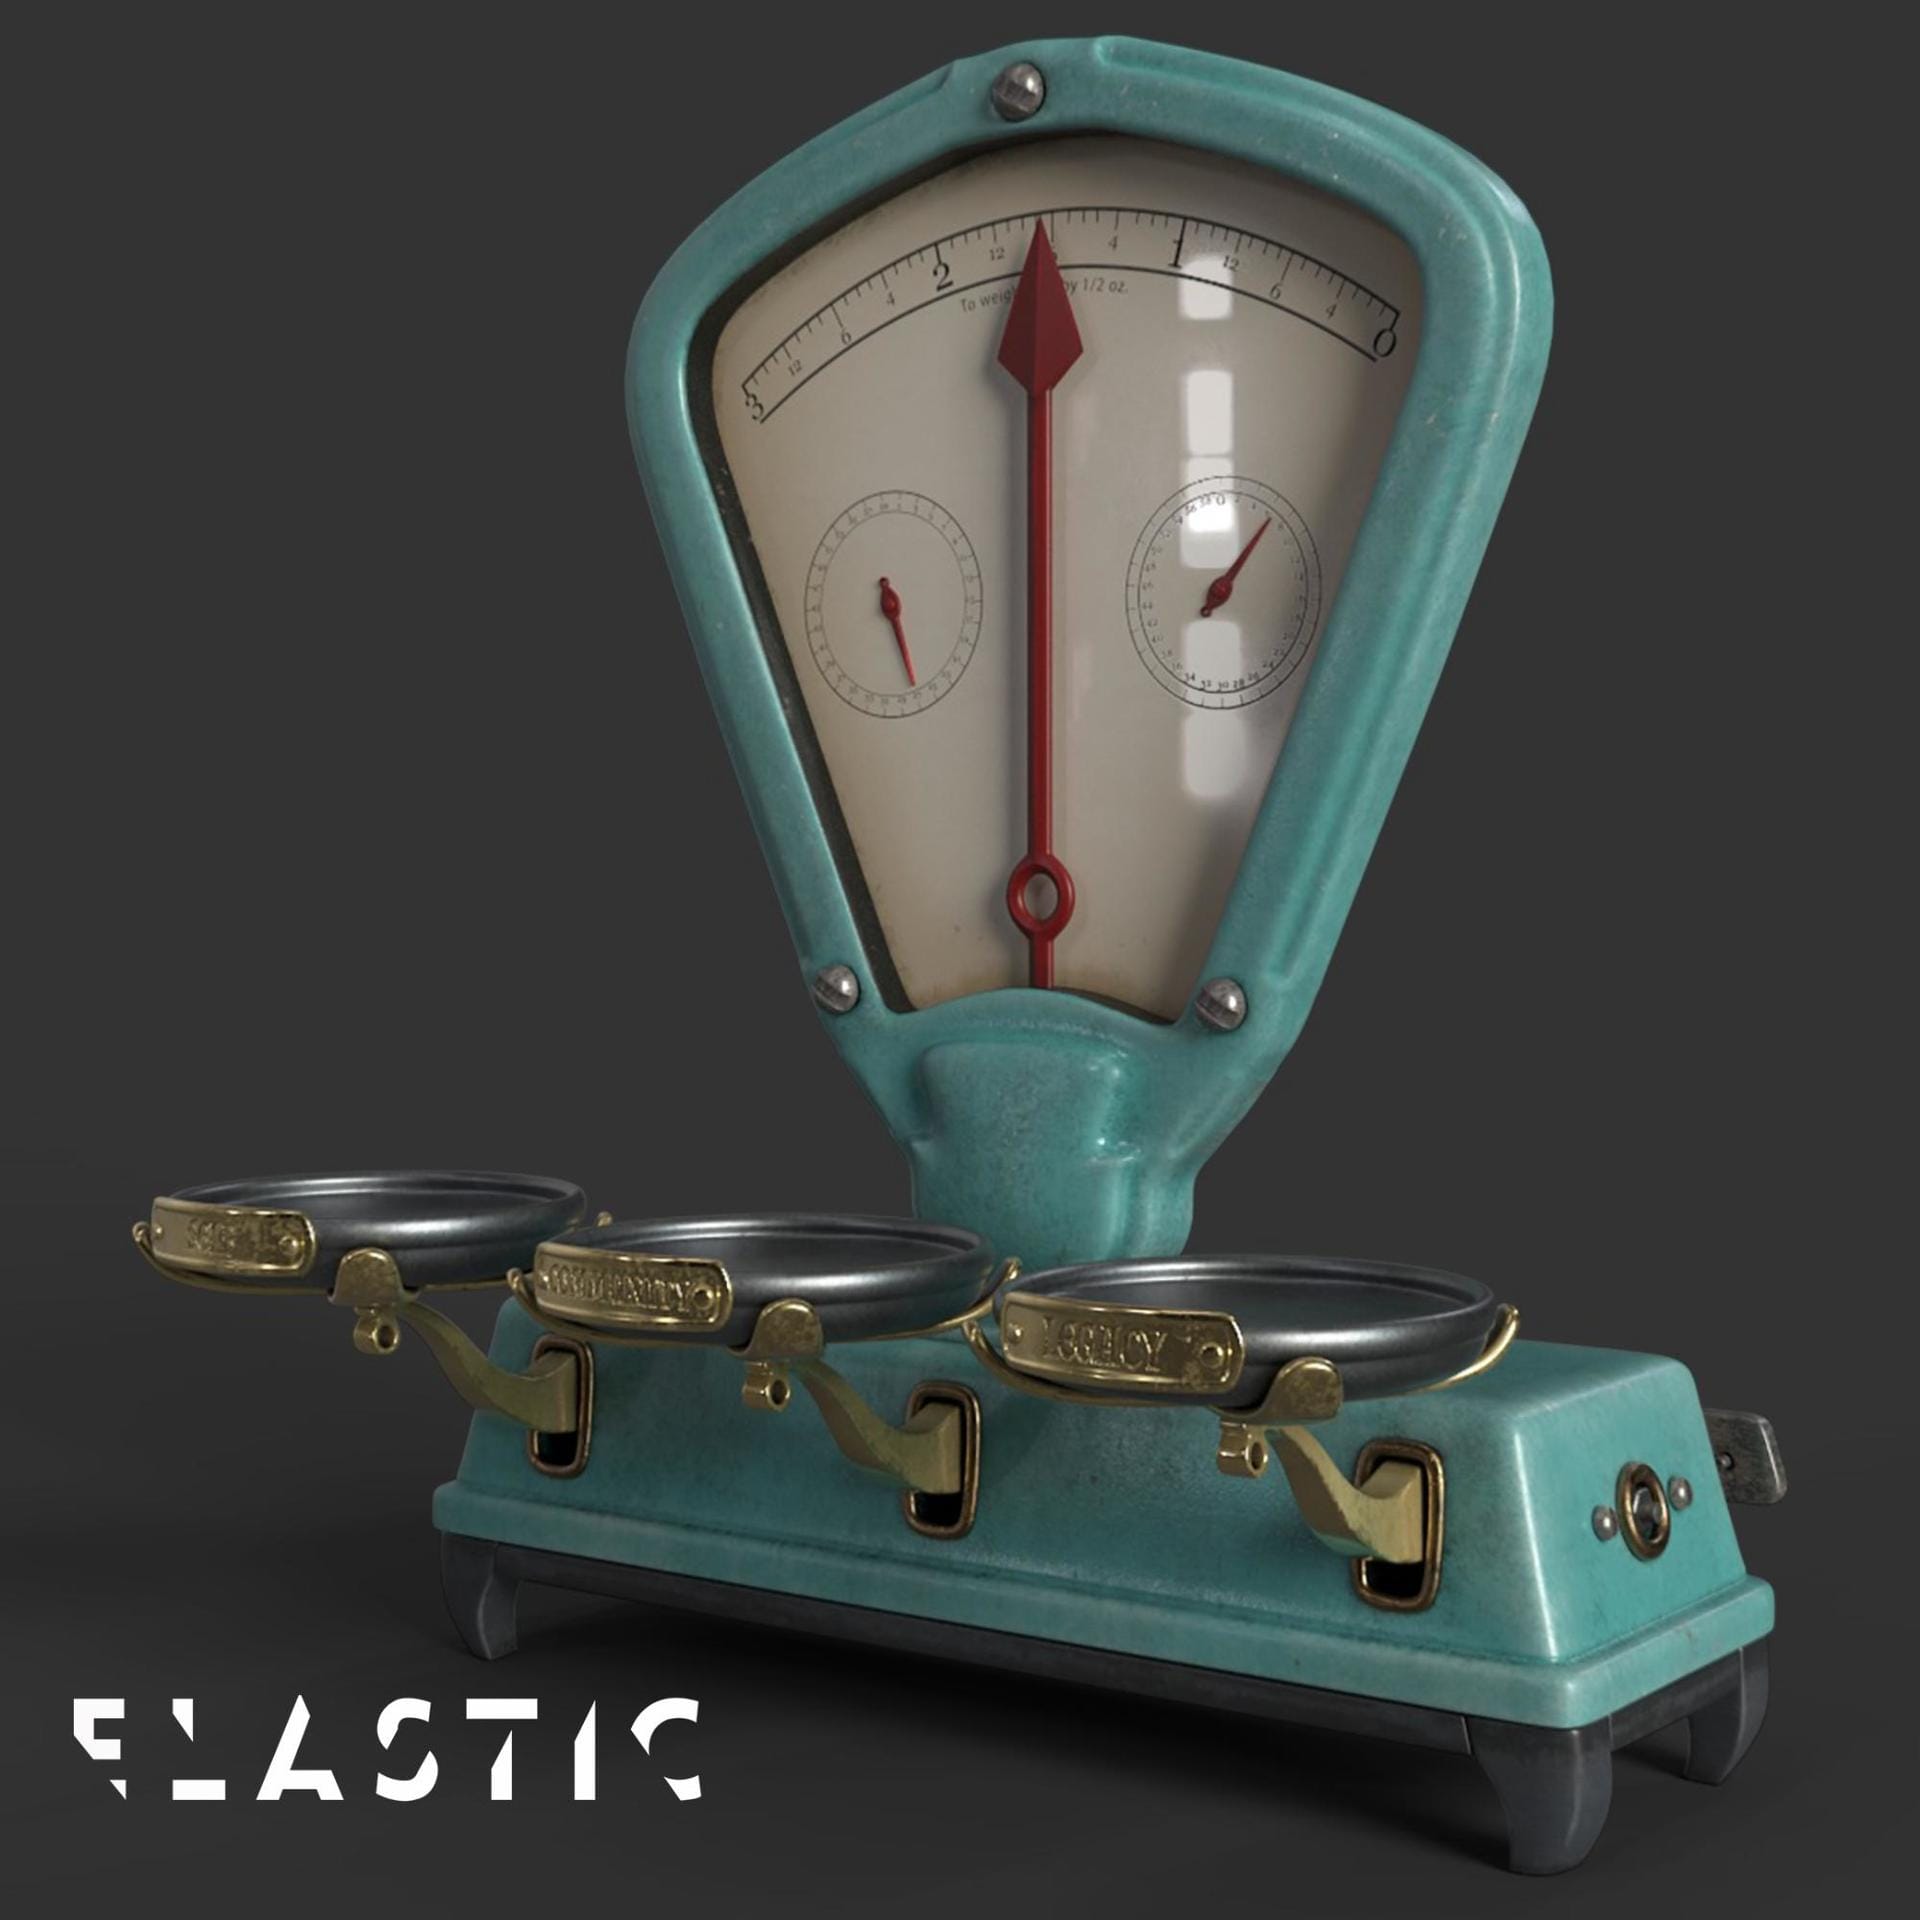
Get to know the V-Ray shader in Substance Painter. Discover how 3D artist Alessandro Baldasseroni and production studio Elastic use it with these 2 video guides.
For several years, many V-Ray users have been using Substance tools by Adobe to create materials for their projects. Substance tools are rich, powerful — and can create amazing shaders and textures.
One of the offerings is Substance Painter, a powerful tool that allows users to paint directly onto their assets and see how it will look once shaded. But because Substance Painter is its own 3D application, you will be rendering your project with different software.
Substance Painter uses real-time rasterization to show you the results of your render, which is different from what you will use to render your actual project. What’s more, every renderer organizes its own base shader parameters differently.
So, how are you going to make sure that what you paint in Substance Painter will look similar to what you render in V-Ray? We’ll discuss the V-Ray shaders in Substance Painter and how to use them. Then, two of our users will showcase how this fits into their different workflows. You’ll see how Alessandro Baldasseroni, Lead Character Artist at Nvidia sets up his shader in Substance Designer and moves to V-Ray for 3ds Max, and our friends at Elastic will share their Substance workflow into V-Ray for Maya.


Get to know the V-Ray shader in Substance Painter
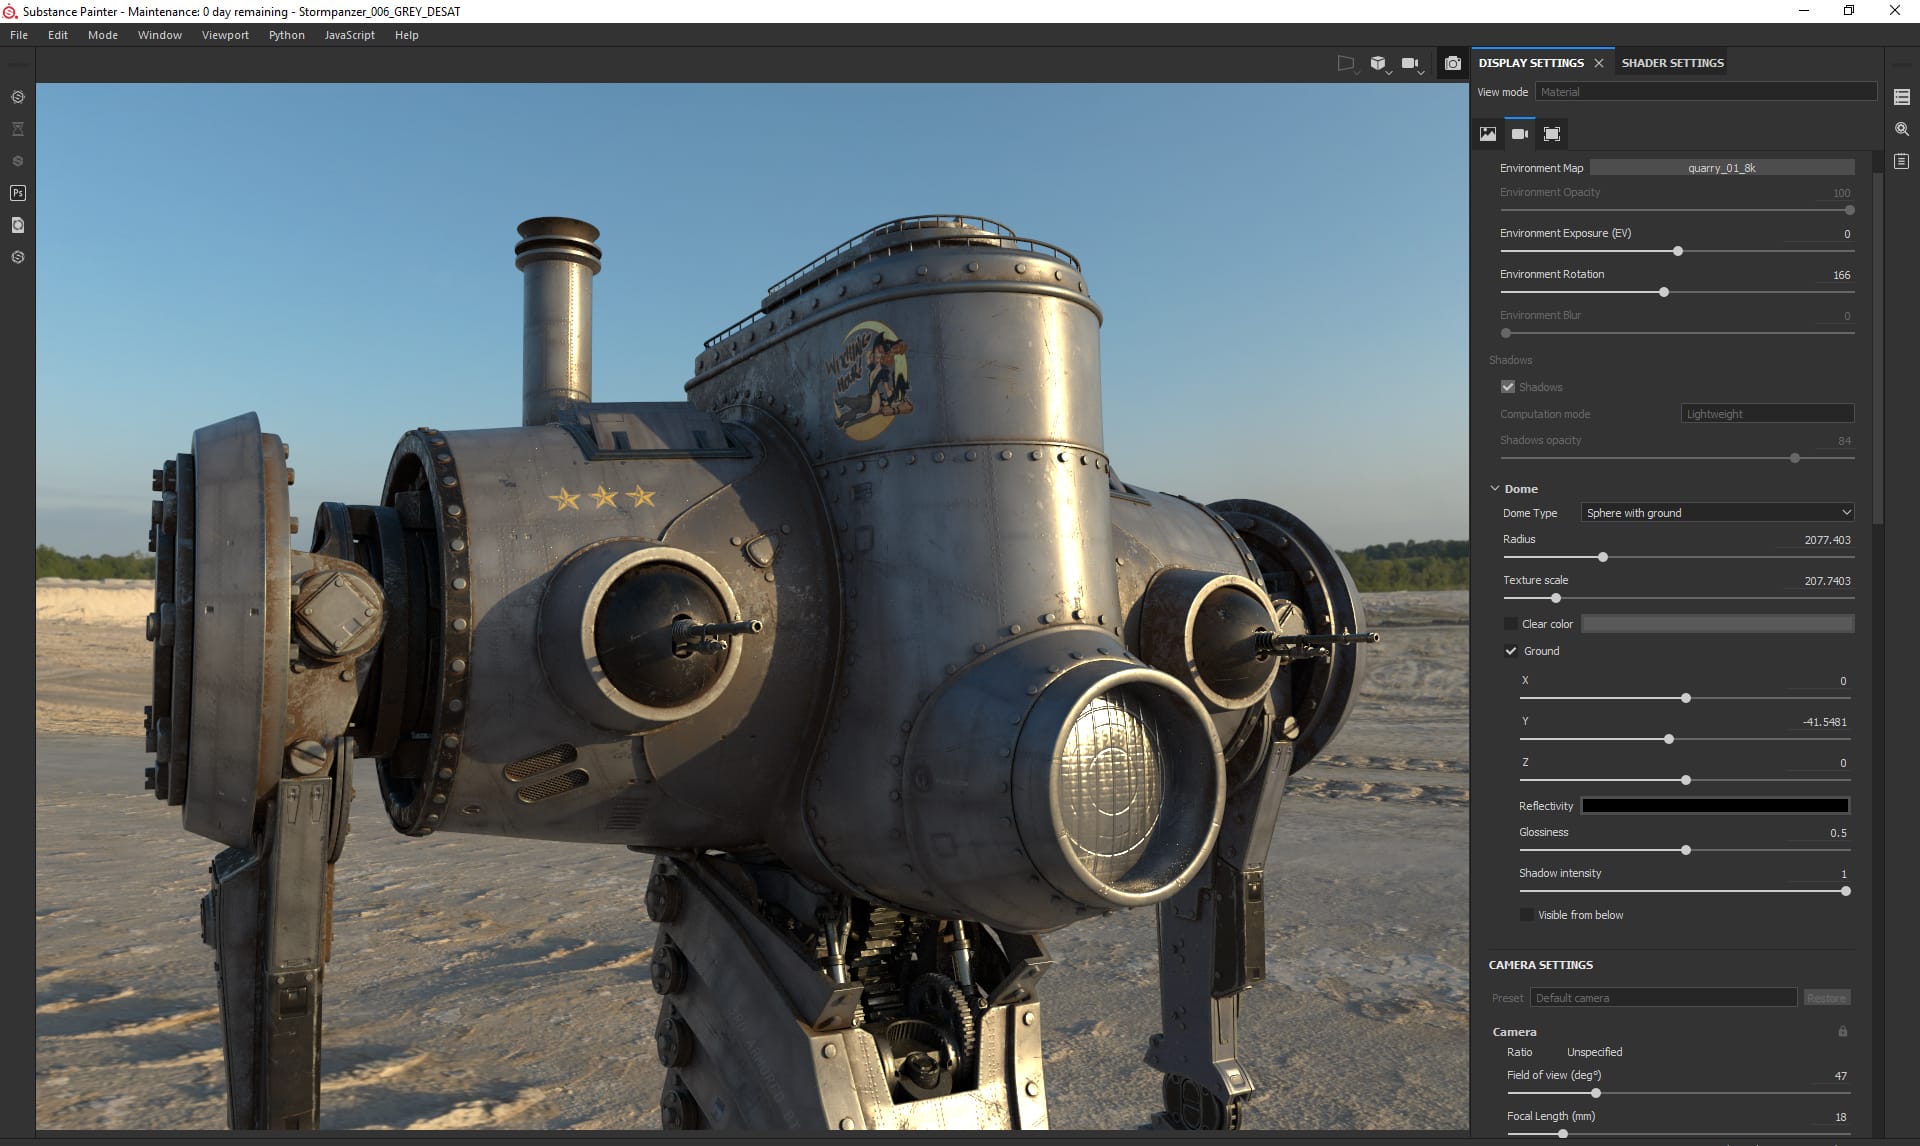
In Substance Painter 2020.1 (6.1.0), Adobe introduced a V-Ray shader with two modes: VrayMtl - Metallic Roughness and VrayMtl - Specular Glossiness. The beautiful thing about these is that their parameters match the VRayMtl shader in your project. This way, you can paint, adjust the parameters — and you’ll see what you will get once you apply it to your own V-Ray shader in the 3D application of your choice.
Then, when you transfer all the maps in your 3D application, you can simply add them to the appropriate slots and you should be good to go.

The GLSL shader
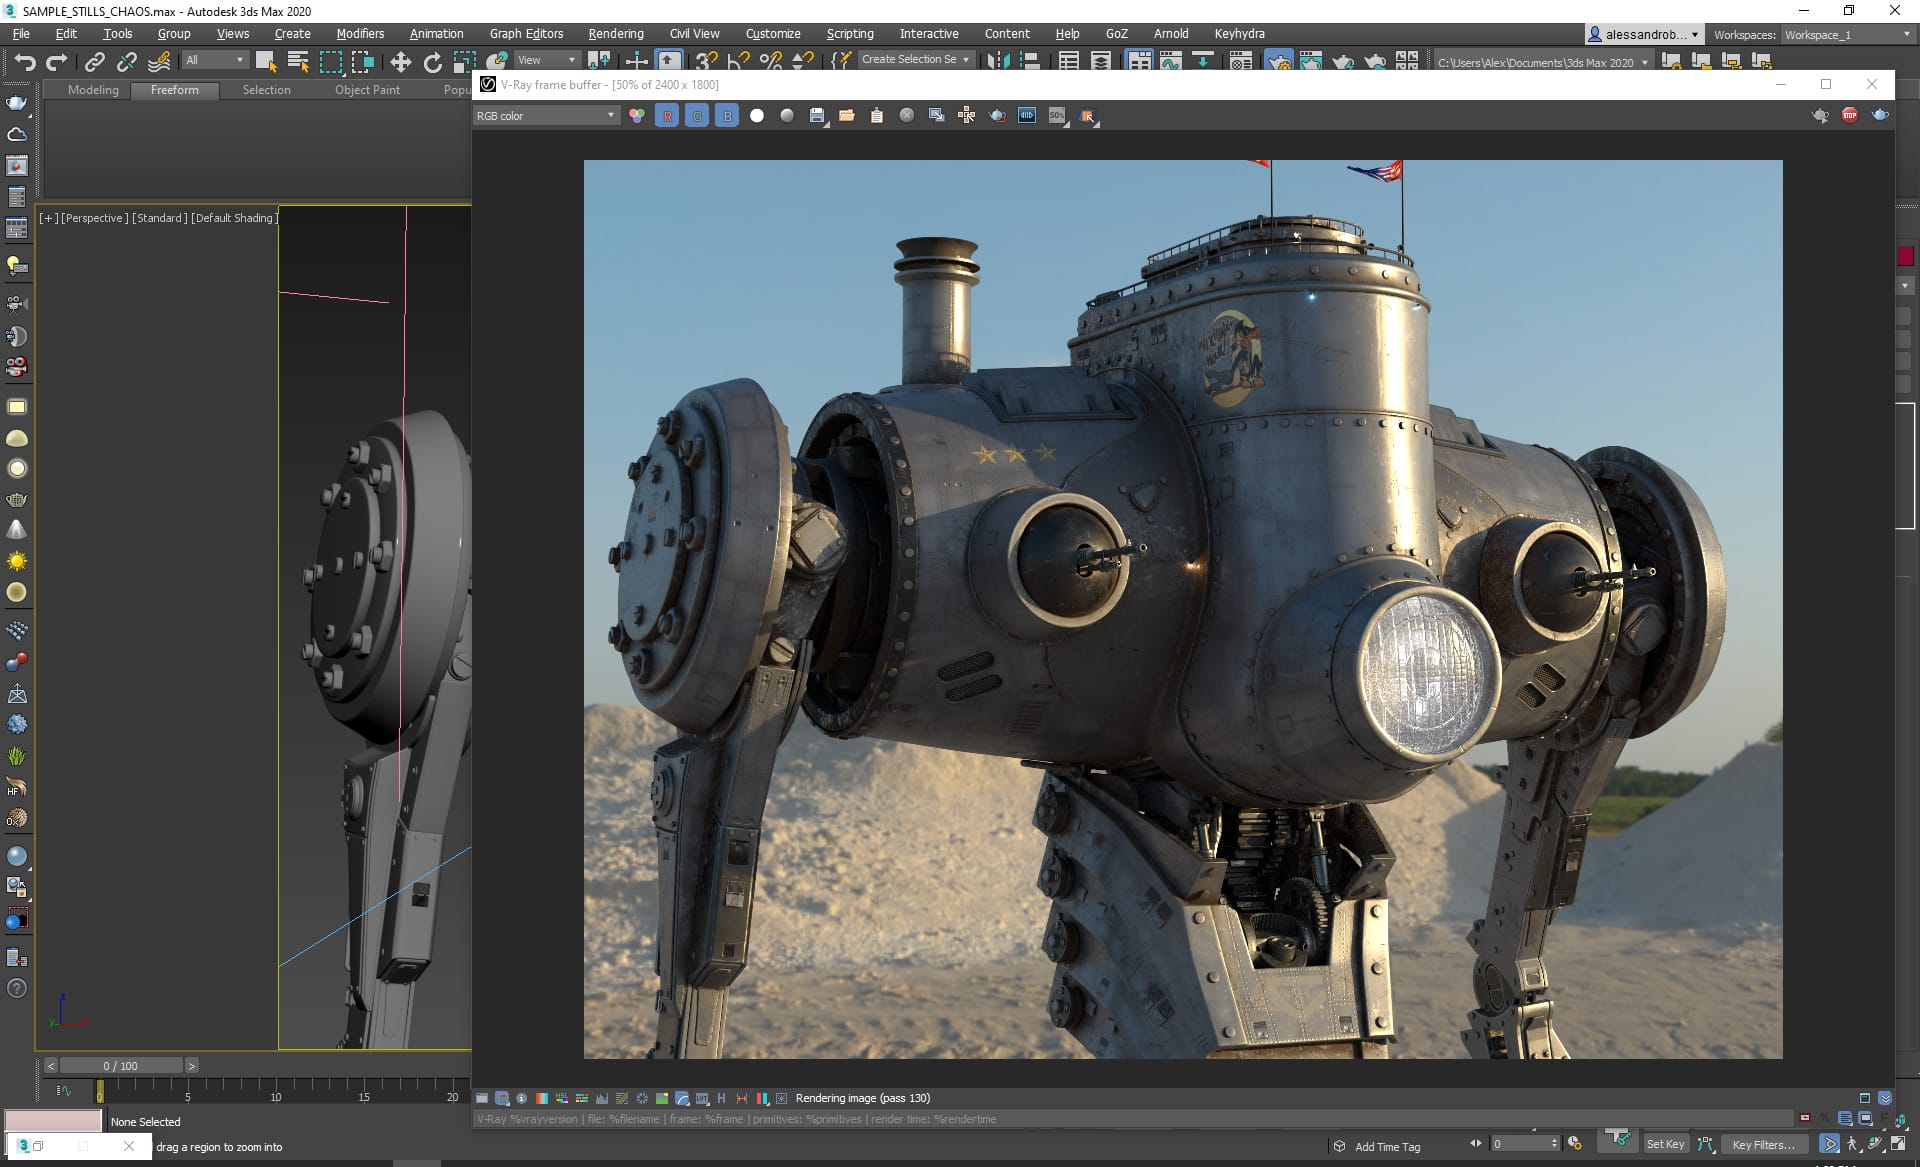
Remember, though, that the shader in Substance Painter is not actually rendered in V-Ray. It is a rasterized rendering, not raytraced in V-Ray. Chaos Group actually made our own GLSL version of our shader and gave that to Adobe so that it can be integrated inside Substance Painter. The GLSL version of the shader makes sure that the parameters can be represented as closely as possible in Substance, therefore making it as close a match as is possible with rasterized rendering. So, for example, the specular highlights and breakups should be a very close match.
Metallic Roughness vs. Specular Glossiness
As you might remember from our article Understanding metalness, we explained how people use PBR materials. We detailed two workflows: There are people who use PBR materials who tend to like to paint roughness maps, and then there are others who are more used to the traditional V-Ray shaders who seem to prefer to paint Glossiness maps, which is the inverse of a roughness map.
The two V-Ray shaders added to Substance Painter, that we’ve covered in this article, refer to those two different workflows and your personal preference of roughness over specular.
Substance Painter > V-Ray for 3ds Max workflow
We asked Alessandro Baldasseroni to reveal how he used the V-Ray shader in Substance Painter on his latest project into V-Ray for 3ds Max. Check out this 5-minute video for insights and an explanation of Alessandro’s Substance workflow:
Please note: At 2:54 in the above video, the Metallic/Roughness workflow requires the "Use roughness" option to be enabled in VRayMTL's BRDF rollout.
Substance Painter > V-Ray for Maya workflow
Last but not least, here is a clip courtesy of Elastic in Santa Monica, California, that gives a slightly different perspective — this time going into V-Ray for Maya from Substance Painter:
If you want to try out V-Ray in your own workflow, you can get your free 30-day V-Ray trial here >

