
Your cart
There are no items in your cart.

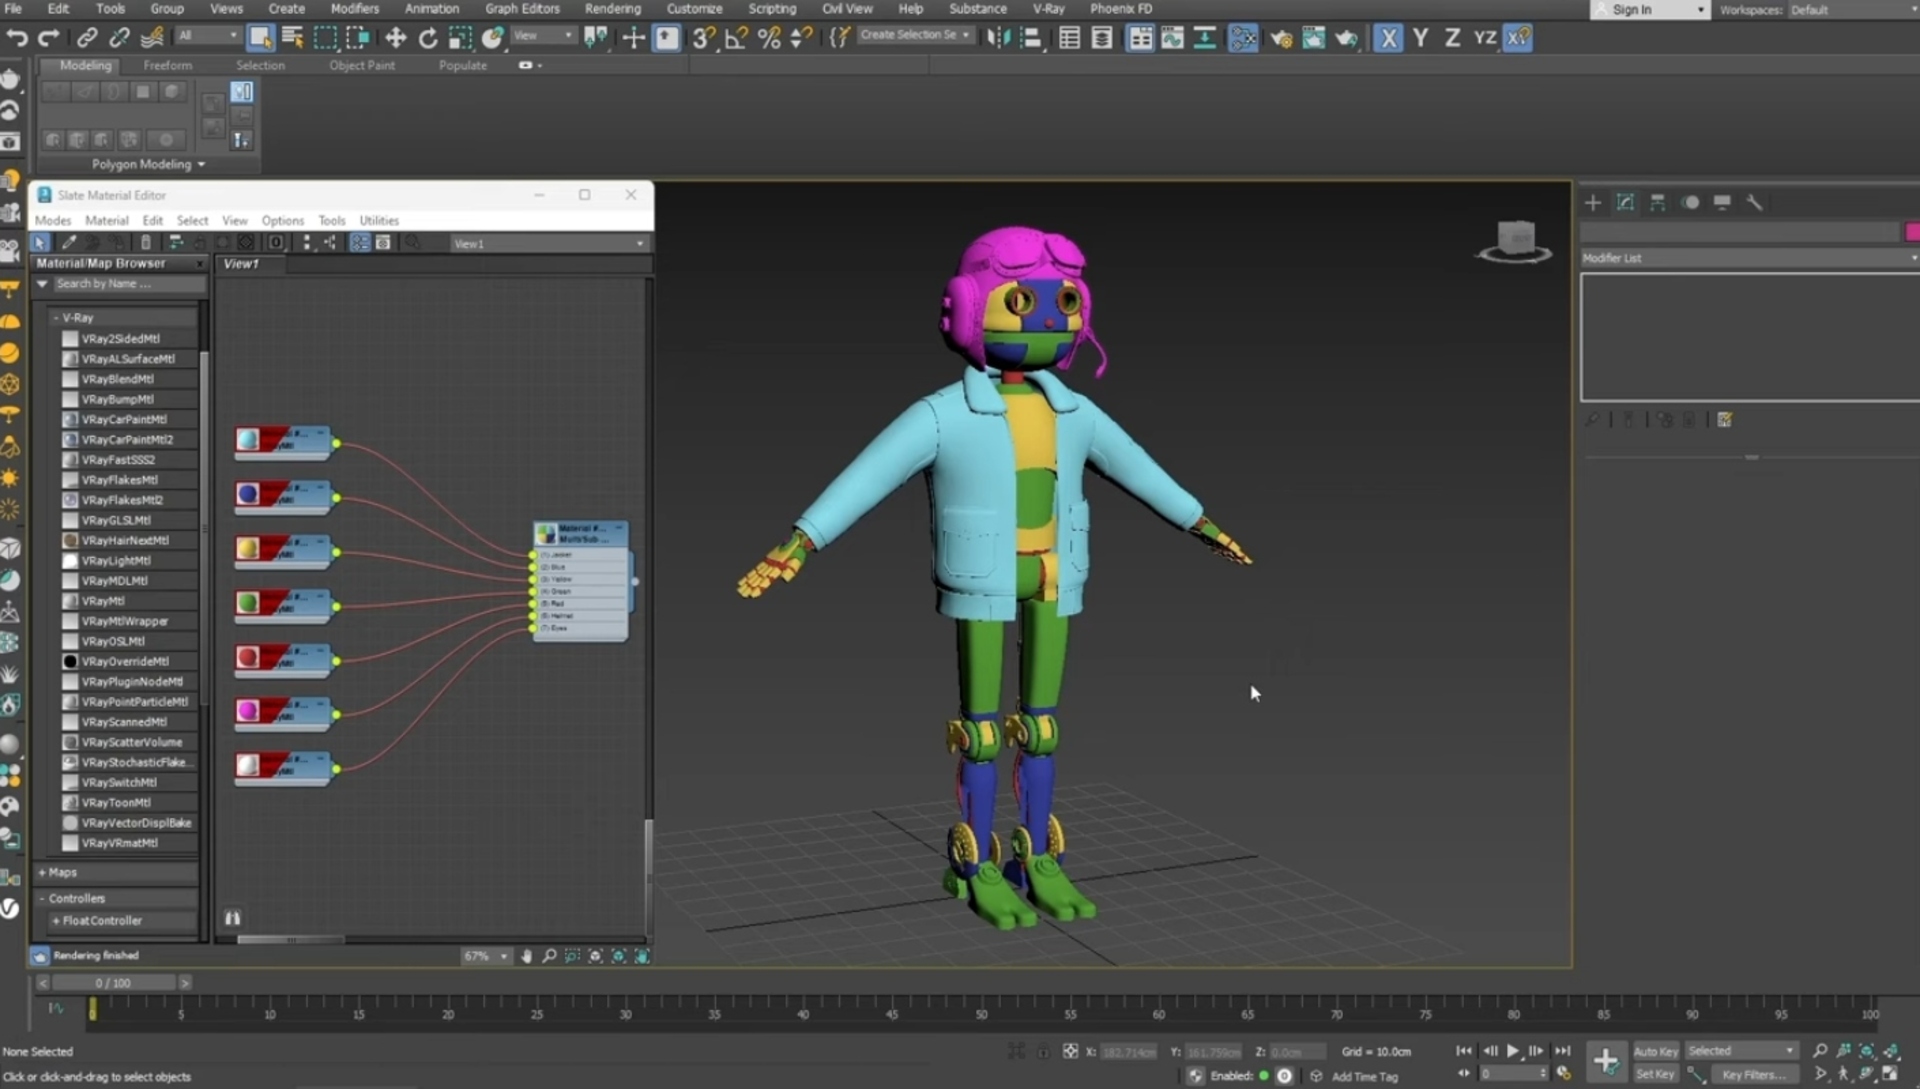
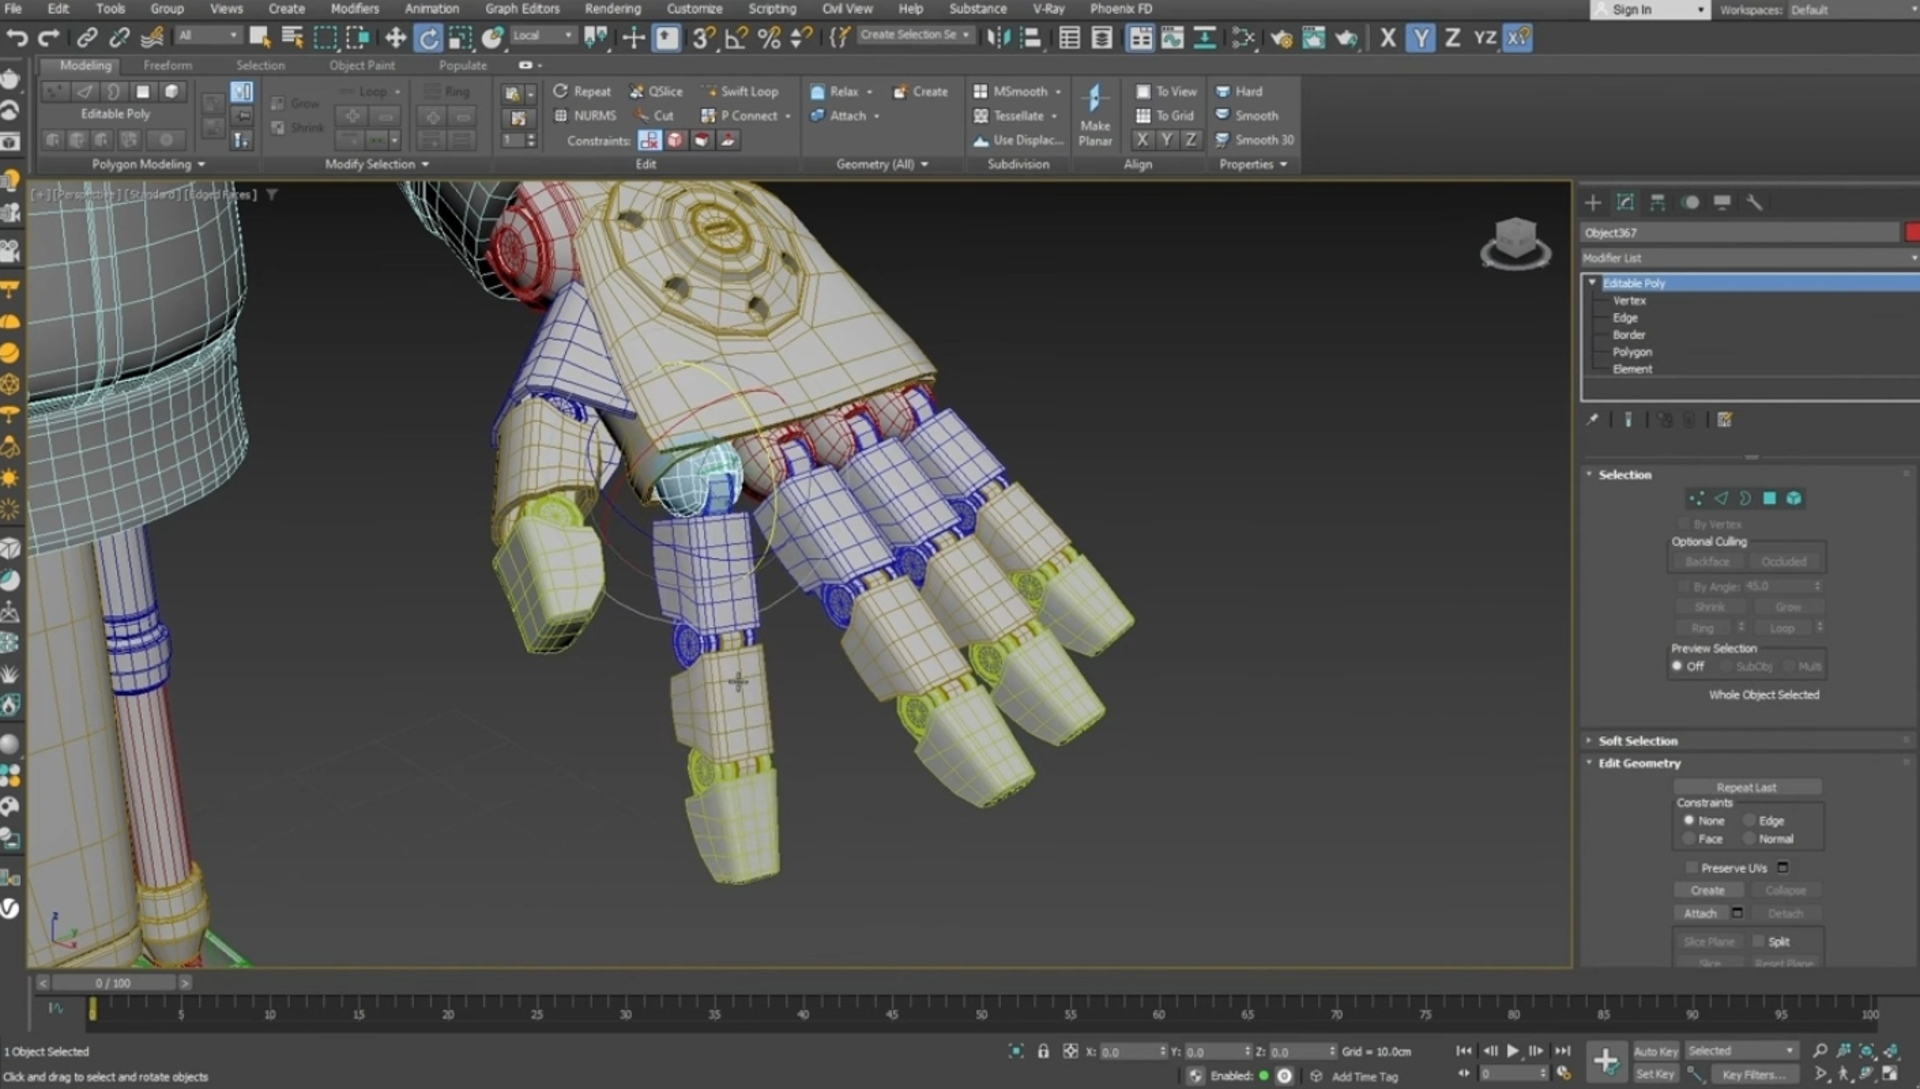
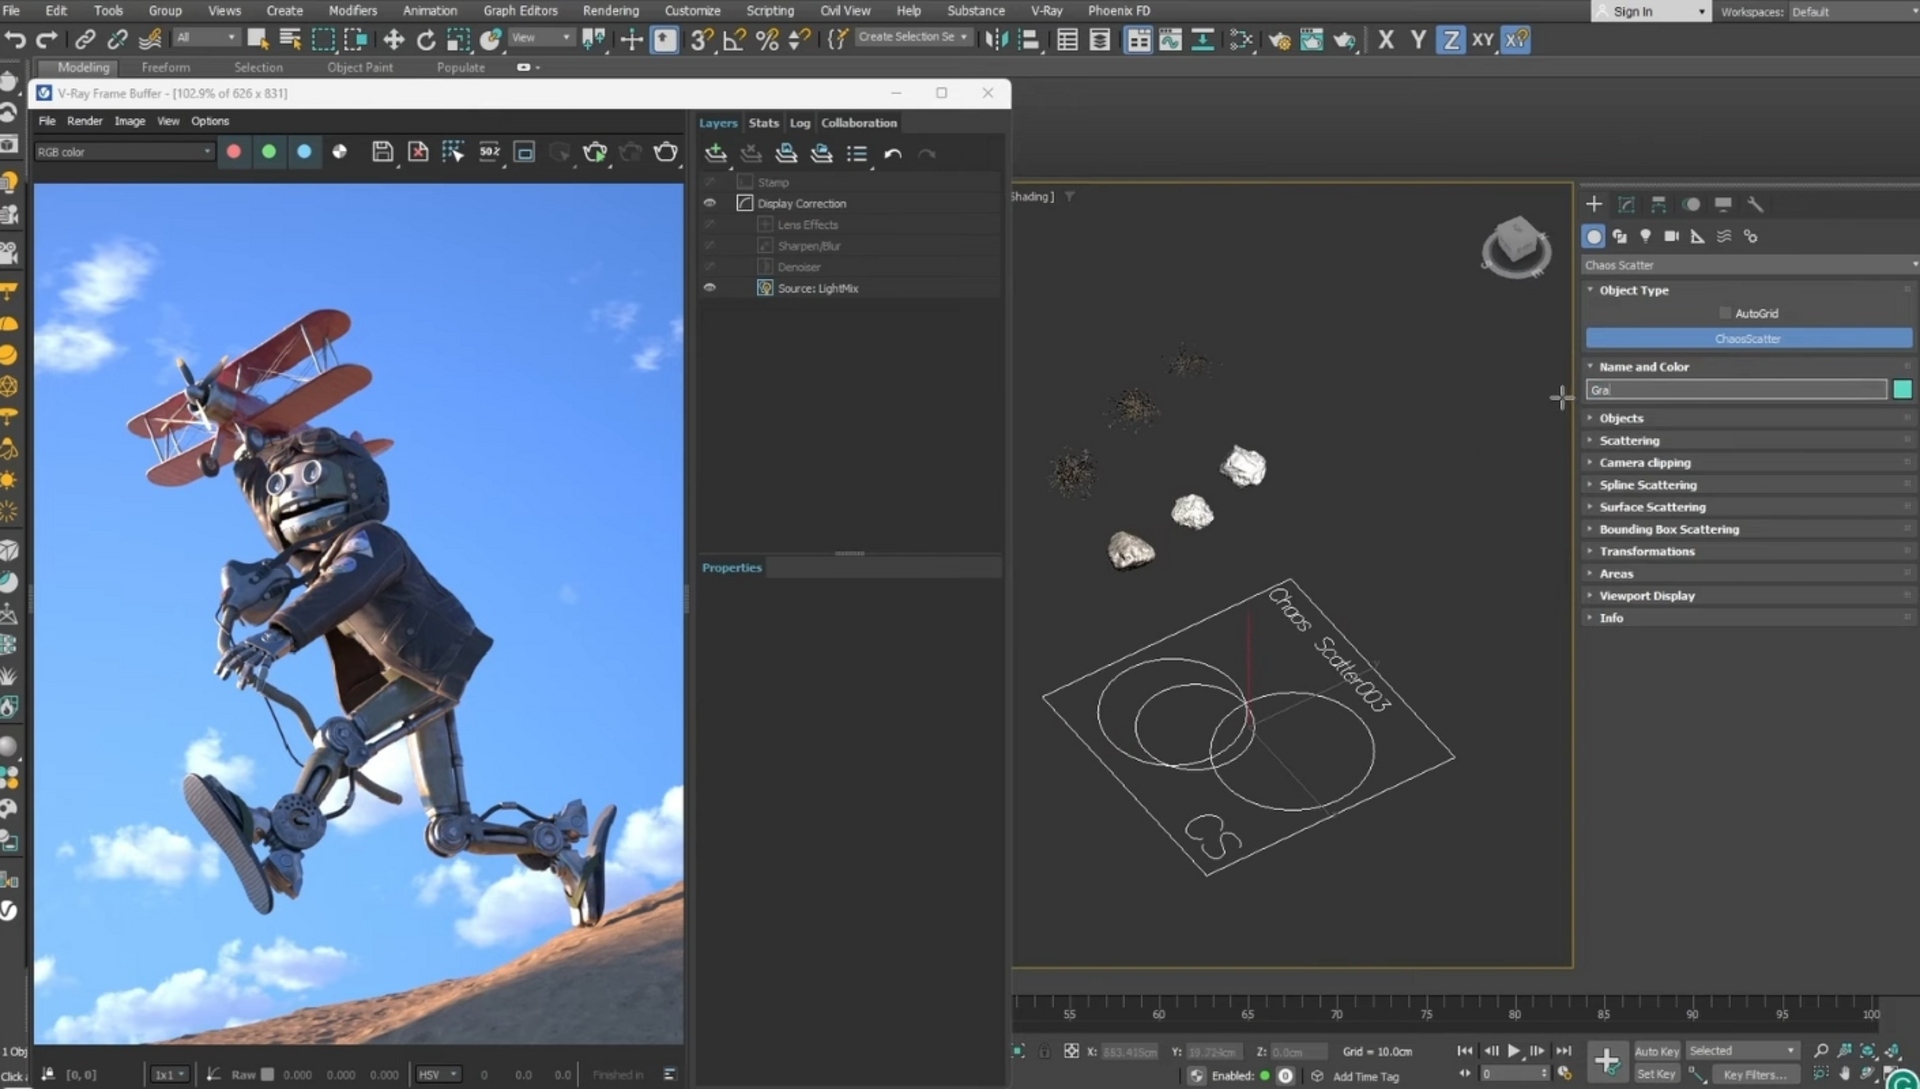
 Chaos © Mihail Topalov
 Chaos © Mihail Topalov
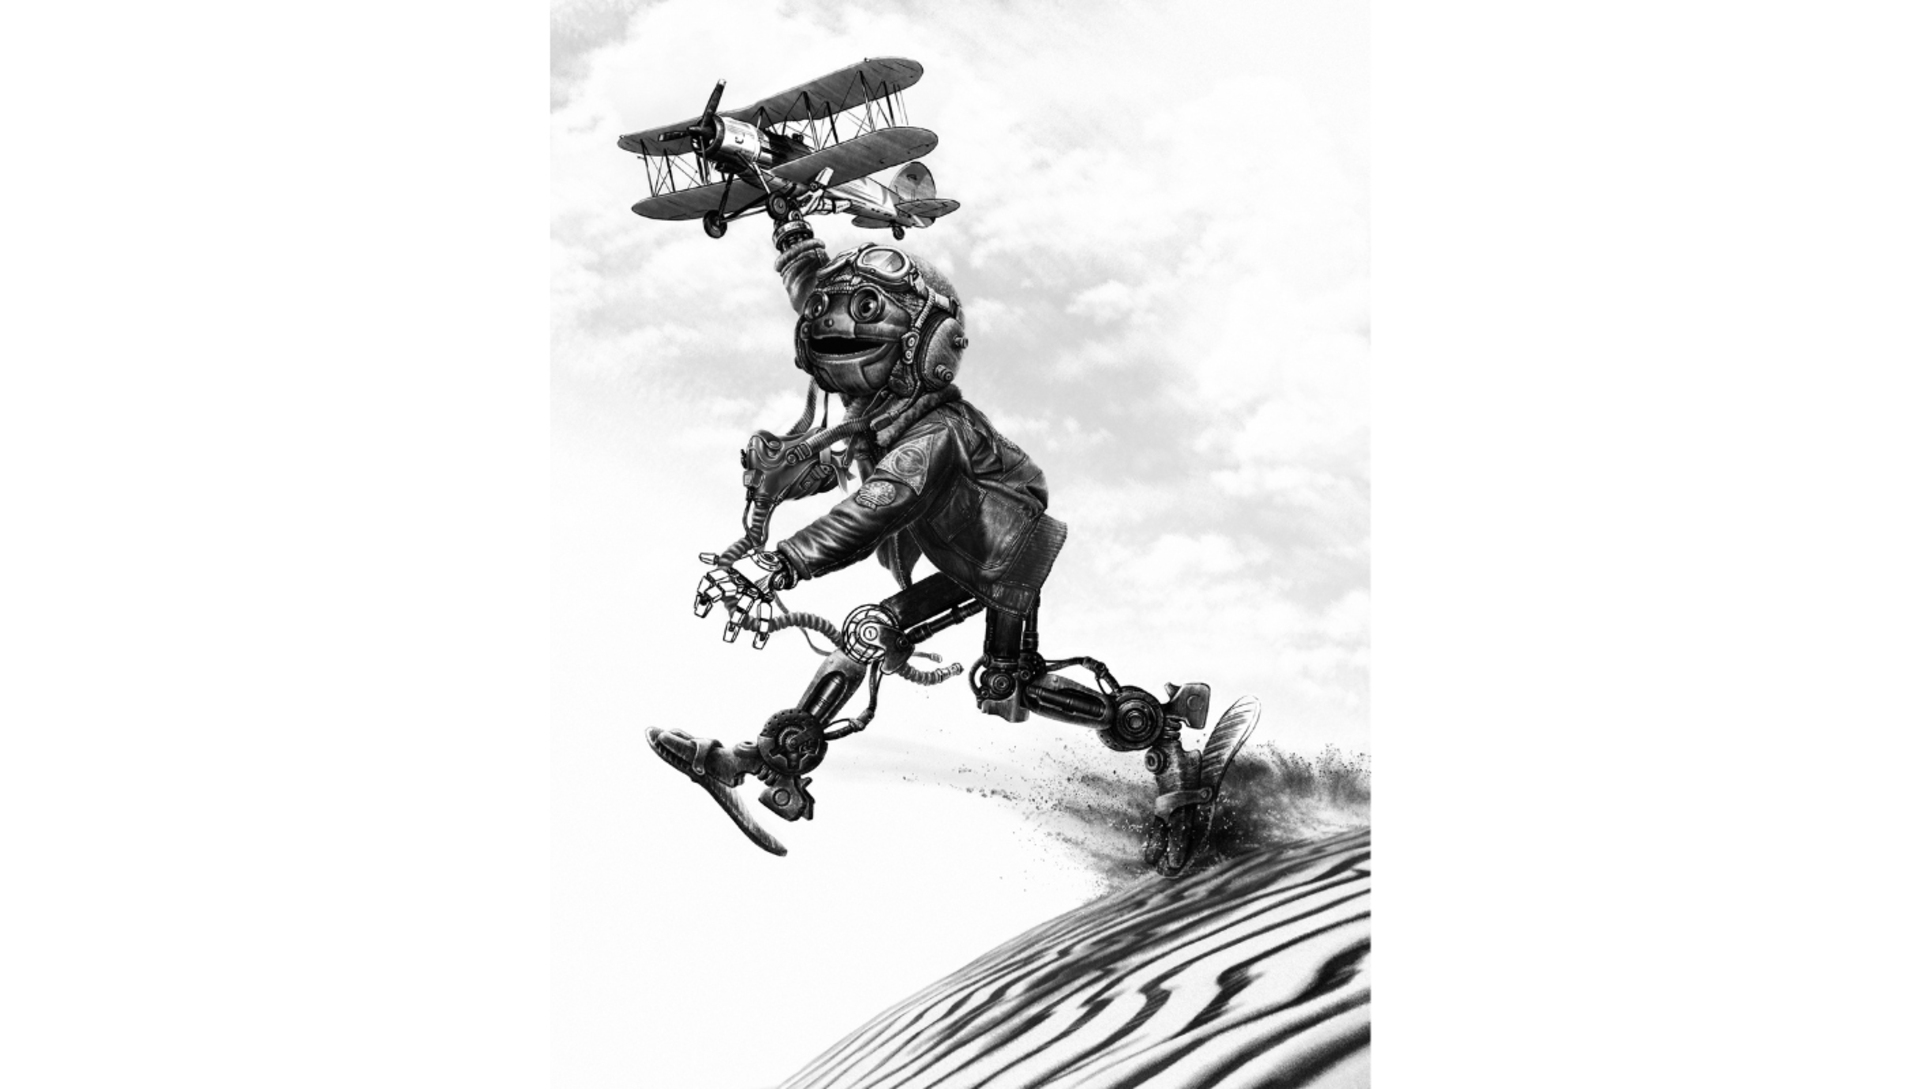

Learn how to create a mesmerizing tile pattern in V-Ray for 3ds Max using the Enmesh modifier and V-Ray GPU. Join us as we create, scatter, apply materials, and render with speed-boosting texture caching.

Learn how to create wood textures that will accentuate the realism and depth of your archviz designs in V-Ray for 3ds Max.
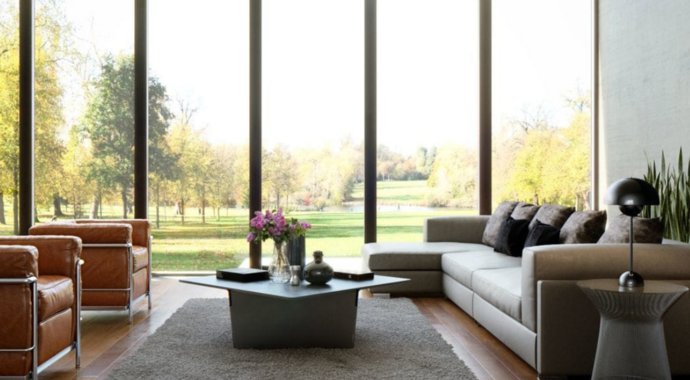 © Bendus Mihail
Want to make your archviz render stand out? Transform it with stunning hardwood textures using our simple 10-step guide in V-Ray for 3ds Max.
 © Škoda Design
Get the latest news, artist spotlight stories, tips and tricks delivered to your inbox.
By submitting your information you are agreeing to receive marketing messages from Chaos. You can opt-out at any time. Privacy Policy.