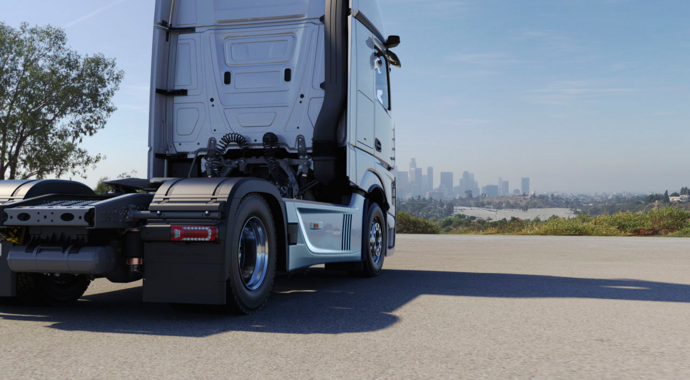
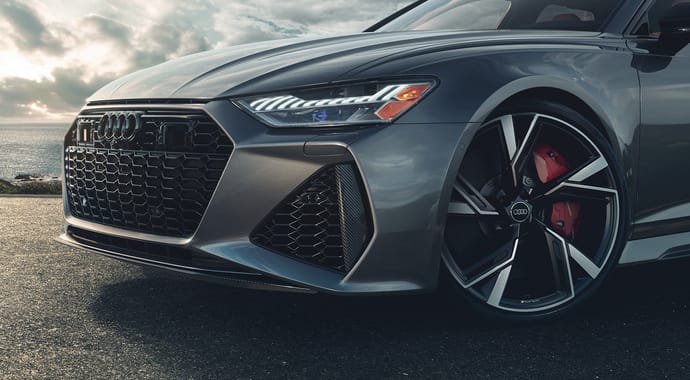
See a day in the life of a Maserati in 33 seconds, and find out how it was created with V-Ray for 3ds Max, VRscans and Chaos Cloud.
With almost 10 years of experience in the automotive industry, CG Artist Manuel Mousiol knows cars inside-out. But, after all those years creating and retouching automobiles, he realized there was one thing he'd never seen: a CG car time-lapse.
Using the sleek, shiny surfaces of a Maserati Levante as the project’s focal point, Manuel set about using a bunch of HDRIs, V-Ray for 3ds Max, VRscans and Chaos Cloud to create this stunning animation.
What inspired the project, and what was your aim?
My company Creative ControI works on passion projects when we have time. They’re a great chance to advance our techniques and give our clients an idea of what we can do.
I love the automotive industry; I’ve worked in it for almost 10 years now. Professionally, I have retouched and created a lot of content, but I have never come across a time-lapse video with a car. There are many “car porn” videos on the net, which show the good looks of a car and nothing more. I wanted to combine this with the beauty of the sky — it's a perfect match since the sun is the most powerful and beautiful light source, and clouds make for interesting reflections and backgrounds.
How did you make use of HDRIs?
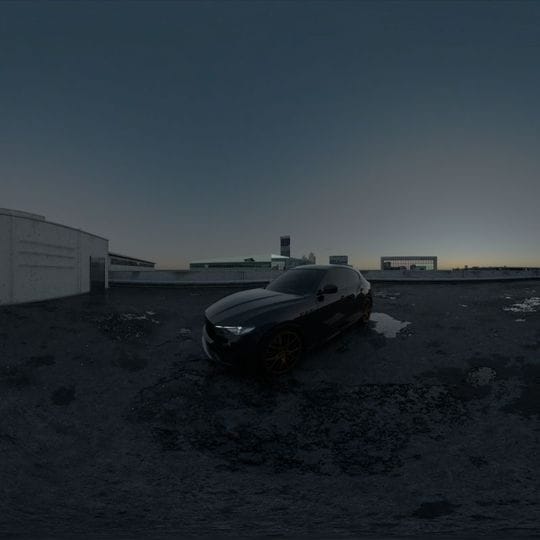
I bought 585 HDRIs, one for each frame of the scene, from HyperfocalDesign. Good HDRI time-lapses are hard to come by, but these have great dynamic range and give you sharp shadows. In total, it would have been 24 seconds, but I had quite a few overlapping frames from different cameras, so the final animation came in at 33 seconds.
I wanted a continuous look for the shadows, instead of them being all soft and even non-existent in cloudy frames, so I lined up a VRaySun with the sun in the HDRIs. This gave me more control over the shape of the shadows.
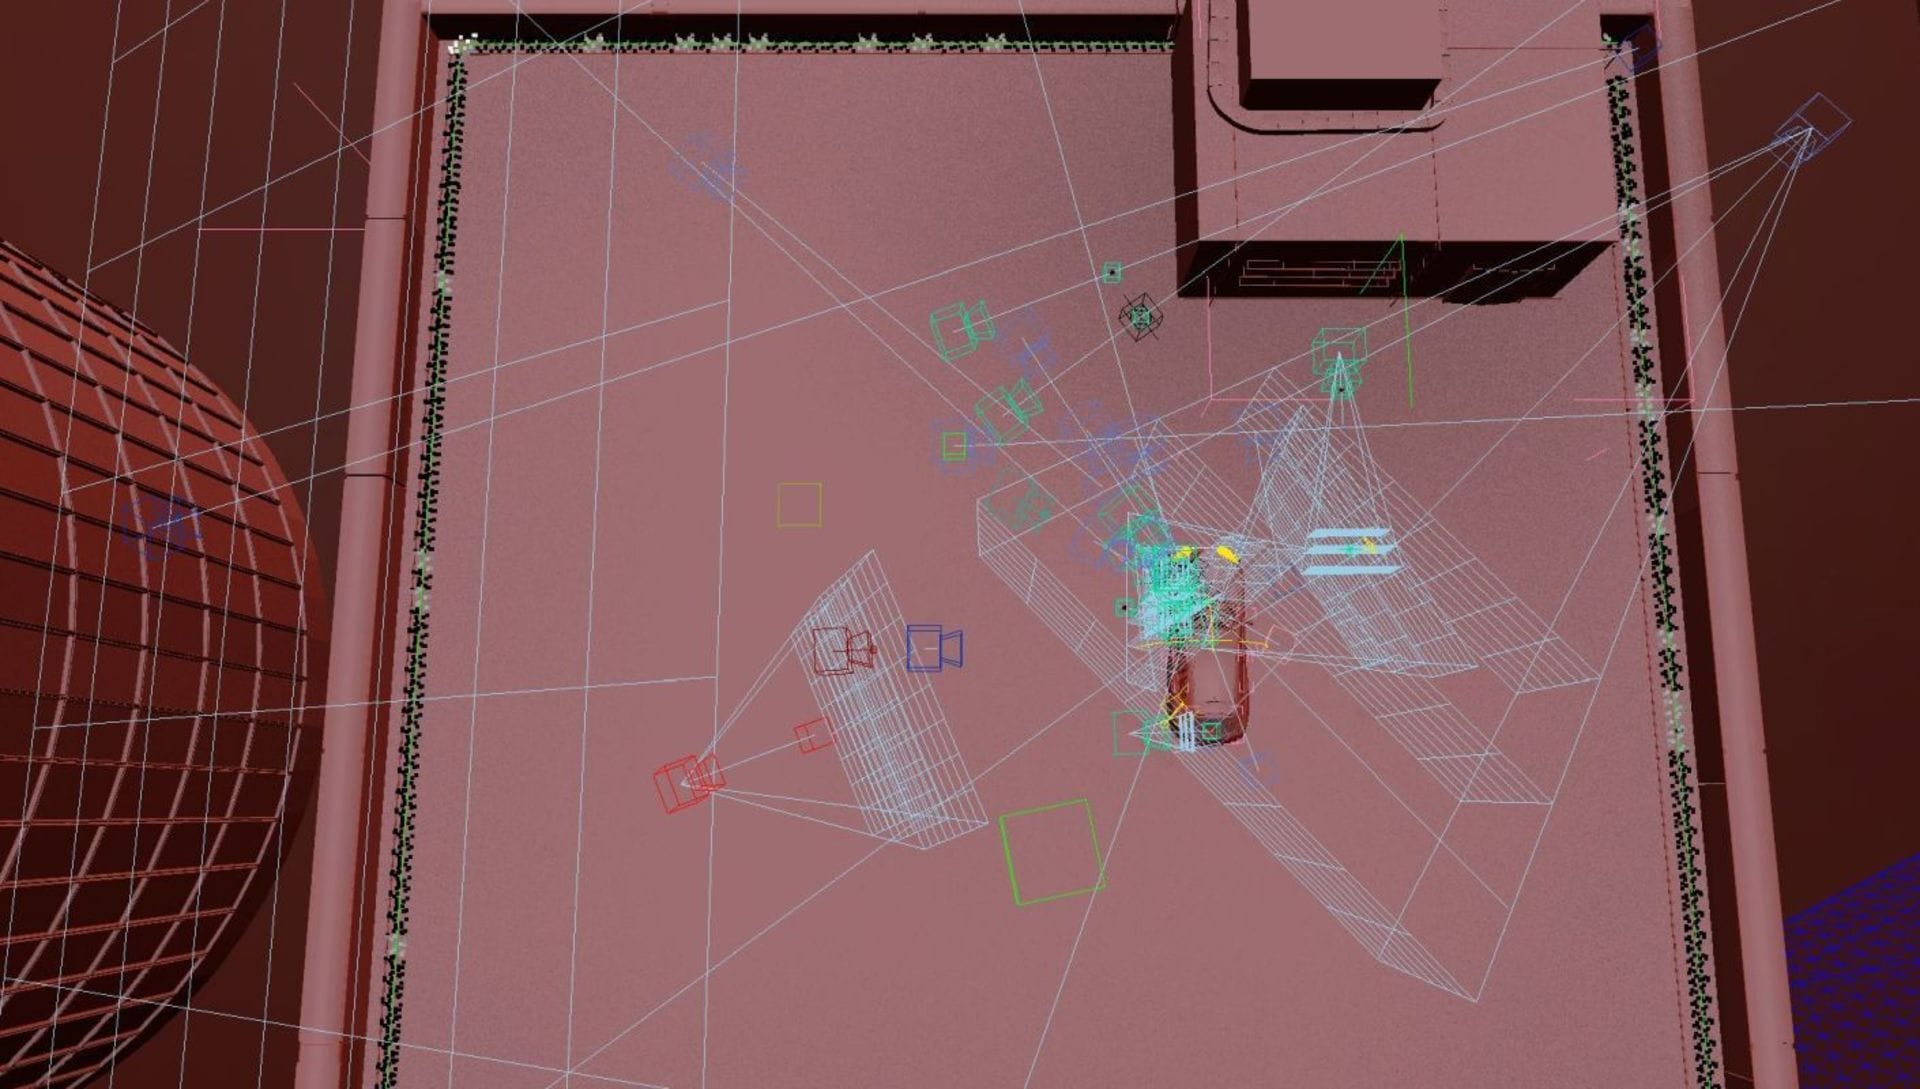
Manuel's camera setup
Did you have to ensure the car was always well-lit?
The problem with a time-lapse from dawn to sunset is not only the exposure itself but the fact that clouds randomly obstruct the sun, which leads to exposure variations as well as global and local flickering. I tried V-Ray Next for 3ds Max's new Automatic Exposure feature and it worked surprisingly well. Since I was rendering out 32-bit EXRs, I wasn't too concerned about the car being perfectly lit, as I have full control in After Effects. I used a deflicker plugin to remove any flickering.
How much of the environment was CG?
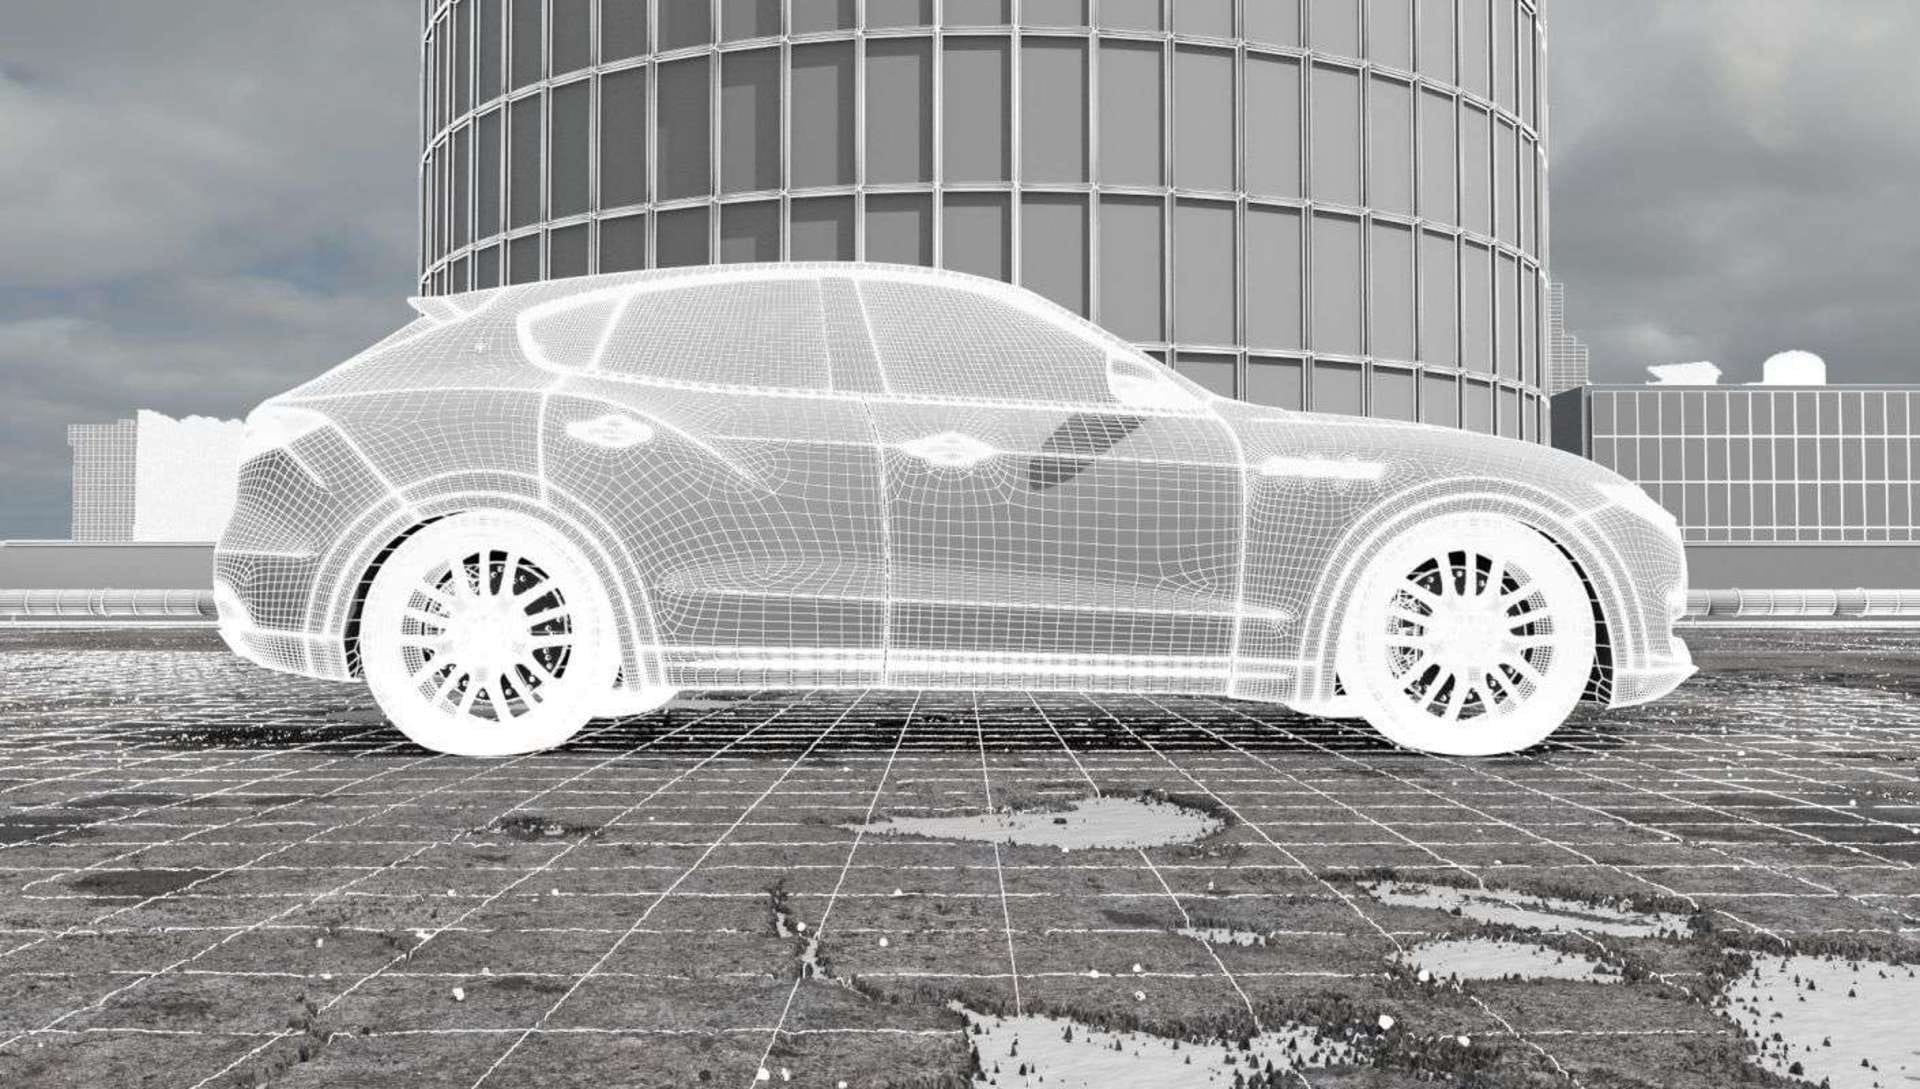
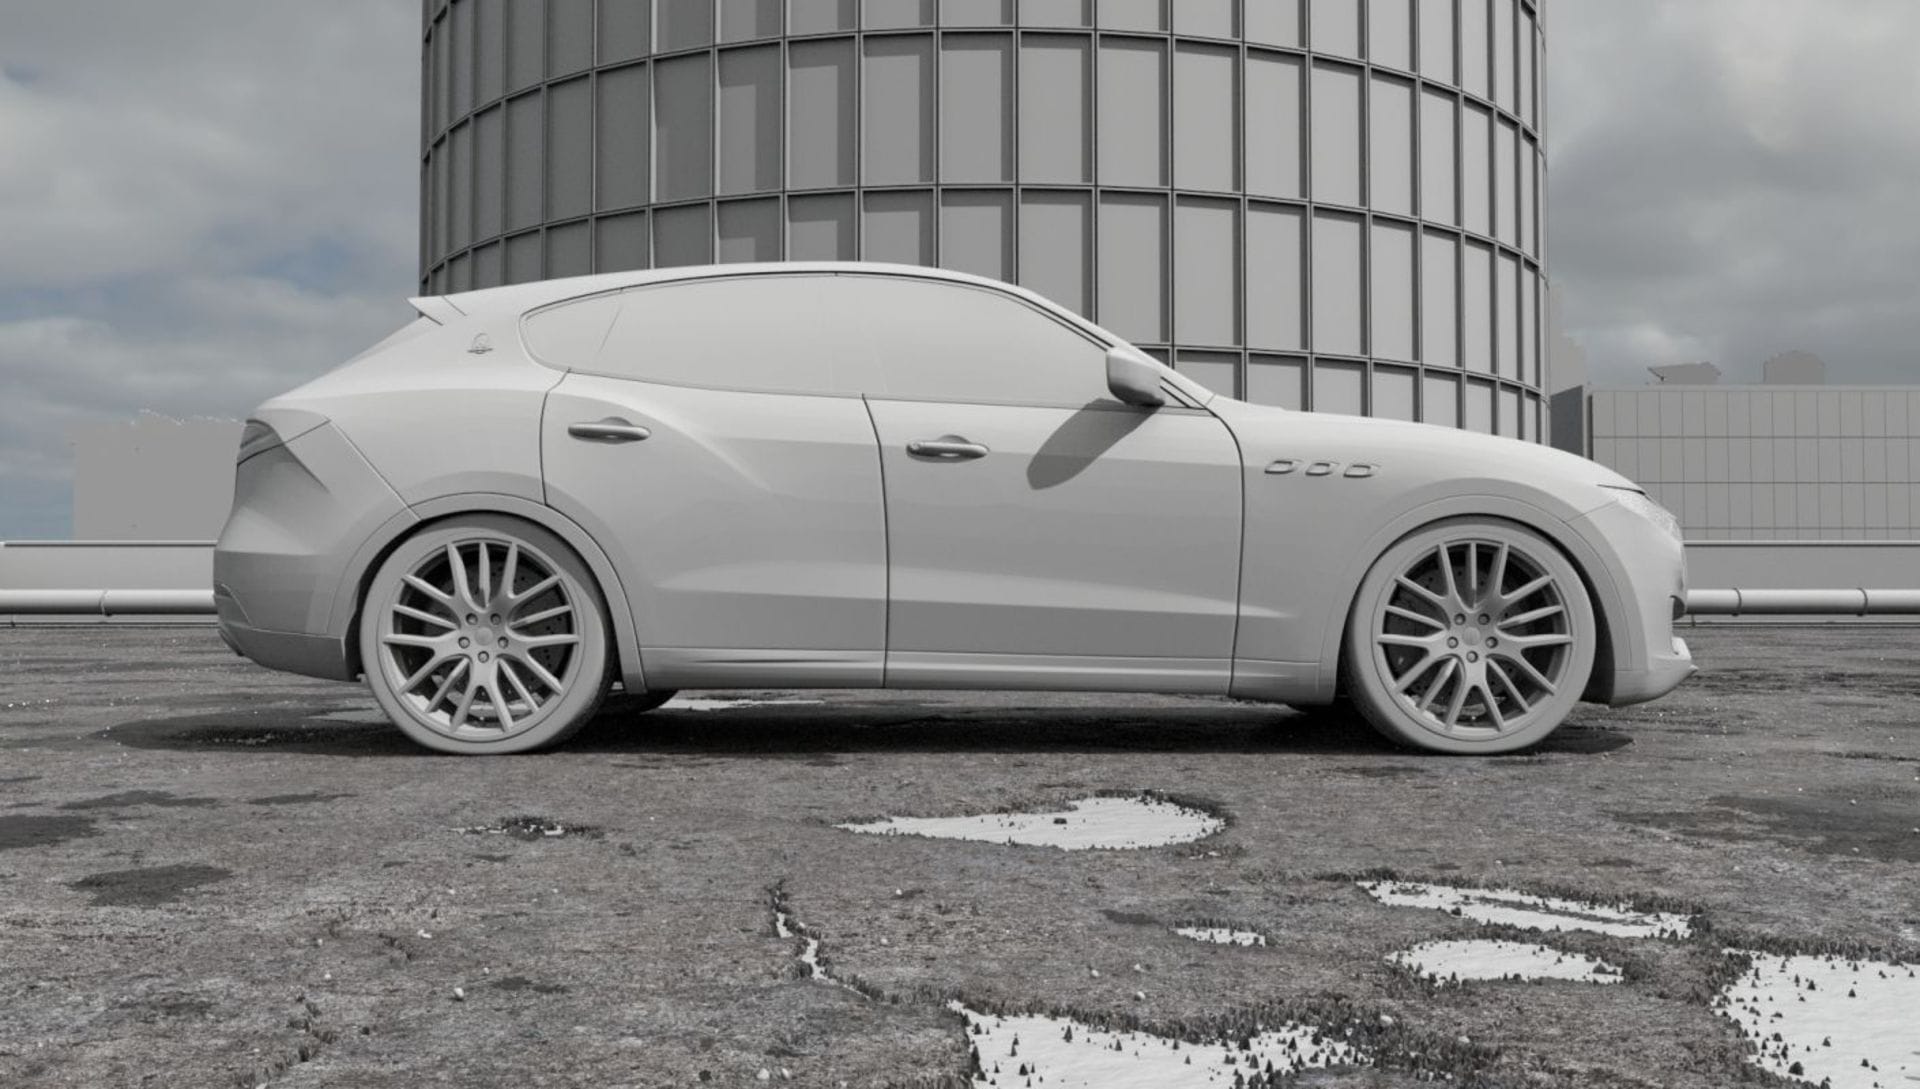
The more cameras I added, the more I had to build around the car because more environment was shown. In the end, I modeled the rooftop and the round building, as well as a lot of other skyscrapers in the middle ground and cut-out cityscapes in the background. Basically, everything but the sky is CG.
Test footage showing the entire panorama
You used VRscans for the car materials - what do you like about them?
Whatever lighting situation you use them in, they always look real and very detailed. In this case, instead of just using a simple black car paint, I used a blue one and adjusted the gamma so it became a lot darker, but it still featured some nice blue flakes. That's what I also like about VRscans: they are realistic but still pragmatic when you need to change things around.
I also used VRscans for some parts of the pipes on the rooftop, other metal parts and the mirror glass on the buildings.
Could you tell us about how you created the ground?
Rooftops are usually pretty simple and clean, but I did some research and found some crazy dirty ones, and loved them because they are visually more interesting. Besides various high-quality textures I used from Friendly Shade, the displacement and stone scattering are probably the most important aspects.
I used a 30,000-pixel texture for the displacement by mixing various depth maps. For the puddles, I displaced the ground by around four centimeters, then created a plane with a water material applied with a Phoenix FD Ocean Texture as a bump. This is visible at certain displaced spots.
Using Forest Pack by iToo Software, I scattered stones around and applied randomized stone materials and Stochastic Flakes via a VrayBlendMtl, so you see randomly colored highlights depending on the lighting conditions and angle. This creates some interesting bokeh!
How would you have rendered this project without Chaos Cloud?
On our local machines, it would have probably taken around nine to 12 days, based on a 20 to 30-minute render time per frame, rendering 24/7. Obviously, I would have had to prepare almost everything and then started rendering for this calculation. Or just render at night or weekends, which would have made everything even longer. Either way, since this was a passion project it would have taken a very long time, working on it and rendering while doing professional projects.
How much did Chaos Cloud speed up the rendering process?
Depending on the frame, render times were maybe 30 times faster. Instead of waiting 30 minutes for a frame, it took one minute on average, and since multiple frames are being rendered at once, I even saved more render time. Just amazing! And I was sending jobs to the cloud while I was working on the scene — testing some setups or just using one camera angle here and working on a different camera angle there while waiting for the rendering. The response was so fast that it was easy to test things out and just speed up the whole workflow.
I could never have rendered what I had in mind on my local machines.
Manuel Mousiol, Creative ControI
Was there anything that would have been impossible without Chaos Cloud?
I was adding more detail to the scene while submitting to the cloud until I got some failed jobs. I talked to support — which is the best in the world, by the way — and found out that I had crashed the cloud because of the displacement details!
Then Chaos Cloud was upgraded to 128GB RAM, and my renderings were successful again — I didn't even need to test my scenes locally anymore before submitting them. I also realized that I could never have rendered what I had in mind on our local machines because we only have 64GB of RAM. It was a pretty awesome experience.
What are you working on next?
I’ve started work on a food-themed animation with some exploding chocolate, created with Phoenix FD. which I hope I can test with Chaos Cloud. I'm a little worried about the simulation file size but also excited to see how the cloud will handle it. The beta has been a wild ride until now and I'm looking forward to new features and developments from the team.
Prepare yourself for some tasty renderings!

