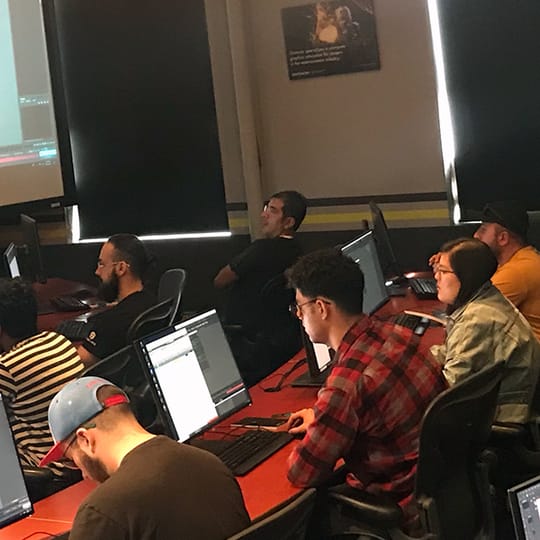
Agents of Chaos flew to California this summer to share with Gnomon students how an efficient V-Ray Next for Maya workflow can make them even better artists.
Earlier this year, Gnomon student John Jak Pagan scooped first place in our What’s Next? Student Rendering Challenge with his depiction of a teenager’s bedroom in the future, based on a concept by Khang Le. As well as winning V-Ray goodies, as the grand-prize winner, Jak won an exclusive workshop experience for his classmates in Los Angeles. And this summer, our Agents of Chaos traveled to sunny California to give Jak and his peers a hands-on V-Ray Next for Maya workshop at the Gnomon School campus in Hollywood.
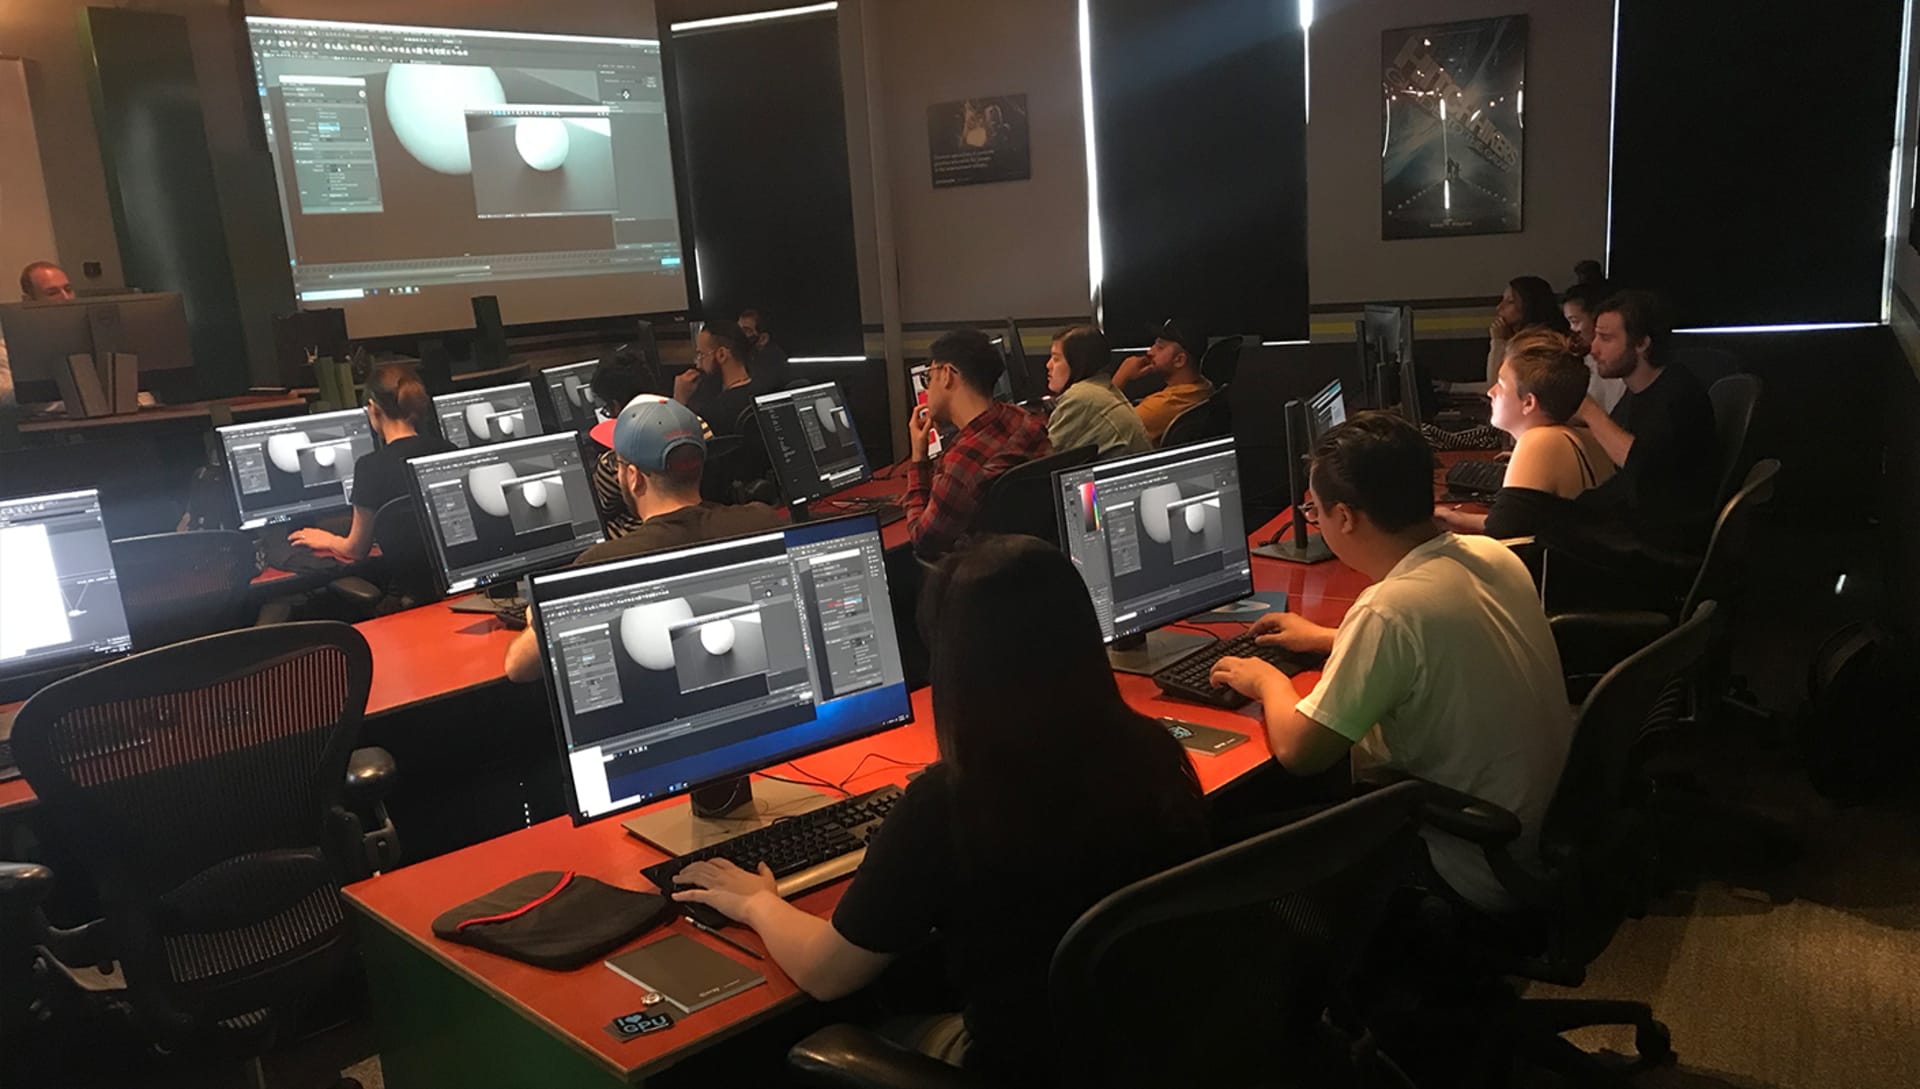
The exclusive workshop was held on the Gnomon School campus in the heart of Hollywood. The impressive facilities feature nine purpose-built classrooms adorned with the same hardware and software found in top production studios.
Senior 3D Artist, Atanas (Nasko) Tudjarov, from the Chaos headquarters in Sofia, was the instructor that guided the students through their exclusive three-hour workshop — the kind of which is usually delivered to professionals and studios. As Gnomon School’s mission is to train artists for careers in film, games and animation, the goal of the V-Ray Next for Maya workshop was to focus on all the settings that they need to care about in their future careers in production.
When getting started with V-Ray Next, the first thing to know is that you are actually getting two engines in one. And they perform differently. So it’s important when you kick off with a new project that you make a decision to use the CPU renderer or the GPU renderer. Atanas’ advice to Gnomon students at the beginning of the workshop was to steer clear of switching an engine halfway through a project, as it can lead to unexpected results.
The first part of the workshop went further over the basics of an efficient V-Ray Next workflow, beginning with the settings you can turn off when rendering a still image rather than an animation, and leading into essential sampling tips, why it’s imperative to leave the Color map alone (it’s perfectly set up in V-Ray Next, so doing nothing to it will actually give you great results), and how to choose between Bucket vs. Progressive rendering modes.
Tip: Bucket rendering is used effectively for production rendering and generating final renders, and Progressive rendering is best utilized for instant feedback while you’re tweaking your settings to perfection!
The students at Gnomon receive the highest level of education possible, taught by industry professionals working in Hollywood studios. This allowed Atanas the chance to delve into some advanced techniques and give live demos that the exceptional students could follow along with on their powerful workstations. Students were able to ask questions throughout and Atanas even held a mini rendering challenge to award the fastest student with some Chaos goodies for being top of the class.
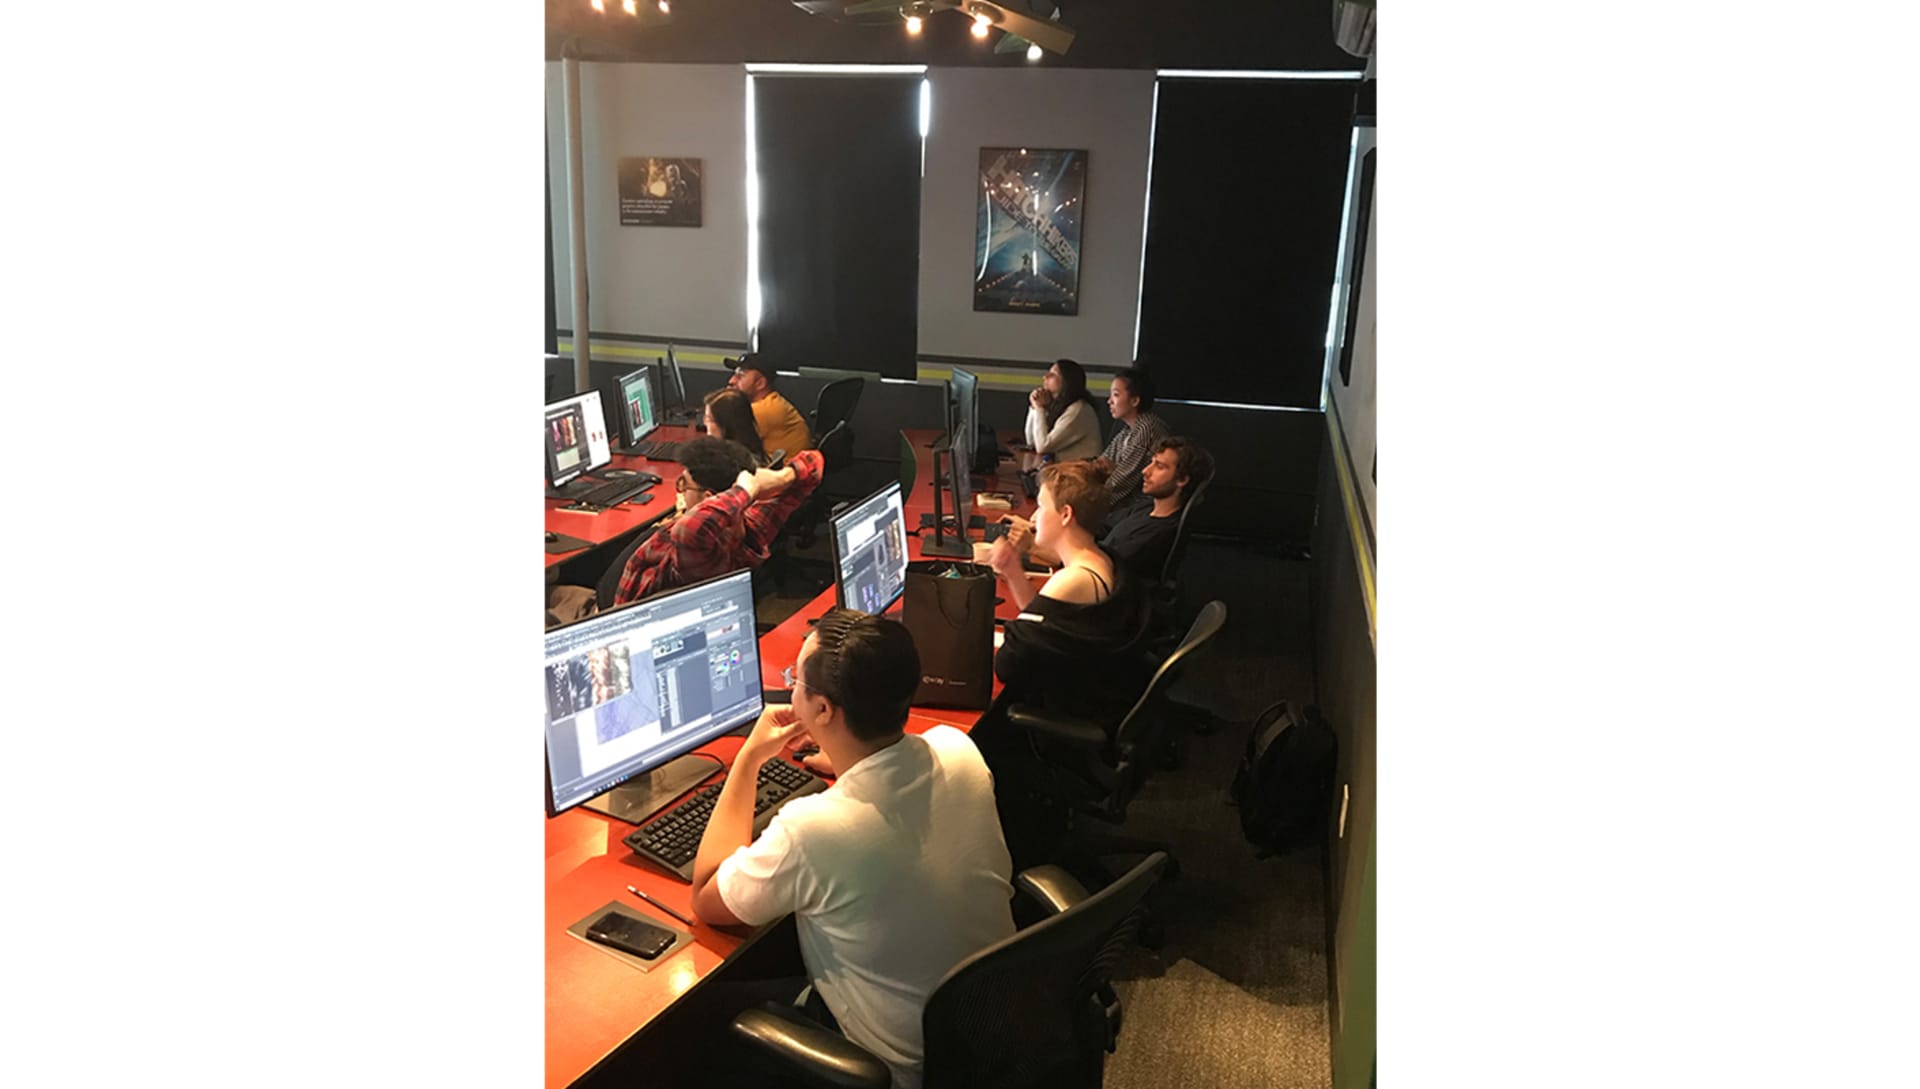
The back row of the class isn’t for slacking at Gnomon School! This talented student (second from left, back row) took away a goody bag of prizes for her lightning-fast rendering skills, including an official Chaos sweatshirt. Other prizes offered throughout the workshop included educational licenses.
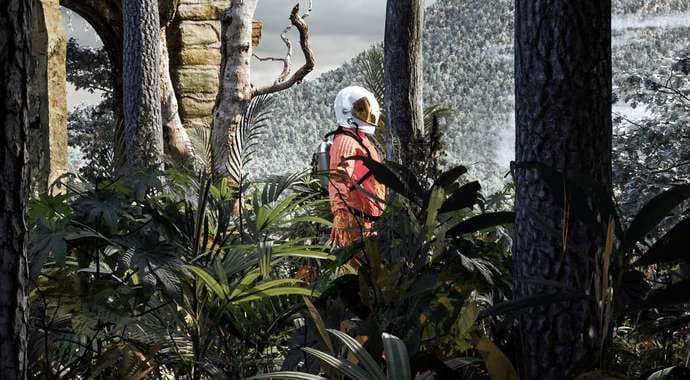
As part of the workshop, Atanas talked through how he created and rendered the spaceship scene (below) that launched with the release of V-Ray Next for Maya. He revealed how he created the scene in an afternoon and how the background environment only has one texture for the whole scene (the spaceship itself uses a V-Ray Blend Material and procedural textures). He discussed the importance of lighting and gave some incredible examples of the various lighting scenarios that he researched — from master painters and blockbuster movies — to help him get the perfect cinematic result. He also included essential advice on how he set up the sun and created the flares for the final look.
Tip: When you’re working on a scene trying to get the best results possible, focusing on the lighting and color is a smart way to cut corners and still get a beautiful-looking render. For example, the following render has just one tileable texture for the entire environment. Spending less time painting texture maps allowed Atanas to focus on other aspects of rendering that had a far greater impact on the overall quality.
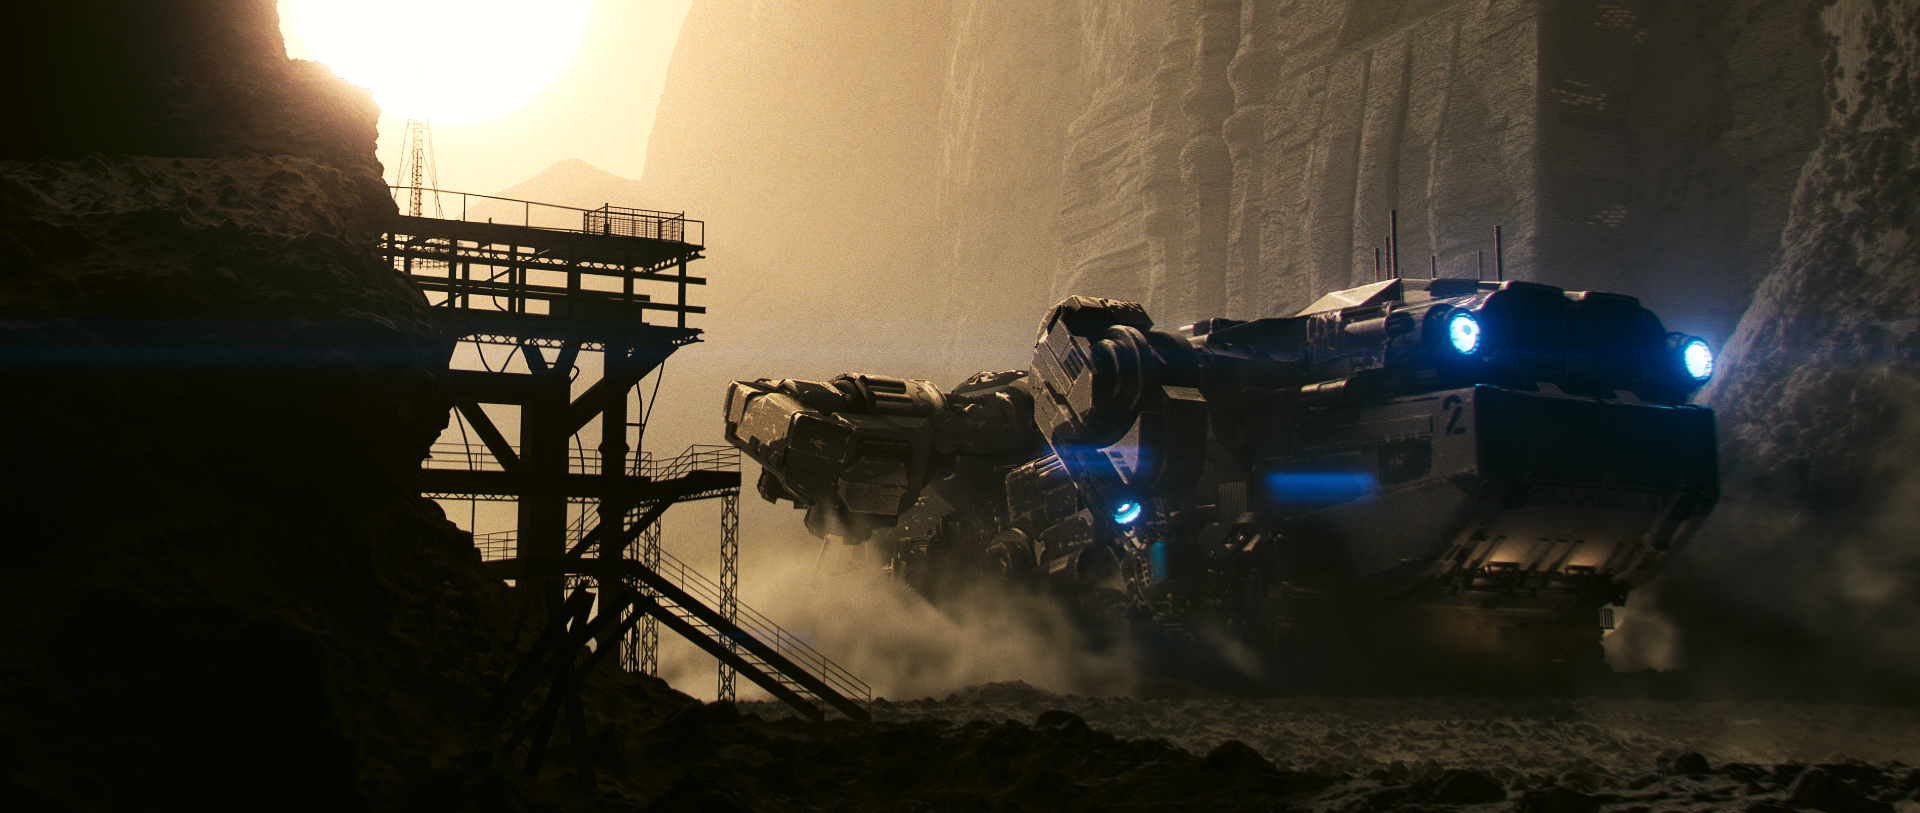
Senior 3D Artist, Atanas (Nasko) Tudjarov, revealed how he created the environment for this image in just a few hours and rendered the scene in V-Ray Next for Maya using lighting examples from master painters to achieve dramatic results.
The last segment of the bespoke workshop for the Gnomon students focused on hair and skin shaders, with sample files provided to all the students in the class to allow them to follow along and create their own renders. To conclude the experience, the floor was opened to students to ask the Agents of Chaos anything, which led to a lively discussion about all things V-Ray.
Tip: A common mistake when working with skin is increasing the SSS component to unrealistic values. A good rule of thumb is to keep the SSS barely visible, unless it is desired as an artistic effect. In most cases, if it’s the first thing you notice when you look at the render, then it’s most likely too strong and needs adjusting.
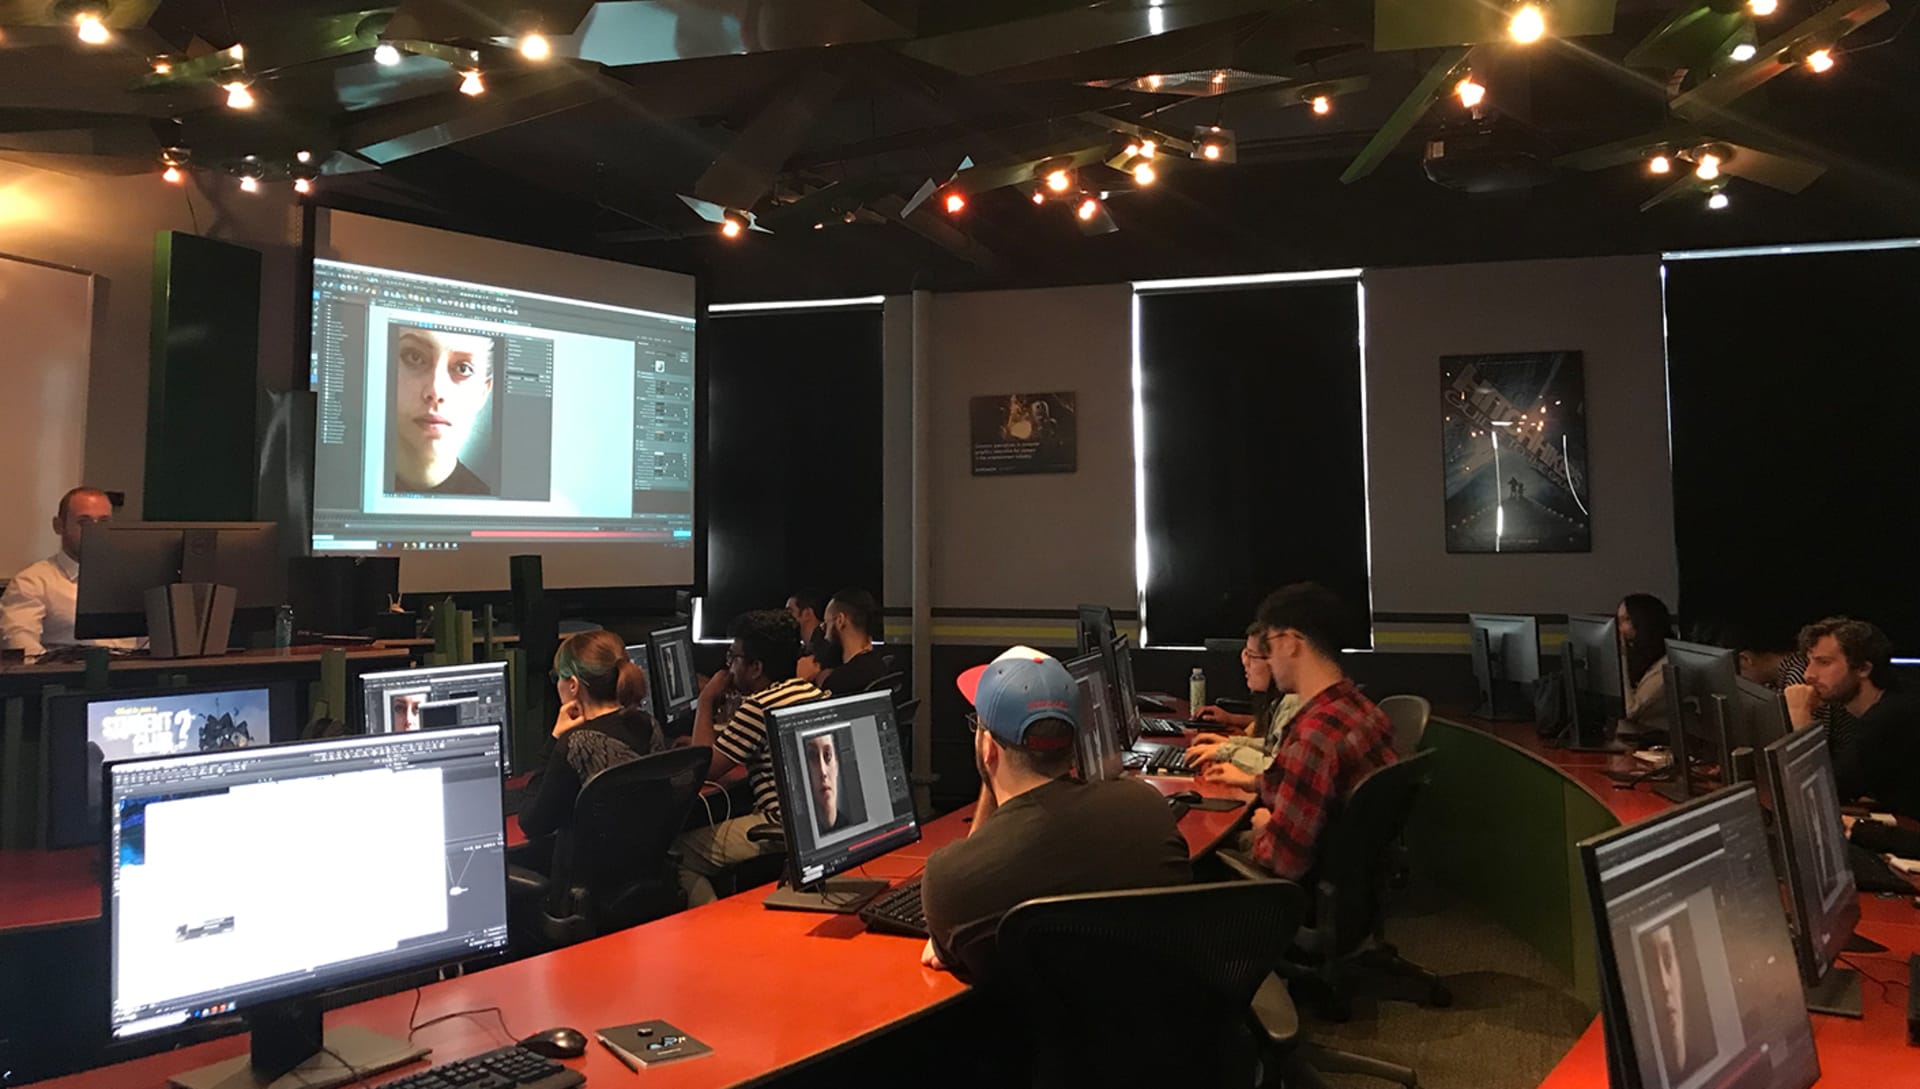
The last section of the workshop talked through V-Ray hair and skin shaders and gave students the chance to use sample files to render their own hair examples in various shades, following the techniques taught in the class.
A popular question from the students in the class was how can they get educational licenses to use at home. Well, we are pleased to offer students great discounts on V-Ray, which entitle them to fully featured, commercial-grade software, unlimited access to new product releases for the duration of their licenses, as well as free technical support. Learn more about our discounted V-Ray educational licenses.
Our next Student Rendering Challenge is coming soon! Stay tuned to the blog and our official Facebook Page for announcements.
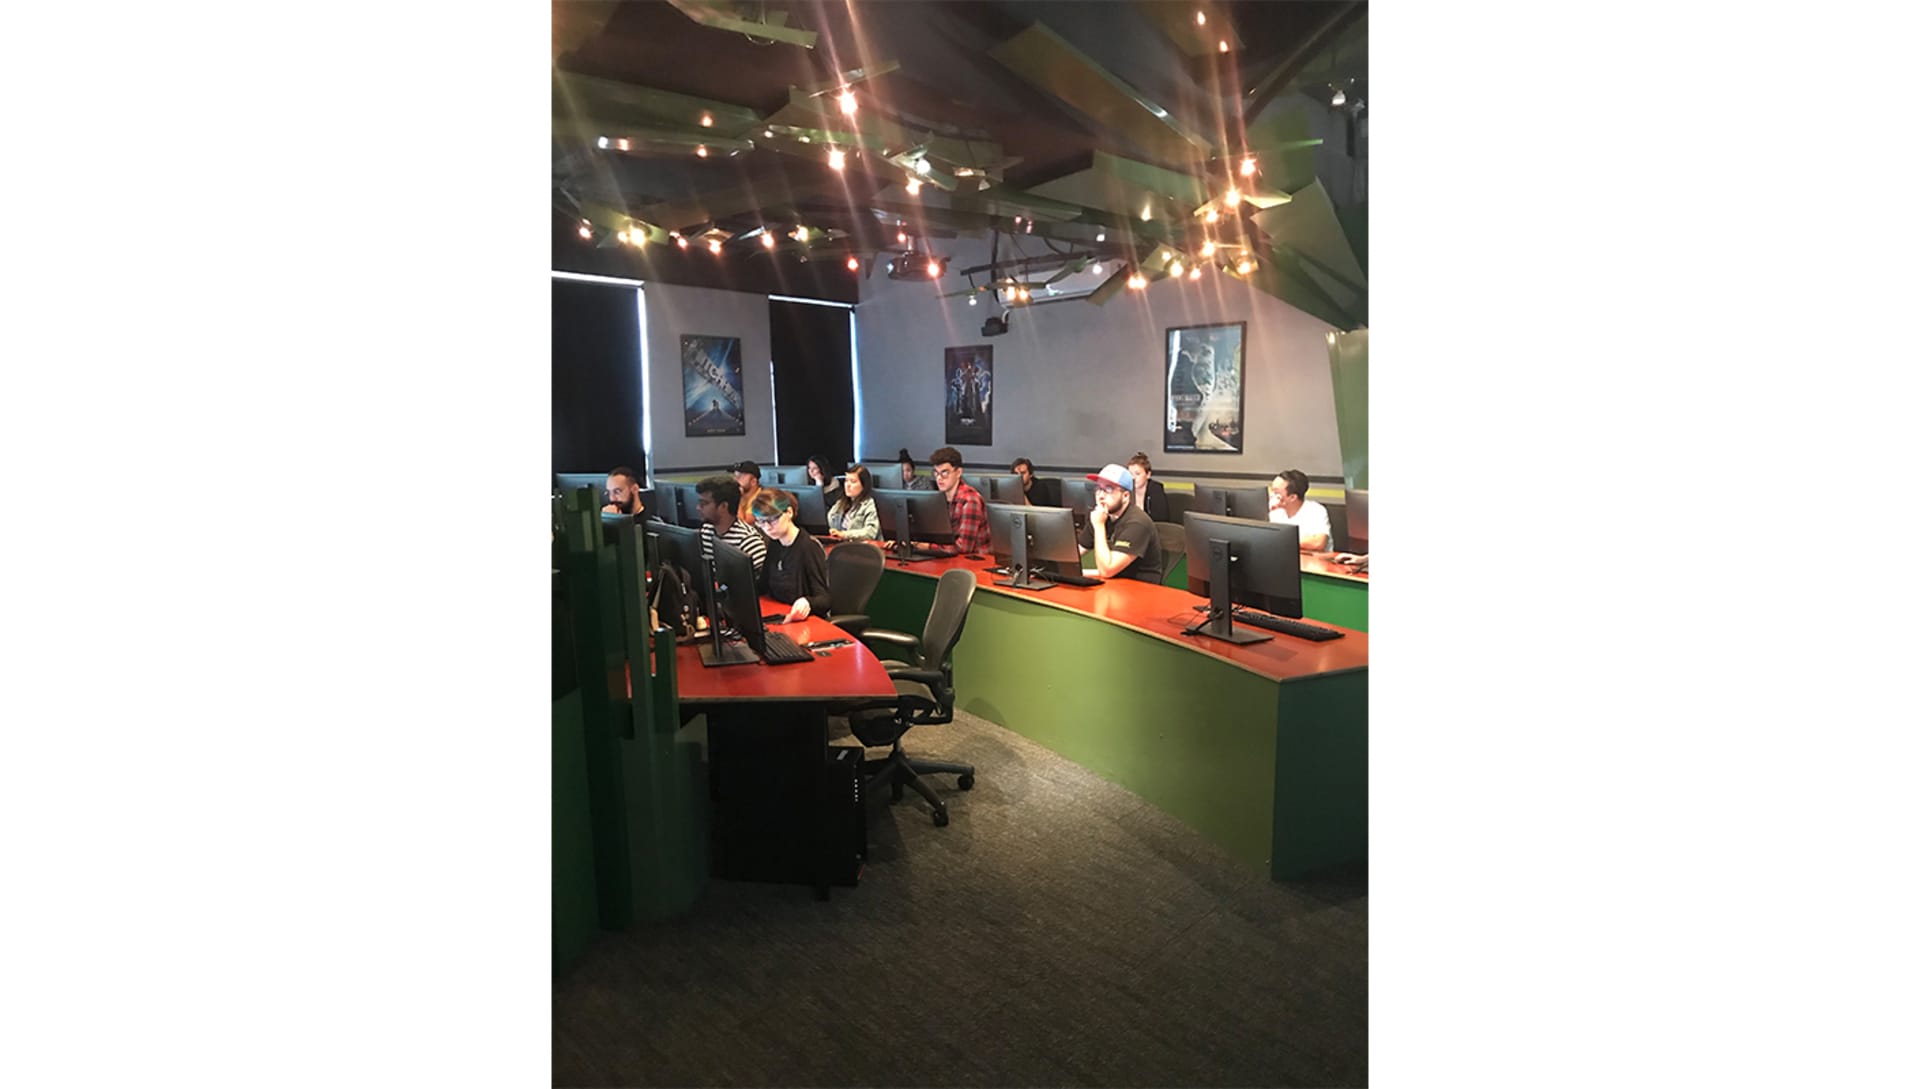
Gnomon School offers both full-time and part-time courses as well as a bachelor’s degree program. A Maya-based school, V-Ray Next for Maya is one of the essential tools students learn as part of their studies. Learn more about the award-winning Gnomon School.
Ready to try V-Ray Next for Maya? Download a free trial today.

