In this blog we talk to Reman A. Yehya about his fantastic final year project and how it was disrupted by the pandemic, but not defeated! It’s a fascinating look into a process that would usually have been done by hand.
My name is Reman and I am an architect and CGI artist from southern Kurdistan (the Kurdistan Region of Iraq).
This year I graduated from the University of Duhok, college of engineering, department of architecture. Before graduation I worked for three years in the field of architectural visualization and this experience gave me a lot of knowledge which helped me complete this project. For me, it’s conceptual architecture that drives my passion for 3D design and visualization.
During my studies at Duhok university I learned the basics of 3ds Max, and at that time I began to look a little deeper into more advanced architectural visualization and the secrets behind it.
So a year before getting my bachelor’s degree I spent my time studying the basics of CGI on my own and I tried to learn as much as possible so that I’d be able to work as an Archviz Artist.

I thought about this interview as an opportunity for a new architect in the business like me to promote myself, so I decided to show the workflow for this particular project, to show people how I created it and share my style in the CGI industry.
At this point I would like to thank Corona Renderer for showing an interest in my ‘Wooden architectural model’ graduation project and giving me the chance to share more information about it.
Tell us a bit about the project
The project was about an industrial building (a pharmaceutical factory & labs) in the style of deconstruction architecture.
The project form was inspired by the beehive and its hexagons. I tried to link these cells of hexagons to a deconstruction style by deforming the hexagons, but in a geometrical way due to the building function. So they were in a kind of rhythm, which allowed them to be compatible with the other cells.
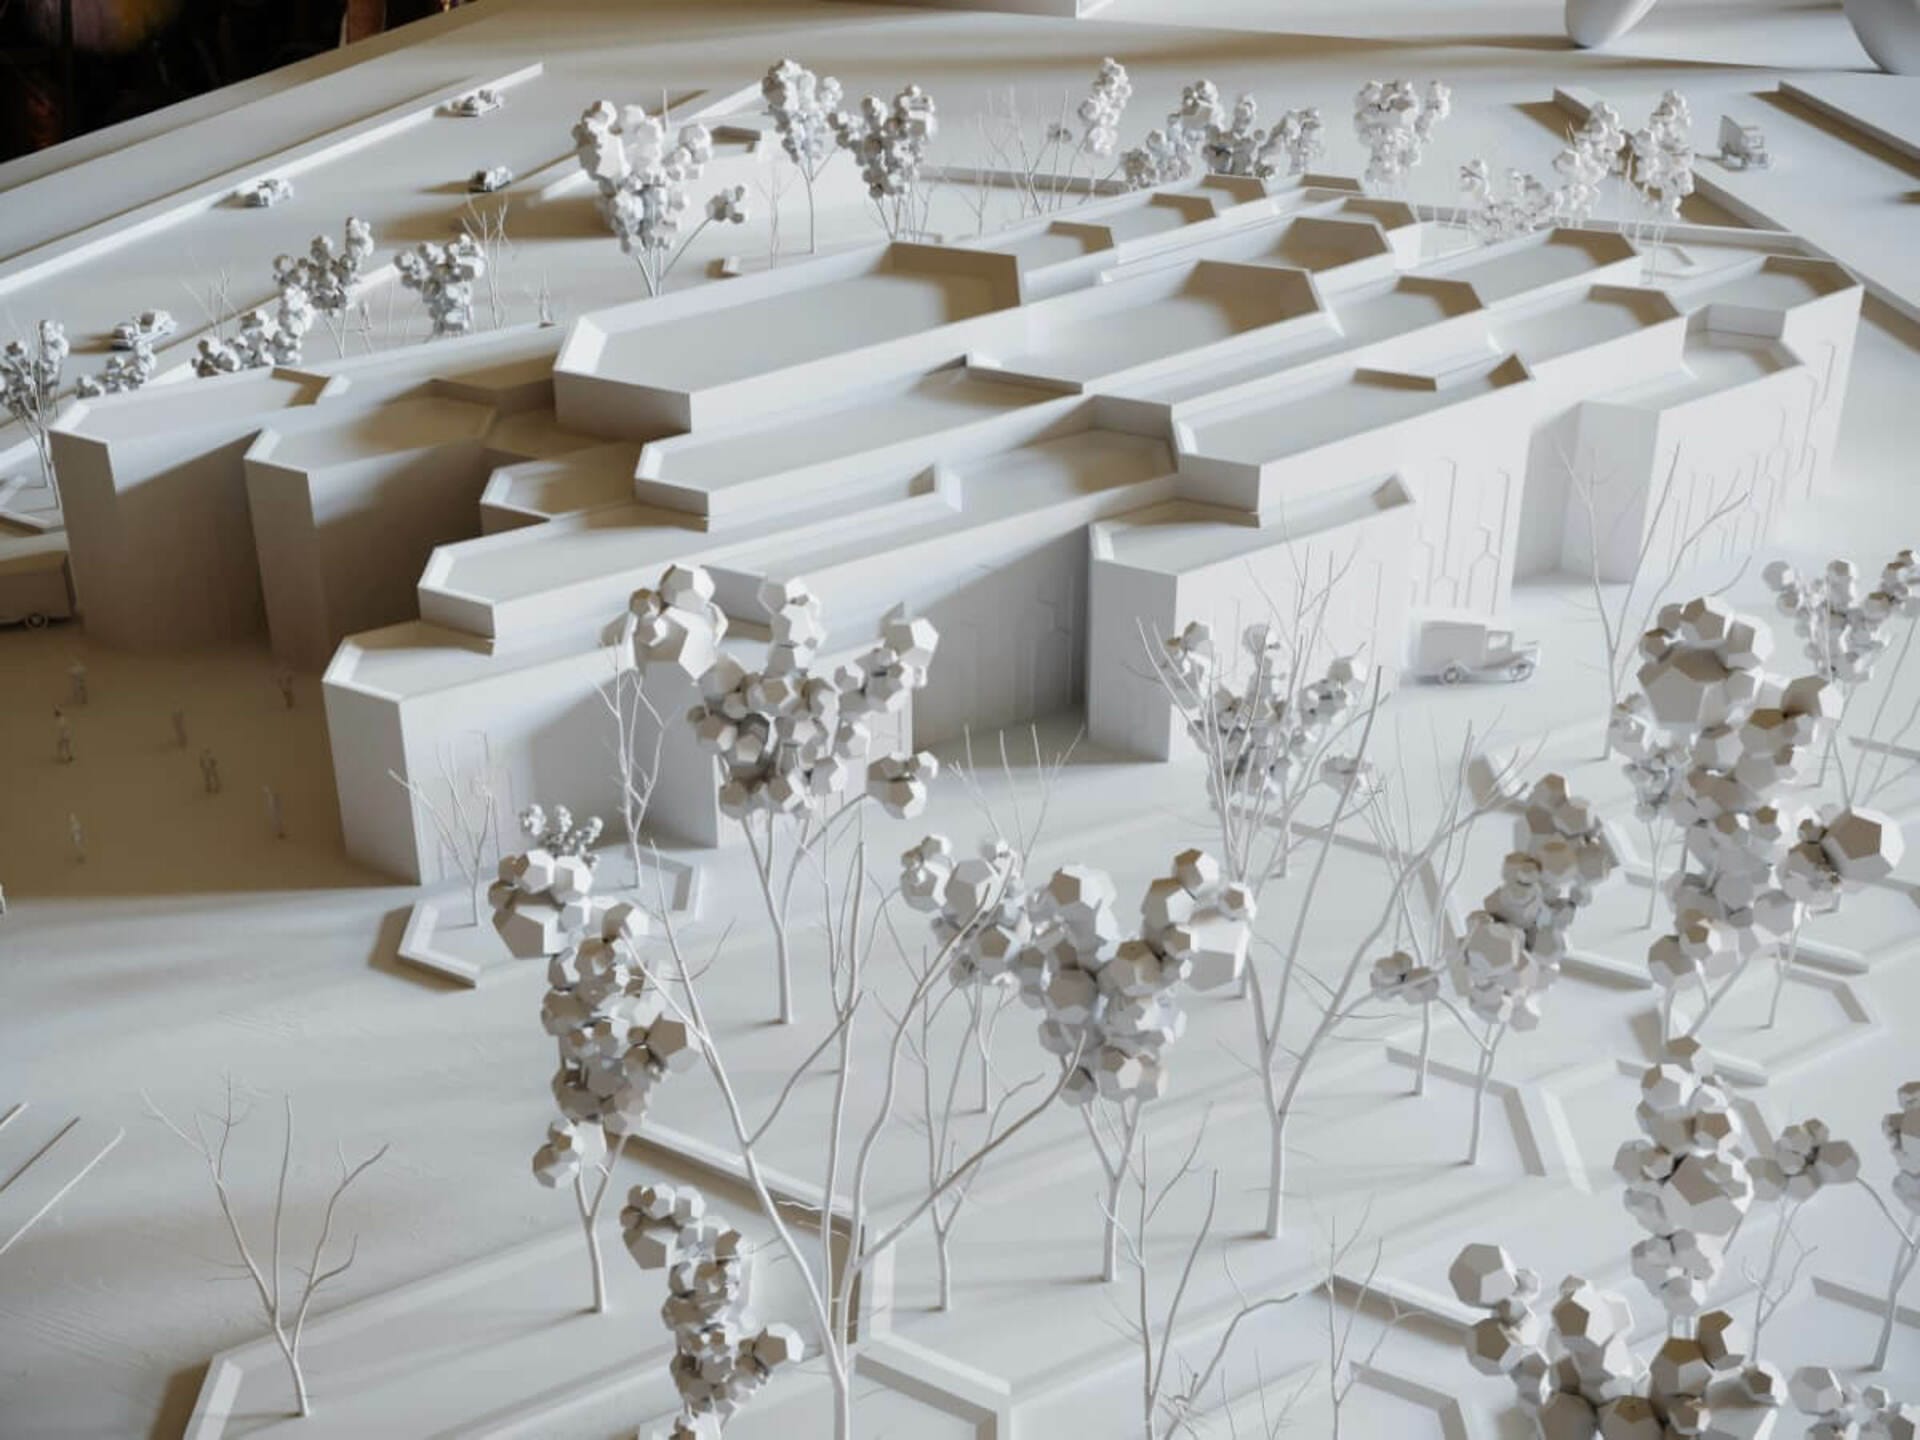
Greyscale
As an artist, who likes simple and practical tools in my workflow, I wanted to explore new boundaries, but at the same time to keep to my usual workflow and habits.
In the process, I didn’t want to stretch the modelling of every single object, so I had to narrow the elements which are of a primary necessity for the building itself, the site, the landscape, and streets, and every other element that exists in the scene.
What inspired the initial concepts?
Due to the COVID 19 lockdown, we couldn’t continue our education in college, so we were forced to complete our graduation project at home!
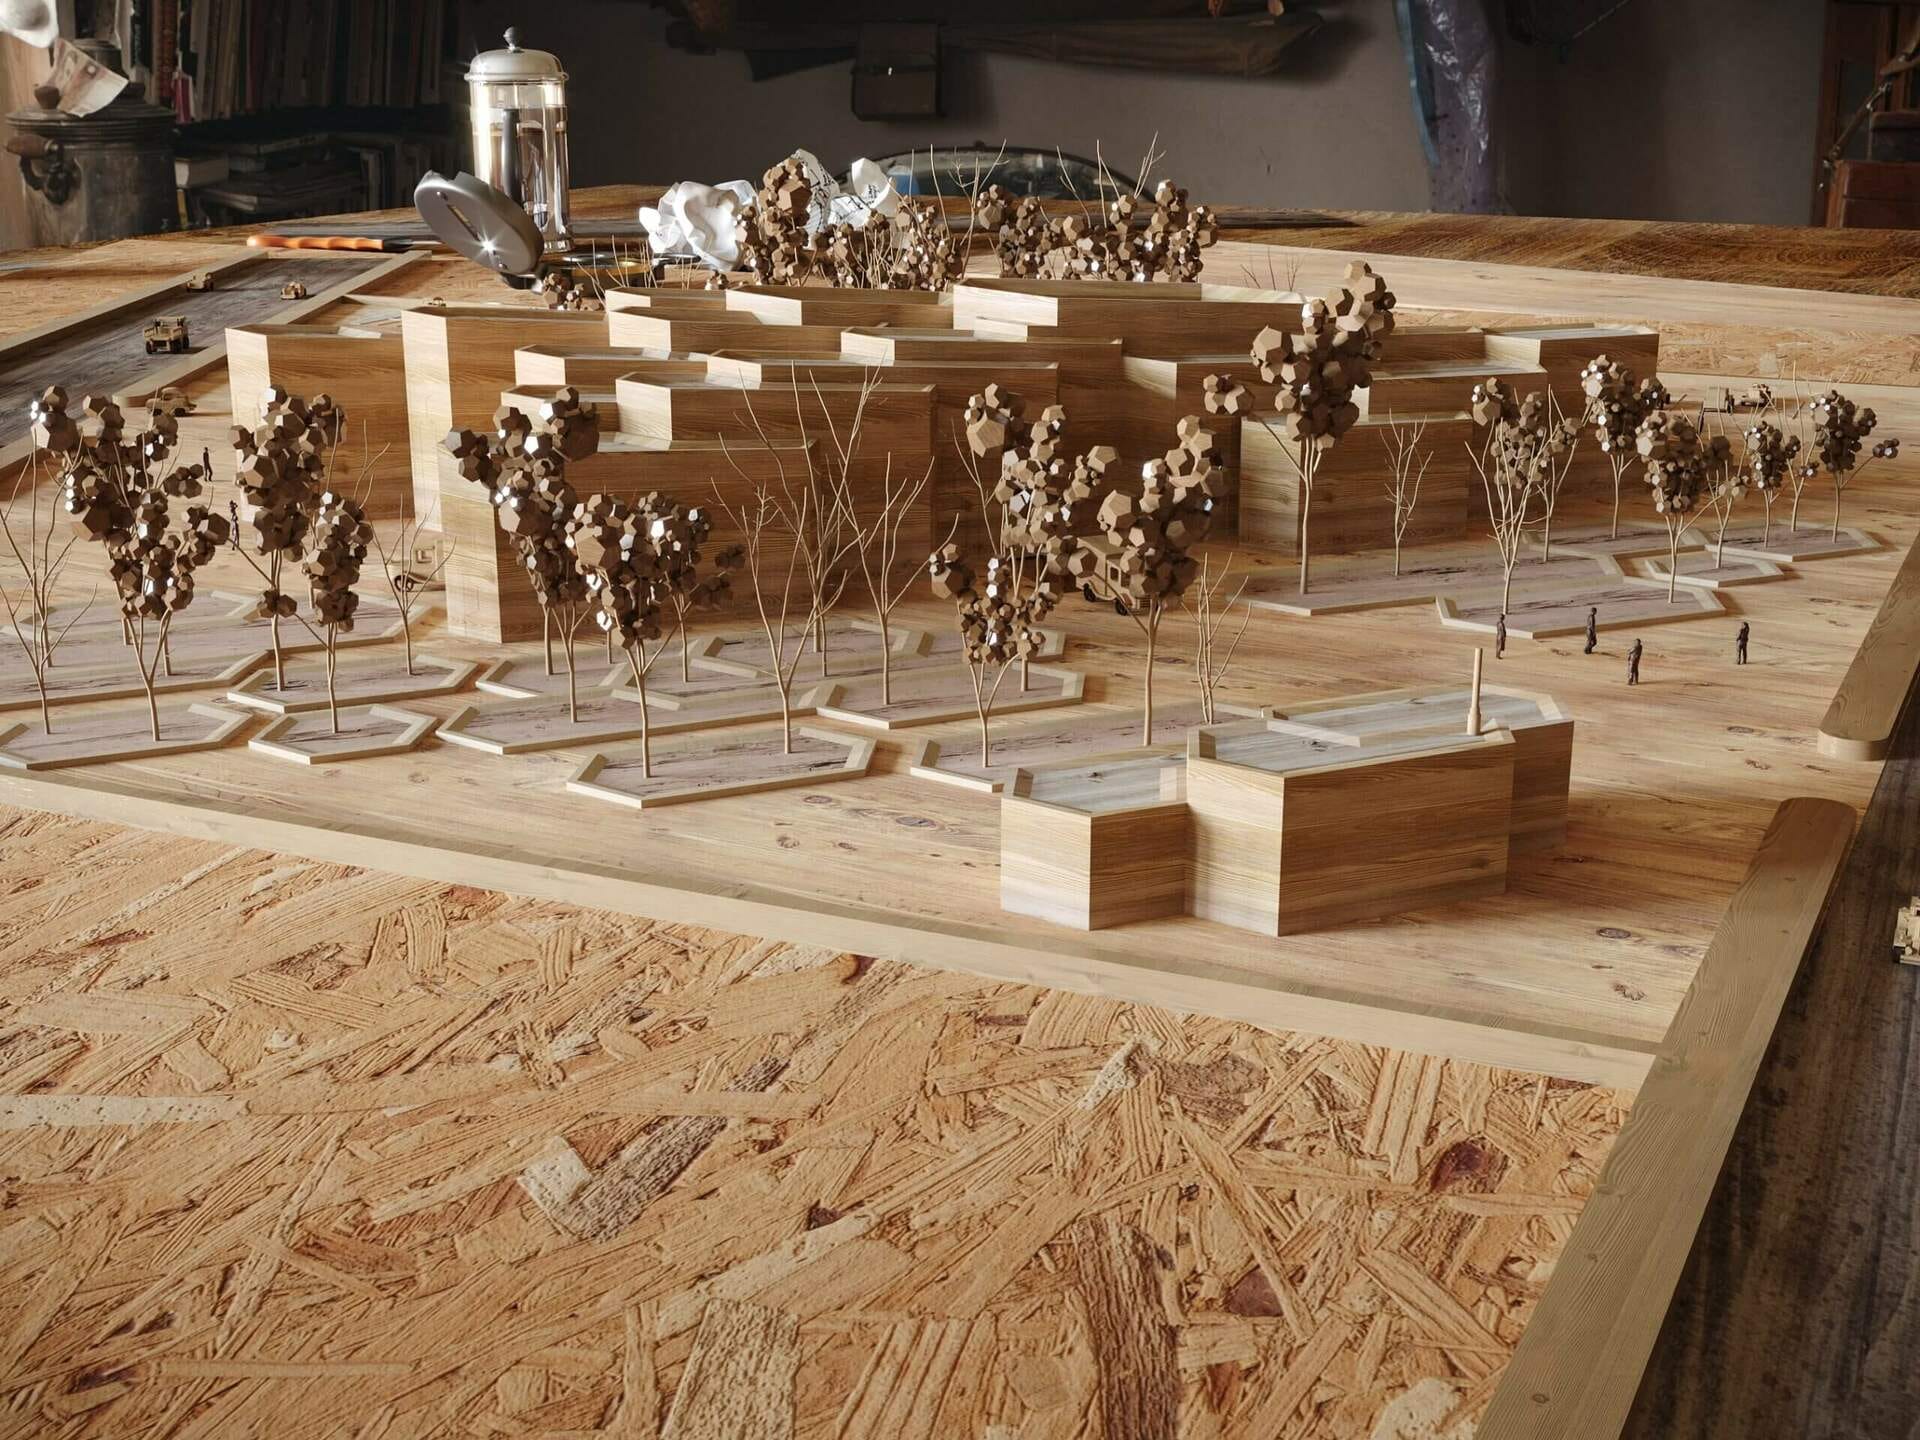
Usually, we would be presenting our project using a physical model of the building and site, but due to the pandemic, that had to be cancelled – so I had the idea to present my project as a CGI model instead of a physical one. That way, when I presented the project in front of the jury, I would have the presentation sheet and the wooden model at the same time.
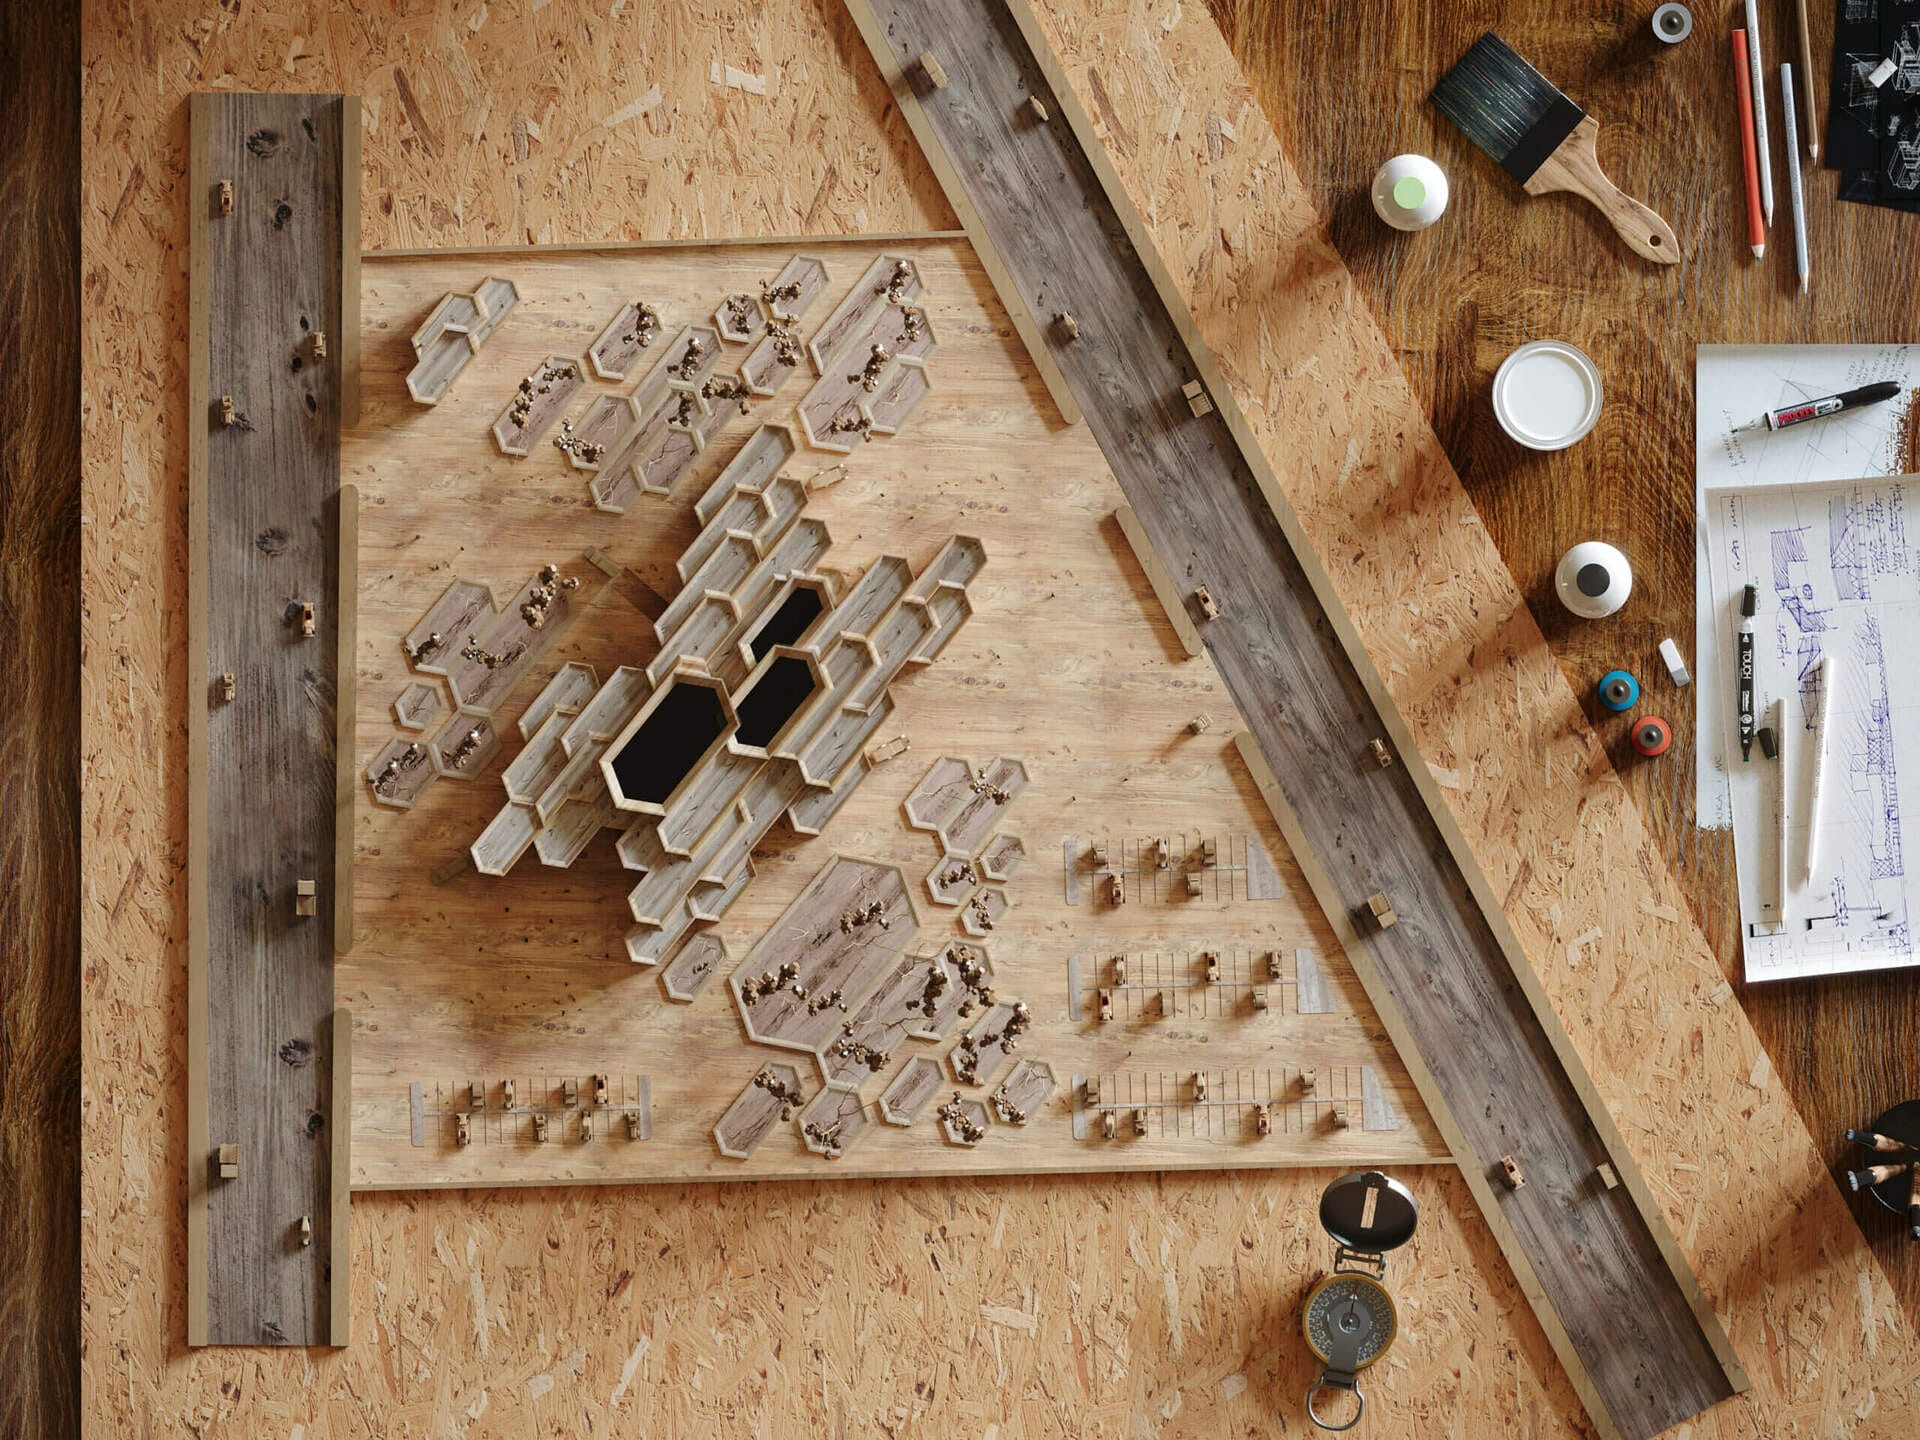
Birds eye view of the project
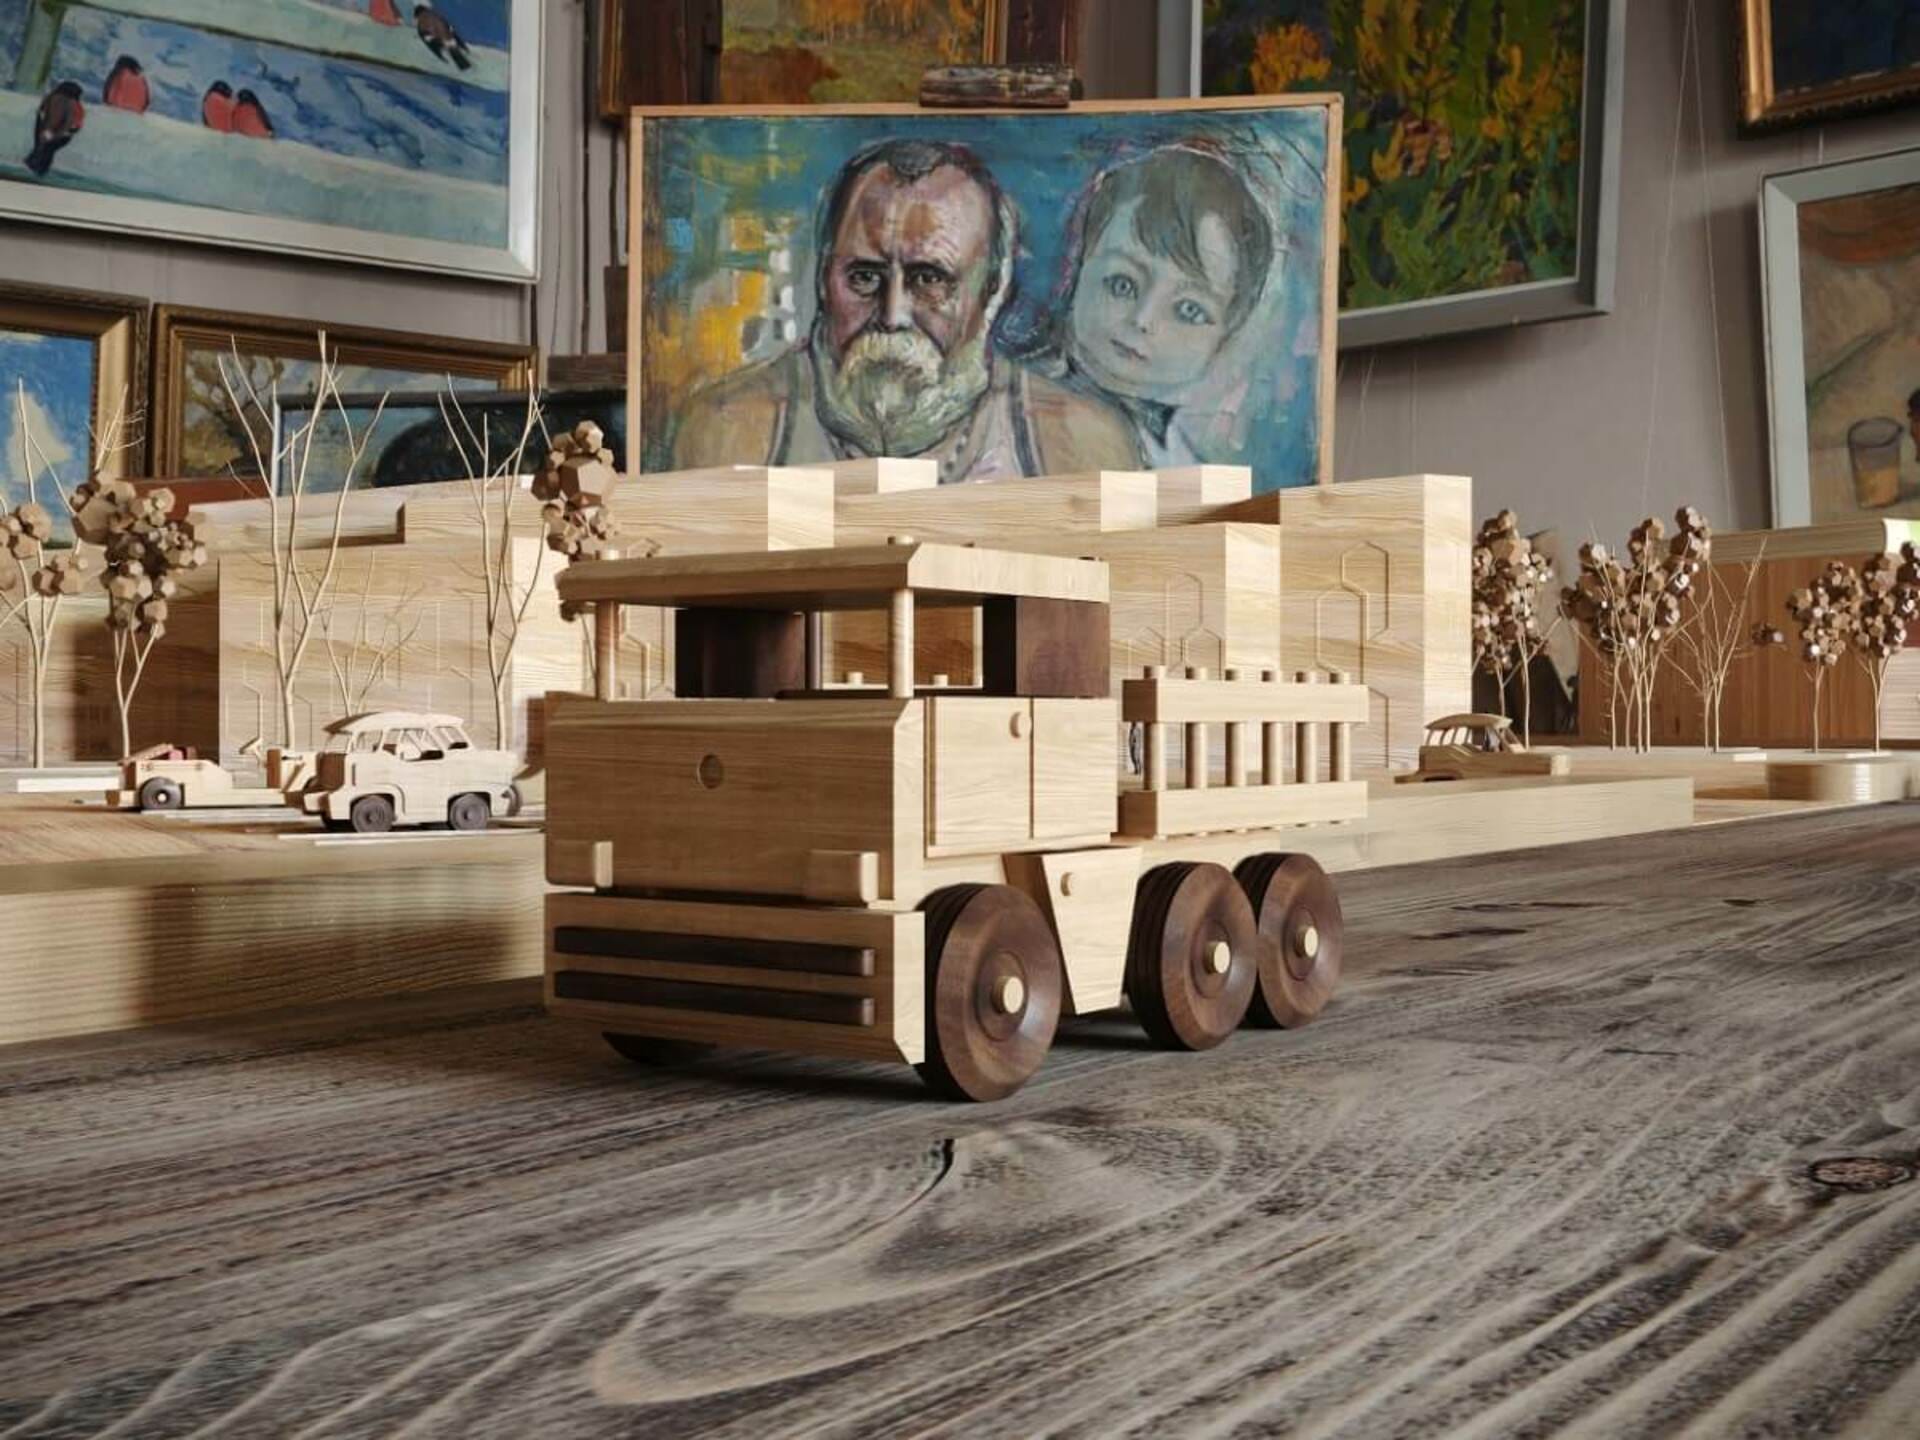
When you look at the renders you will see a bunch of tools and paper sheets and some wooden planks. I wanted to show people how architects work on models like this and how we build them, to show that making a physical model takes a lot of time and hard work! It also takes money too. Conversely, doing this project in 3ds Max and Corona is more fun than modeling it for real, for me at least!
What were the project requirements?
The requirement from the jury for the presentation was to include various objects such as a compass, road signs, pavements, plants & trees …etc., either through modeling them or searching for existing 3d model libraries on the internet.
Those 3d models needed to look like they were handmade from wood using tools designed for this purpose. So I wanted to place those tools and other modeling accessories around the working table to give the scene a sense that it was a real wooden model.
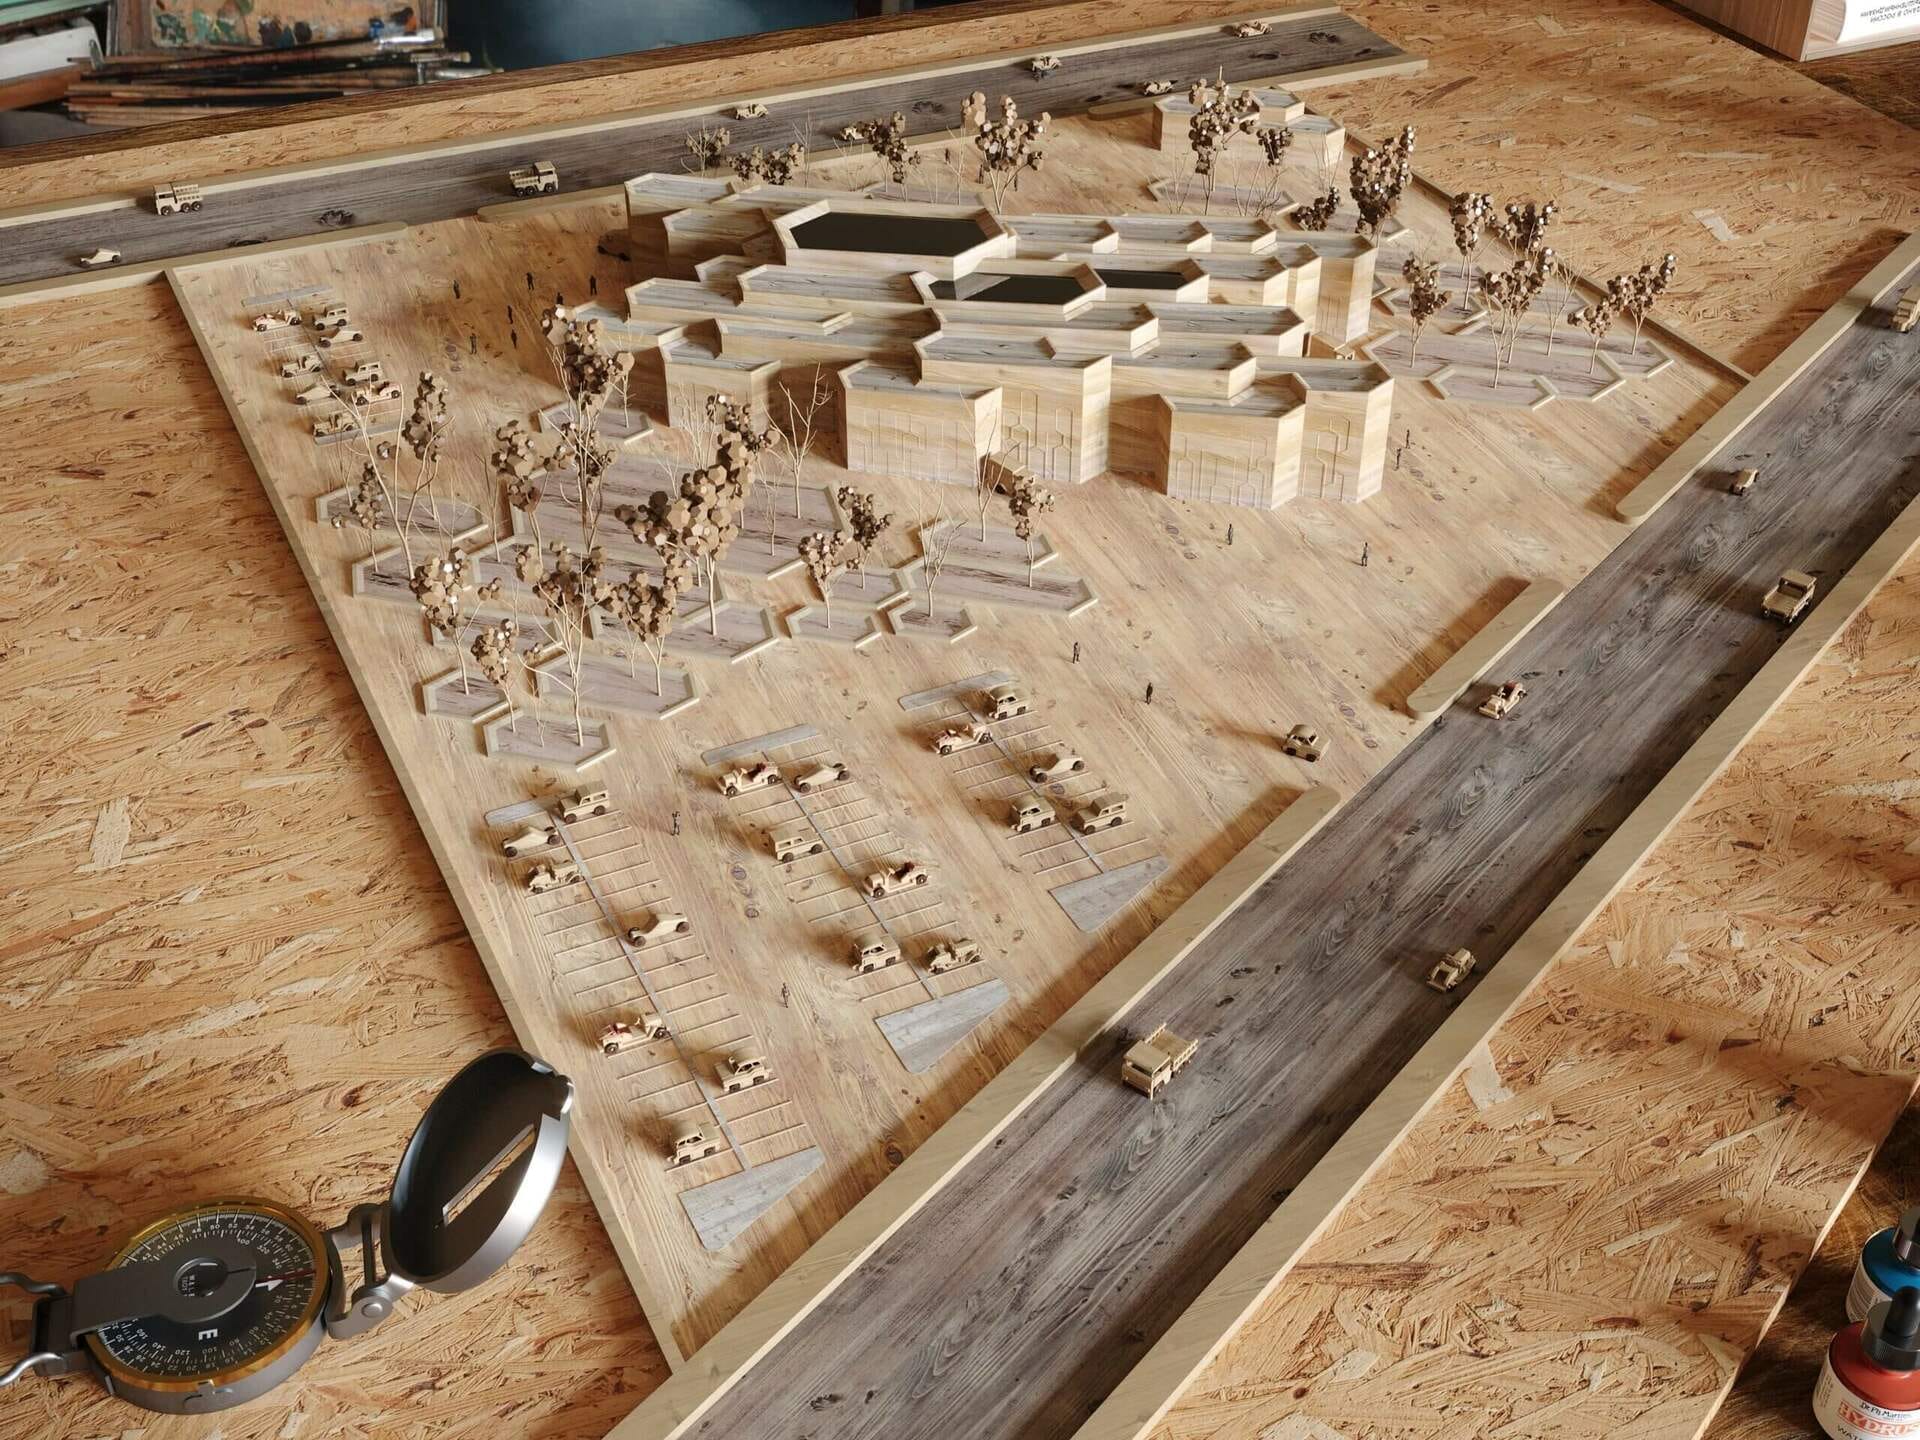
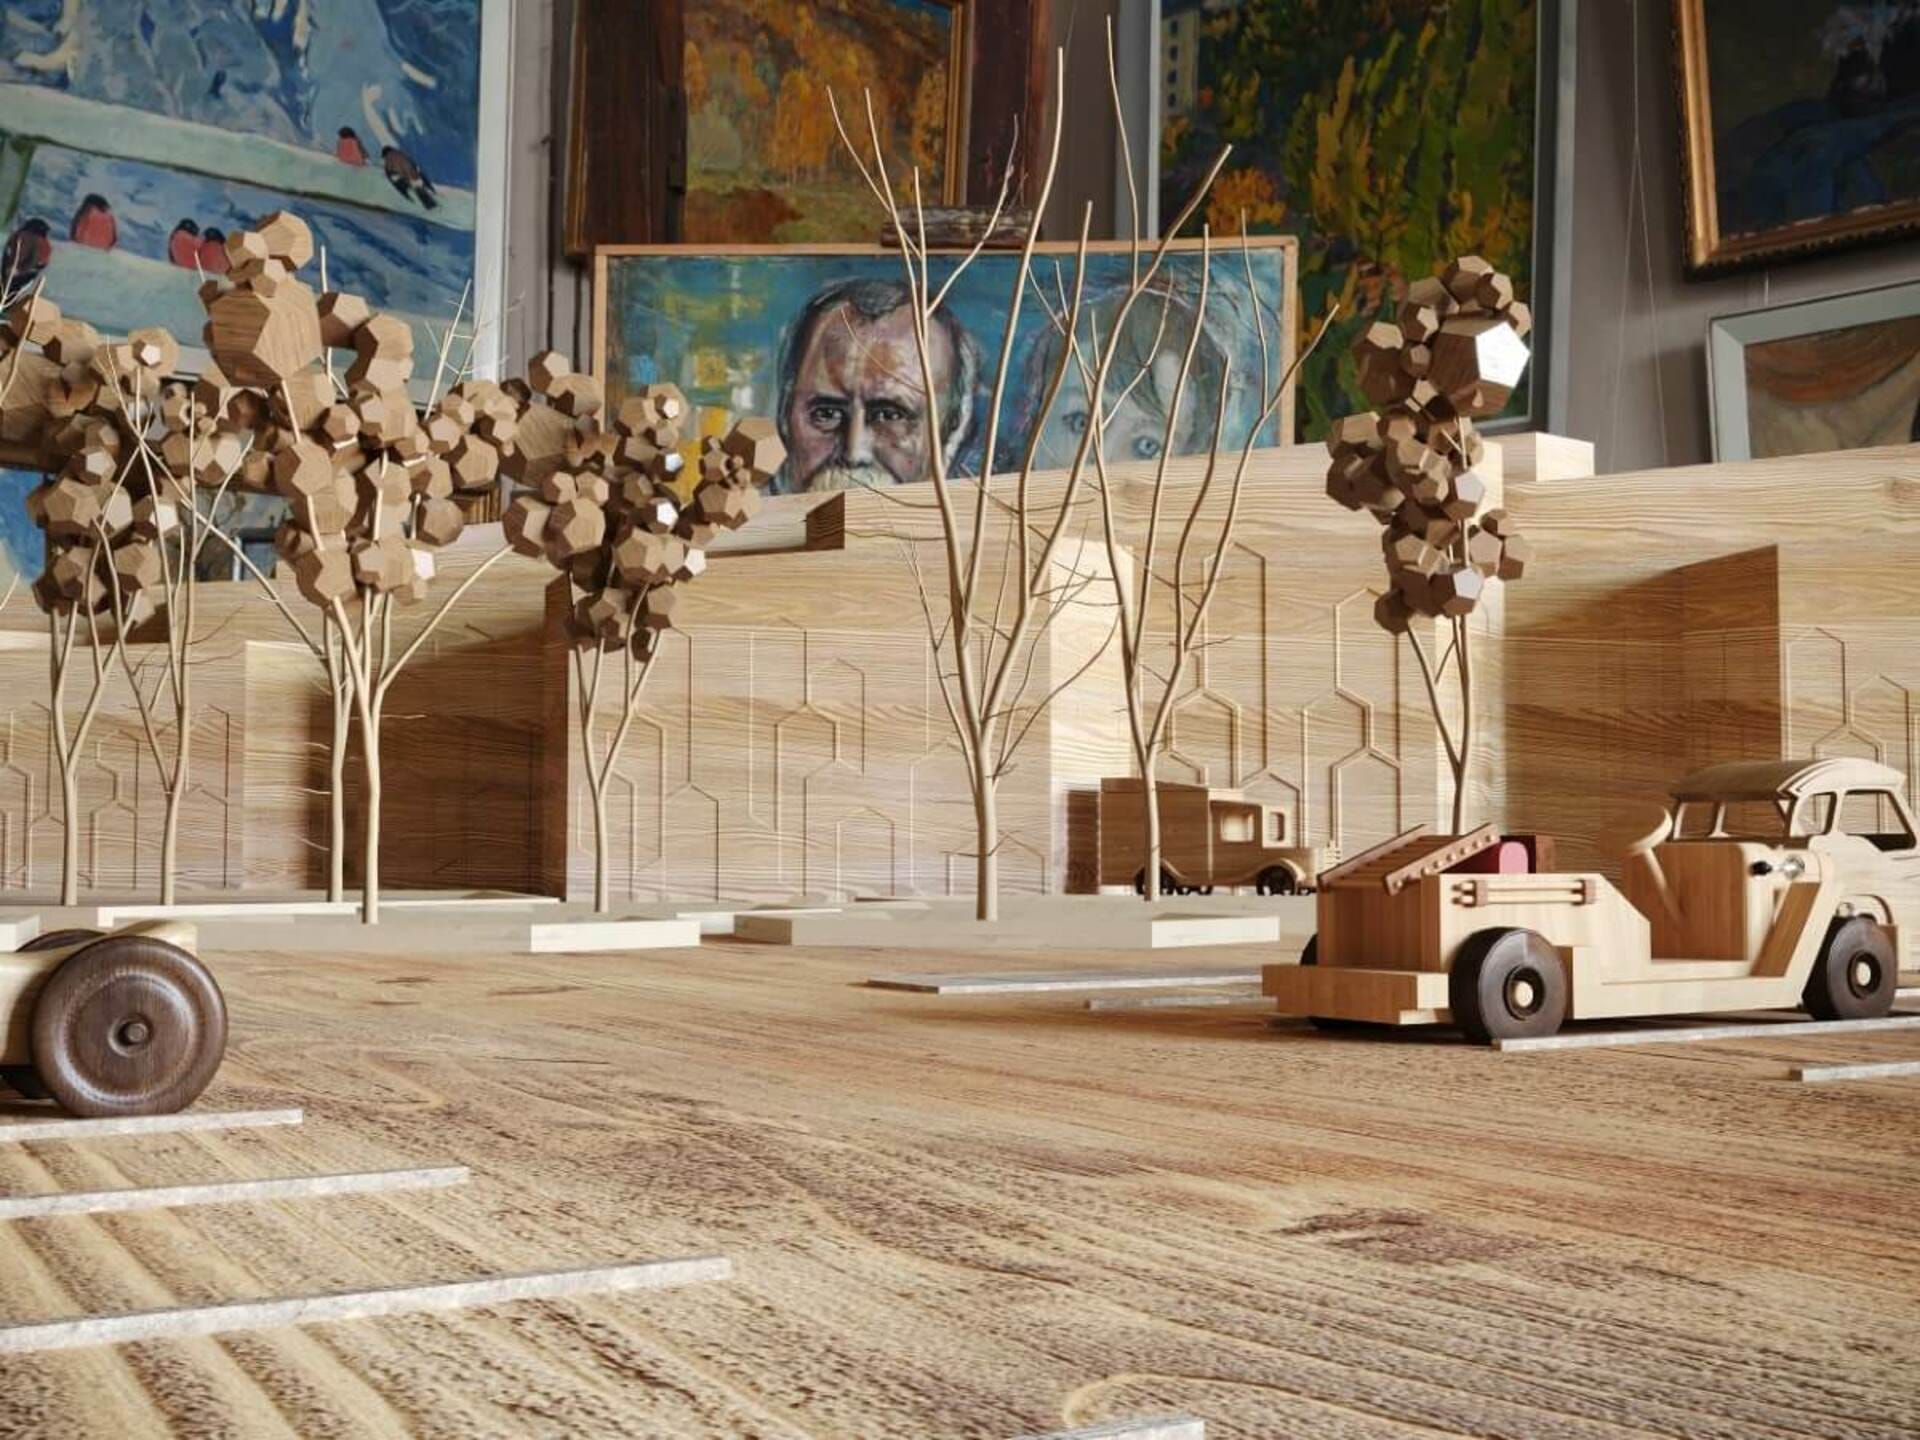
I have many different elements in this project and each of them needed their own unique material, but I also needed an overall material that would link these elements together. Rather than using conventional materials such as, concrete, plaster, slates, etc. I chose to build everything from wood which ties the scene together beautifully.
How did you create the materials?
Creating the materials is the most important part of the process when making realistic shaders. I like the process a lot and specifically the node editor, which makes it easy to build up a complex network of nodes – whilst keeping it all very visual.
Most of the wood textures were photogrammetry, I used some kind of texture to achieve the level of detail and richness that I wanted. In some cases, I needed to do colour correction on maps so that each of the elements like building, grass, roads, glass, etc. had their own unique look.
All the shaders were customized. I had to spend almost three days to create the perfect shaders to fit with the project reference.
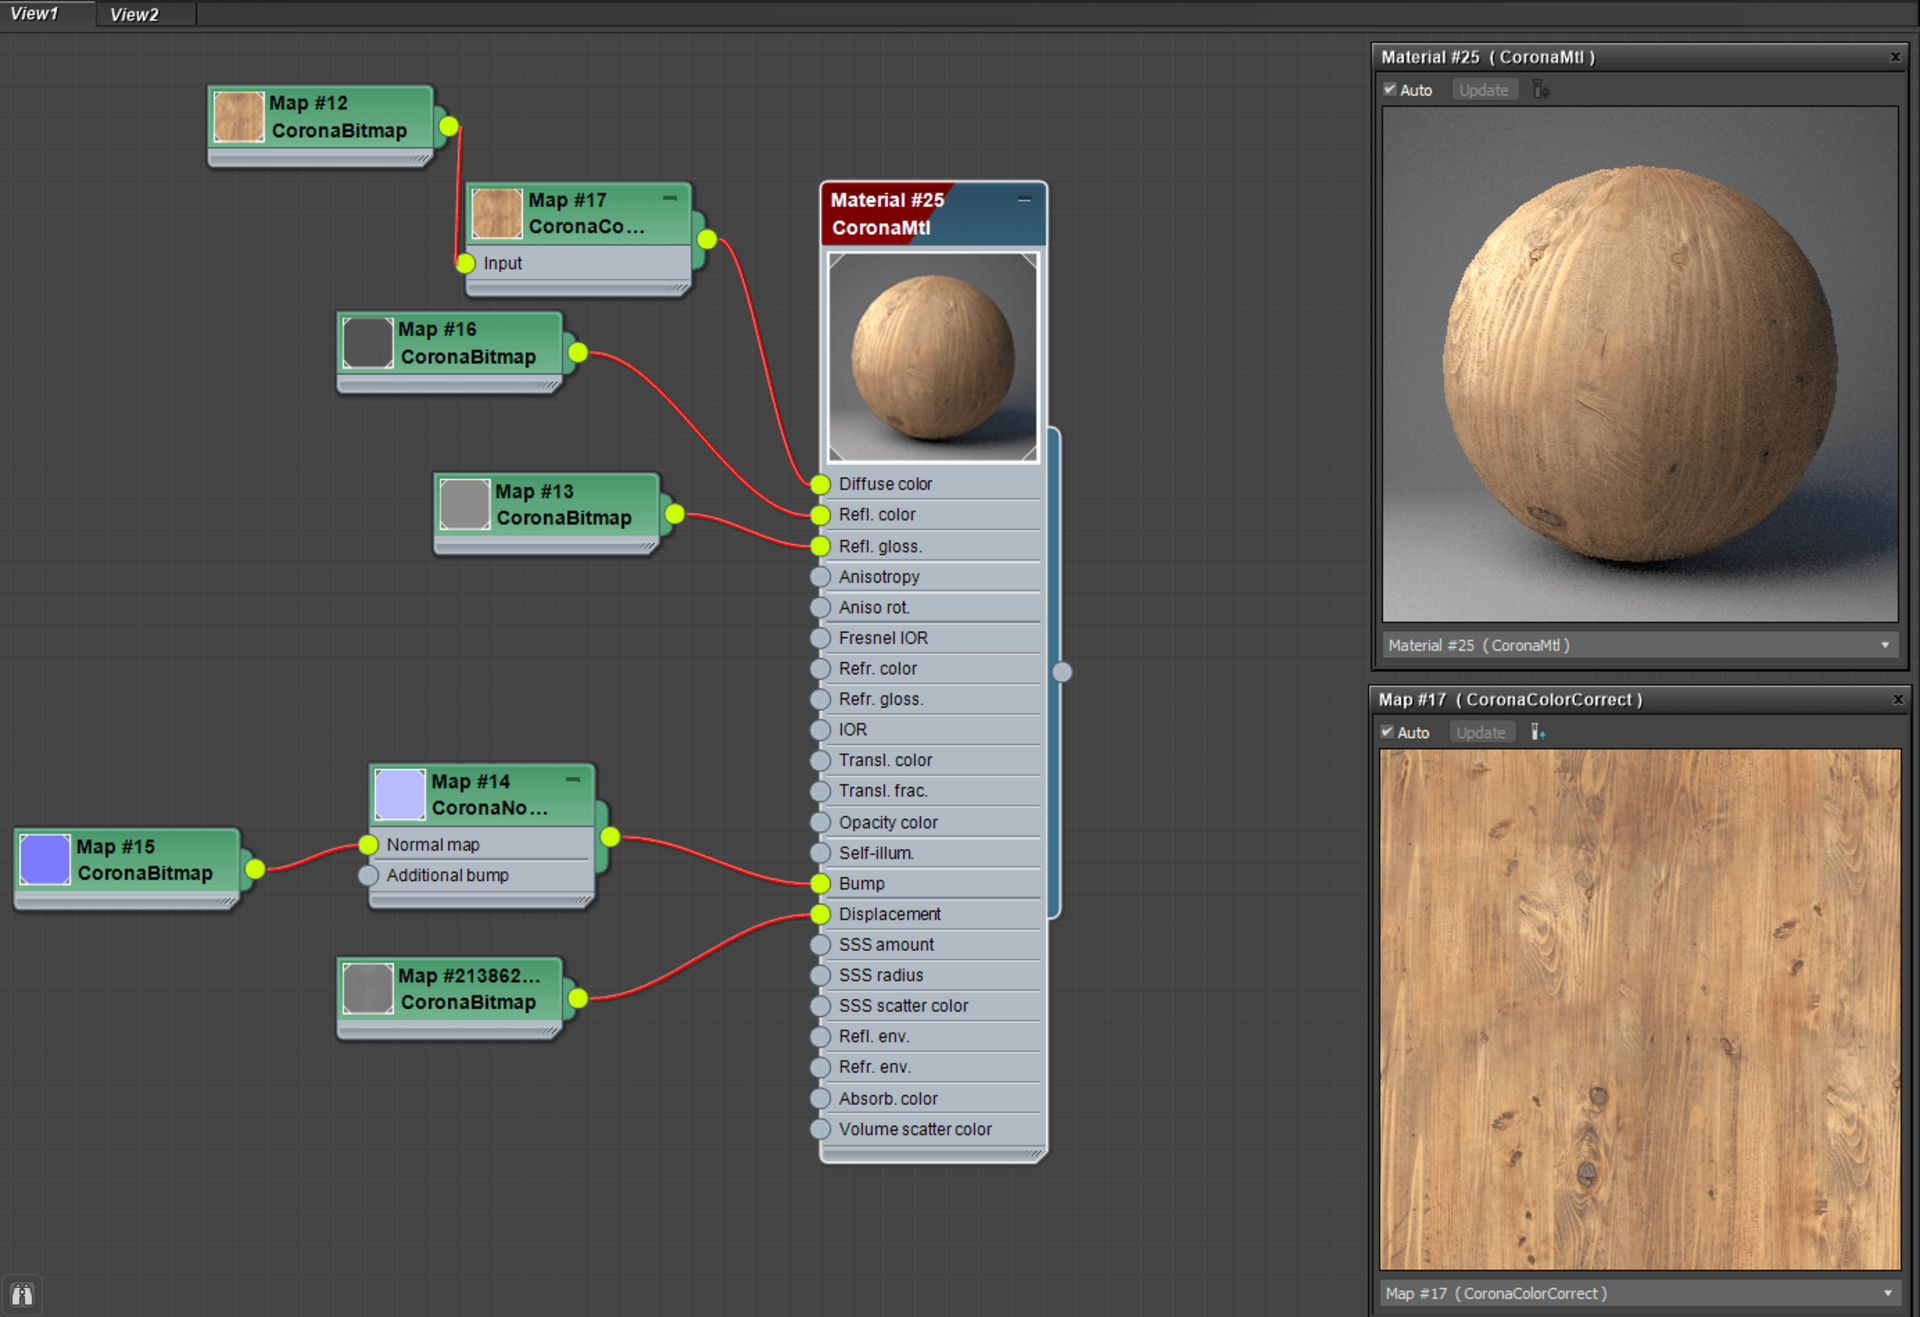
An overview of the various materials built for the project
In my opinion, the most critical thing for photorealistic archviz is realistic materials, so I tried my best to use a PBR workflow for every material.
Some of the materials I used are from Poliigon and some from CGAxis.
How many people worked on the project?
I was the only one working on the project. It was created and designed in three stages, focused on the building plan and its function. Lastly, the rendering workflow with this project took four months of work, and the final render process for all the images took almost seven days!
What did you learn from the project that might change how you approach future jobs of this nature?
In this scene, I learned a lot about the effect of natural light on the wood and how it behaves in the Corona engine, especially as I used a mix of different kinds of woods and different diffuse colors. I also learned more about how to control them in terms of texture quality.
How did you first discover Corona?
When I was learning 3ds Max, I used V-Ray at first, and I had not heard about Corona. I was struggling with render quality because V-Ray was deep and had so many settings, so when I heard about Corona Renderer I was surprised by the potential of it. I started to use Corona, and made change from V-Ray. As I tried it out, I started to know all its features and how they can increase the quality of a render with fewer settings and less time.
How did Corona help you with this project?
Corona helped a lot! It has many features, and speed comes at the top of my list because Corona is much faster compared to other engines.
Corona made me forget about the post-production work in most cases because of its tone mapping. I do my most work with just that. What I can tell you about Corona is that it’s my essential render engine – I do all my projects in it .
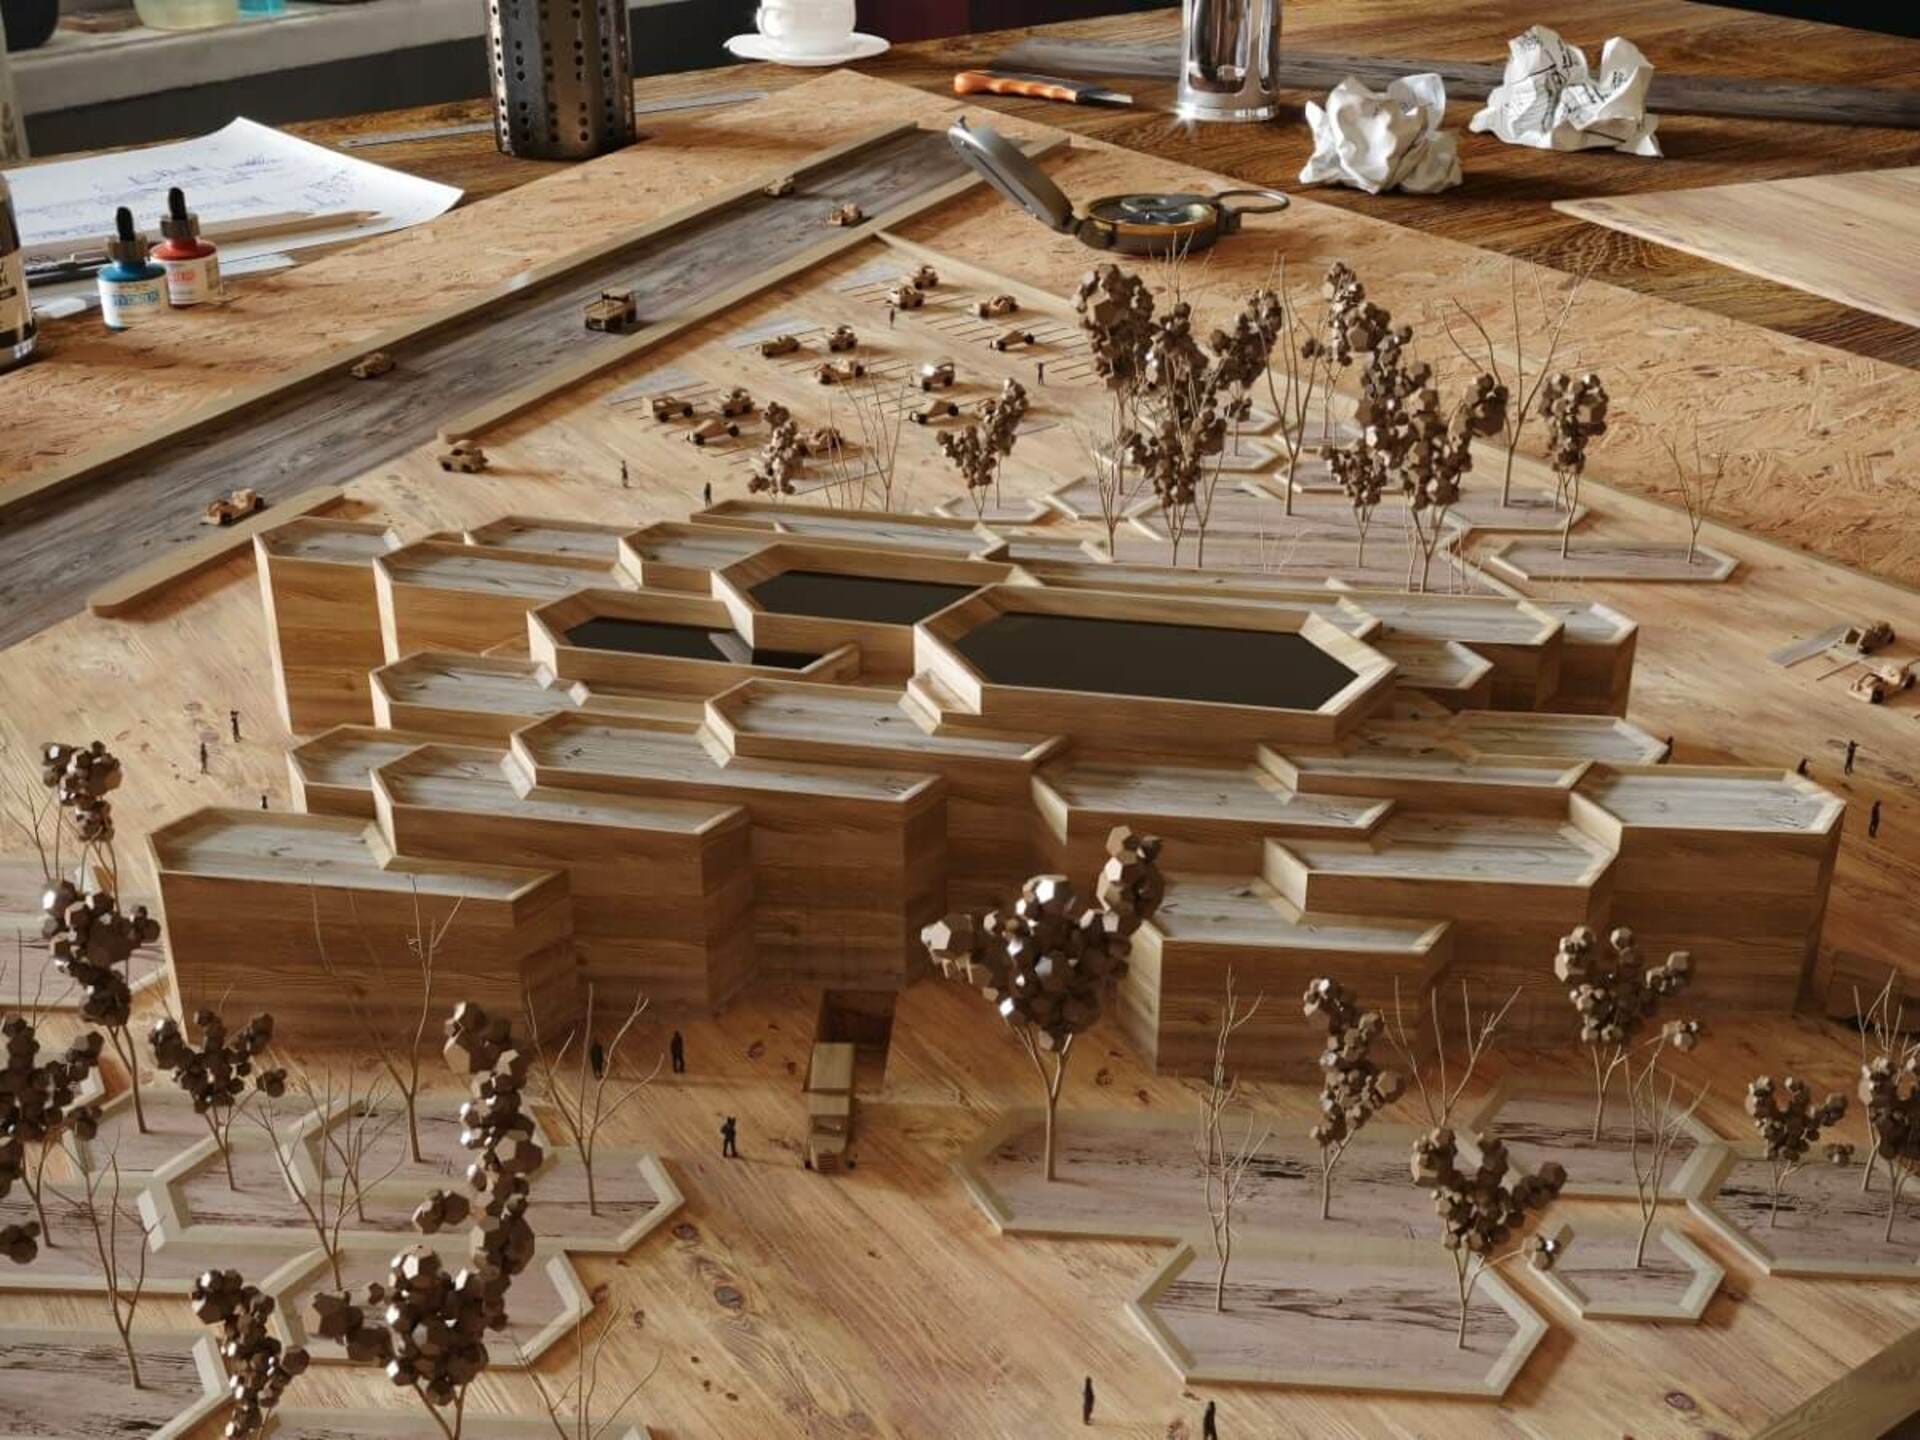
Inspired by the hexagonal forms of a beehive
Did you combine any other tools with Corona?
Actually, I did not combine any other tools with Corona because it doesn’t need anything extra. Corona has focused on developing its features and making more inbuilt tools so that you get better quality with less time and effort.
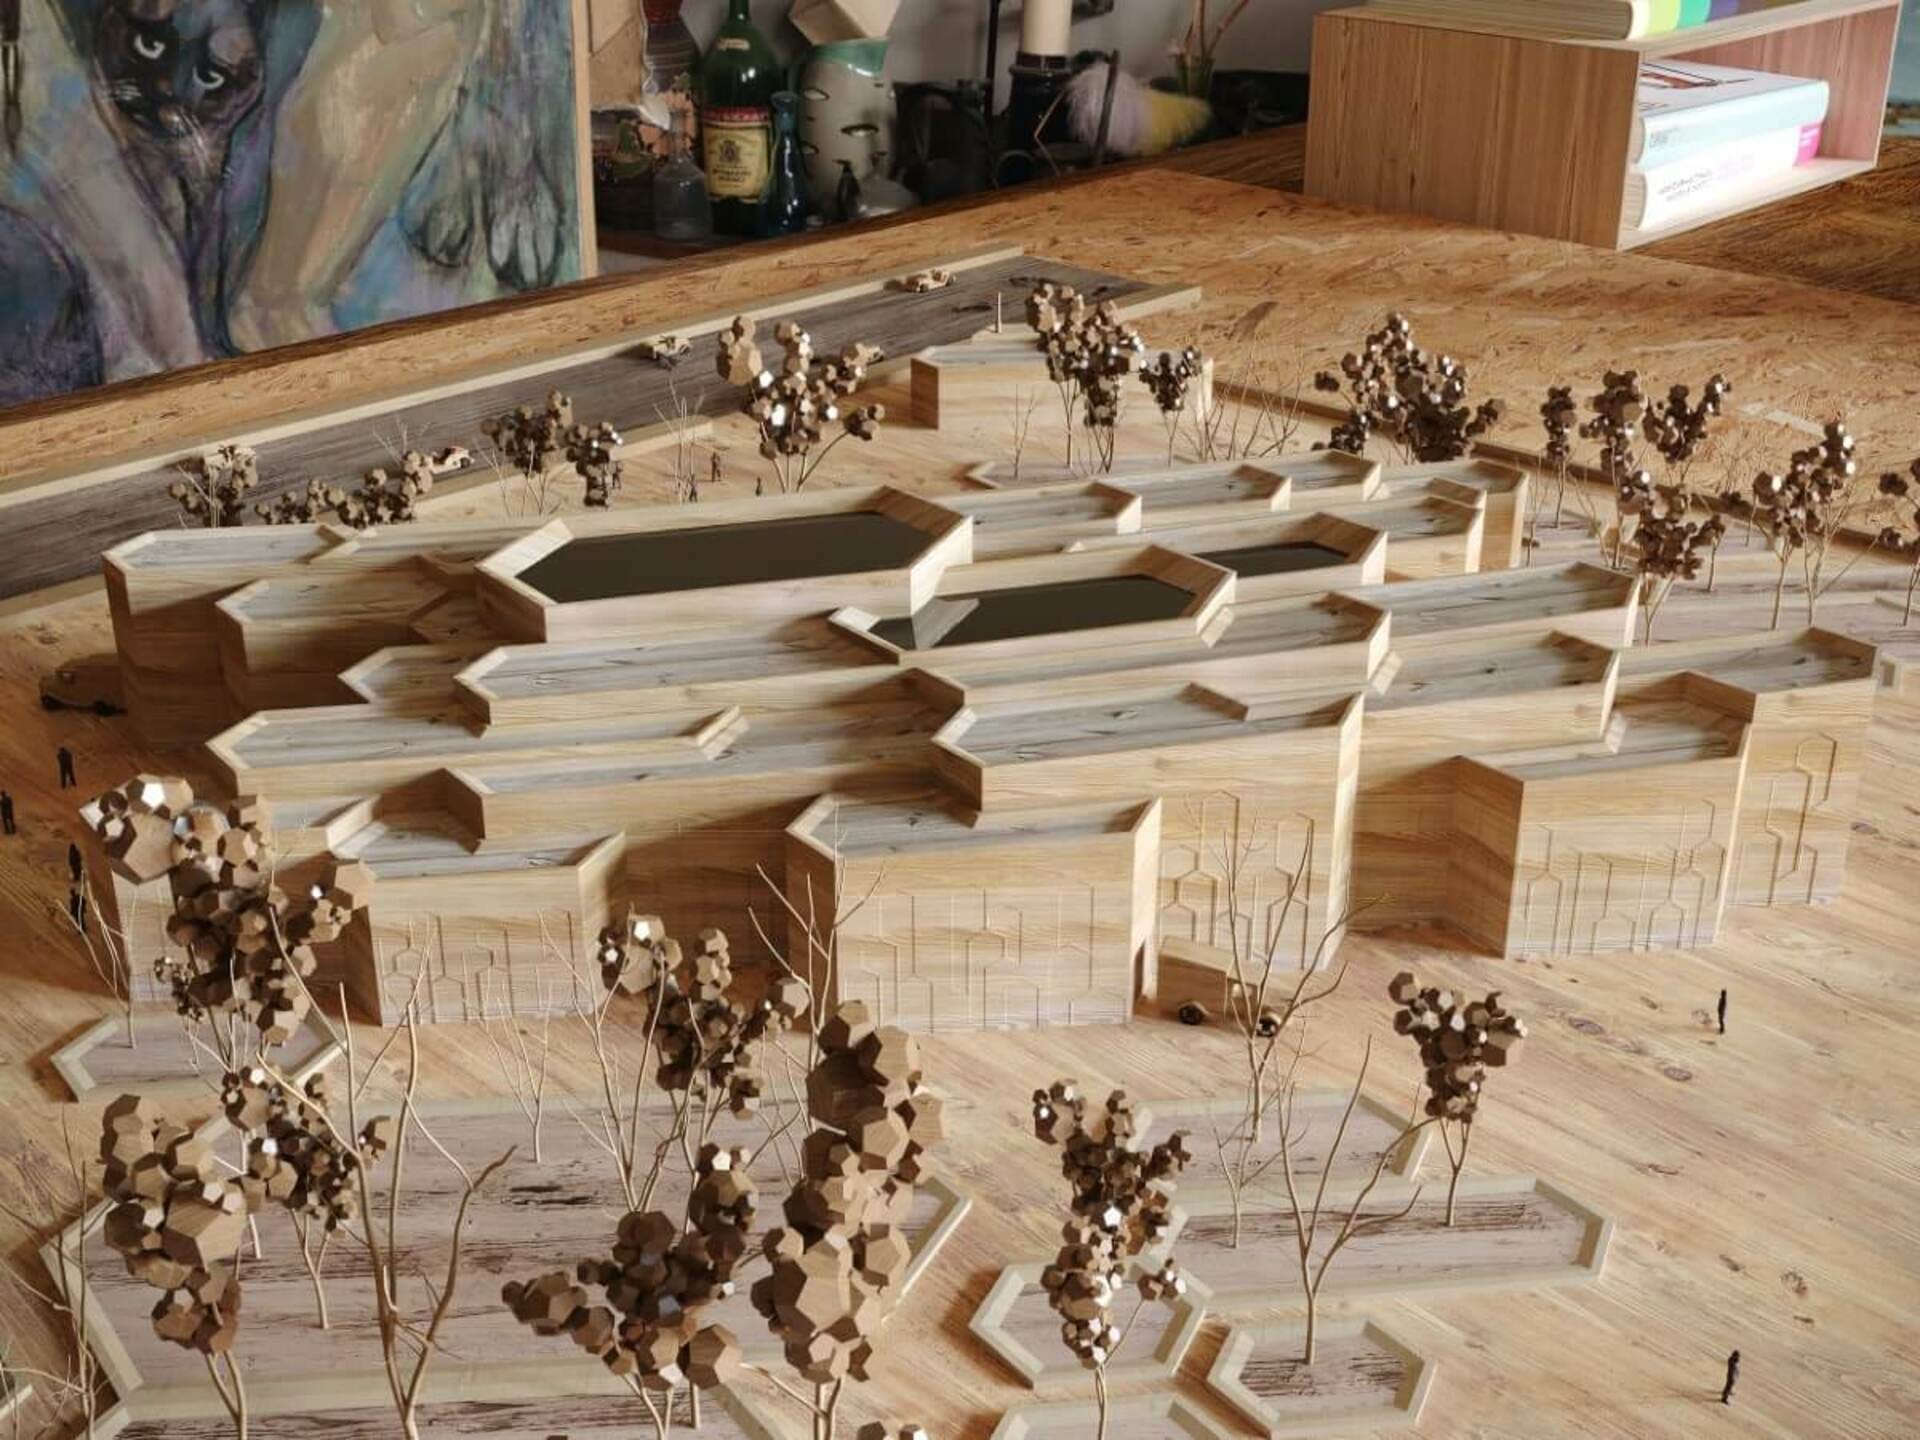
The trees also draw on the geometric patterns
What was your post-production process?
All of my post-production was in the Corona VFB where I used its tone mapping. To give the pictures a mood, you need to change things like the colors and exposure, and I also manipulated the curves and white balance of the pictures and added some filmic shadows and highlights.
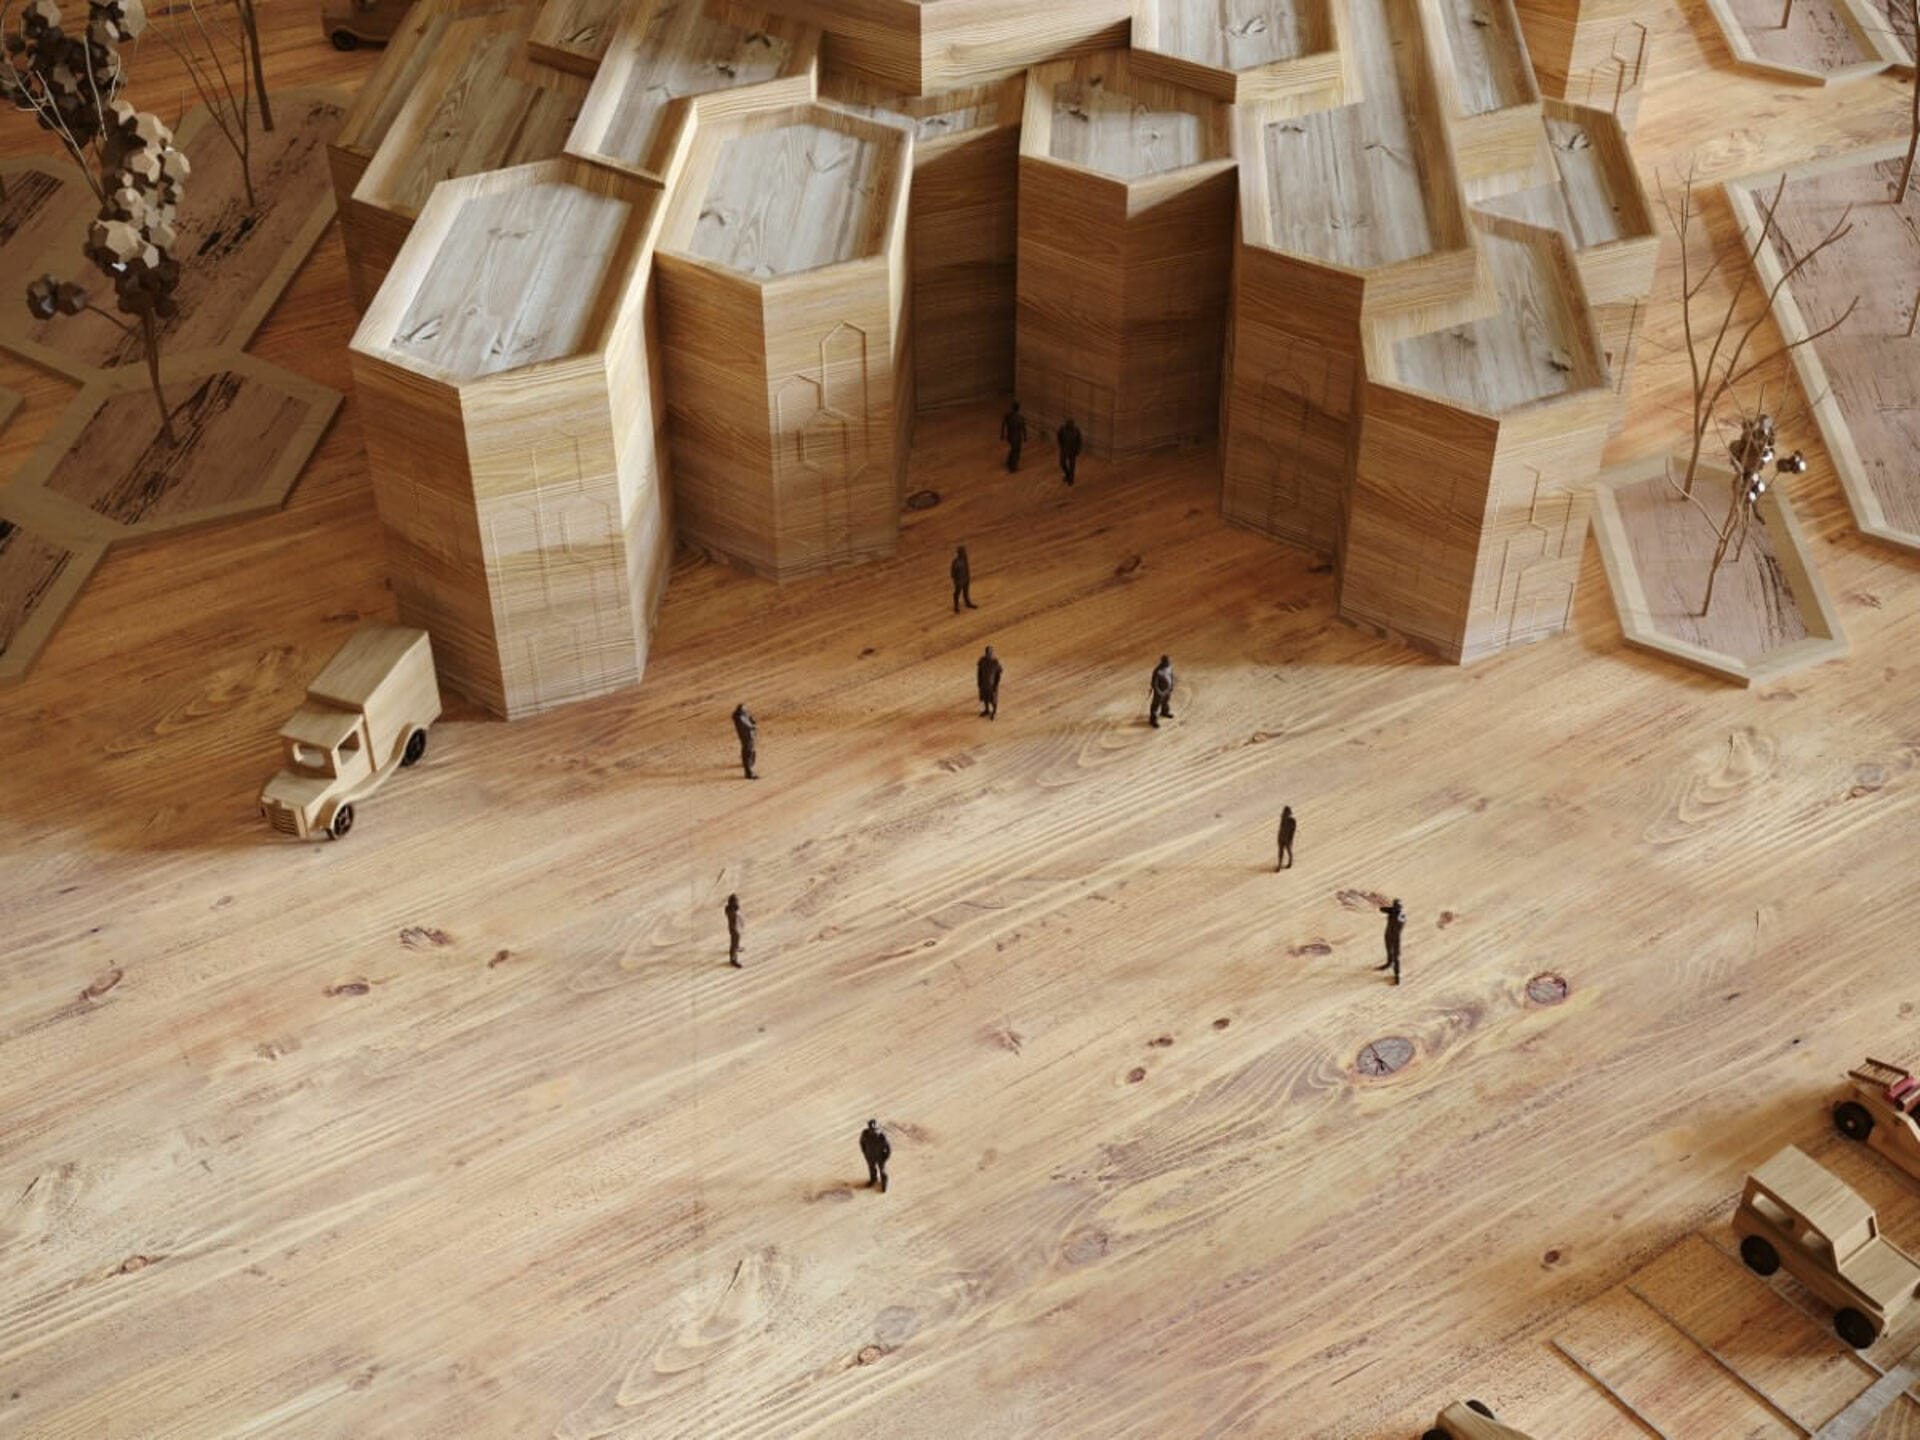
Adding the people gives the image a nice sense of scale
What did you learn that you might do differently next time?
In this scene, the materials matter a lot for making it look realistic, so next time the process of making materials will be even more comprehensive and more detailed.
Any more projects on the horizon?
As a young architect my primary goal is to keep improving and growing professionally and I have many projects to work on right now. You can find more about me and my other projects at the links below, and I hope you learned something from this article!
Links
Behance : https://www.behance.net/RemanSilevaney
Instagram: https://www.instagram.com/remansilevaney/
Facebook: https://www.facebook.com/RemanSilevaney/


