Main steps in the product rendering process
The process of designing a product can be complex and extensive, with many differences between industries. However, creating the photorealistic imagery that communicates an idea is similar in all fields.
Product designers are typically professional users of specialized computer software. The process involves at least two factors: accurate and flexible 3D modeling software and professional rendering software with ray-tracing technology.
Computer software
Choosing the right tool can be a great challenge for designers and it's important to choose carefully based on the software's capabilities. Here are some aspects that, in my personal experience, will help you define your workflow.
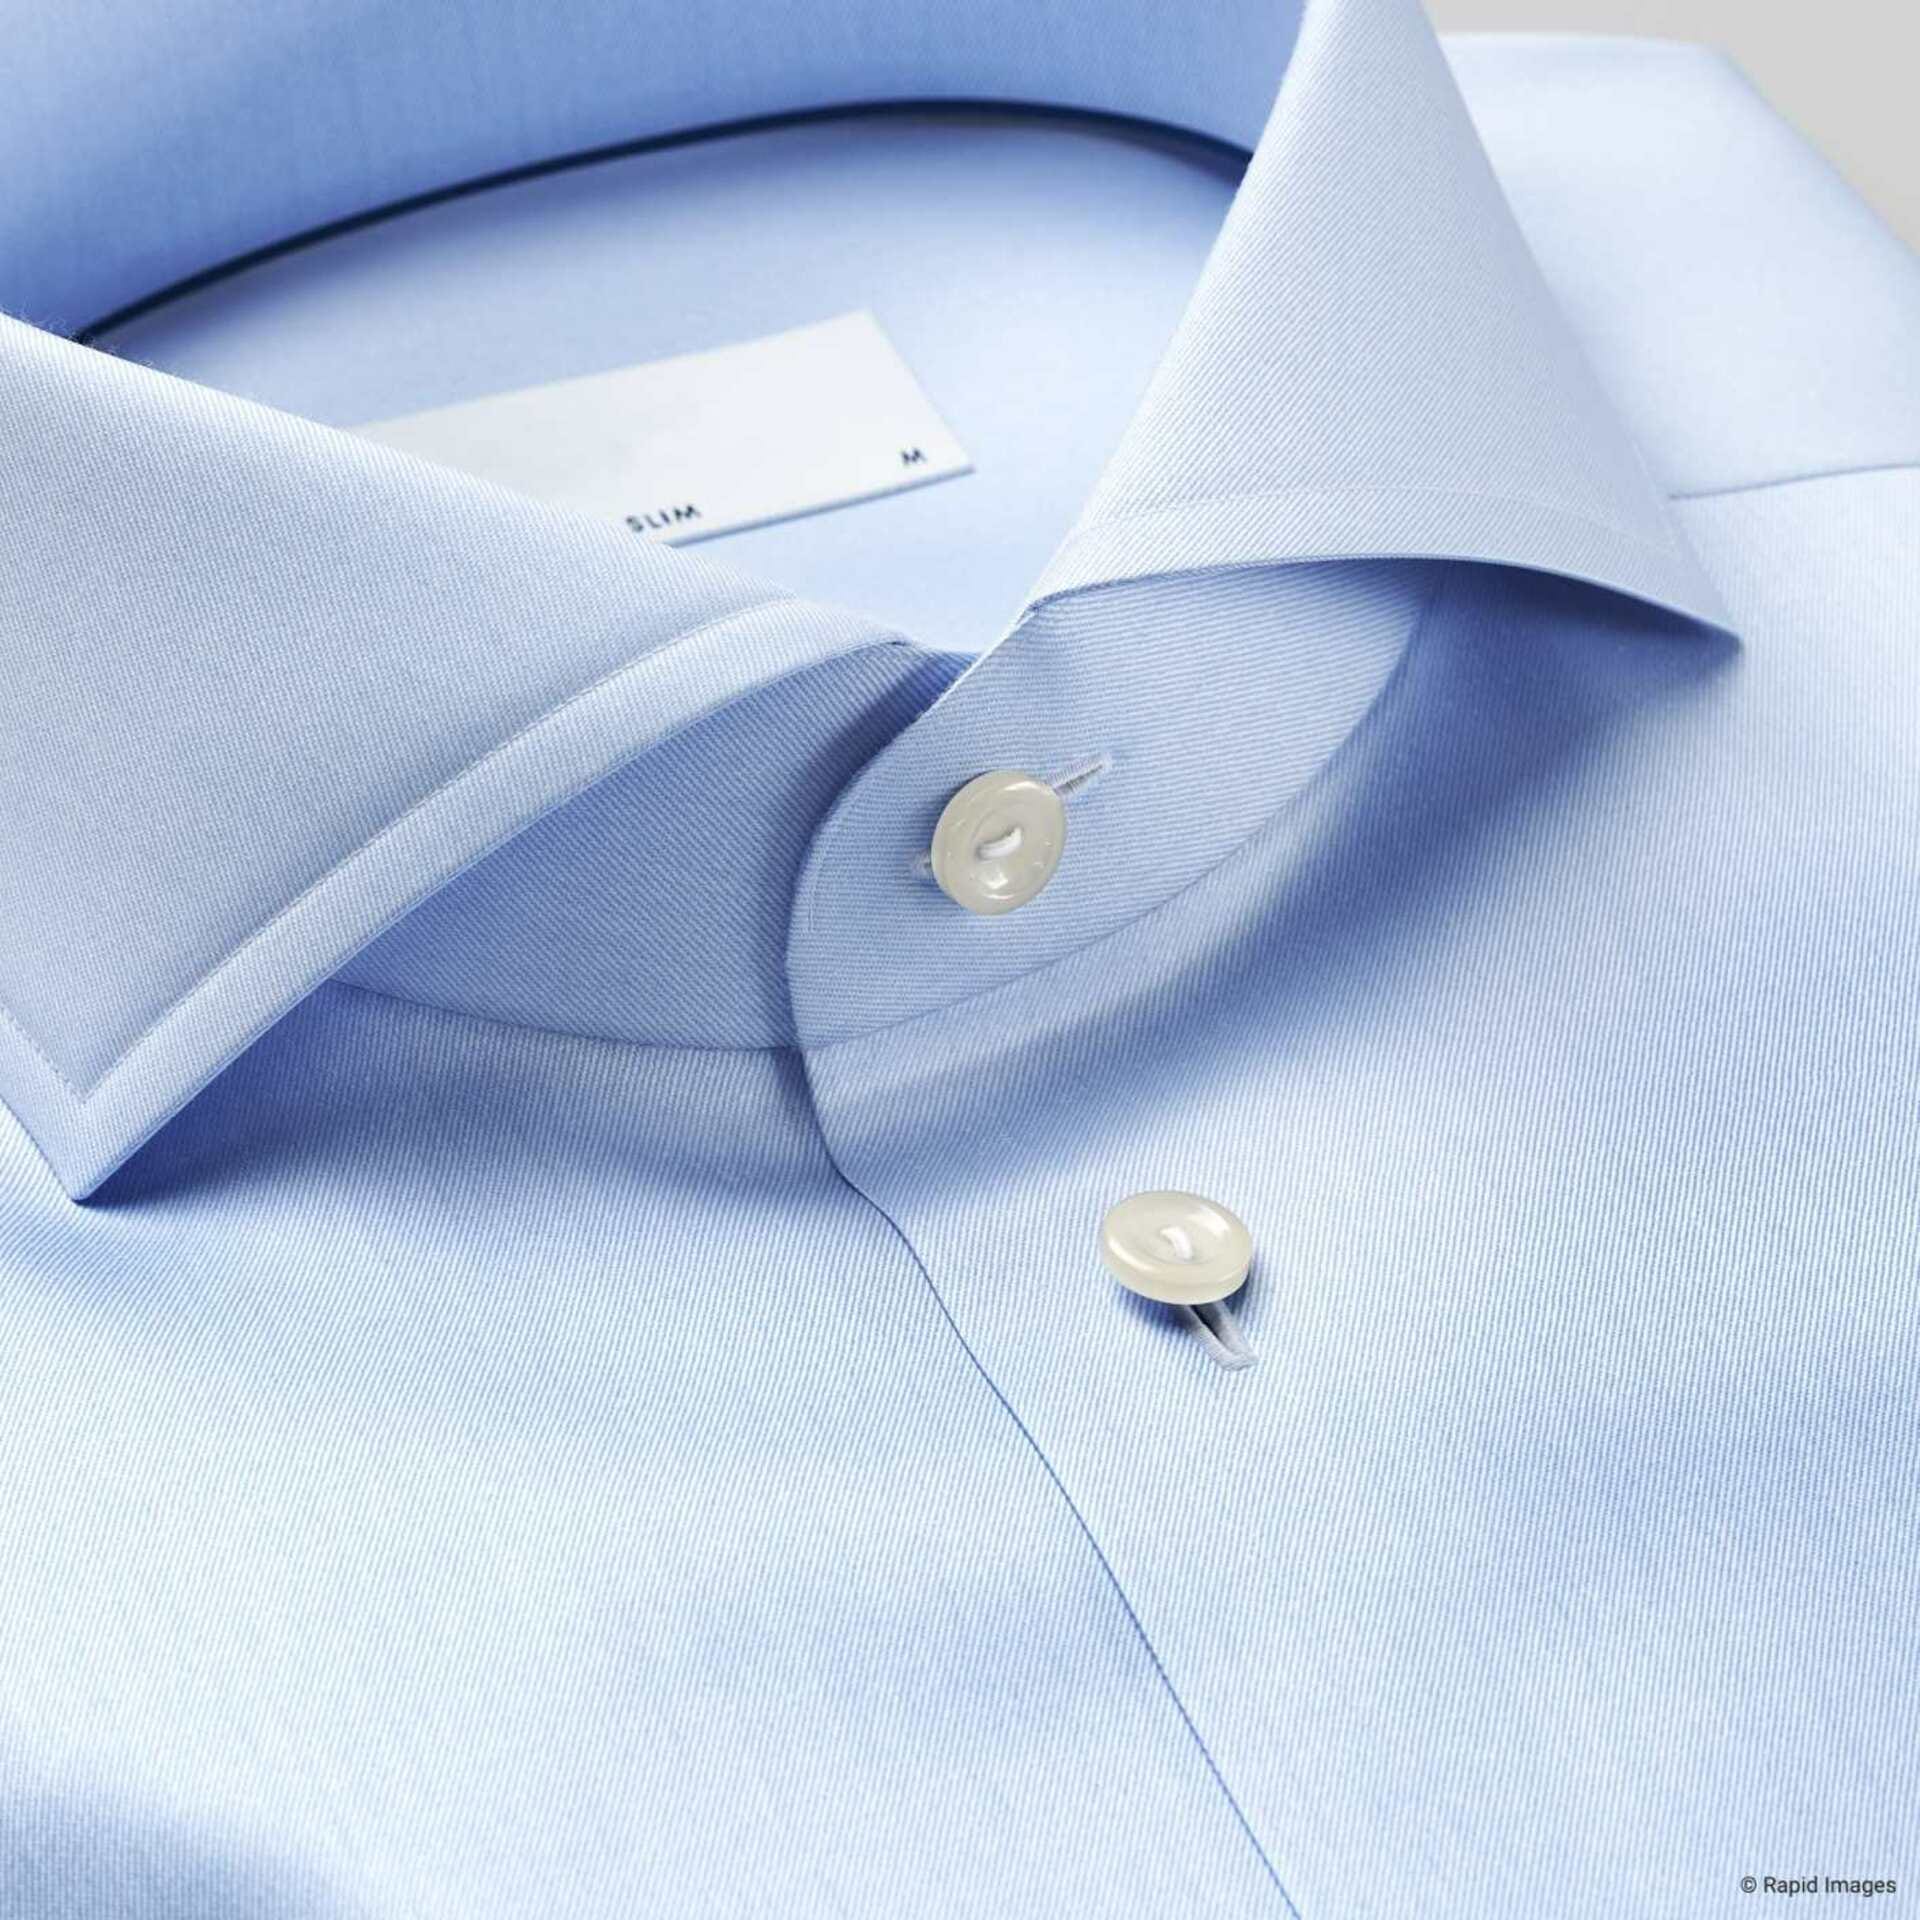
Modeling software. Consider a 3D suite that allows you to model parametrically. We often receive production plans, and we must keep each piece's dimensions correct. Also, this suite must allow you to use organic shapes such as fabrics or undefined surfaces, and last but not least, a proper UV mapping tool.
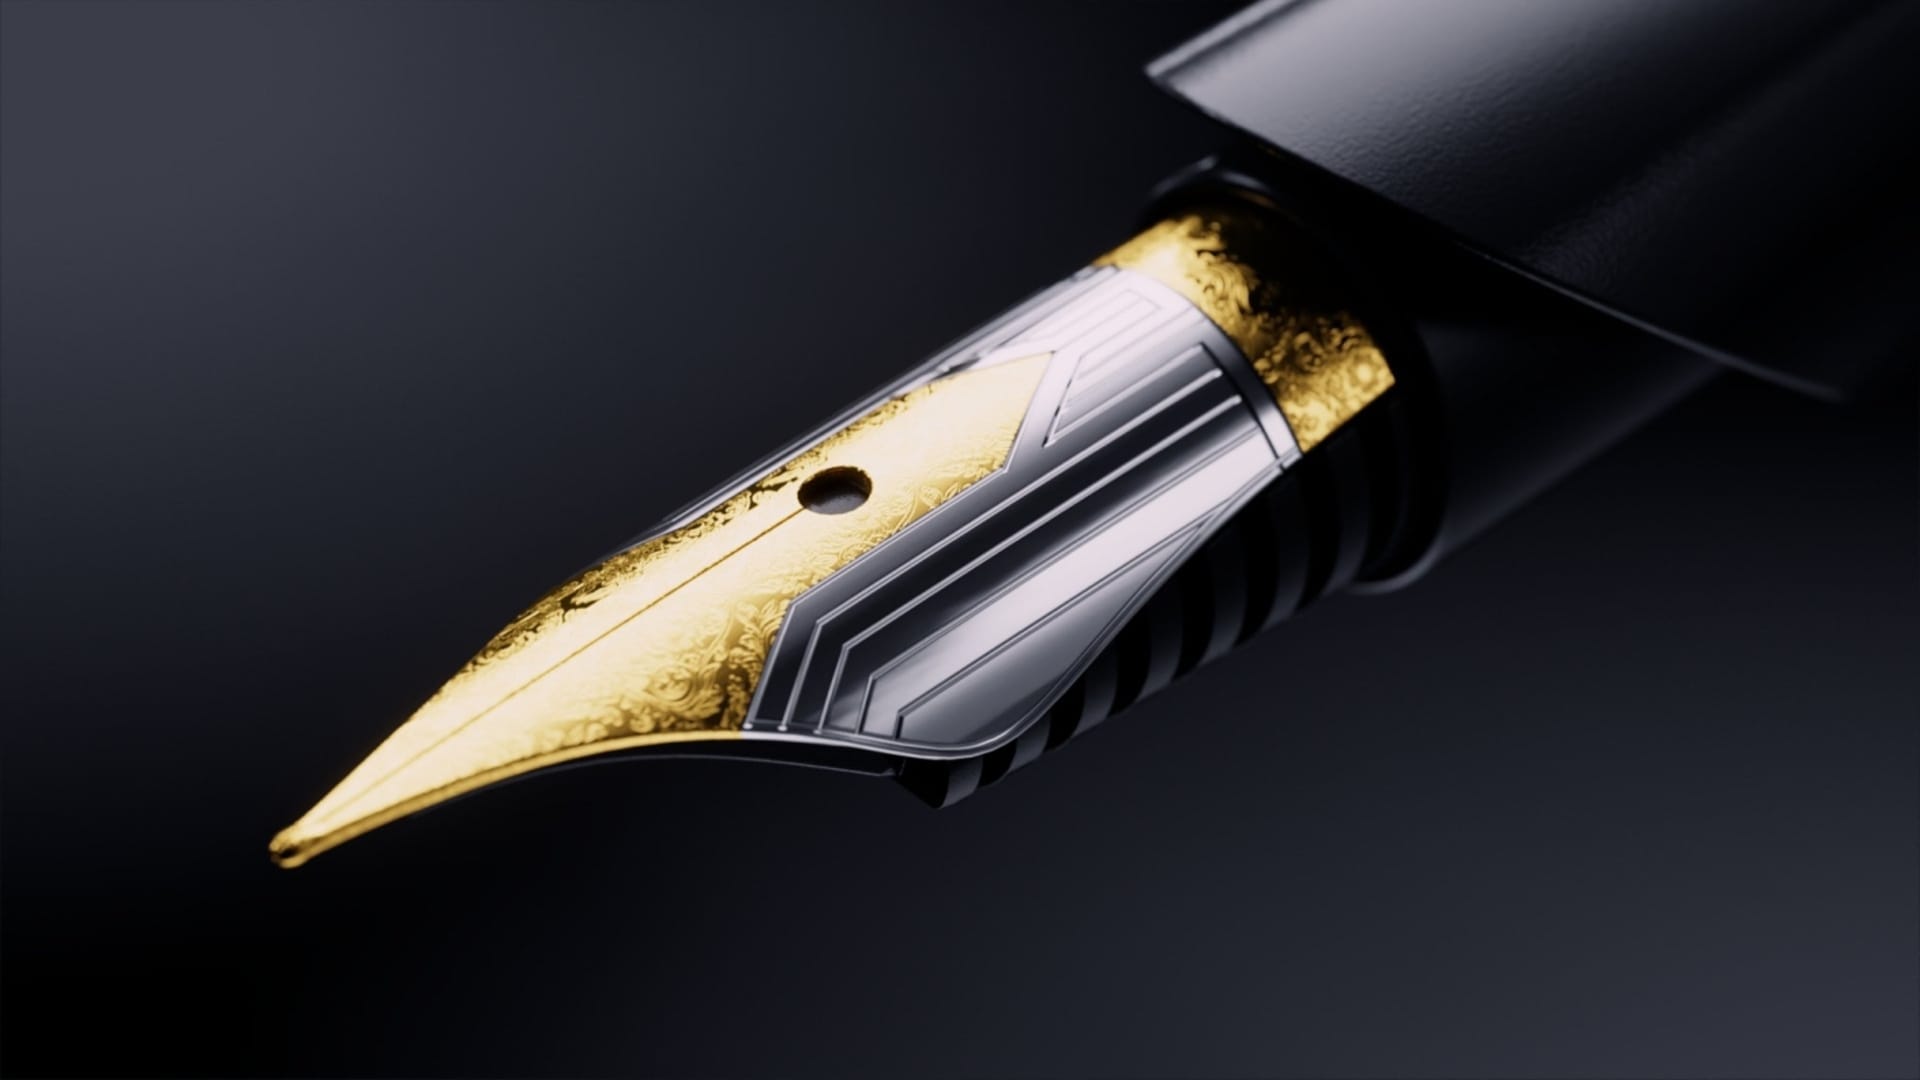
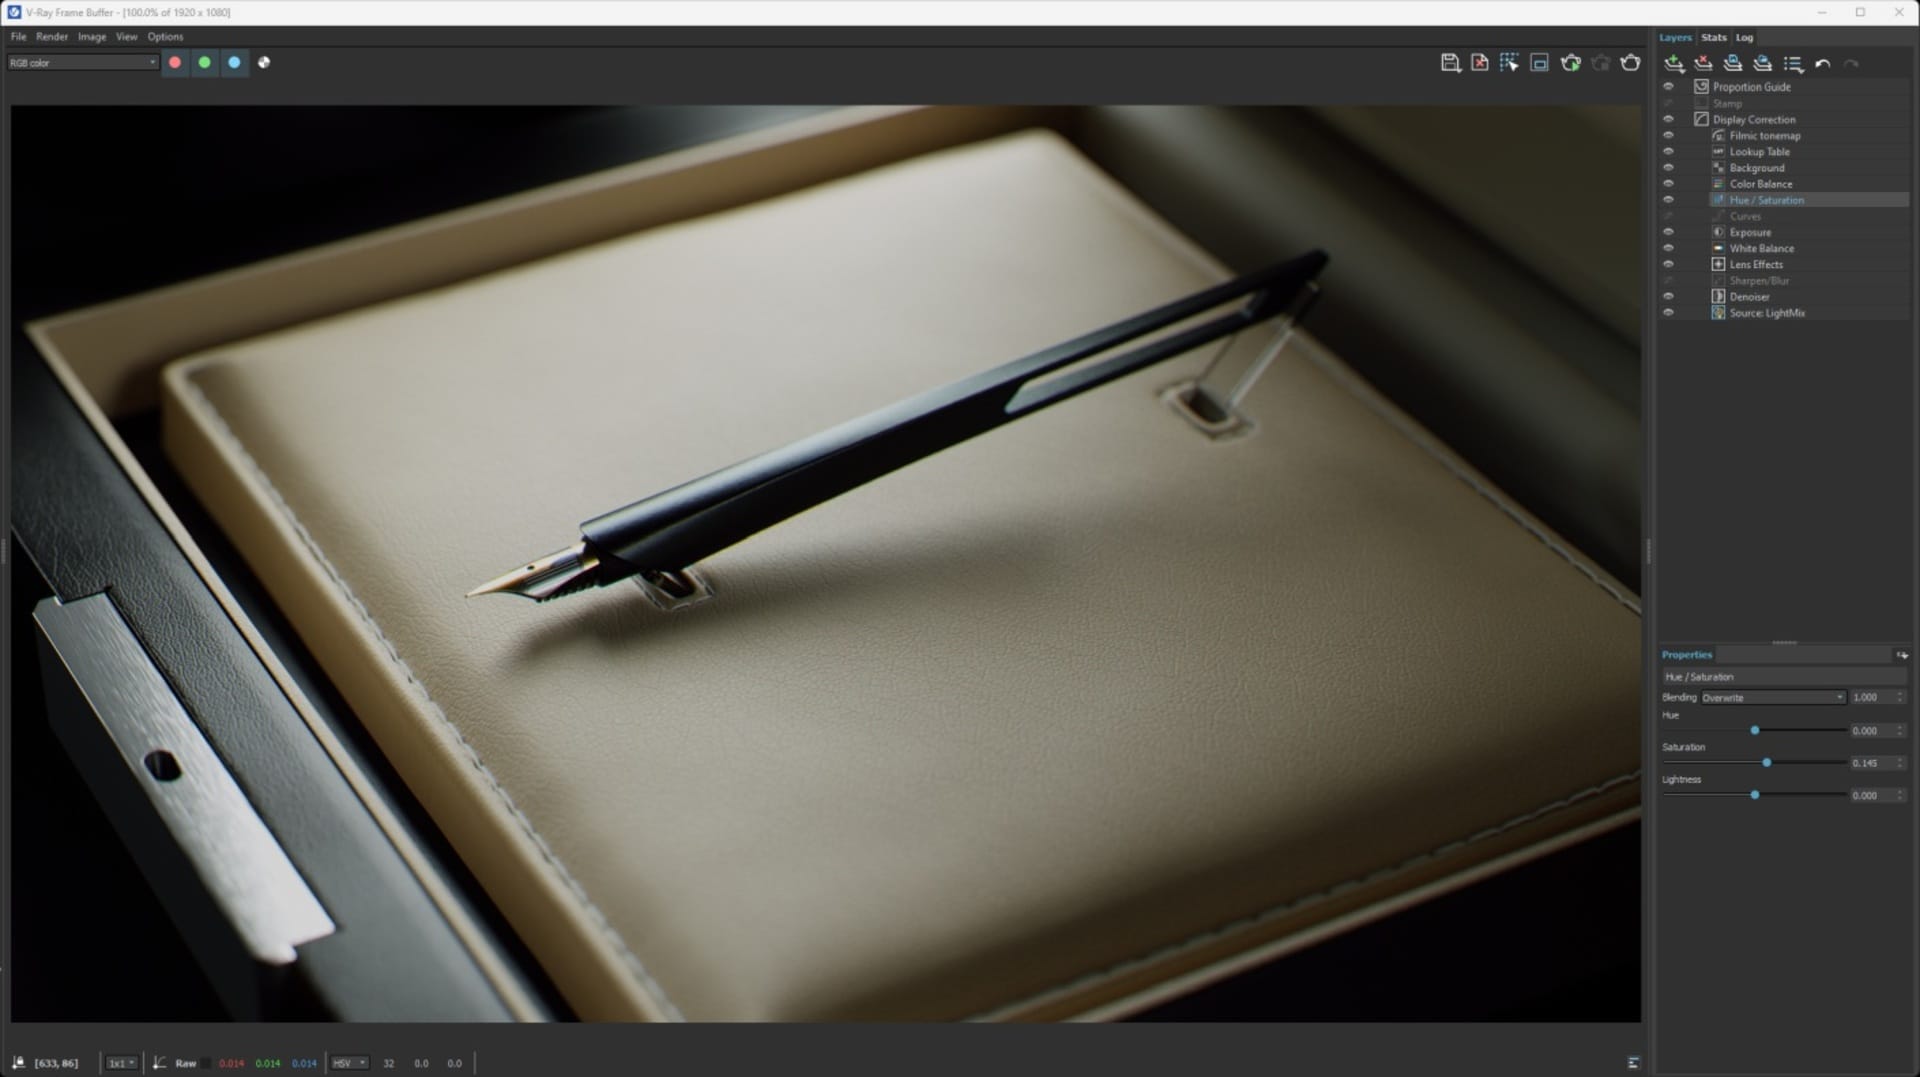
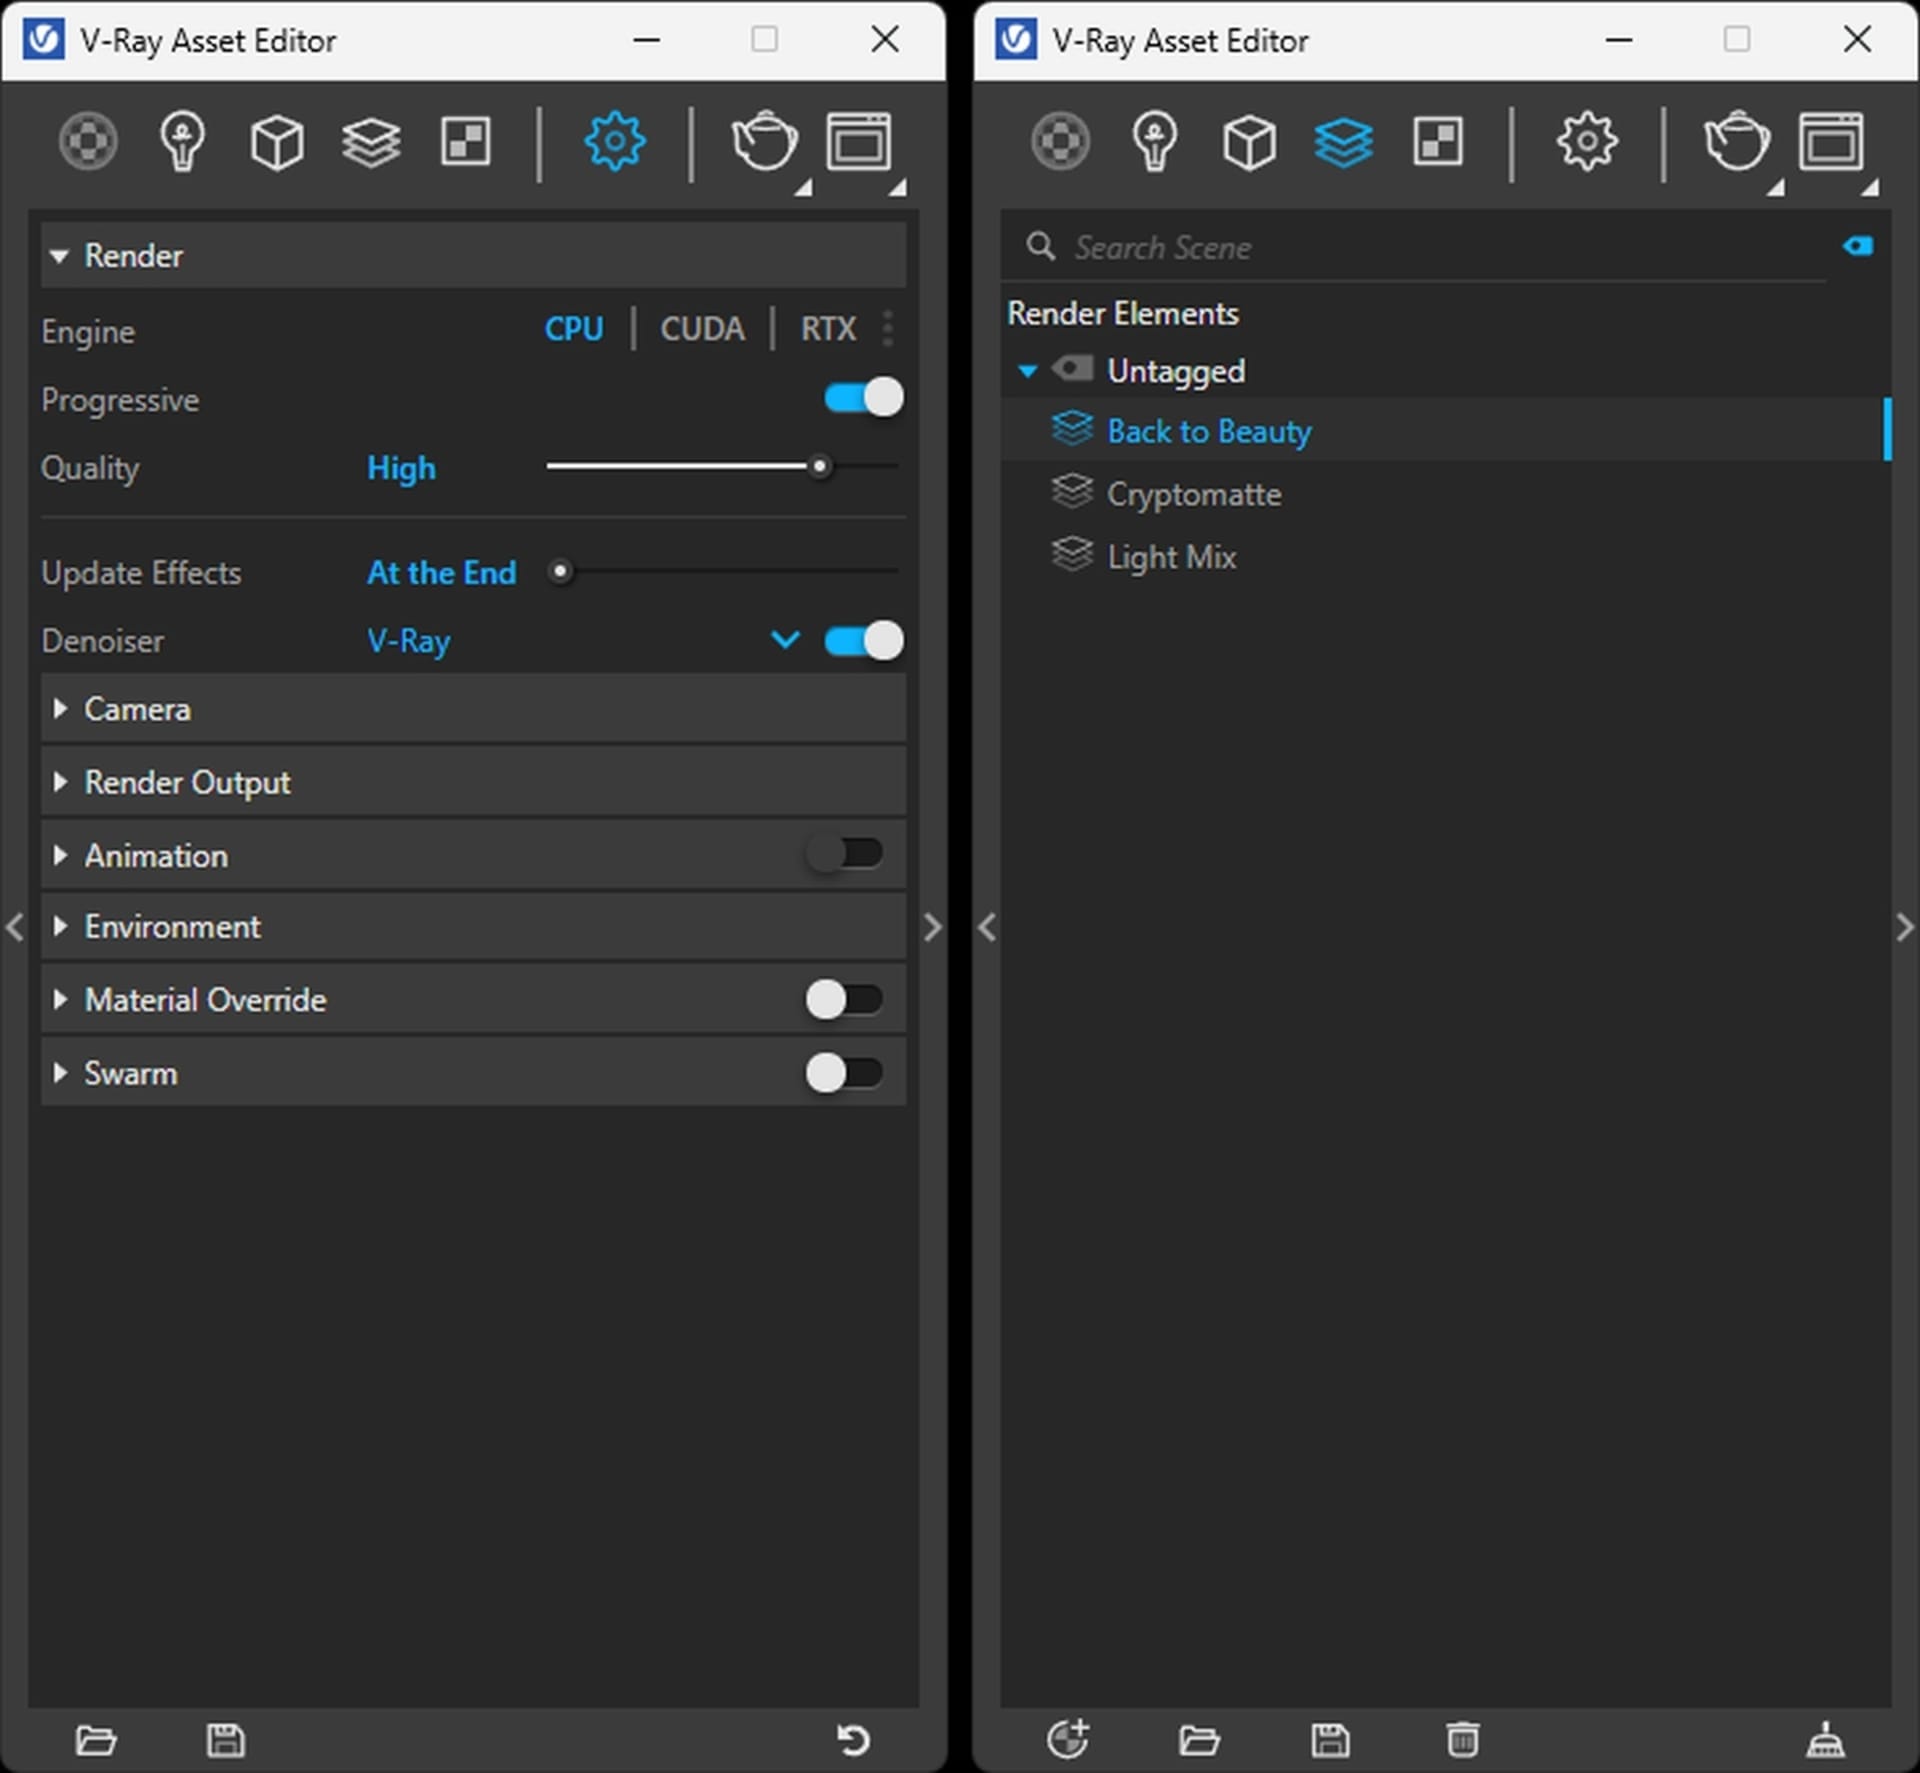
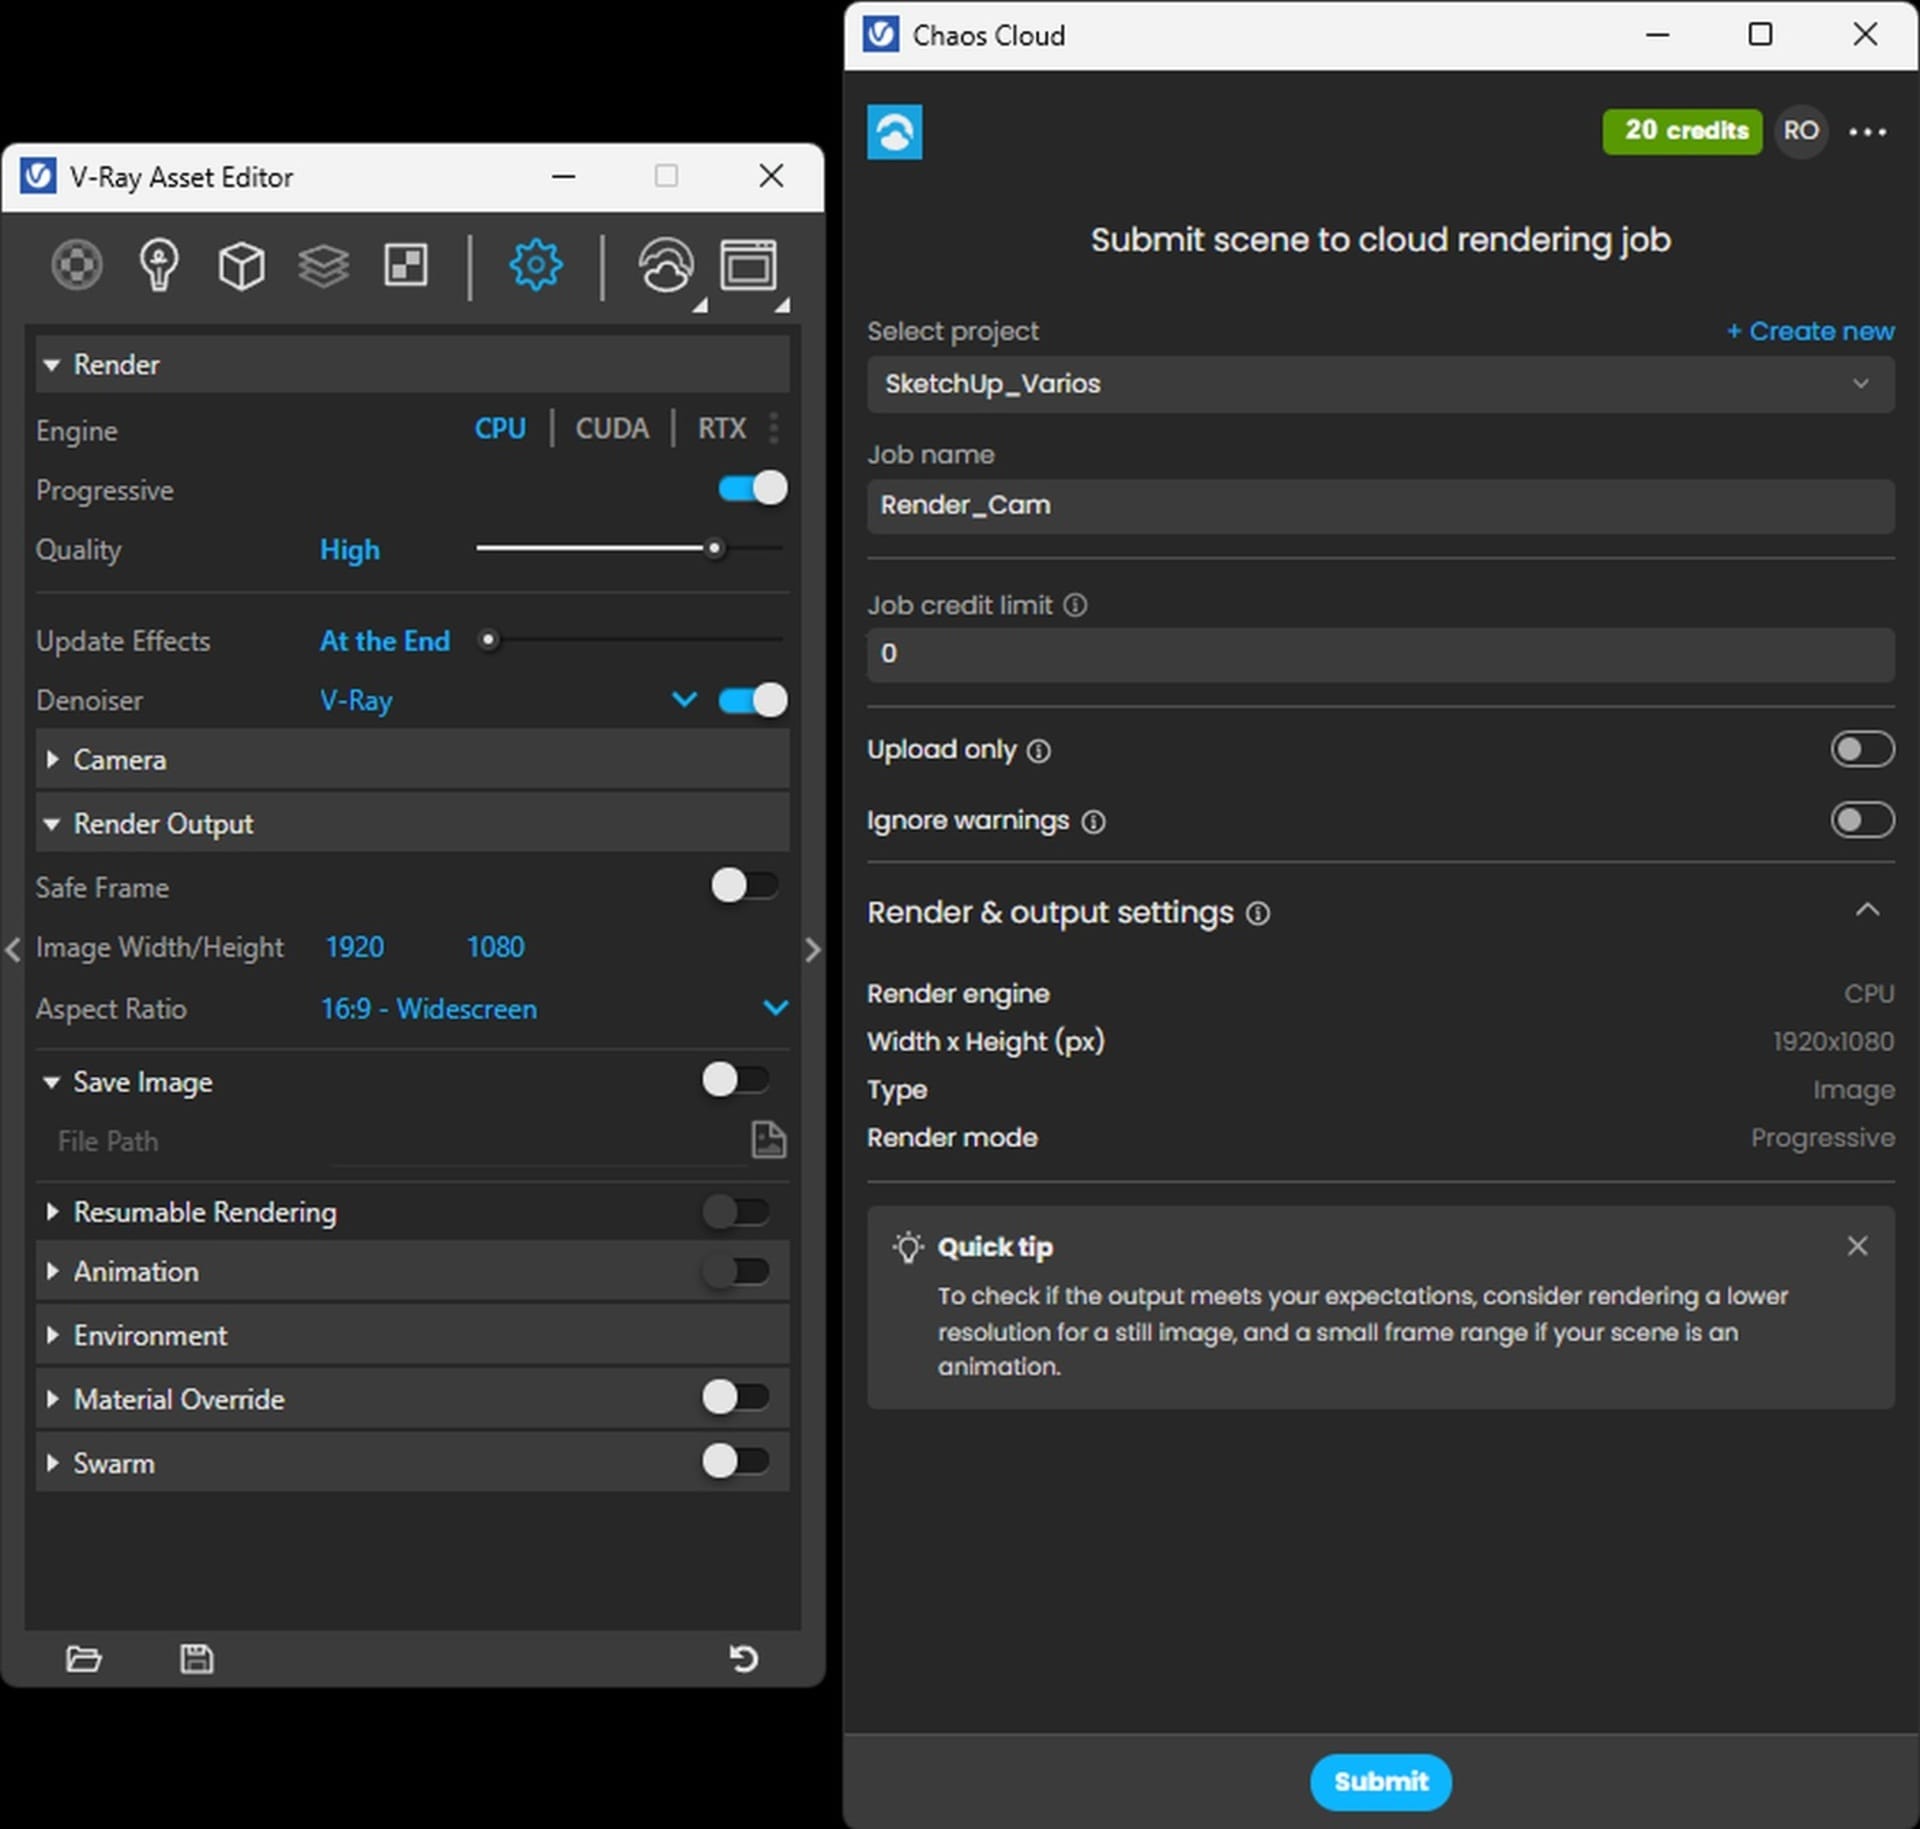
Rendering software. V-Ray is the best rendering engine for product design & e-commerce. Its ray-tracing technology allows you to physically simulate the light and the materials as in real life, which are necessary factors to achieve the highest realism. In addition, V-Ray offers powerful post-production tools to finish your 3D product renders.
Preparation and planning
To get started with a product rendering project, it's a good idea to:
- Develop a detailed plan outlining the work scope, including specific tasks and milestones.
- Gather reference materials, sketches, and existing assets to inform the rendering process.
Modeling
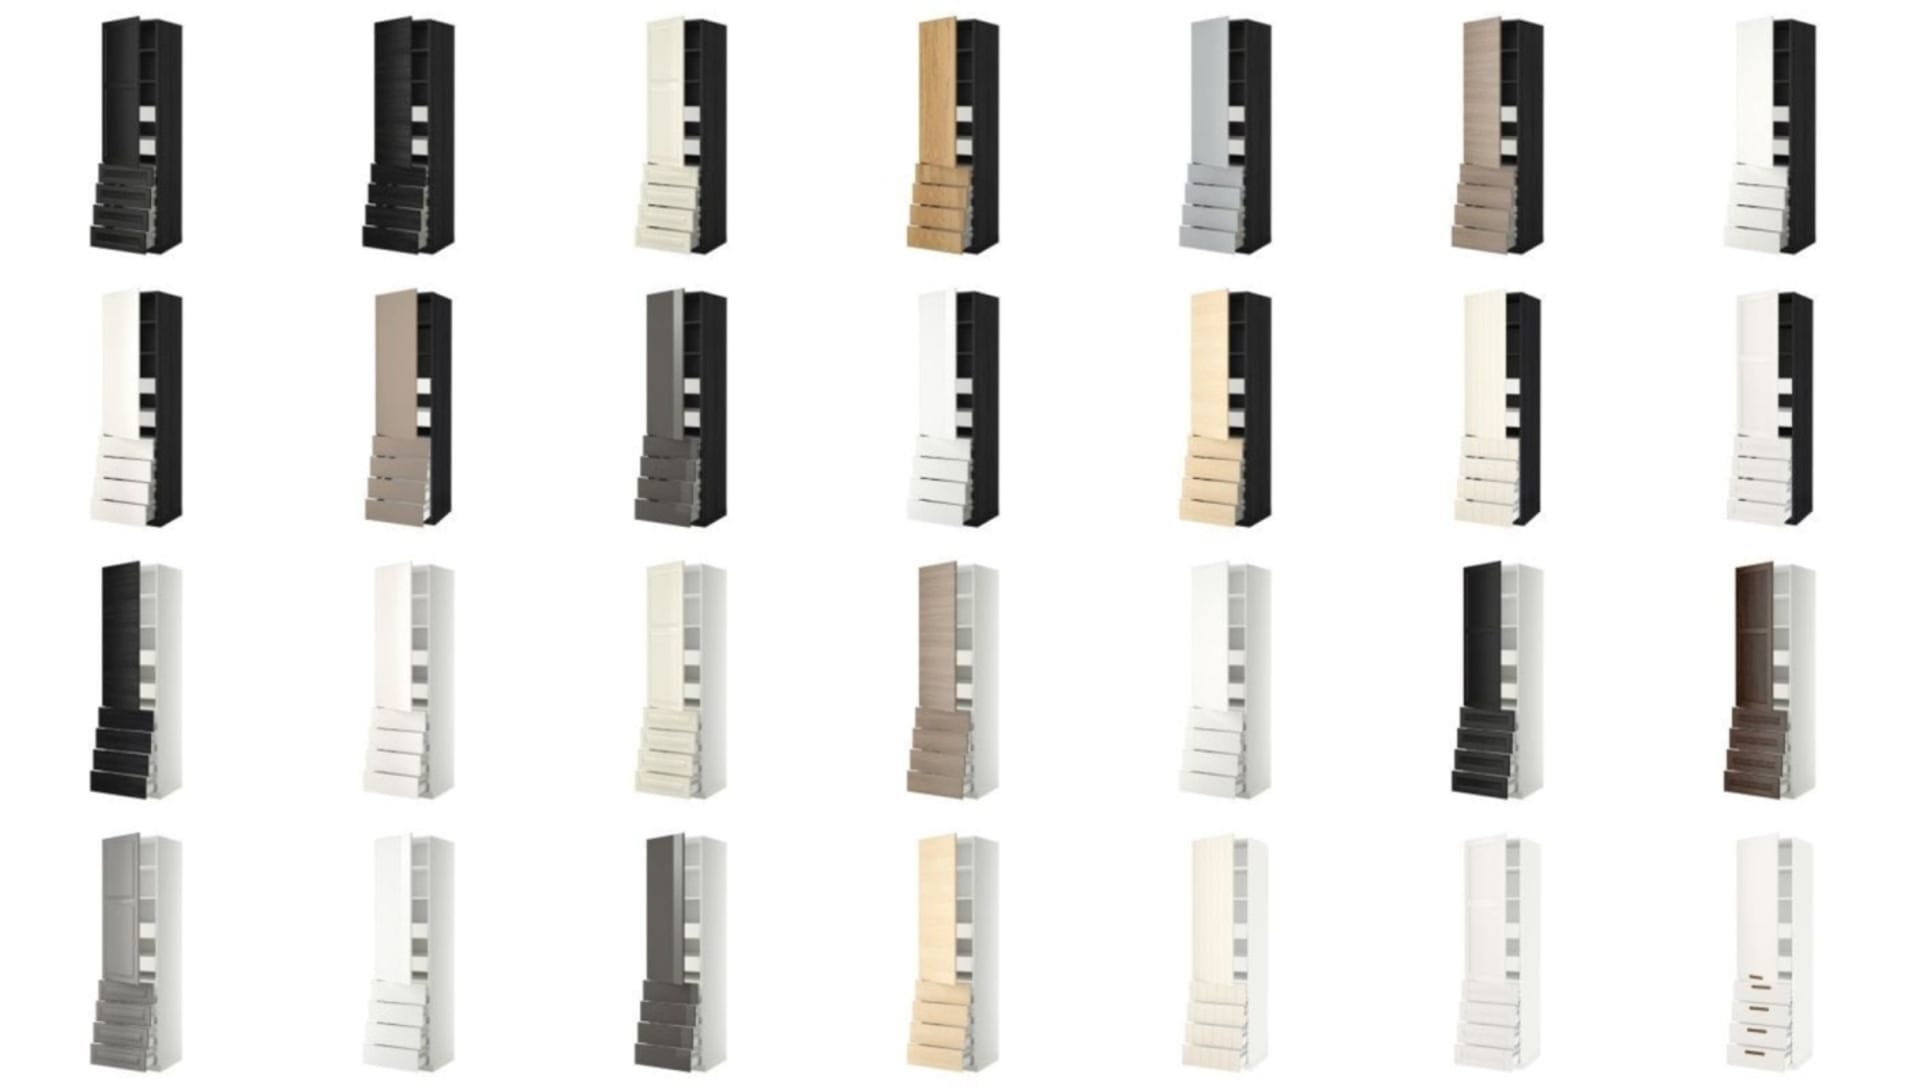
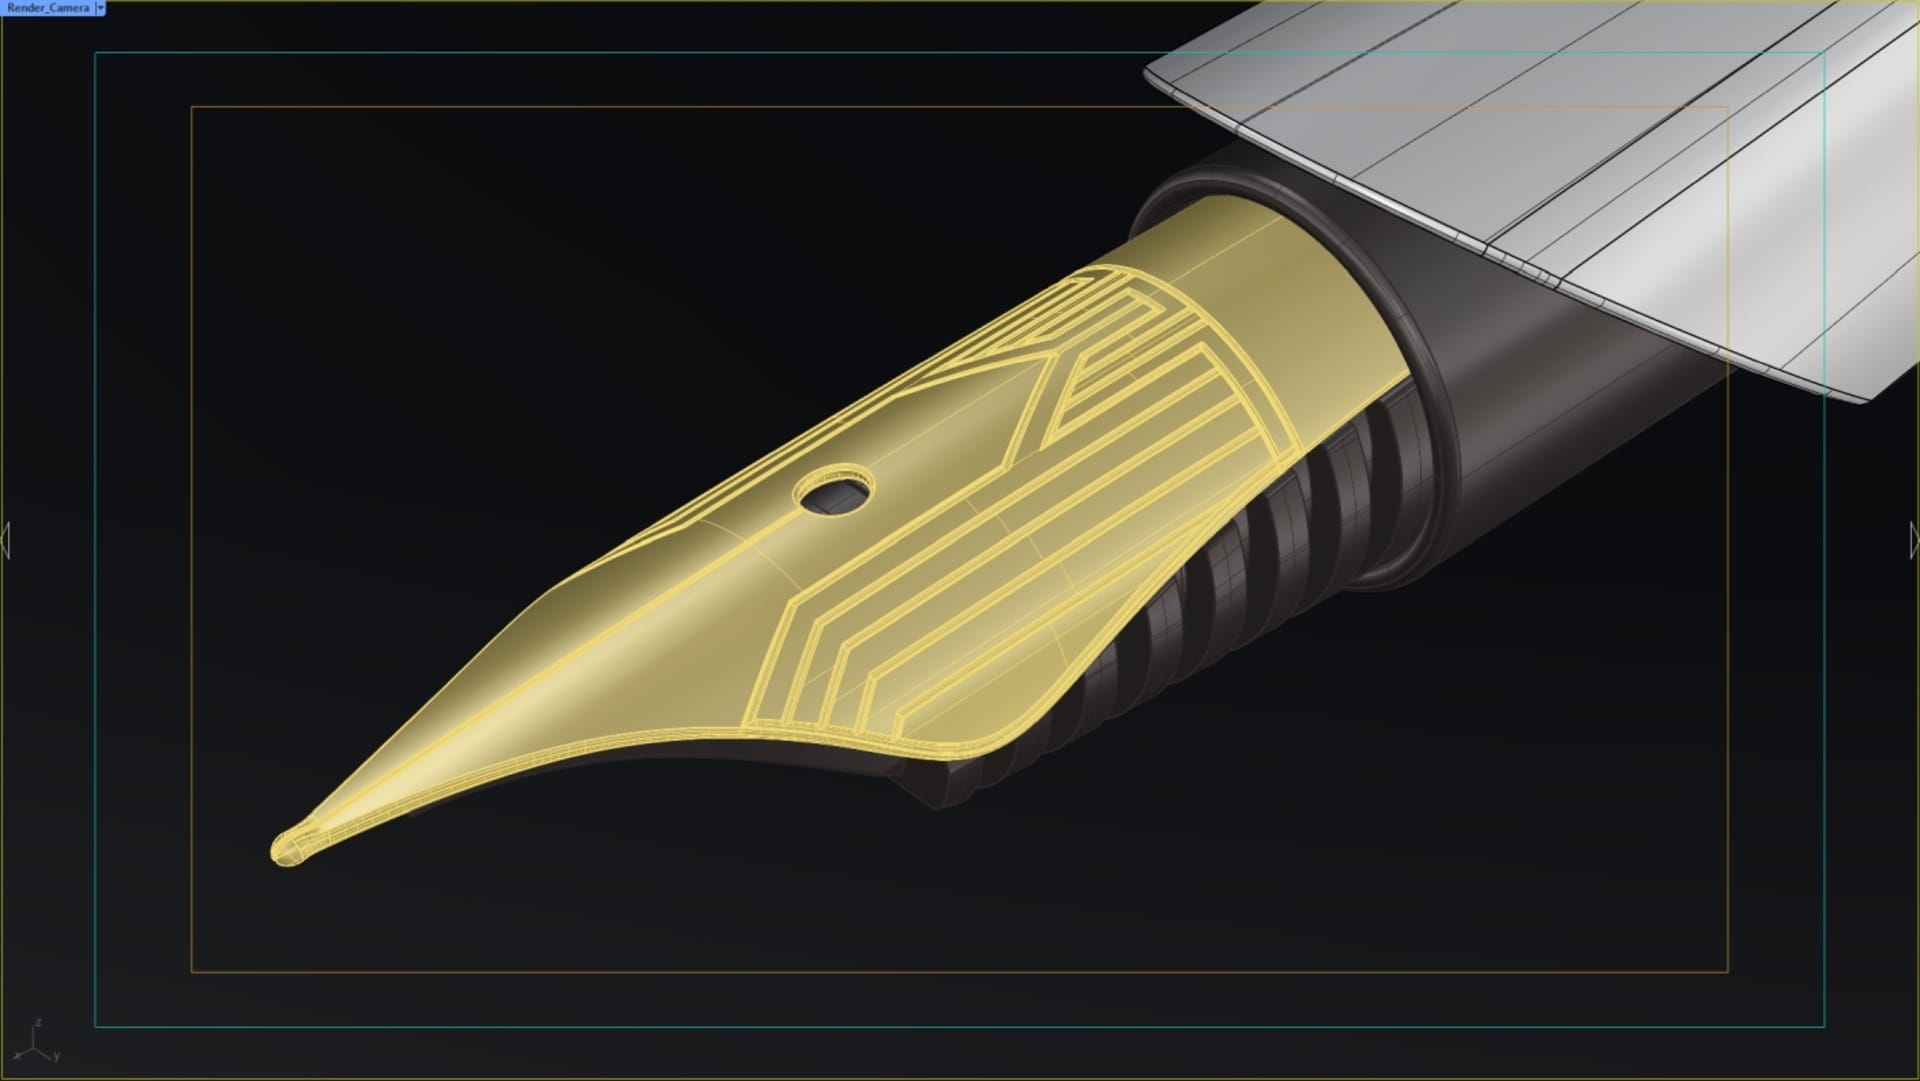
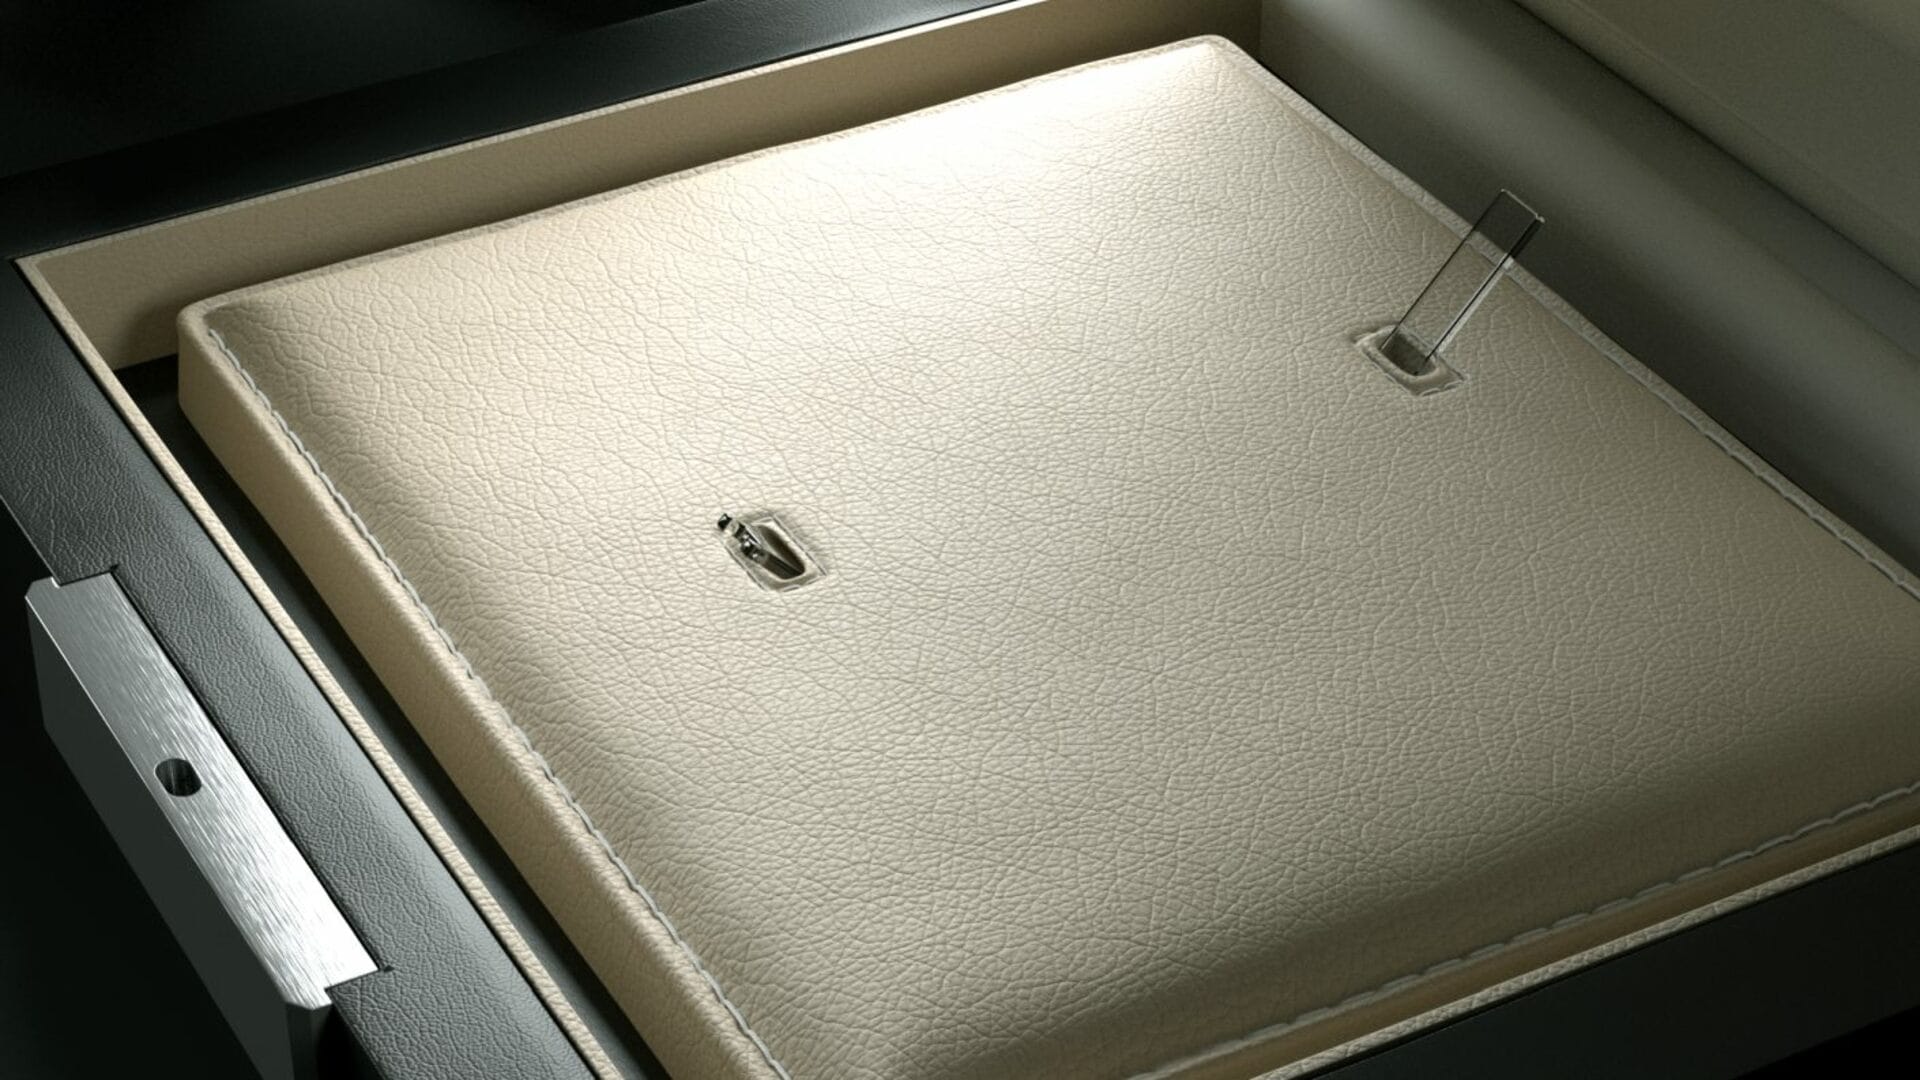
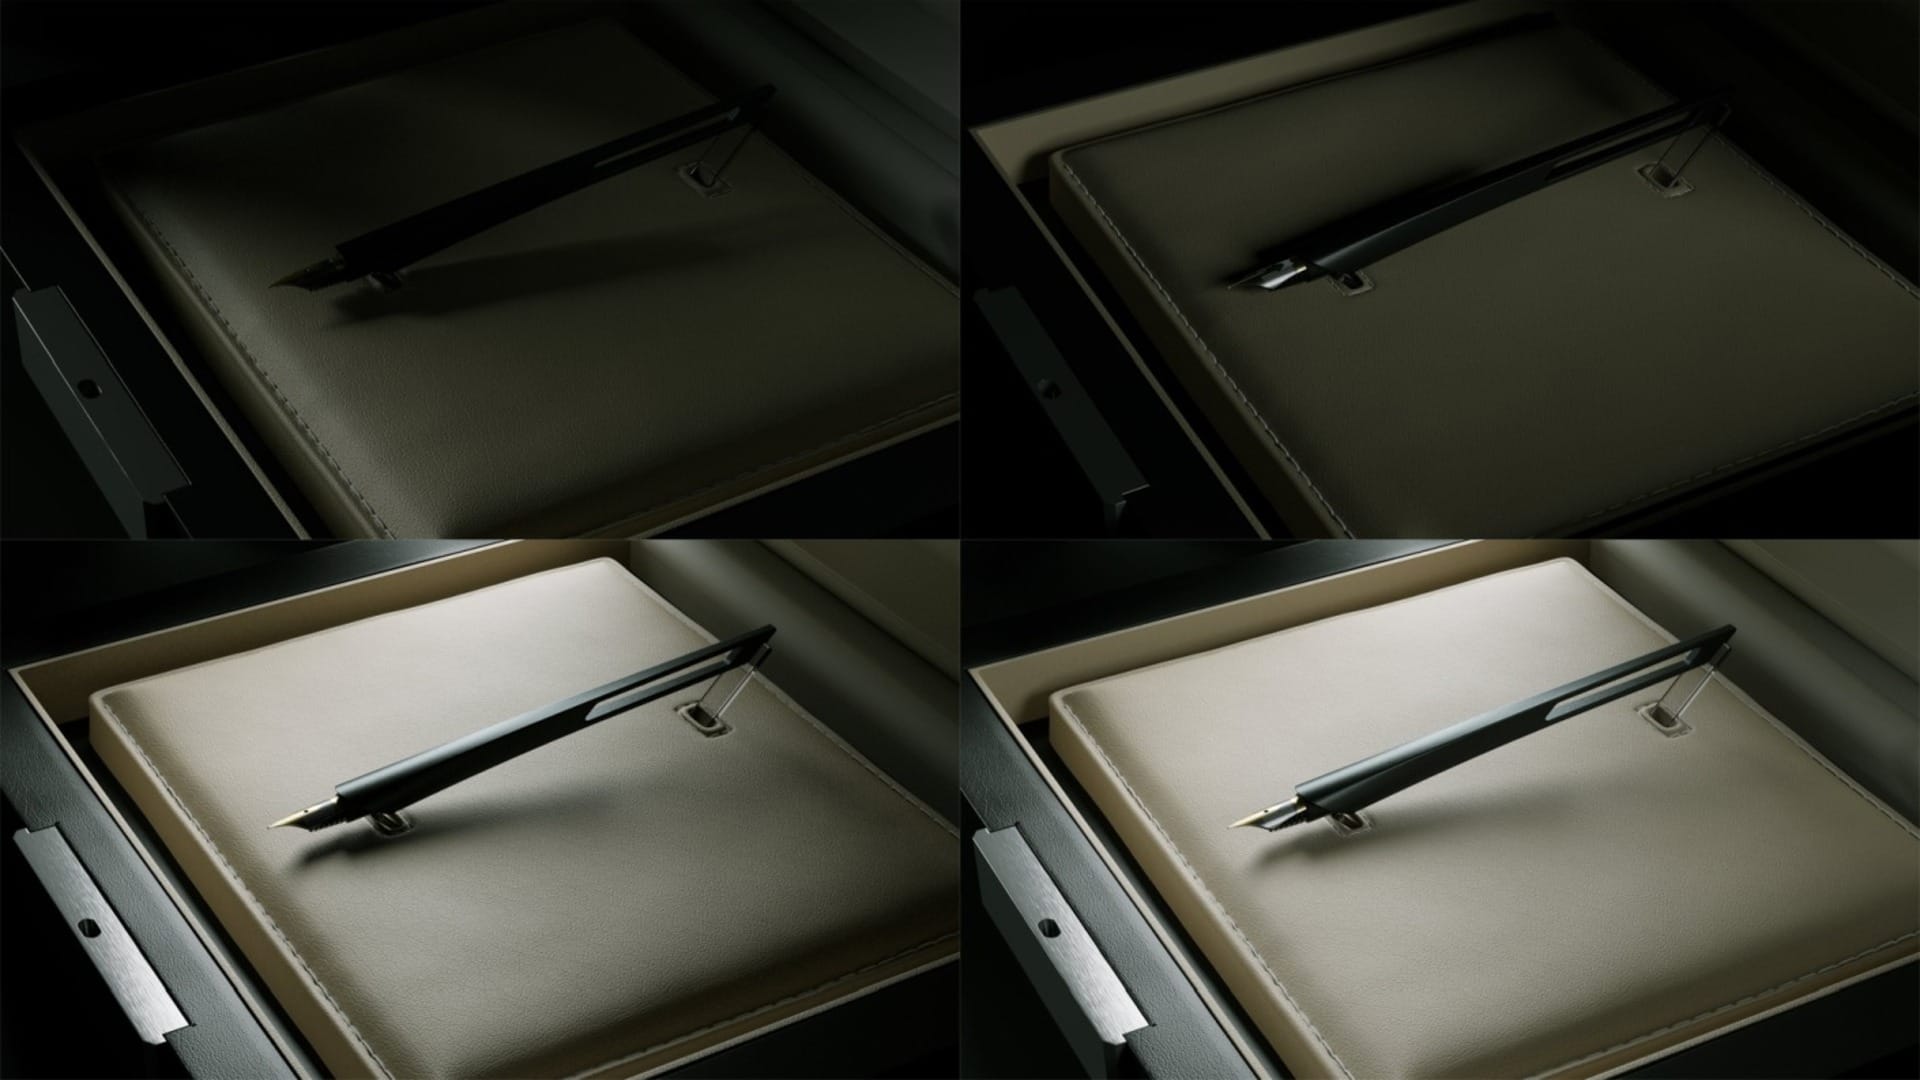
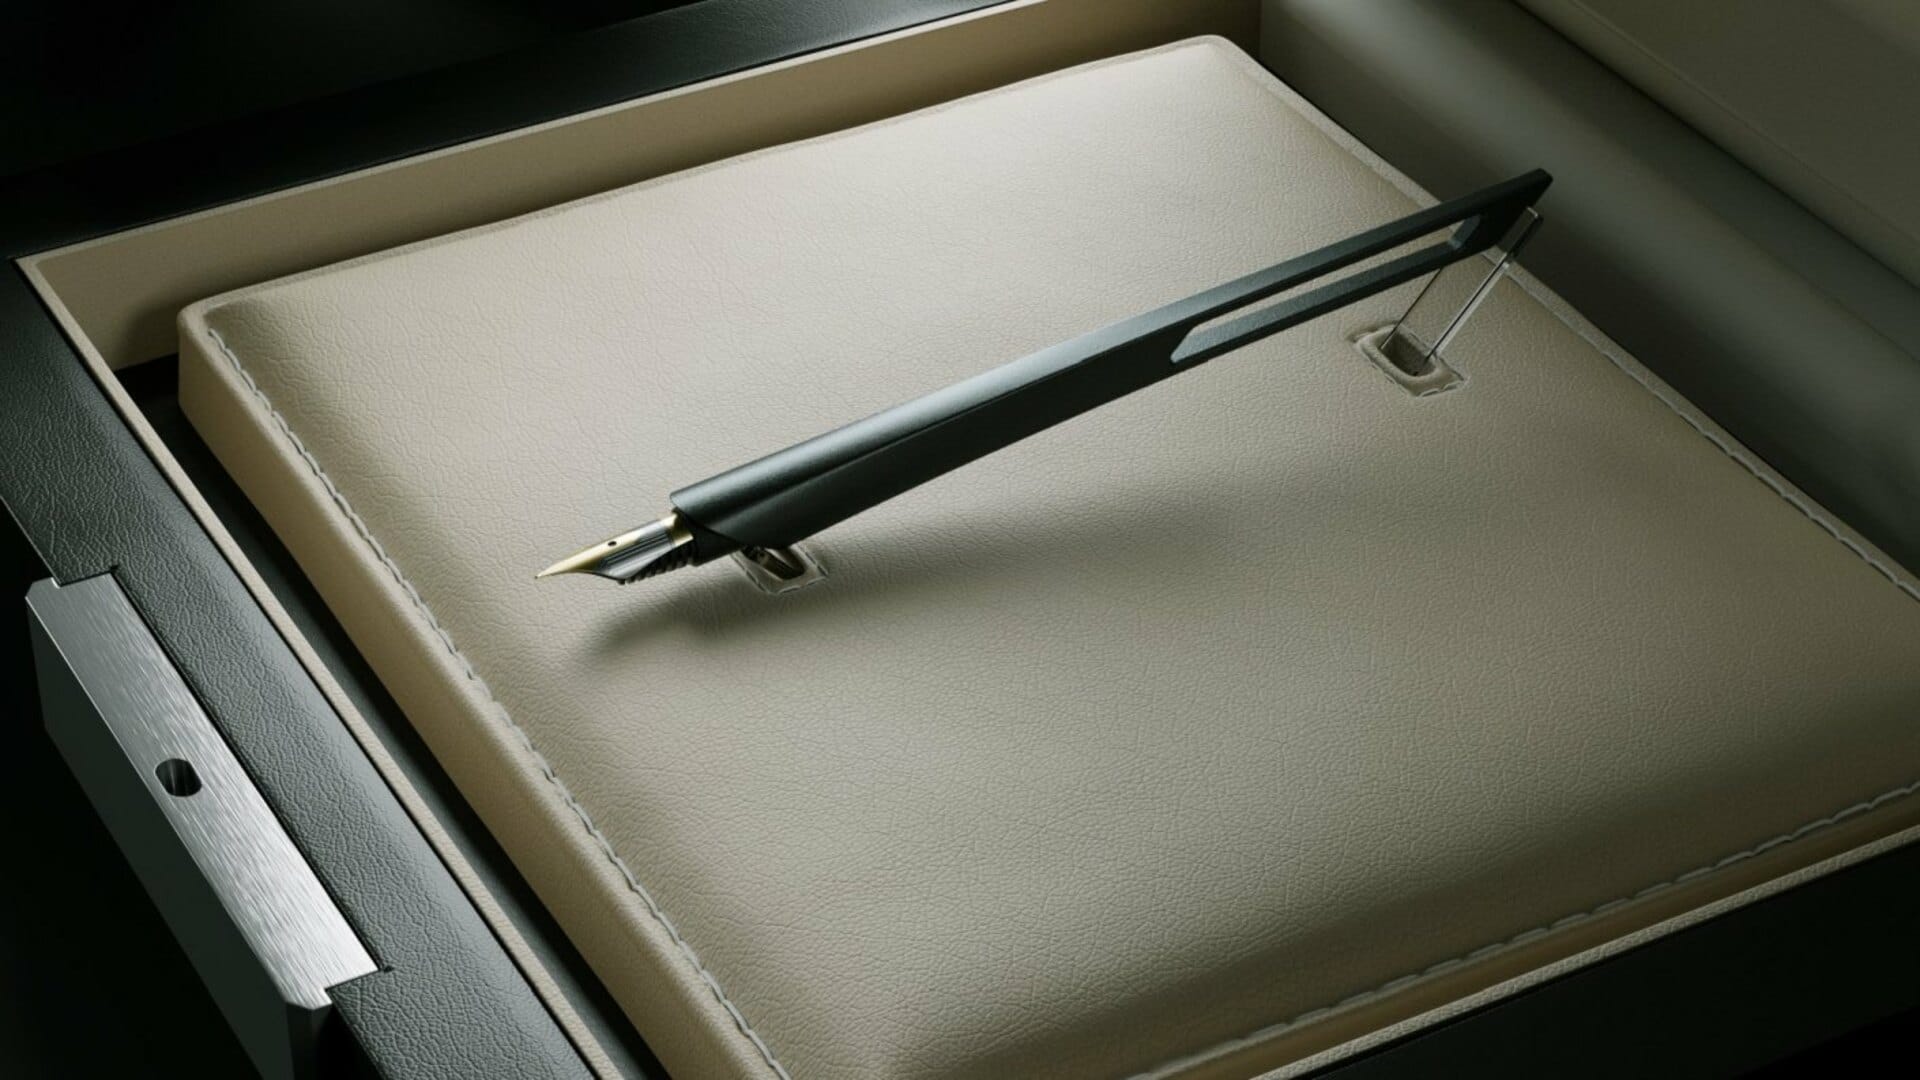
The first stage is to create the 3D models of the product using specialized modeling software. Depending on the shapes and the precision of the design, you may need to combine several modeling tools or software. In this case, Rhinoceros 3D is perfect.


 © Studio Aiko
 © Studio Aiko
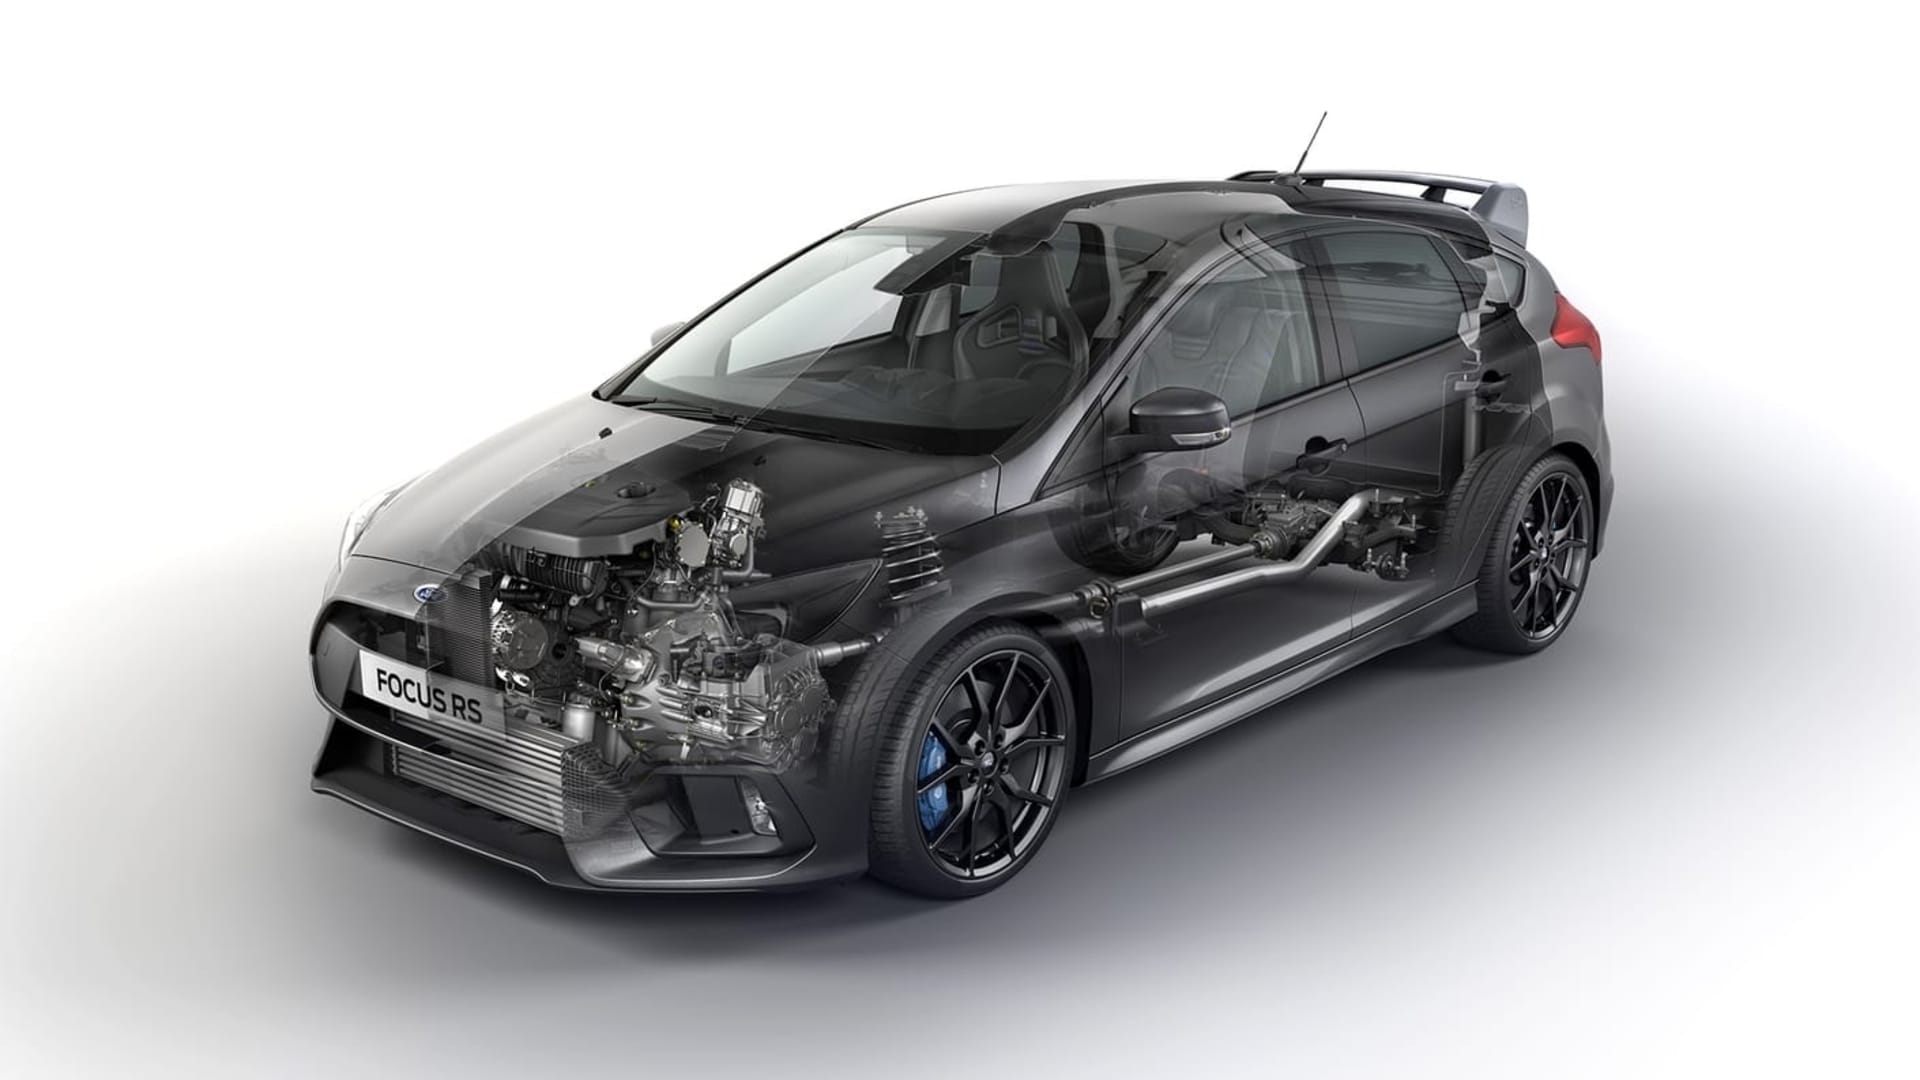


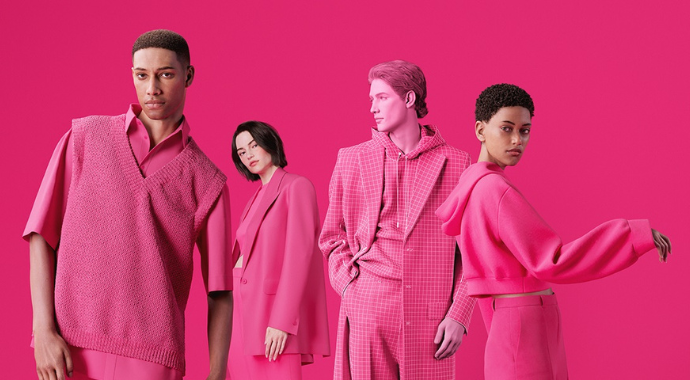
 © CLO Virtual Fashion
 © ColorDigital GmbH
 © Škoda Design