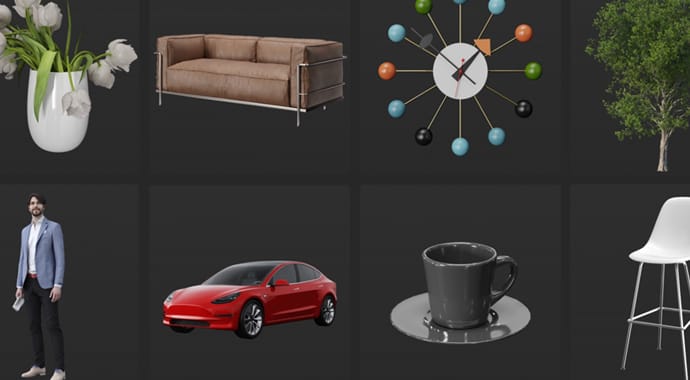
Learn how dynamic geometry, V-Ray proxies, and Chaos Cosmos work together to improve your workflow and enrich your scene.
When creating an interior or exterior scene, 3D artists often tend to add a lot of different geometry and details in order to make it appear more interesting and realistic. More often than not, this results in a heavy scene with a high amount of polygons, and that is the most common reason for slow navigation in the viewport and freezing issues.
In these situations, dynamic geometry can be the best solution. In this article, we explore its use in V-Ray for SketchUp, Rhino, and Revit. We also look at how V-Ray’s proxies tie into the process, and how Chaos Cosmos adds an extra layer of flexibility and ease of use in creating rich, realistic scenes.

Why should you use Dynamic geometry in your scenes?
Dynamic geometry not only allows you to handle heavy geometry, but also save it in different states, or set it for use in multiple projects.
Another common situation where dynamic geometry might be of great help is when you are working on complex projects that require splitting tasks among different people, as well as for reusing assets in multiple projects. Having a library of assets that are already set up and ready to render can tremendously speed up and improve your workflow.

What is dynamic geometry?
To put it simply, dynamic geometry is a special way of handling heavy geometry where only pieces that are currently being rendered are kept in the RAM. It is a capsulated file that doesn’t allow you to modify the geometry, but it is a great solution when you want to use complex models. It will show a low representation of the complex geometry in the viewport, but render the high poly version, avoiding any viewport freezing issues.
Before you get started with dynamic geometry, you need to understand proxies. In V-Ray, you have two proxy options: V-Ray Proxy Mesh and Proxy Scene.

What is a V-Ray Proxy Mesh?
V-Ray Proxy imports geometry from an external mesh at render time only. The geometry is not present in the scene and it only takes up the necessary resources for its preview. This allows the rendering of scenes with many millions of triangles.
- Generally, proxy meshes are used to display high polygon geometries that load only during rendering time. Heavy geometry is represented in the scene with a low poly preview, but rendered as the high poly version.
- It’s important to note that once the original geometry is converted to proxy mesh it becomes a “ready to render” format. No further modifications to the mesh can be made.
- Before converting the geometry to Proxy, you need to assign materials in order to have the corresponding slots for the materials that you can replace later on. Once you import the proxy in your scene, it will have the available slots for materials, but you will need to re-assign them.
- The V-Ray Proxy Mesh can be loaded in other platforms and rendered for example, by V-Ray for 3ds Max, V-Ray for Rhino, V-Ray for SketchUp, V-Ray for Revit, or V-Ray for Maya.

When to use V-Ray Proxy Mesh
A good use of the proxy would be in situations in which you wish to add a specific model or set of models (such as furniture, decorations, plants, trees, flowers), and you need to maintain a level of control and customization of the materials (i.e. change materials or modify their look.)
Use case: Import trees as proxies and scatter them around a building. Using proxies also allows you to build a library of assets that can be shared with anyone. Store your models in a custom library folder locally or on a drive or a server.

What is a Proxy Scene?
A Proxy Scene is a similar type of file format in terms of how it works. Just like other proxies, it imports geometry from an external mesh at render time only. However, there are a few distinct differences between the Proxy Scene and V-Ray Proxy Mesh.
- You can export a whole scene or selected parts of it and use it in multiple projects.
- The file contains geometry, materials, animation, lights - the last two can be switched off when imported in another project.
The Proxy Scene can be loaded in other platforms and rendered for example, by V-Ray for 3ds Max, V-Ray for Rhino, V-Ray for SketchUp, V-Ray for Revit, or V-Ray for Maya.

When to use Proxy Scene
A good use of the Proxy Scene would be in situations in which you want to prepare and share ready-to-use whole sets of geometry (e.g. living room furniture sets, environment sets like street furniture together with trees), that do not require additional modification or change of materials. Another useful situation is if you would like to split the work between different people/departments.
Use case: Two artists are working on a scene: one on the building, and one on the environment. Exporting and sharing a Proxy Scene of the environment allows you to bring it into the scene with the building without having to set environment materials from scratch.

To sum things up, these are the main similarities and differences between the V-Ray Proxy Mesh and Proxy Scene.
Similarities:
- Geometry is imported from an external mesh at render time only.
- The mesh has a low poly representation in the viewport.
- Both are a capsulated format that does not allow you to modify the geometry.
- Can contain animation.
Differences:
- V-Ray Proxy Mesh keeps only material slots assigned to geometry prior to converting it to Proxy Mesh. Once it’s loaded, you need to re-assign materials.
- An exported V-Ray Proxy Scene will include all assigned materials and lights that were present in the scene.

Benefits of using V-Ray Proxy Mesh and Proxy Scene:
- Use complex models in any scene without worrying about slow navigation or viewport freezing.
- Easily create and share custom libraries of assets.
- Share whole scenes or selected parts.
- Scatter complex geometry without making the scene heavy and difficult to manage.
- Sharing and re-use assets on different platforms.
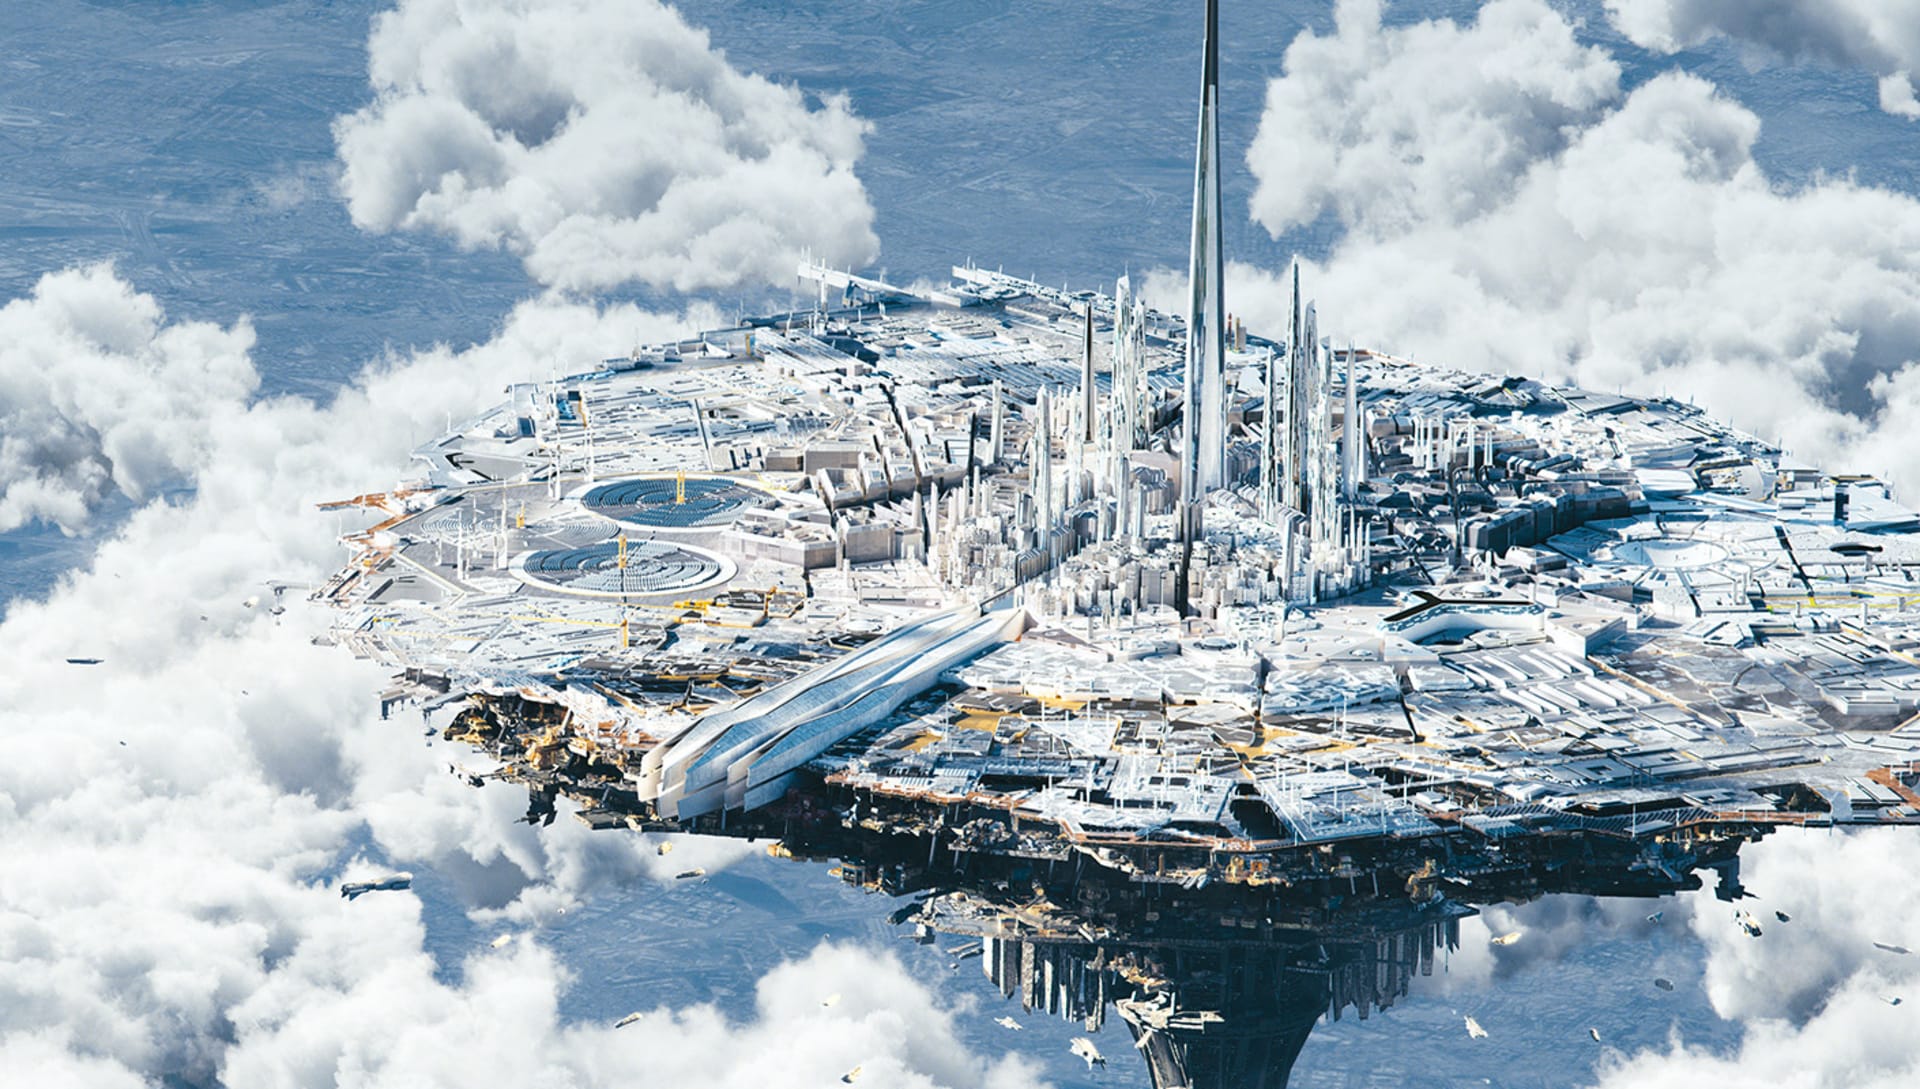
A smarter and more efficient workflow
Below you will find a brief workflow on how to create V-Ray Proxy Mesh and V-Ray Proxy Scene, as well as the different ways of importing and exporting them.
Creating a V-Ray Proxy Mesh
Follow the steps below to create a Proxy Mesh in your current project.
- Prepare the geometry - assign all the needed materials in order to create the corresponding material slots for the Proxy.
- You can export a mesh through the V-Ray Object Toolbar (V-Ray for Sketchup and Rhino), or through the Extensions menu (V-Ray for Sketchup).
- If you are using V-Ray for Sketchup - To create a proxy through the V-Ray Object Toolbar, select the group or component you want to convert.
- Choose Proxy Mesh (.vrmesh) in the Mode menu.
- Choose the method for generating the proxy preview:
- Face Skipping: The fastest preview method.
- Refined Clustering: Slightly slower, but generates a more precise preview mesh.
- Vertex Clustering: This method is fast and generates a fairly precise preview mesh.
6. Specify the number of faces in the viewport preview of the proxy if needed (the higher the number of faces, the more detailed the preview). Changing this parameter is not mandatory, you can leave the value at its default.
7. Export the .vrmesh file to the specified folder. The newly created proxy will retain its materials.
8. You can also open a custom folder in the Asset Editor and drag and drop the newly created proxy into the custom folder location.
Importing a V-Ray Proxy Mesh
Follow the steps below to import a Proxy Mesh in your current project.
- Click the Import V-Ray Proxy button and choose a .vrmesh file from your computer. Once loaded into the scene you will need to reapply materials through the Material Editor.
- You can also save it as .vrmat or open a custom folder in the Asset Editor and drag and drop the imported proxy with the assigned materials into the custom folder location.
- When a proxy asset is saved as a .vrmat file, both its source file (.vrmesh or .abc) and its referenced material asset files (texture maps) are saved in a subfolder called Maps.
You can also save different materials in the same proxy mesh. This will let you create material variations and switch between them.
- In case the imported V-Ray Proxy Mesh contains an animated object - you can turn on or off the animation as well as control some of its playback parameters.
Importing a V-Ray Proxy Scene
Follow the steps below to import a V-Ray Proxy Scene in your current project.
- Click on the Import Proxy or V-Ray Scene button.
- Choose a .vrscene file from your computer.
Note: Keep in mind that when the V-Ray scene is imported this way, the file is capsulated and you cannot modify it.
If you are using V-Ray for SketchUp there is a second way to import a .vrscene file which you can use in case you wish to be able to modify the Proxy Scene.
In SketchUp navigate to File > Import and select your V-Ray Scene file.
Note: Importing the V-Ray Scene this way allows you to edit the geometry and change materials.
Exporting a V-Ray Proxy Scene
Depending on what you would like to export - the whole scene or only parts of it, there are two approaches to take.
- If you wish to export part of the scene: select a group or a component you want to export and export through the V-Ray Objects Toolbar. In the Mode menu select Proxy Scene (.vrscene)
- In case you want to export the whole scene: open the Asset Editor, left-click on the arrow in the lower left corner of the render button, and press the Export V-Ray Scene File button

Adding Chaos Cosmos assets
With the help of Chaos Cosmos, it is easy to populate your scene with different kinds of assets. The best part is that you don’t need to convert any geometry to proxy or Proxy Scene, because the imported Cosmos assets are already a capsulated file that renders as a high poly geometry.
Cosmos assets are a bit different from the V-Ray Proxy Mesh. They come with different levels of detail (LOD) that are linked to V-Ray Vision.
V-Ray for SketchUp always loads the highest level of detail when rendering Chaos assets. V-Ray Vision always loads the second-highest level of detail by default - either medium or low, depending on the asset. Chaos assets that are very far in the background are automatically switched to their lowest level of detail.
This is great if you are using V-Ray Vision and do not intend to modify any materials of the Cosmos assets. In case you want to be able to modify the materials of Chaos Cosmos assets, you need to convert the assets to V-Ray Proxy. This is done automatically when you click the “merge” button in the Asset Editor. This will convert the Cosmos asset to a standard proxy mesh with material assignments and populate the scene with materials and lights. In doing that, you will be able to edit the asset's materials. The process is irreversible.
Note: This automatically switches the asset to High LOD, and if you render with V-Ray Vision, the link to Cosmos will be broken and the special LOD assignment used by Vision will no longer be there. Lower level-of-detail (LOD) versions of the proxy mesh that are used by V-Ray Vision will be lost.

To sum things up
Using Dynamic Geometry is a great way to add as much detail to your scene as needed without worrying about any viewport or navigation slowdown. From adding furniture to scattering vegetation and creating forests - it’s all possible with V-Ray Proxy Mesh and Proxy Scene.
Choose which one to use depending on your current project needs. The V-Ray Proxy Mesh is a great solution when you wish to retain control over the materials, and Proxy Scene would be a more suitable option when you wish to add or share assets that have been already finalized and you do not need to adjust any shaders.
And if you use assets from Chaos Cosmos and your workflow relies heavily on using V-Ray Vision for preview, it is better to keep the assets as they are. And after you reach the stage where you need to modify the shaders, you can merge the Cosmos assets with your scene and treat them as a standard V-Ray Proxy Mesh.


