
Your cart
There are no items in your cart.


Our latest Chaos Campus show explores what a boutique visualization and creative studio wishes every young artist knew about creativity, business, and turning passion into success.

Explore how the Chaos Corona community fosters collaboration between creatives and enriches architectural visualization with shared knowledge and expert insights.

Master bedroom rendering with this guide: visualize designs, refine layouts, and create stunning, professional-quality spaces before the final build.
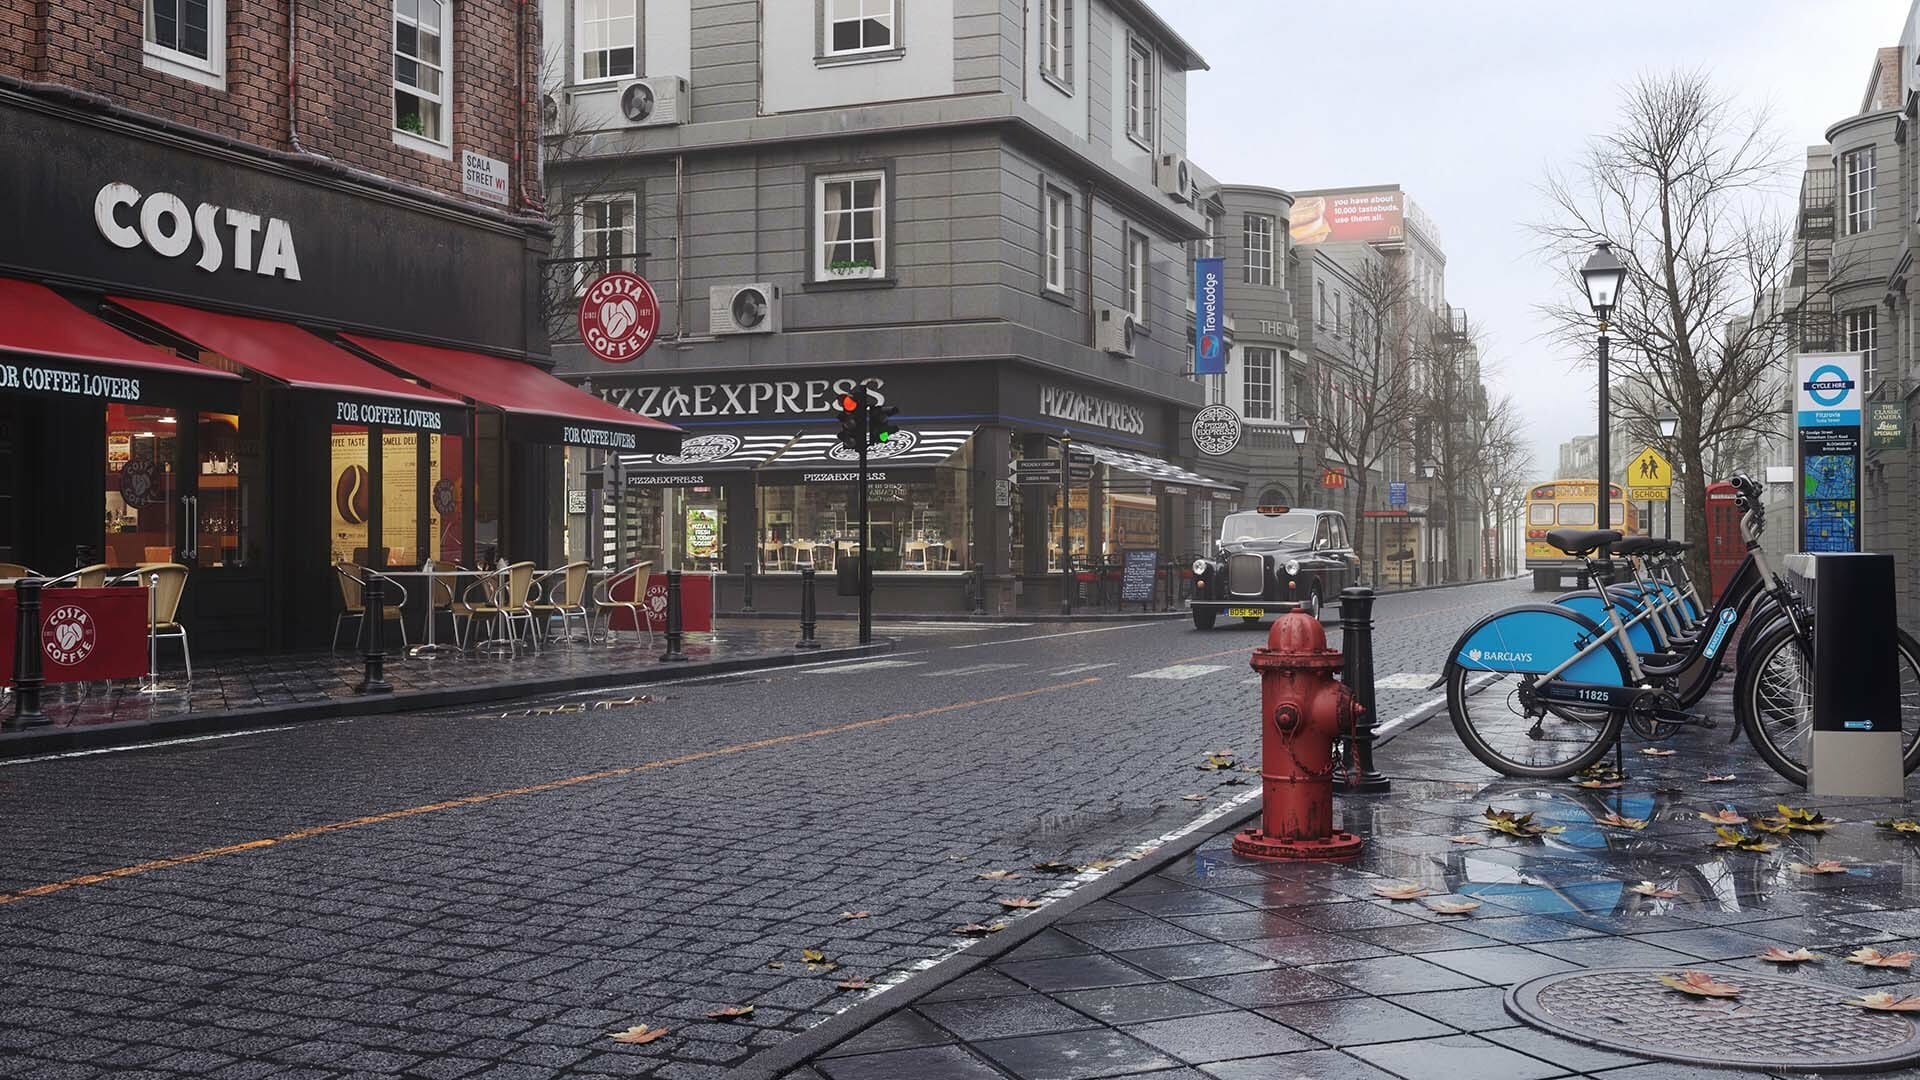
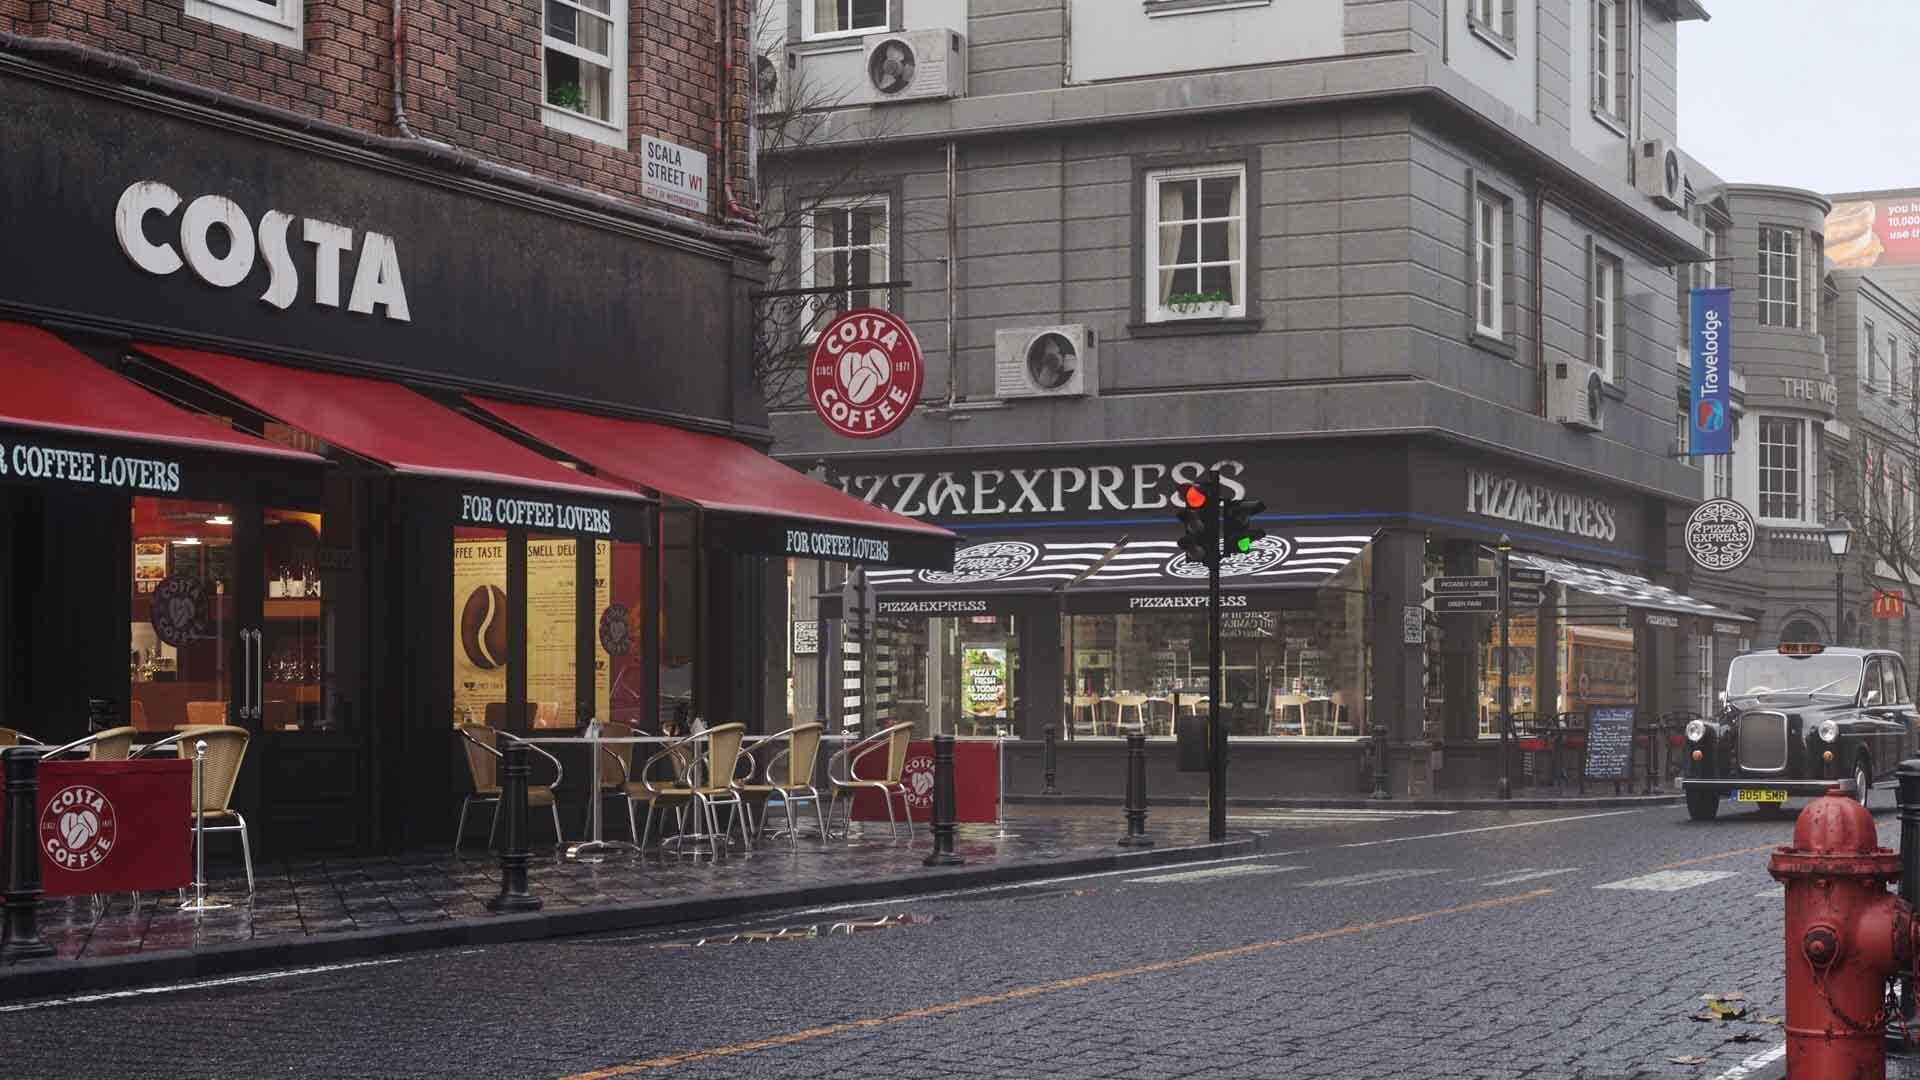
 © Škoda Design
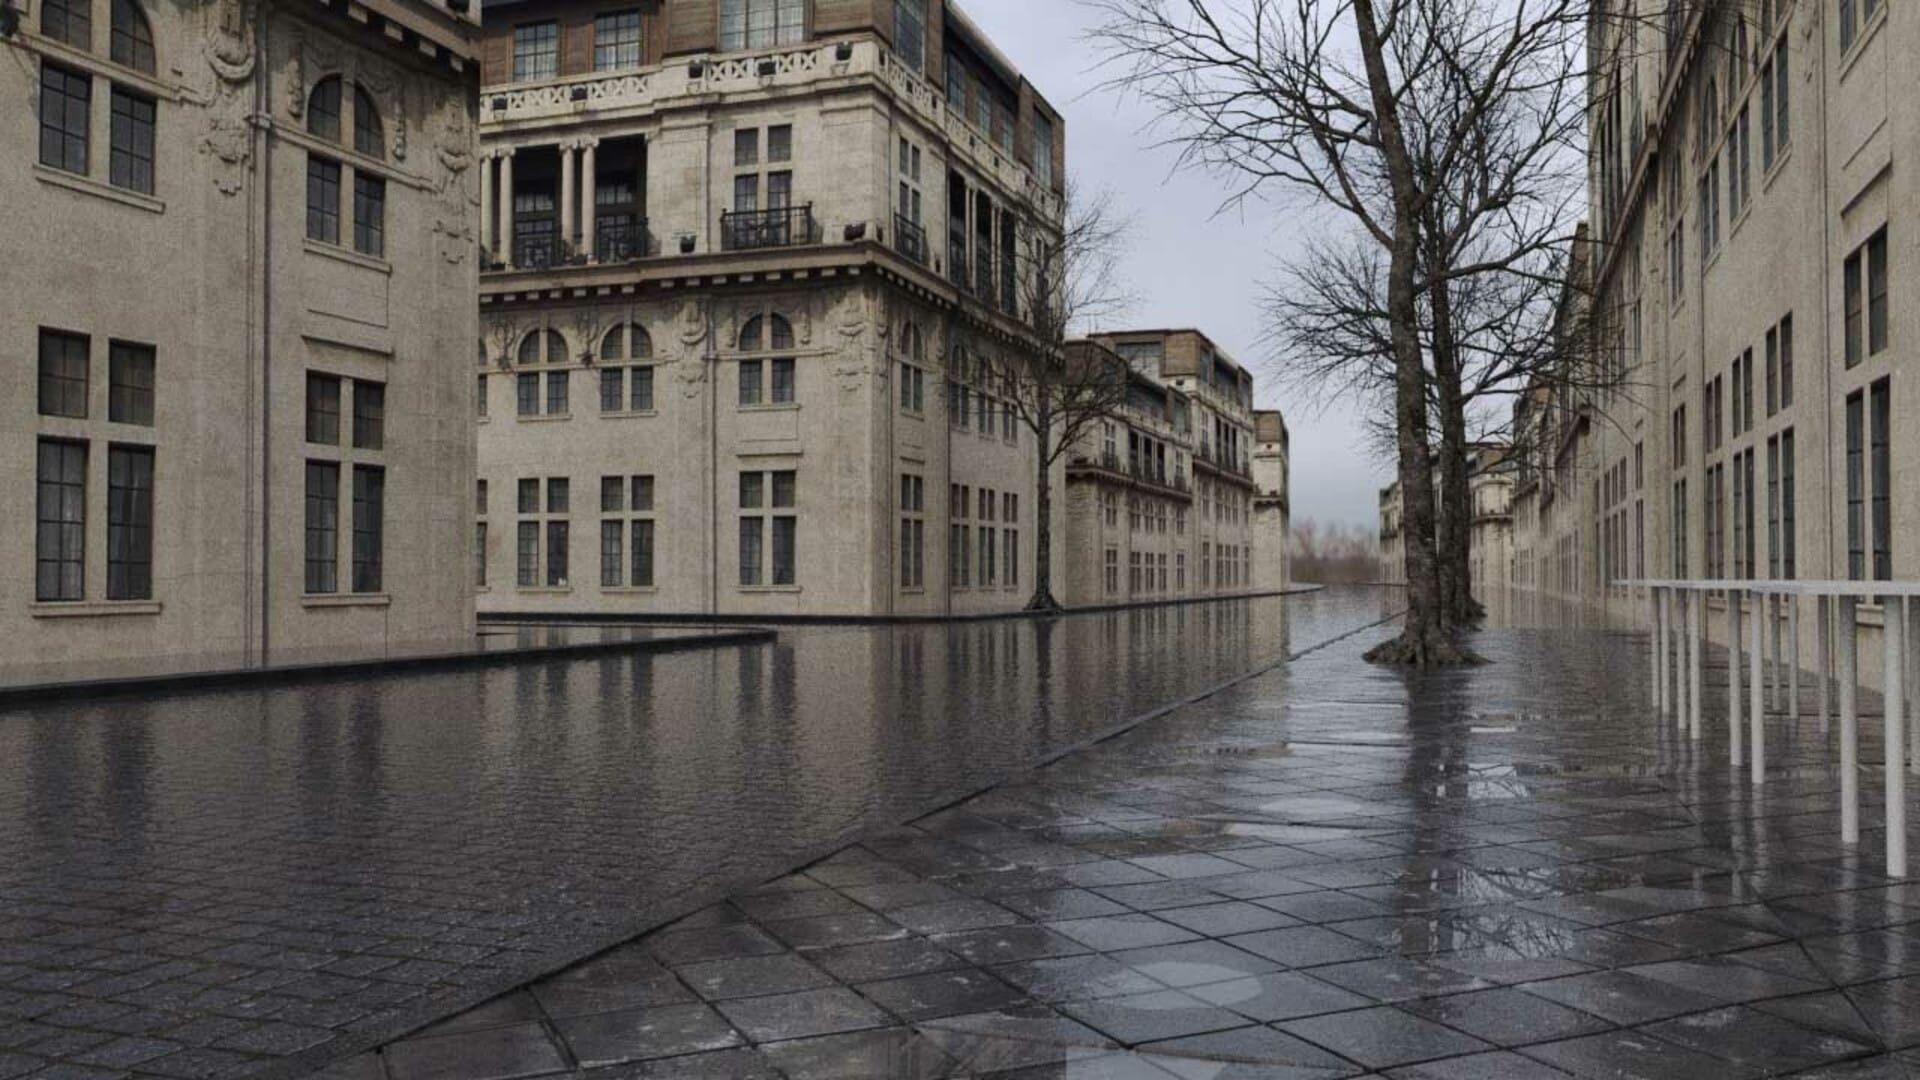
Get the latest news, artist spotlight stories, tips and tricks delivered to your inbox.