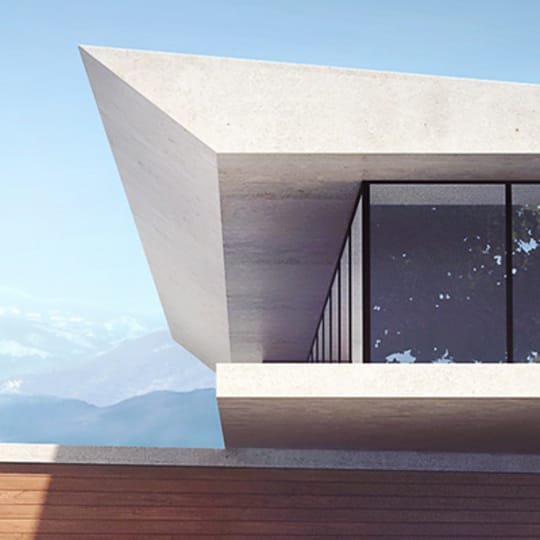
Discover the steps to creating fast and efficient visualizations using Rhino and V-Ray, including essential tips and tricks every Rhino artist should know.
This detailed making of reveals and breaks down the essential steps to creating impressive arch-viz renders using V-Ray 3.6 for Rhino. Over a series of articles, we’ll share with you the principles of producing fast, effective and efficient visualizations, and show you helpings of tips and tricks along the way.
In part one, Anastasia Zhivaeva, CG Specialist at Chaos Group, walks through the first steps in the creation of Modern House. The building featured in this scene was created by Ivan Kozaliev, 3D Artist at Chaos Group.
Part one will cover:
- Setting up the project for rendering
- Camera
- Environment Assets
Setting up the project for rendering
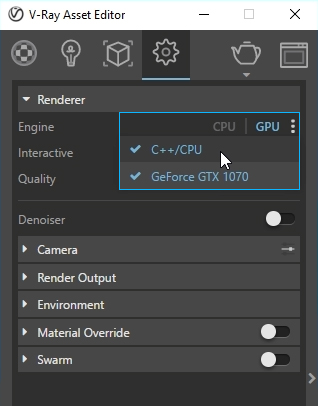
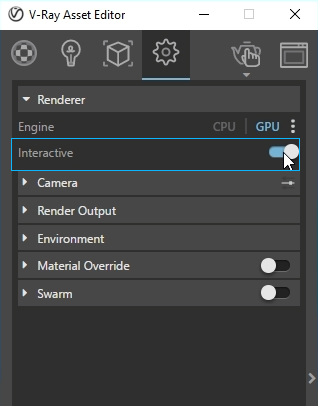
One of the first steps is to decide which rendering engine you are going to use. For this project, I switch to a GPU rendering engine and enable Hybrid rendering by clicking on the three vertical dots next to GPU in the Renderer dropdown; I select C++/CPU. I also enable the interactive rendering, which allows me to see every update I make to the scene.
Camera
Choosing your camera frame
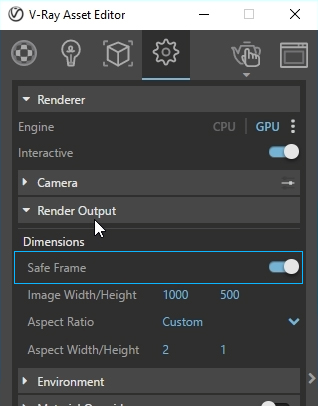
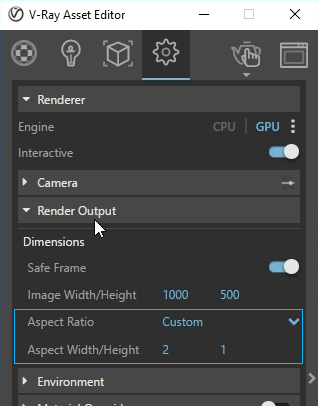
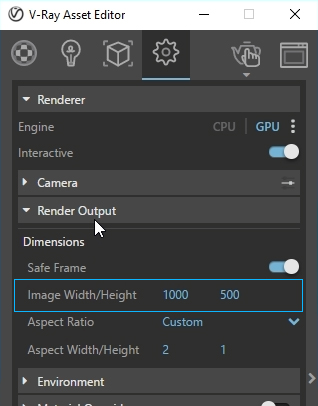
I always switch on the safe frame (blue and orange lines will appear in the viewport); this will indicate what my camera is seeing. I can then select my aspect ratio. You can either choose between different presets and adjust them depending on your project or change to a custom one; either way, it’s important to select the aspect ratio at the beginning as the rest of the scene will be built based on it. In my case, I change it to 2:1 and increase the width and length a little. When setting the final render, I adjust the resolution to higher values, though the aspect ratio stays the same.
V-Ray commands in Rhino
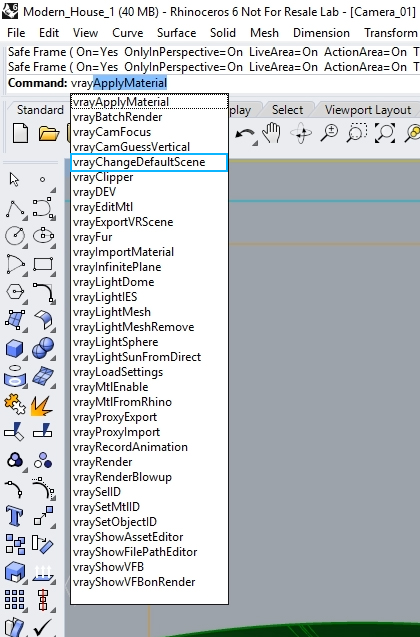
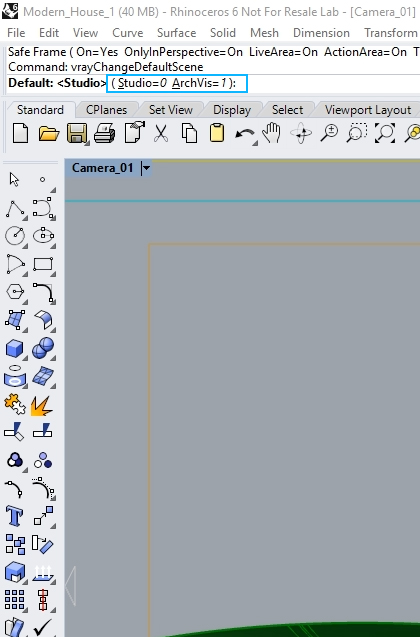
For the initial V-Ray settings, I set the default preset to Architectural — though you could change it based upon the type of project. To do this, I go to the vrayChangeDefaultScene command and select ArchVis. Doing this will load a V-Ray Sky in the environment tab on the startup of a project, or with a scene reset, as well as set the camera exposure to avoid too-bright results.
Material overrides
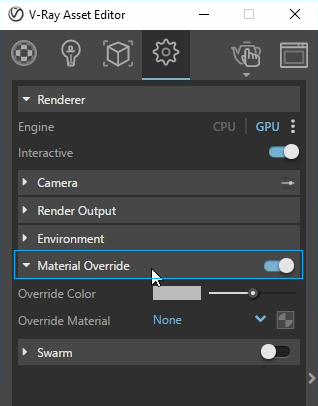
I also enable Material Override at this point, because I already have some materials applied; this will override everything in a light gray color, though you can use a material as well.
Enabling the sun
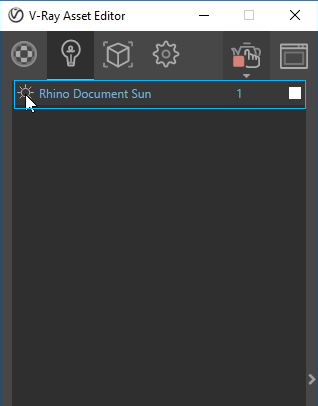
When using the architectural preset, the sun is not going to be enabled by default, which means we have to turn it on manually; this can be done directly in the Lights tab, as well as in the adjustments of the intensity. The same can be done for light sources in the scene if you have any.
Environment Assets
Working with environment assets
When working with exteriors, I always use proxies for the vegetation. Trees and plants can have millions of polygons, making them very heavy geometry. To avoid slowing down the viewport, I import them into my scene as a proxy, which creates a low-poly representation of the geometry in the viewport but renders out as high-poly geometry.
Another option is to create a mesh in Rhino and, from the button Export .vrmesh, export it as a proxy — and you can even use it in different software if you like.
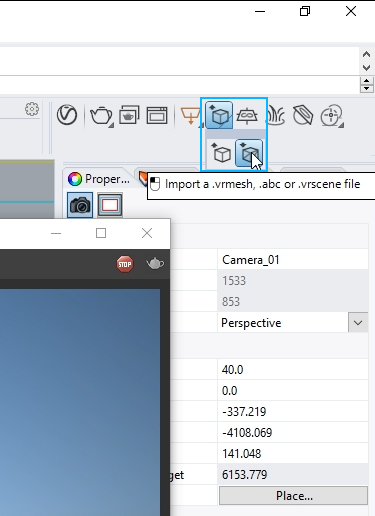
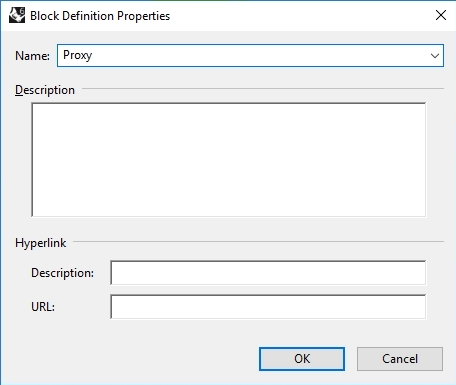
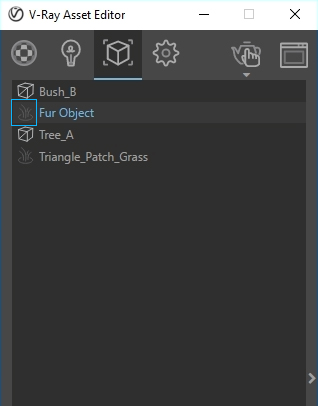
If you copy the proxy as it is, you will notice that, in the geometry tab of the Asset Editor, there are new paths. The same thing will happen for every new copy of the proxy, even though the tree is technically the same. Instead, I delete the duplicates and make this proxy a Block, using Rhino’s Block command. Now, regardless of how many times I copy it, it will stay as one object in the V-Ray Asset Editor.
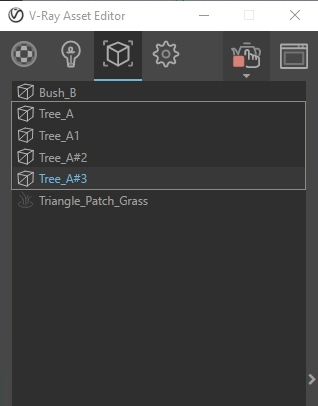
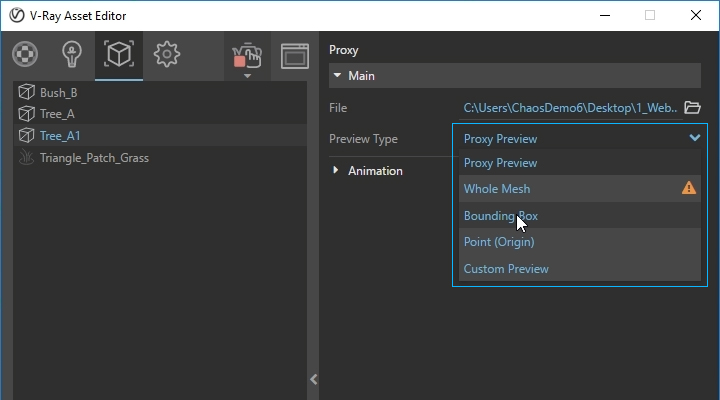
You can change the preview type of the mesh to a bounding box at any time; another option is to view it as a point, or even see the whole mesh. You can switch between these options depending on what you find more convenient for your workflow.
Laying down the grass
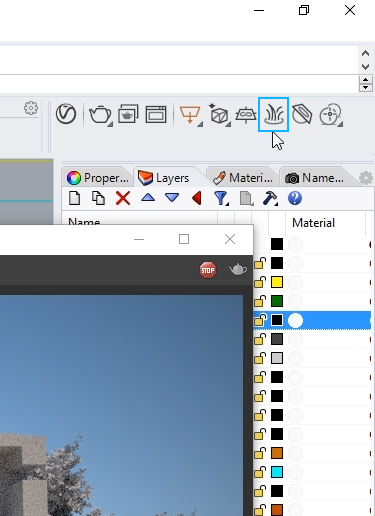
I separate the landscape into three sections now. Since I’m going to see only a small part of the ground, I create a smaller segment in front of the building and add grass only to this. Just select it and click on the V-Ray Fur icon in the toolbar, and then, in the V-Ray Asset Editor, go to the geometry tab, and it will generate the V-Ray Fur object.
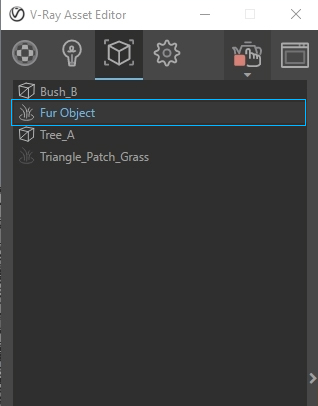
By default, the fur object will use material assigned to the geometry it is on; currently, this surface has a Soil material applied to it. I want to use a separate material just for the fur so, in the Material rollout, I load a Grass material added from the Material library.
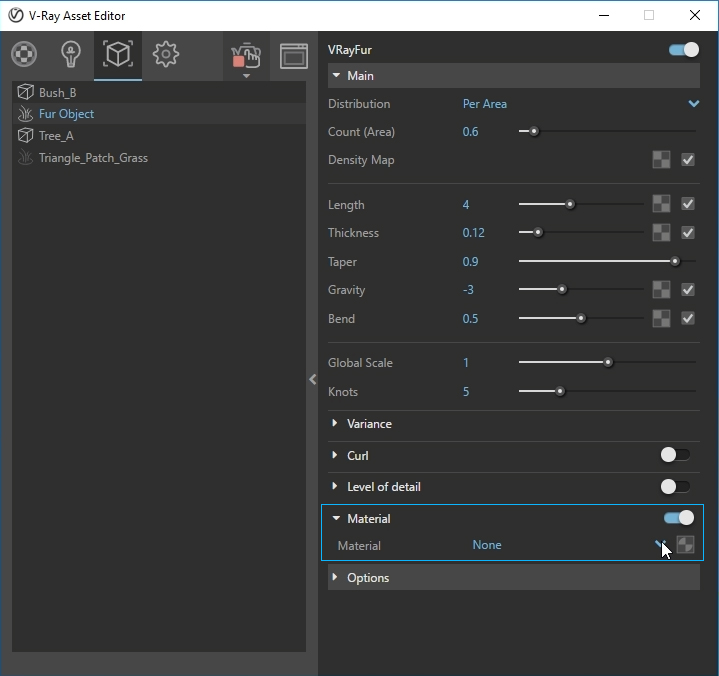
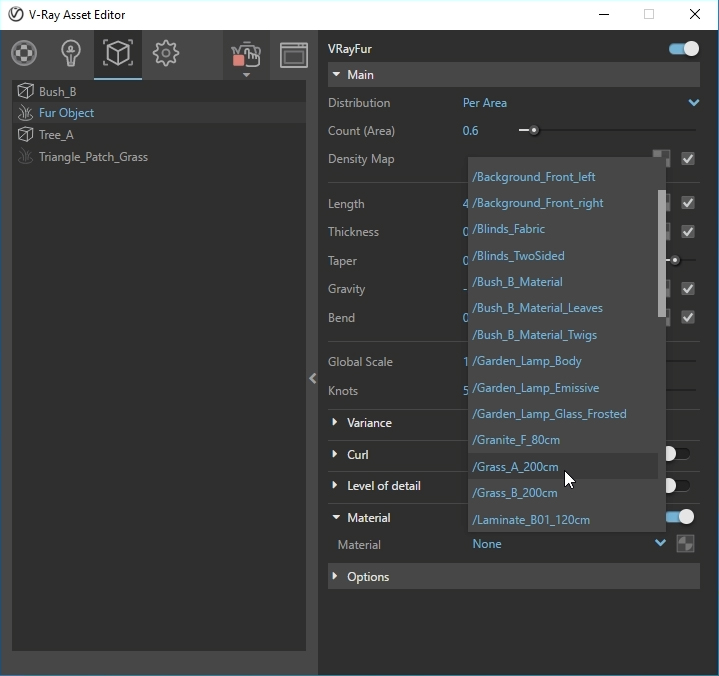
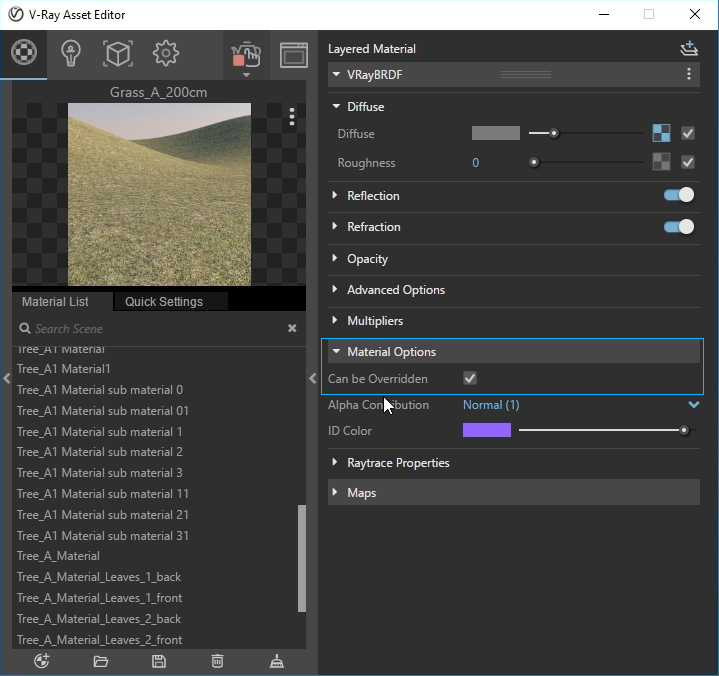
Since the material override option is enabled, the grass will render in a light gray color — just like everything else. So, to make the grass clearer to see, I disable the override for this particular shader. Just click on the icon next to it and, in the Material Options settings, disable the “Can be Overridden” checkbox.
To make the grass taller, I increase the length of the blades to 22. The Length value is measured in scene units – in this project, I am working in centimeters (cm). The grass looks very fuzzy and dense, more like fur or a blanket; to fix this, I increase the Thickness value of the blades of grass and decrease the quantity per area. I simply use 0.3 for Count (Area) and 0.12 for Thickness.
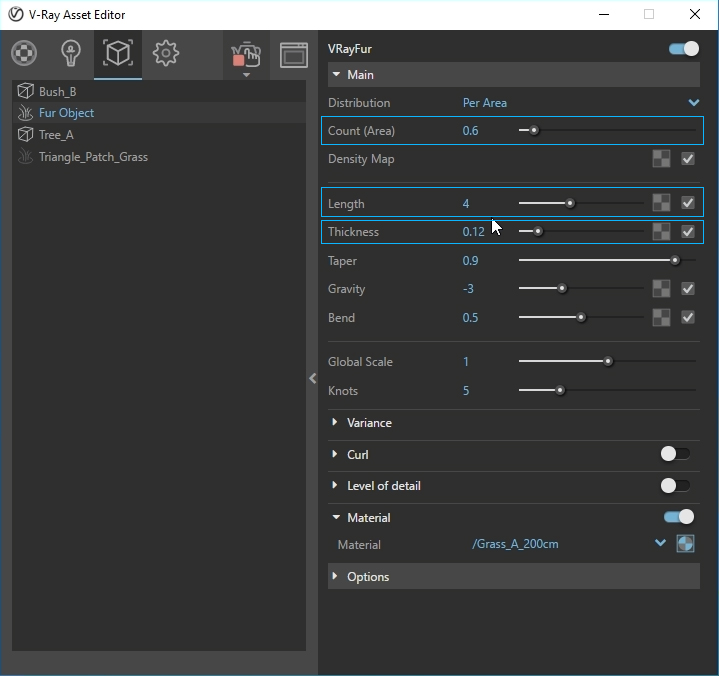
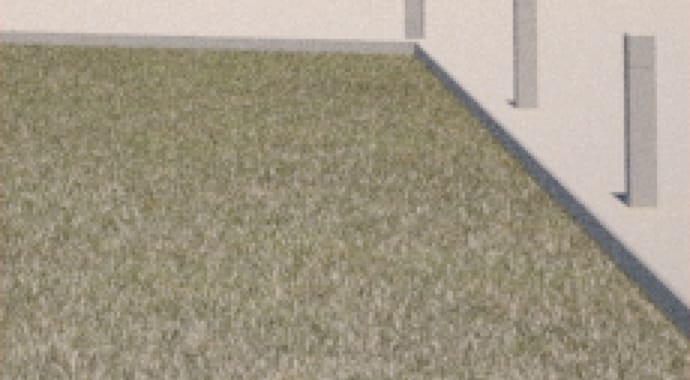
Length = 4
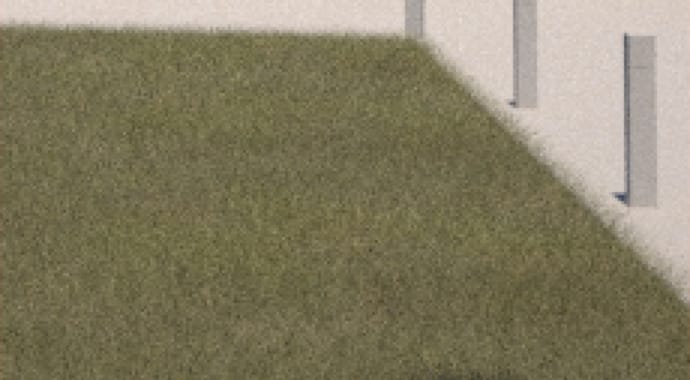
Length = 22
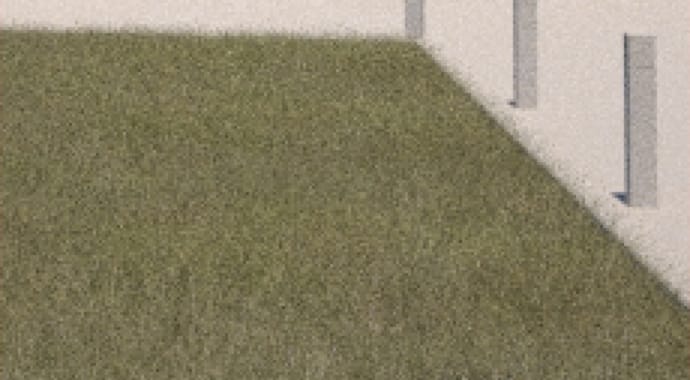
Count (Area) = 0.3
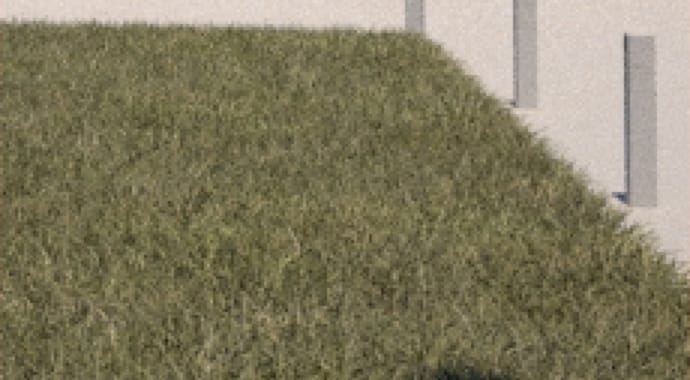
Thickness = 0.12
I like the result, but it’s a little too uniform. To deal with this, I use the Variance setting to adjust the values that control the direction, length, thickness and gravity. I adjust the first two parameters and the result adds more variation to the direction and length of blades of grass, and generally makes it look more uneven and realistic.
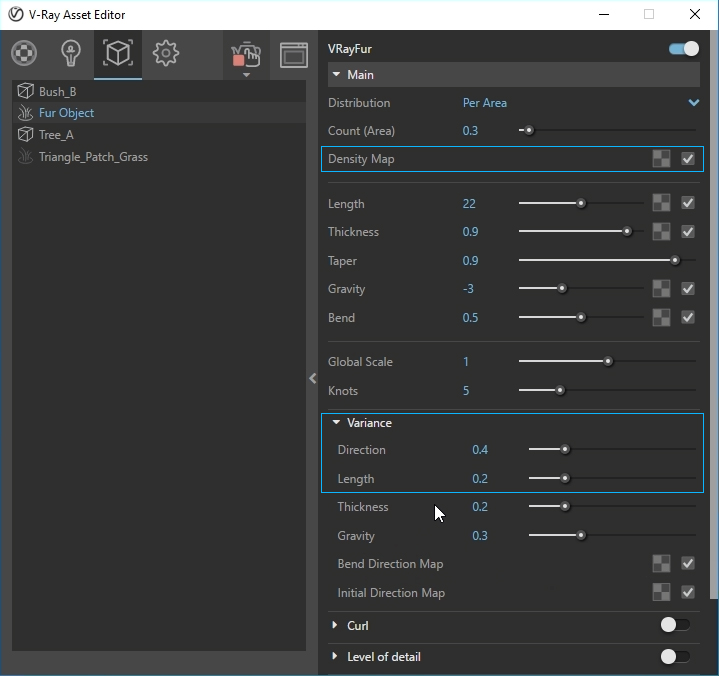
To improve the look even further, in the Density Map, I load a new Noise B procedural map. I test some values and the result with these is pleasing; we have regions where the grass is almost not growing, and you can see the ground showing through — all of which we often see in the real world. Note that the white areas are the ground with the overridden material.

Using Grasshopper to scatter geometry
To create even more detail, I add dandelions to the ground. Spreading them around by hand can be a tedious process, especially for larger areas. So, instead, I use Grasshopper as a scattering tool. Grasshopper is a plugin for parametric modeling and it now comes with Rhino 6 and V-Ray for Grasshopper is included the the latest version of V-Ray for Rhino. Grasshopper has become an essential tool in the architectural industry and, in this project, I’m using it to copy and place objects around.
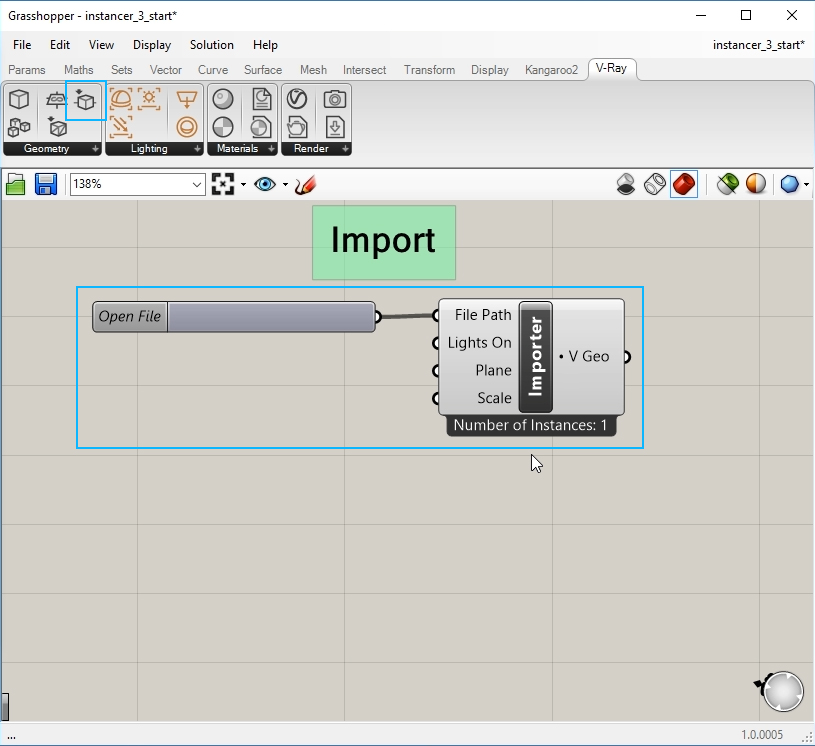
I have a file prepared with components for populating geometry and randomization. First, I assign a surface for the points and instance the flowers on them; this is the same surface onto which I assigned the grass in the previous step. I add the V-Ray VRScene Importer component to load the files of the dandelions; three versions with slight variations were created in 3ds Max and had materials applied to them. I can then export each of them as a .vrscene and load them in the three nodes. Soon, it will be possible to instance proxies and select materials for them in Grasshopper.
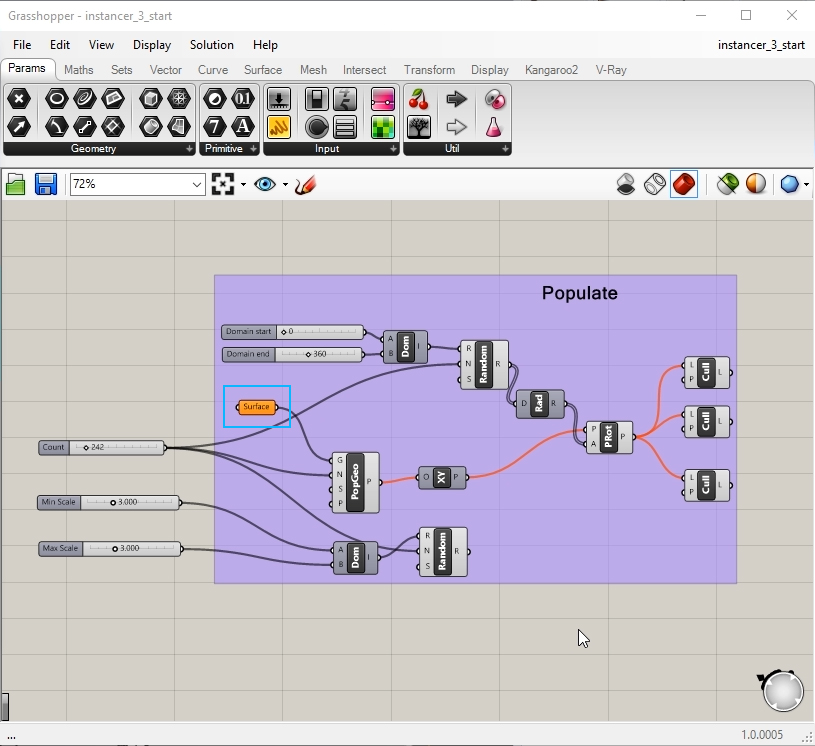
After loading the .vrscene files, everything is connected with population and randomization components.
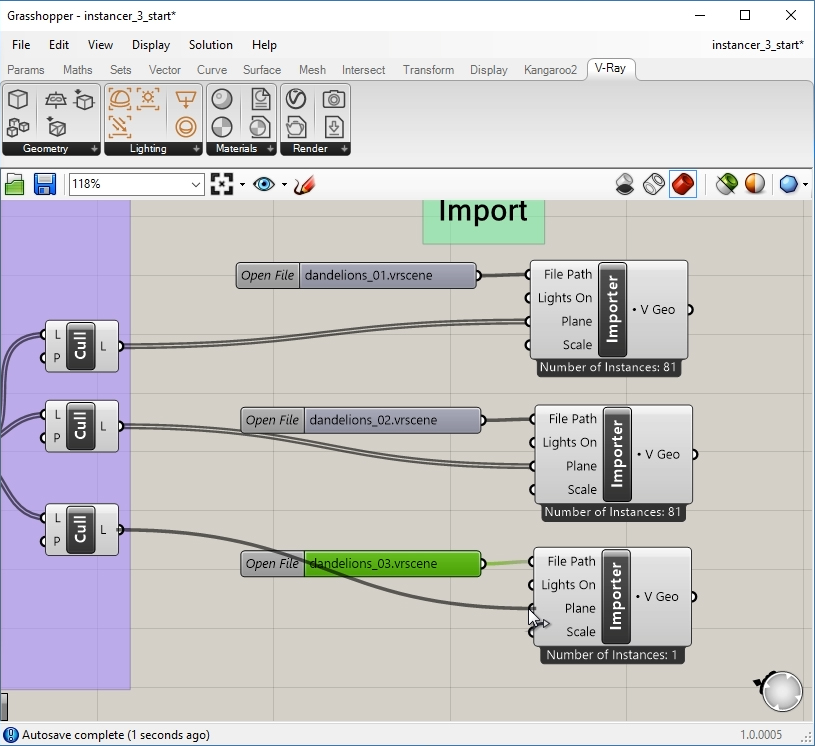
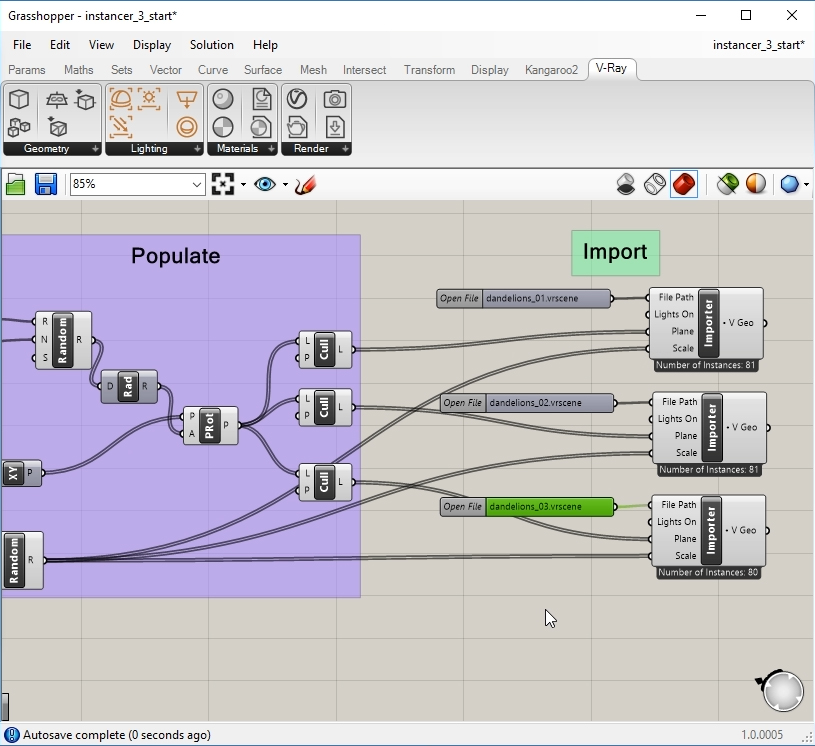
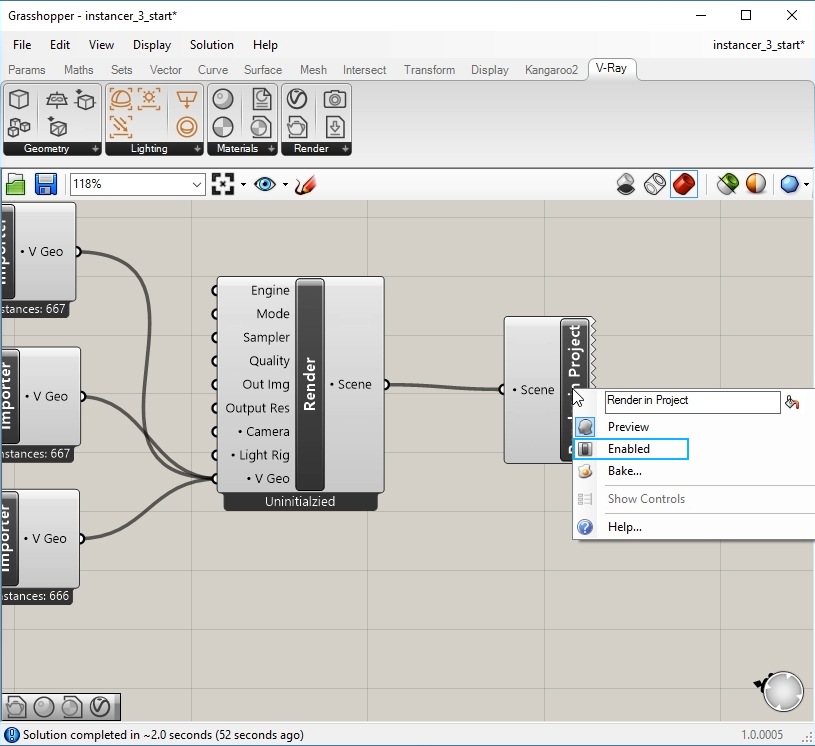
By adding the V-Ray Render node, I can render the flowers right away — no additional nodes are needed. However, since these elements are in the grass, I want to render them directly in my scene and see how they look together. To view the result, I place the V-Ray Render in Project component.
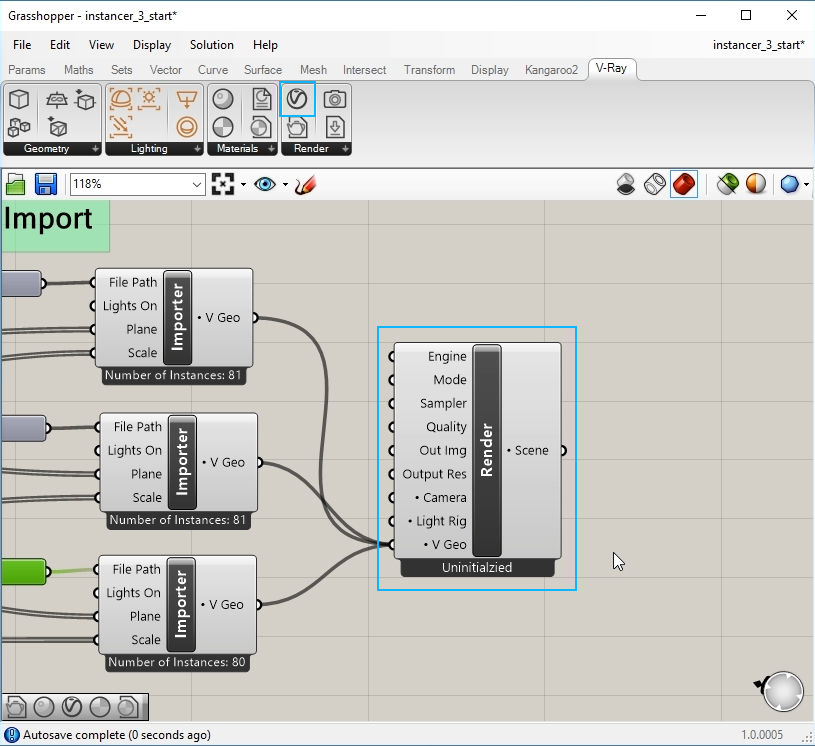
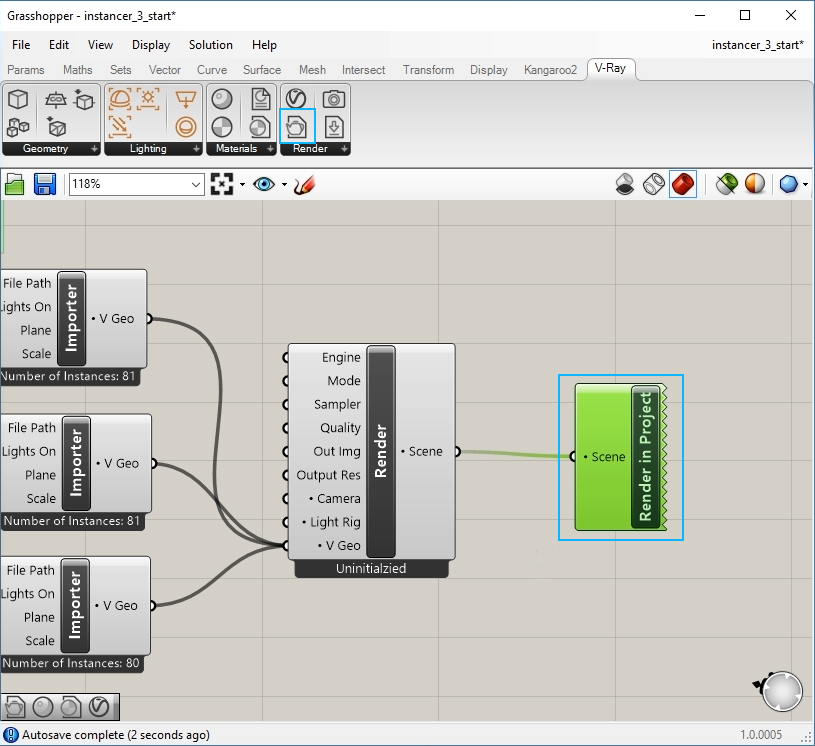
The flowers look too big, so I adjust the scaling values — and that’s the great part: you can render your design without baking; the geometry is still interactive. I change the scale parameters and increase the count of the flowers.

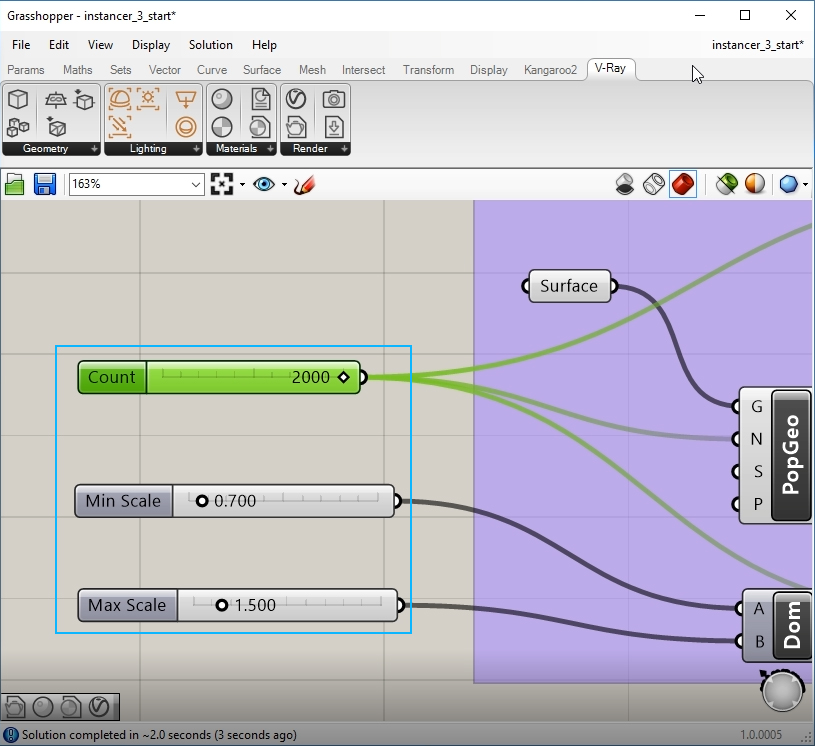

Before I continue working on the rest of the scene, I disable the grass from the Asset Editor to speed up the rendering. The flowers are a bit distracting, so I just disable the Render in Project component.
There’s more to come!
Stay tuned for part two in this series, based on the Surface to beauty: a V-Ray for Rhino project from start to finish webinar where we’ll go through the following steps to finish our scene and render a photorealistic Rhino environment:
- Lighting
- Materials
- Atmospheric effects
- Rendering settings
- Frame buffer functionalities
- Render Elements and Compositing
V-Ray for Rhino puts powerful rendering in the hands of users. If you haven’t yet experienced V-Ray for Rhino, download and try it free for 30 days.

