


New AI features enhance quality and realism
Refine characters and vegetation with advanced AI Enhancer controls, and upscale your final renders 2× or 4× in one click for sharper, higher-resolution results — all available in Chaos Cloud.


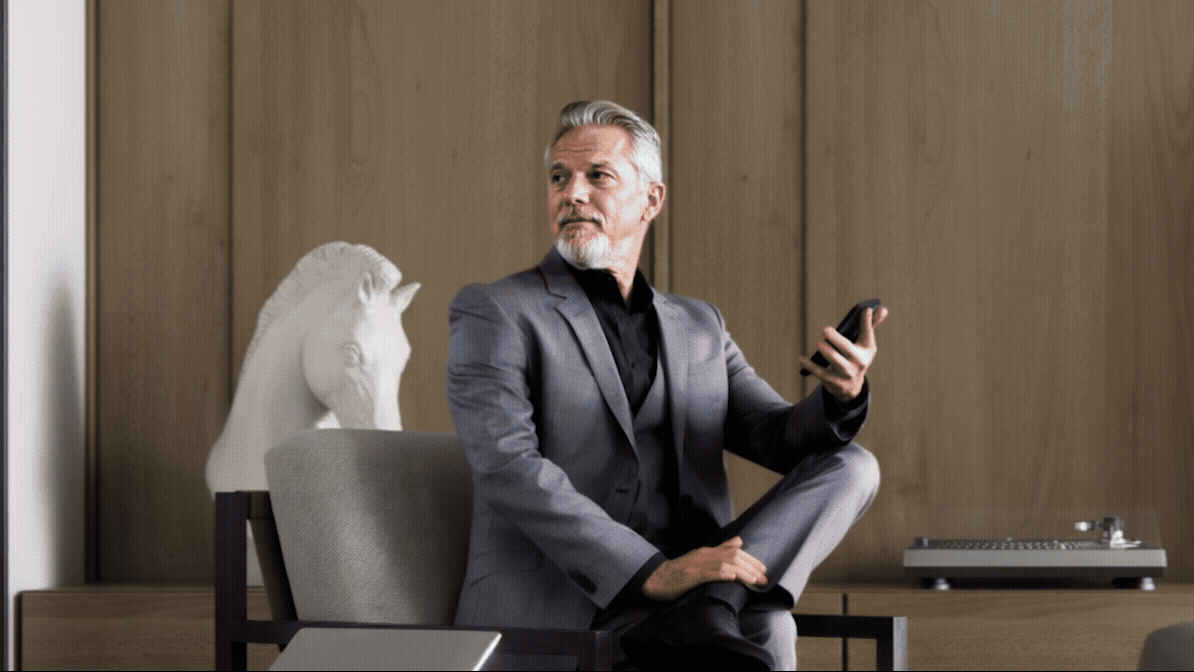
Be an artist, not a technician, and achieve photorealism with greater ease than with the competition.
Start creating beautiful renders instantly. No complex setup required.
A clean, straightforward UI means less guesswork and faster results.
Design faster with powerful tools like Tile Map, procedural clouds, Scatter, and more.


Founder/Creative Director, Creative Lighting

Founder, Bracki Creative


Your ultimate visualization toolkit

Get a 30-day free trial and dive into the full range of features we offer. You will also get access to comprehensive training resources and dedicated customer support.
Start rendering for free in seconds.

Refine characters and vegetation with advanced AI Enhancer controls, and upscale your final renders 2× or 4× in one click for sharper, higher-resolution results — all available in Chaos Cloud.

From toon shading to GPU-accelerated animations and AI-powered image enhancements, Corona 13 goes beyond photorealism with more creative control and faster workflows for 3D artists and visualizers.

Grab a drink and get cozy. Celebrate Corona's 10th birthday with us by looking back at its journey, from its humble student development roots to the go-to archviz renderer it is today, 20 releases later!

See what our clients say about us
We help creators all around the globe bring their visions to life.