
Your cart
There are no items in your cart.


Make your mark in archviz: Find your niche, build a standout portfolio, and position yourself for success with these practical tips, which will get you one step closer to your dream job.
 Jason Chen
What happens when an archviz master meets a global audience of archviz professionals eager to elevate their craft? Breakthroughs, inspiration, and stunning visuals.

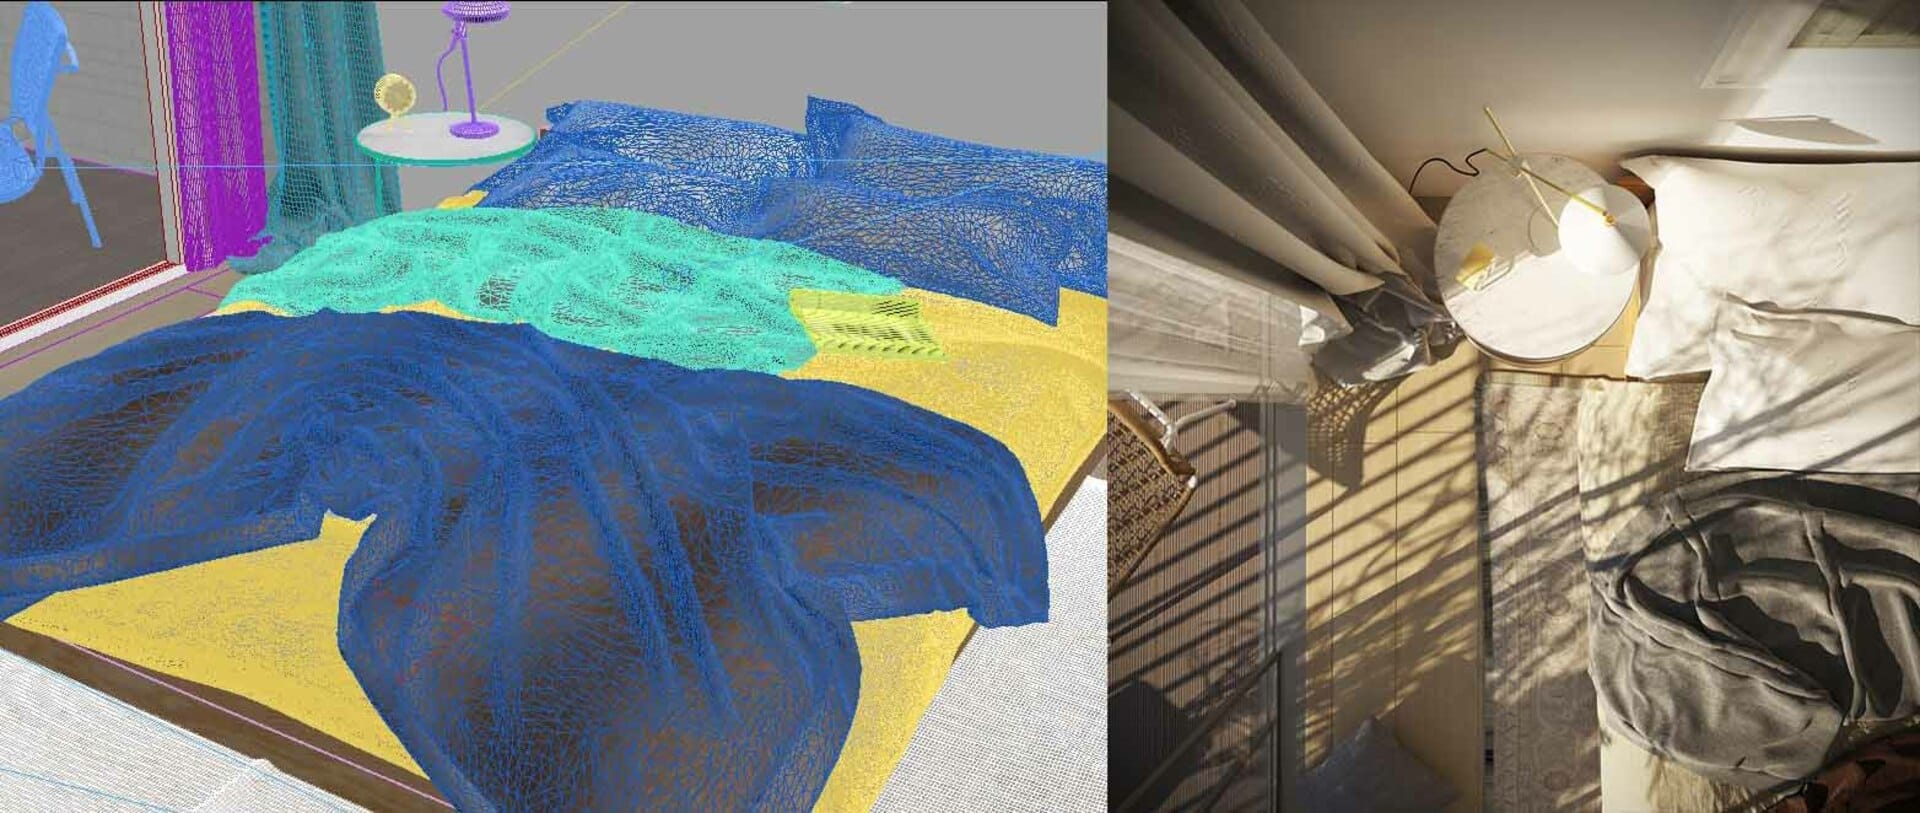
Think ray-traced photorealism. Think rapid animation. Think ultrareliastic moving humans and easy crowd simulation. Introducing Chaos Envision, a new 3D assembly and animation tool for archviz.
 © Škoda Design
Get the latest news, artist spotlight stories, tips and tricks delivered to your inbox.