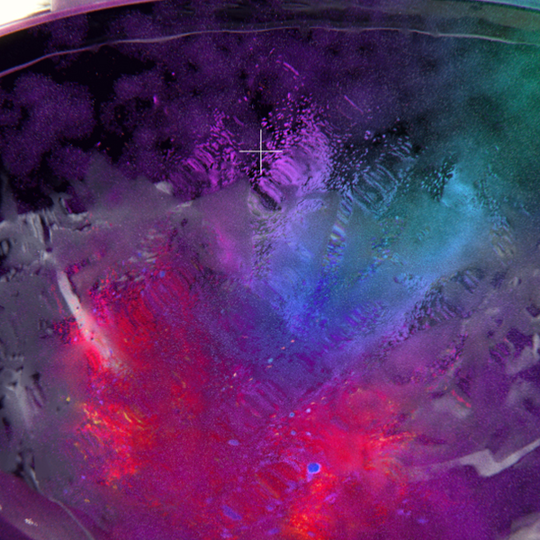
Senior Motion Designer & Art Director, Carlos Gálvez, details the V-Ray for Cinema 4D tricks that helped him render a celebratory moon landing for the BBC.
The “Moon Landing” animation was produced for BBC Studios to celebrate the 50th anniversary of a giant leap for mankind. By revisiting the moon virtually, half a century later, the promotional spot was designed to be nostalgic while also a celebration of the many ways in which that first small step on the moon inspired an entire world.
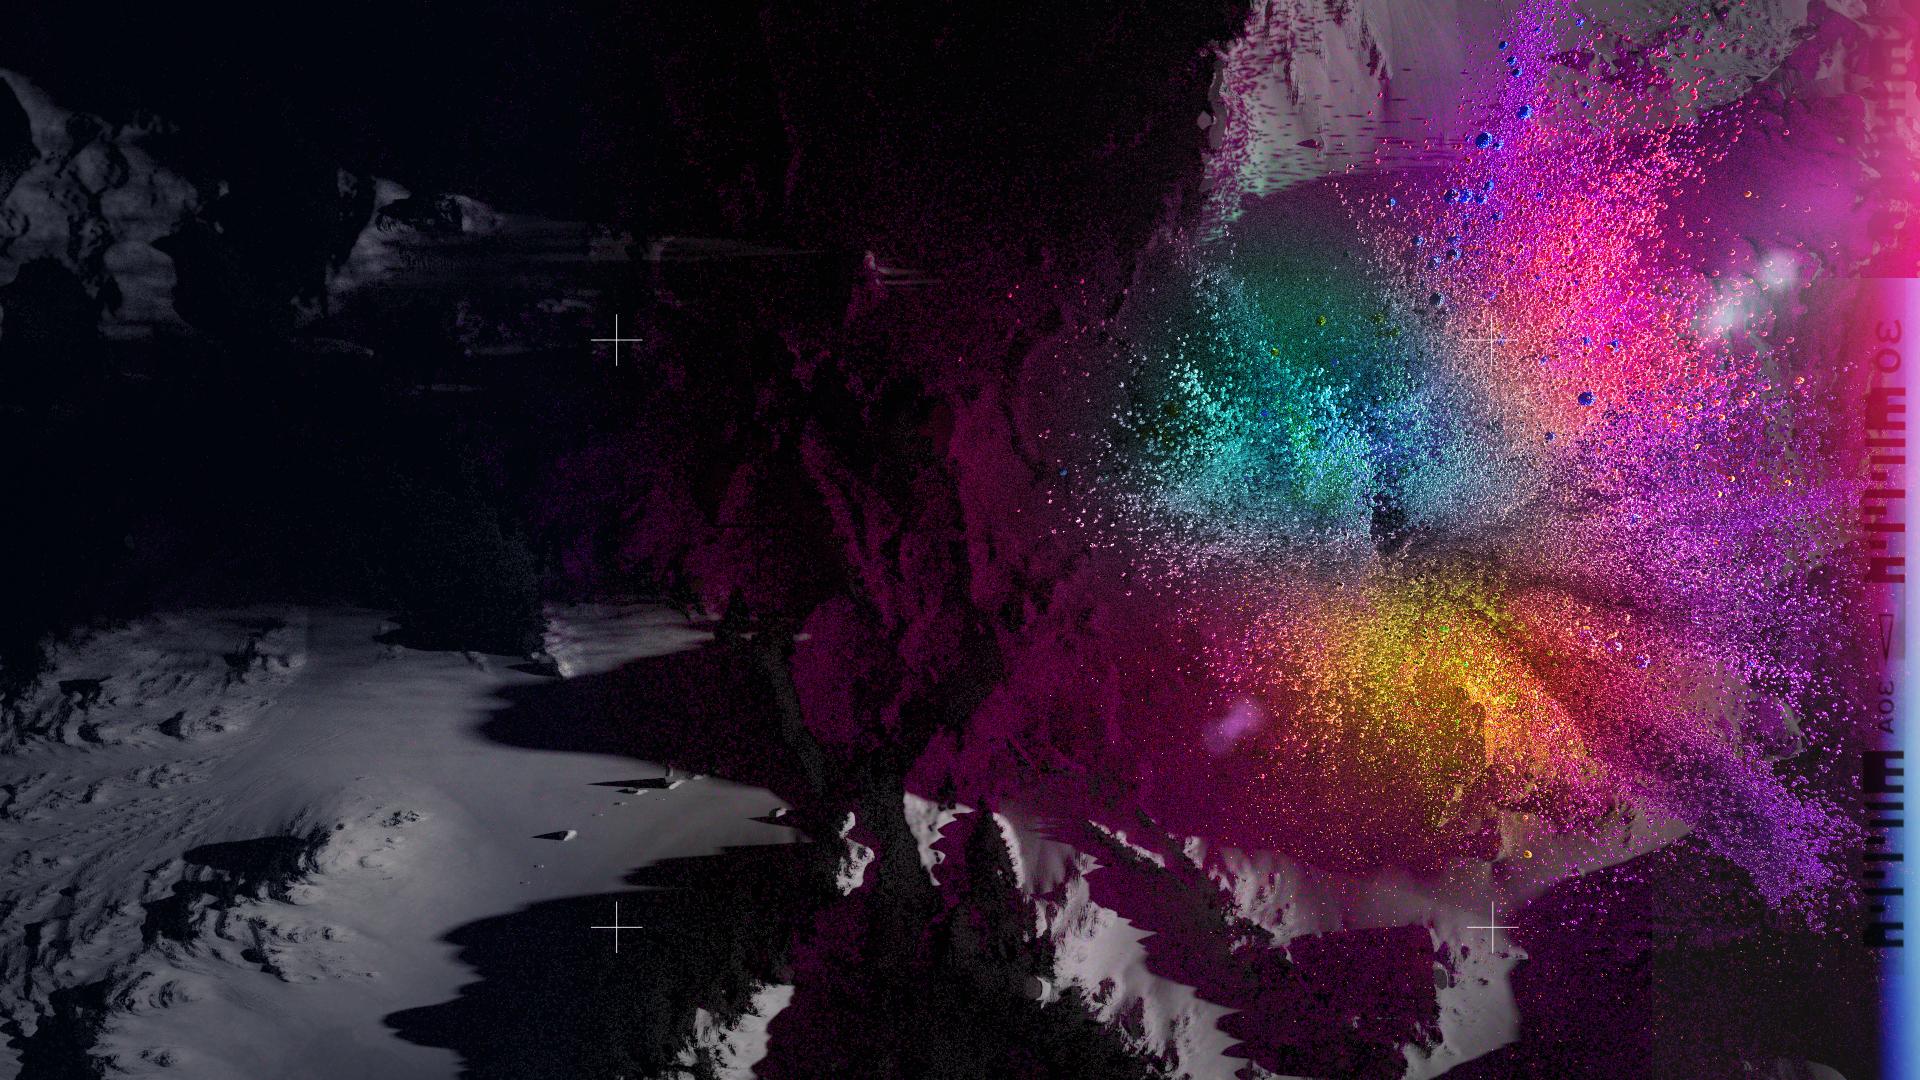
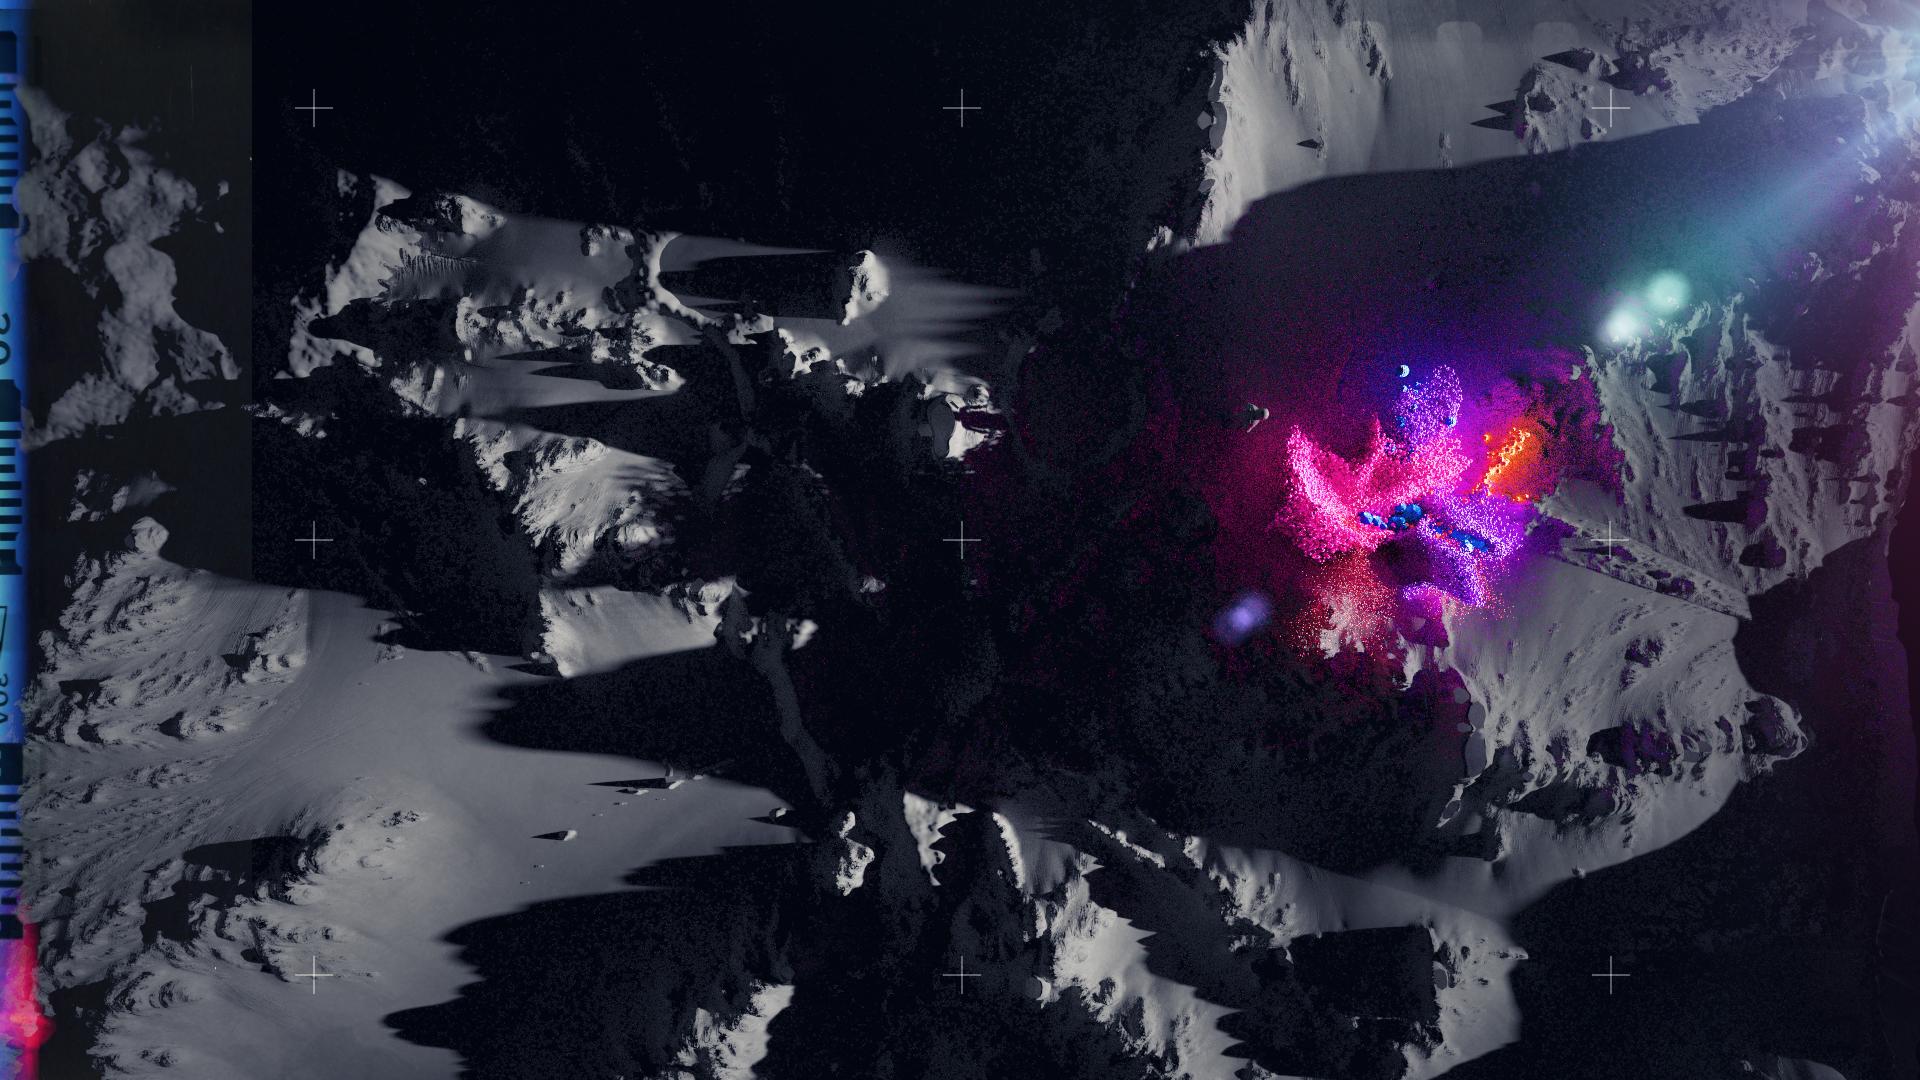
The initial version of the concept called on references including David Bowie, Pink Floyd’s ”The Dark Side of the Moon” album cover, as well as various other visuals from popular culture. But by simplifying the references down and focusing on a visual disruption of the original sepia-toned photos, the animation transports viewers from a memorable scene into a colorful dust explosion, as an astronaut dances on the surface of the moon.
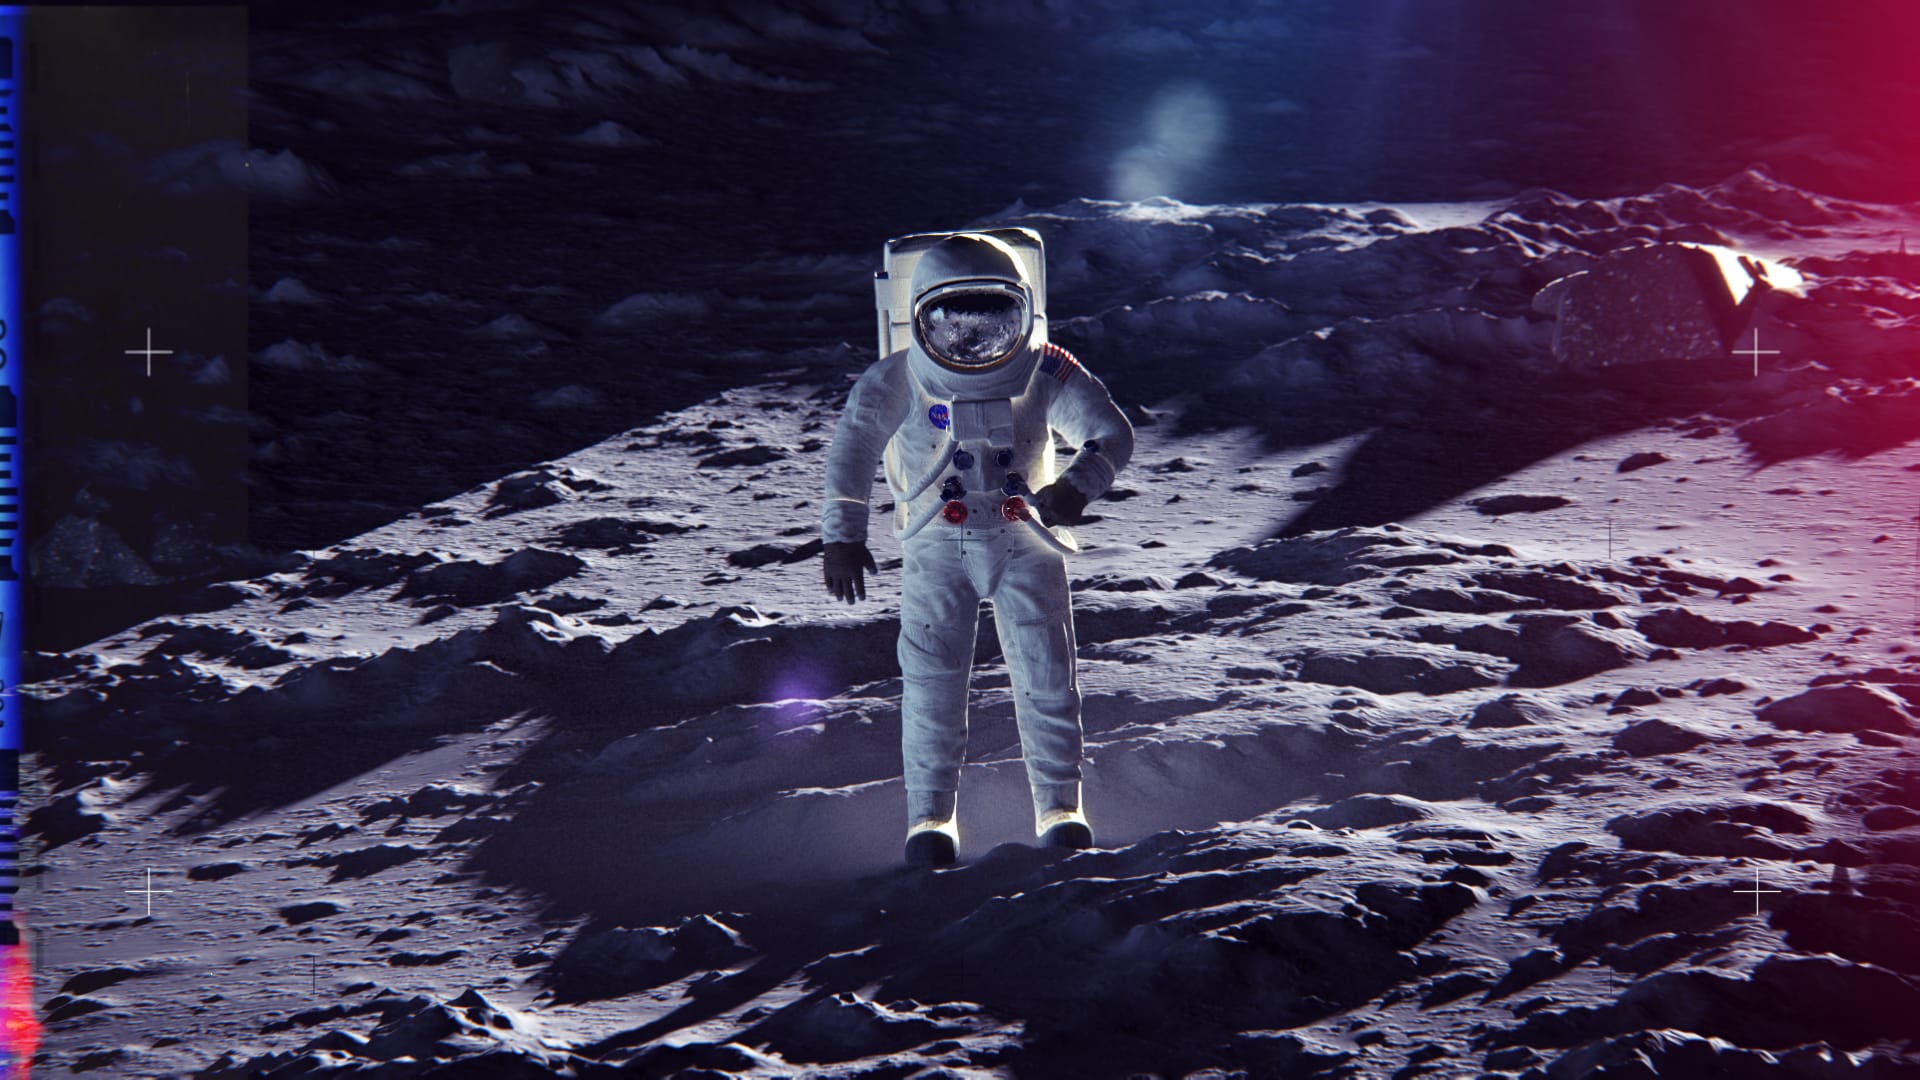
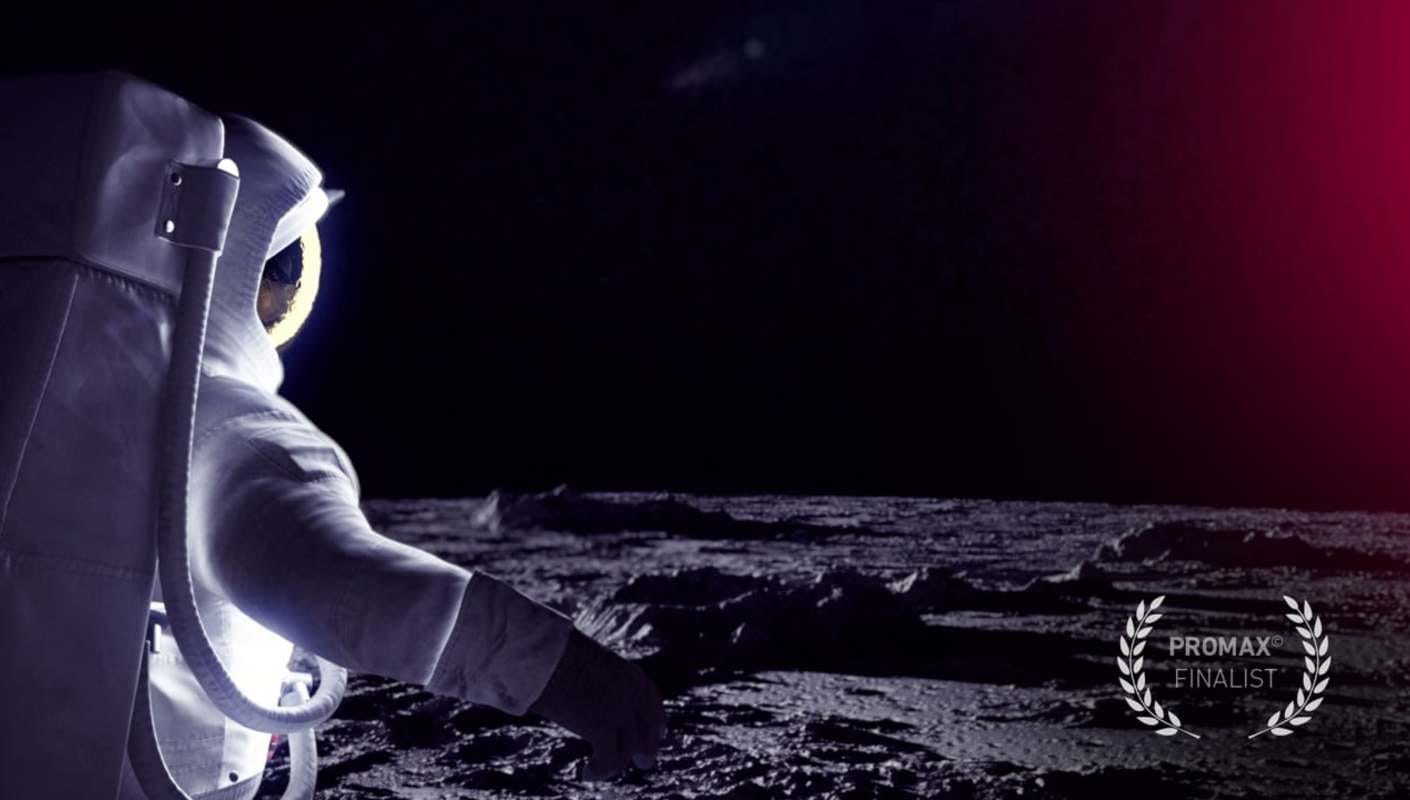
The campaign was hugely successful in the UK, distributed in most BBC territories, and translated into several languages. It was nominated at Promax UK in the Best UK Production for Non-UK Broadcast in 2019 and was also nominated for two New York Festivals Awards in 2020 (Best Special Promotion and Best Animation).
To create the animation, award-winning Senior Motion Designer and Art Director, Carlos Gálvez, used Cinema 4D with an arsenal of tools to achieve the ultimate results. Read on to discover how Carlos found V-Ray for Cinema 4D to be the “fastest and cleanest possible solution” for this kaleidoscopic project.


About Carlos Gálvez
Carlos Gálvez is an award-winning Senior Motion Designer and Art Director in London, UK. Originally from Valencia, he learned Art and Design in Spain and explored branding while working for Dutch agencies. His multidisciplinary style can be seen in multiple broadcast, commercial and film designs created for top worldwide brands.
He moved to London to join the production company BBC Studios, where he's created promo and branding design for several major TV shows including Sherlock, Top Gear and Doctor Who, and has won over 20 awards in the USA, Europe and Africa.
See more of Carlos’s work in his 2019 showreel and at carlosgalvez.com.
Inspiring the creative process
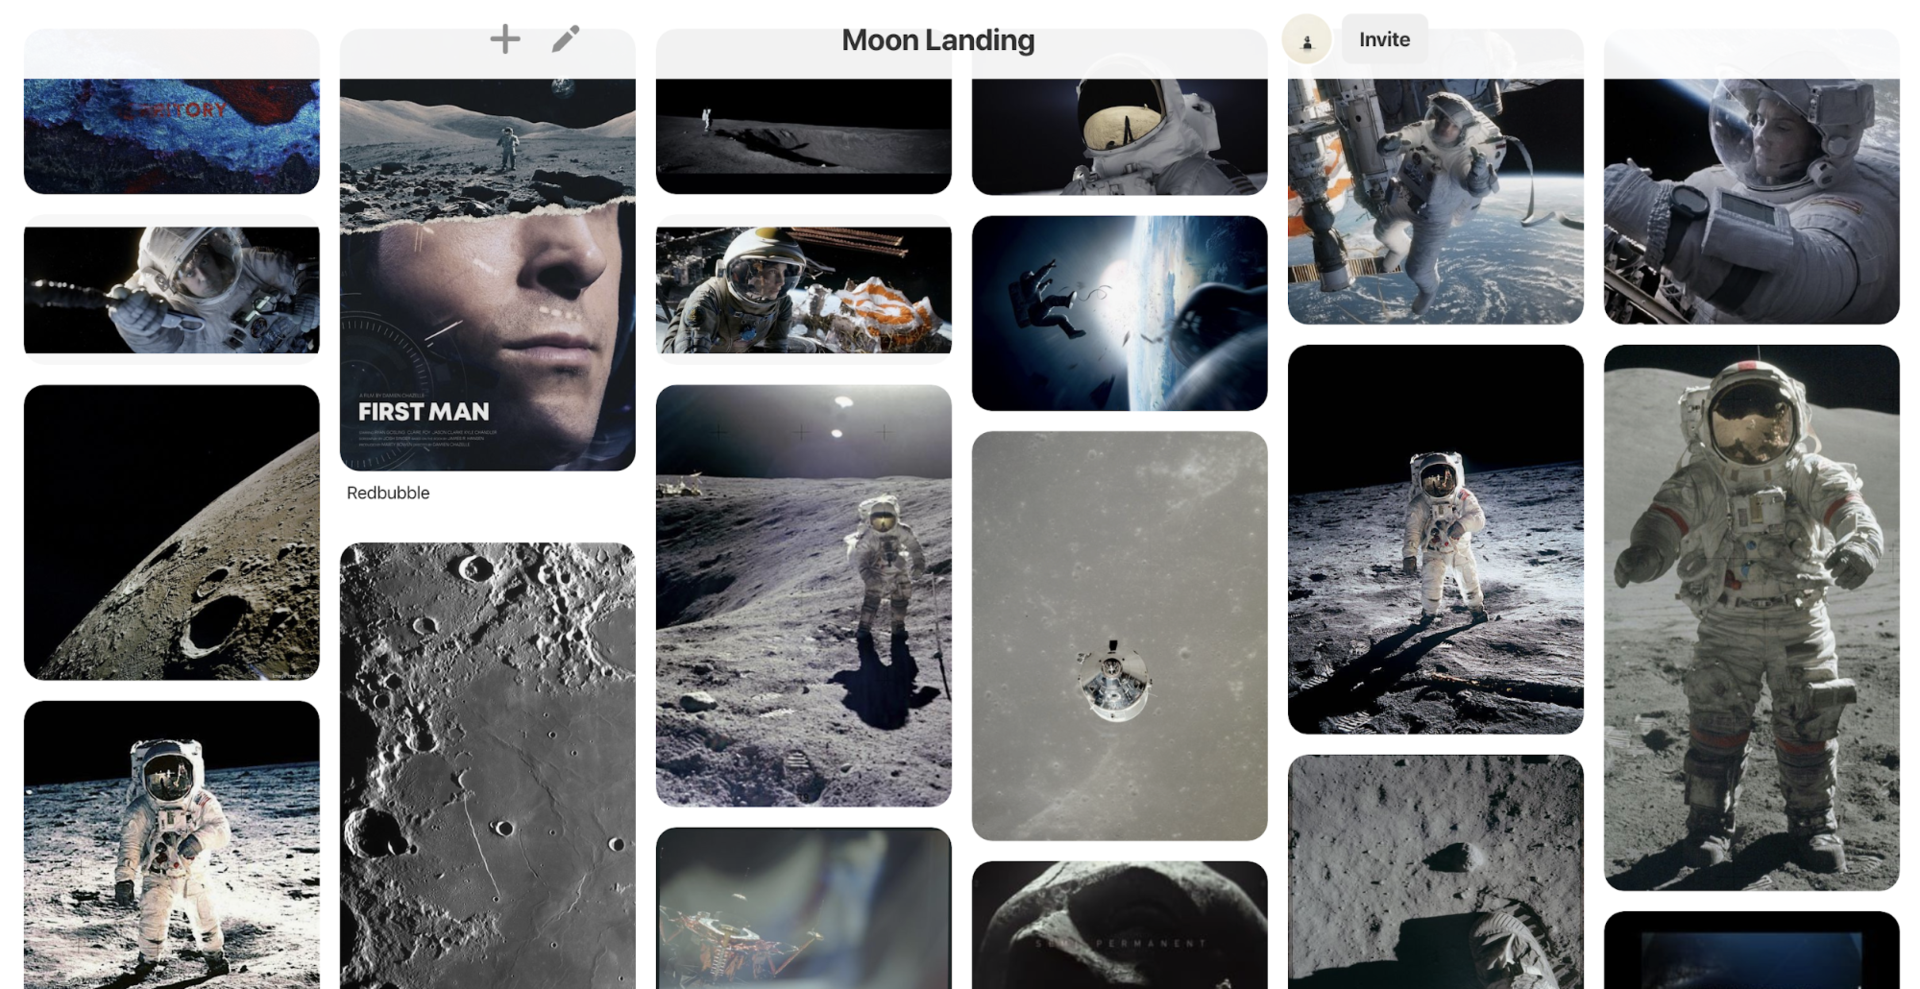
The creative process began by looking at the original images of the 1969 landing. All those hard shadows and rough surfaces had an almost staged tone to it that we wanted to replicate in the 50-year anniversary animation.
Damien Chazelle’s First Man (2018) was another big inspiration for the realistic, almost documentary-style treatment. How Linus Sandgren handled the color in First Man is truly amazing — and it was a great starting point for the realistic part of our animation.
For the colorful explosions featured in the animated promo, we looked at the opposite end of the spectrum: Holi Festival images and similar references. We wanted to have two different worlds collide — one being almost monochrome and the other filled with color.


Reimagining the moon landing
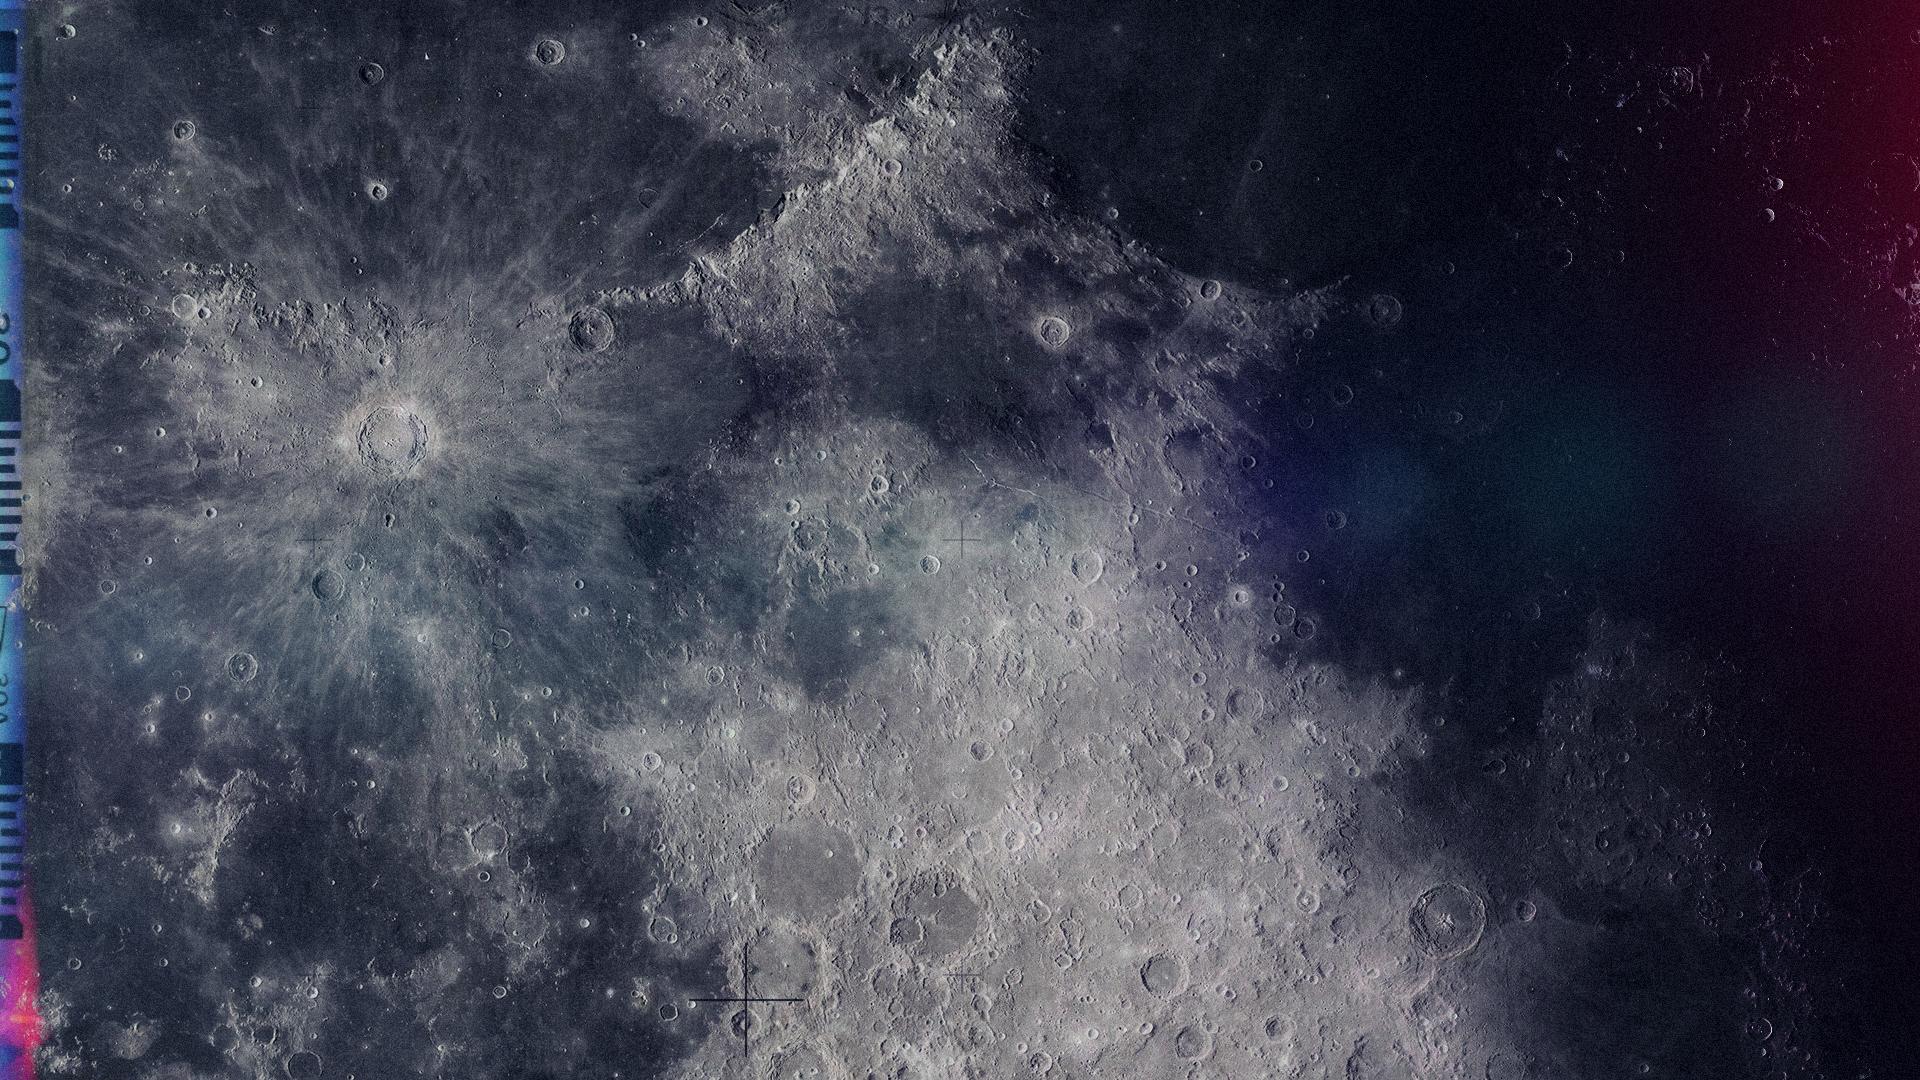
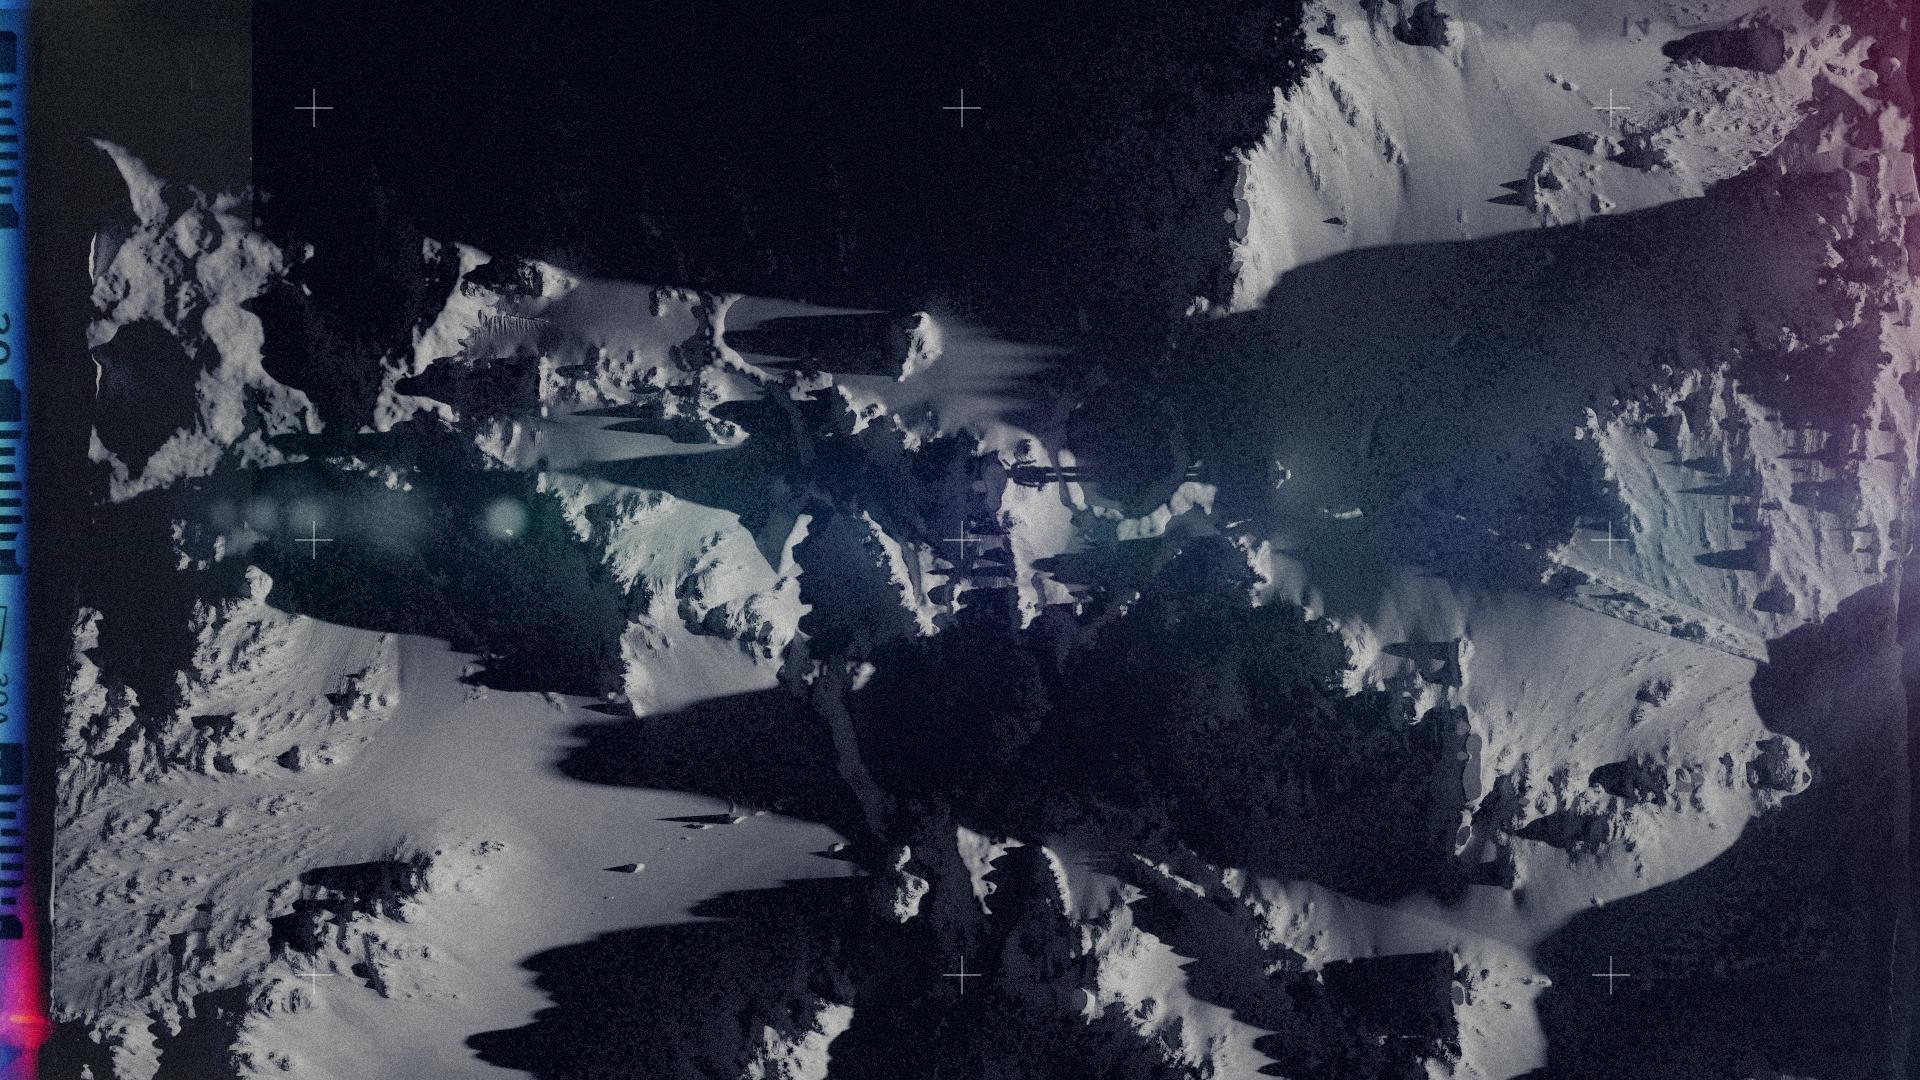
At first, I tried to replicate the retro feel of the original photographs, which were taken with a Hasselblad 500EL camera, and had dust, scratches, light leaks and fiducial markers, as seen above.
However, the creative lead wanted the piece to feel more like a new moon landing — as if we’d gone back there today and shot it with modern camera equipment. Once I removed all of the camera effects, including film borders, the approach was much cleaner.
Tools of the trade
Cinema 4D was our main tool for this project. The Creative Director wanted us to use the exact same spacesuit from 1969. Luckily, we found a model on Turbosquid that was an exact replica. I rigged it in Cinema 4D and used Mixamo motion-capture data for some of the animations, which really helped me bring the model to life easily.
V-Ray ended up being the fastest tool for rendering the specific setup we needed with the lighting for hard shadows and rough surfaces.
There are also some X-Particles in the final version, but the biggest parts are stock footage. I basically did all of the simulations in X-Particles and rendered the animatic for timing purposes. But then render times became critical, so we isolated and rendered them, and then mixed them with stock footage of powder explosions during compositing.
I found this combination really did the trick — and I also enjoy it when people ponder: “How was that done? Is that footage? Is that X-Particles?”
V-Ray was the fastest and cleanest possible solution for this project . . . we were looking for a realistic, noise-free render that really takes you there — and after a lot of R&D, V-Ray proved to be the strongest.”
Carlos Gálvez, Senior Motion Designer and Art Director at BBC Studios
Ready to take your first step with V-Ray?
Try V-Ray for Cinema 4D free for 30 daysRendering a moonwalk
V-Ray was the fastest and cleanest possible solution for this project. We weren’t looking for the sci-fi feel that’s so popular on the likes of Instagram, featuring highly saturated astronauts. Rather, we were looking for a realistic, noise-free render that really takes you there — and after a lot of R&D, V-Ray proved to be the strongest.
After some basic tweaks with the render settings, we were able to render everything in-house without using a render farm, which gave us a lot of flexibility for last-minute changes — and even rendering additional shots to try them during the edit.
How to make the most of V-Ray for Cinema 4D
- Take advantage of the time limit in the Antialiasing Tab. This is the most powerful render time limit in minutes I have seen in any rendering engine. Simply enter a very low number for your quick, noisy renders — to get an idea of how the final render might look — and then crank it up for the final render.
- Create your own materials. Creating your own materials from scratch is really simple and is often the best approach.
- You only need two Specular layers. In most cases, you’re only going to use one Specular layer, though it’s useful to have a second one for specific effects. In my experience, some users will go over the top and stack too many of them up, only to find out later that they’ve lost control over the final look.
- Take advantage of the native V-Ray shaders. PowerShaders are impressive and very versatile. The V-Ray Advanced Bitmap is really powerful.
- Set the V-Ray Camera to “Pinhole” in Settings. I’d really love this setting to be Pinhole by default; it matches your Viewport’s camera view on the final render.
- When in doubt, multi-pass. Creating motion graphics for the media industry means constantly having to tweak small details and colors in your renders. Render using multi-passes and, whenever possible, try to fix things in compositing.
- Render Progressive. V-Ray has one of the fastest and most accurate progressive samplers I’ve ever seen. Progressive rendering gives you the chance to get a rough idea of how the scene is going to look — in just a few seconds.
- Share your work. The Cinema 4D and V-Ray communities are really great with plenty of generous people sharing projects and tips. Join in and be a part of this culture.
- Optimize your renders. Spend some time tweaking your render settings, textures and lights and you’ll find that, most of the time, you don’t need a render farm when using V-Ray.
In the future, I’d love to see a stable and fast IPR implemented as well as a node material editor. Also I’d love to try the GPU capabilities. The moment V-Ray gets those things right, I don’t think it’s going to have a serious competitor . . .”
Carlos Gálvez, Senior Motion Designer and Art Director at BBC Studios
Let's break it down
To conclude this article, check out the following video breakdown of the "Moon Landing" animation created with Cinema 4D to see the various steps that went into animating and rendering a vibrant spacewalk:

