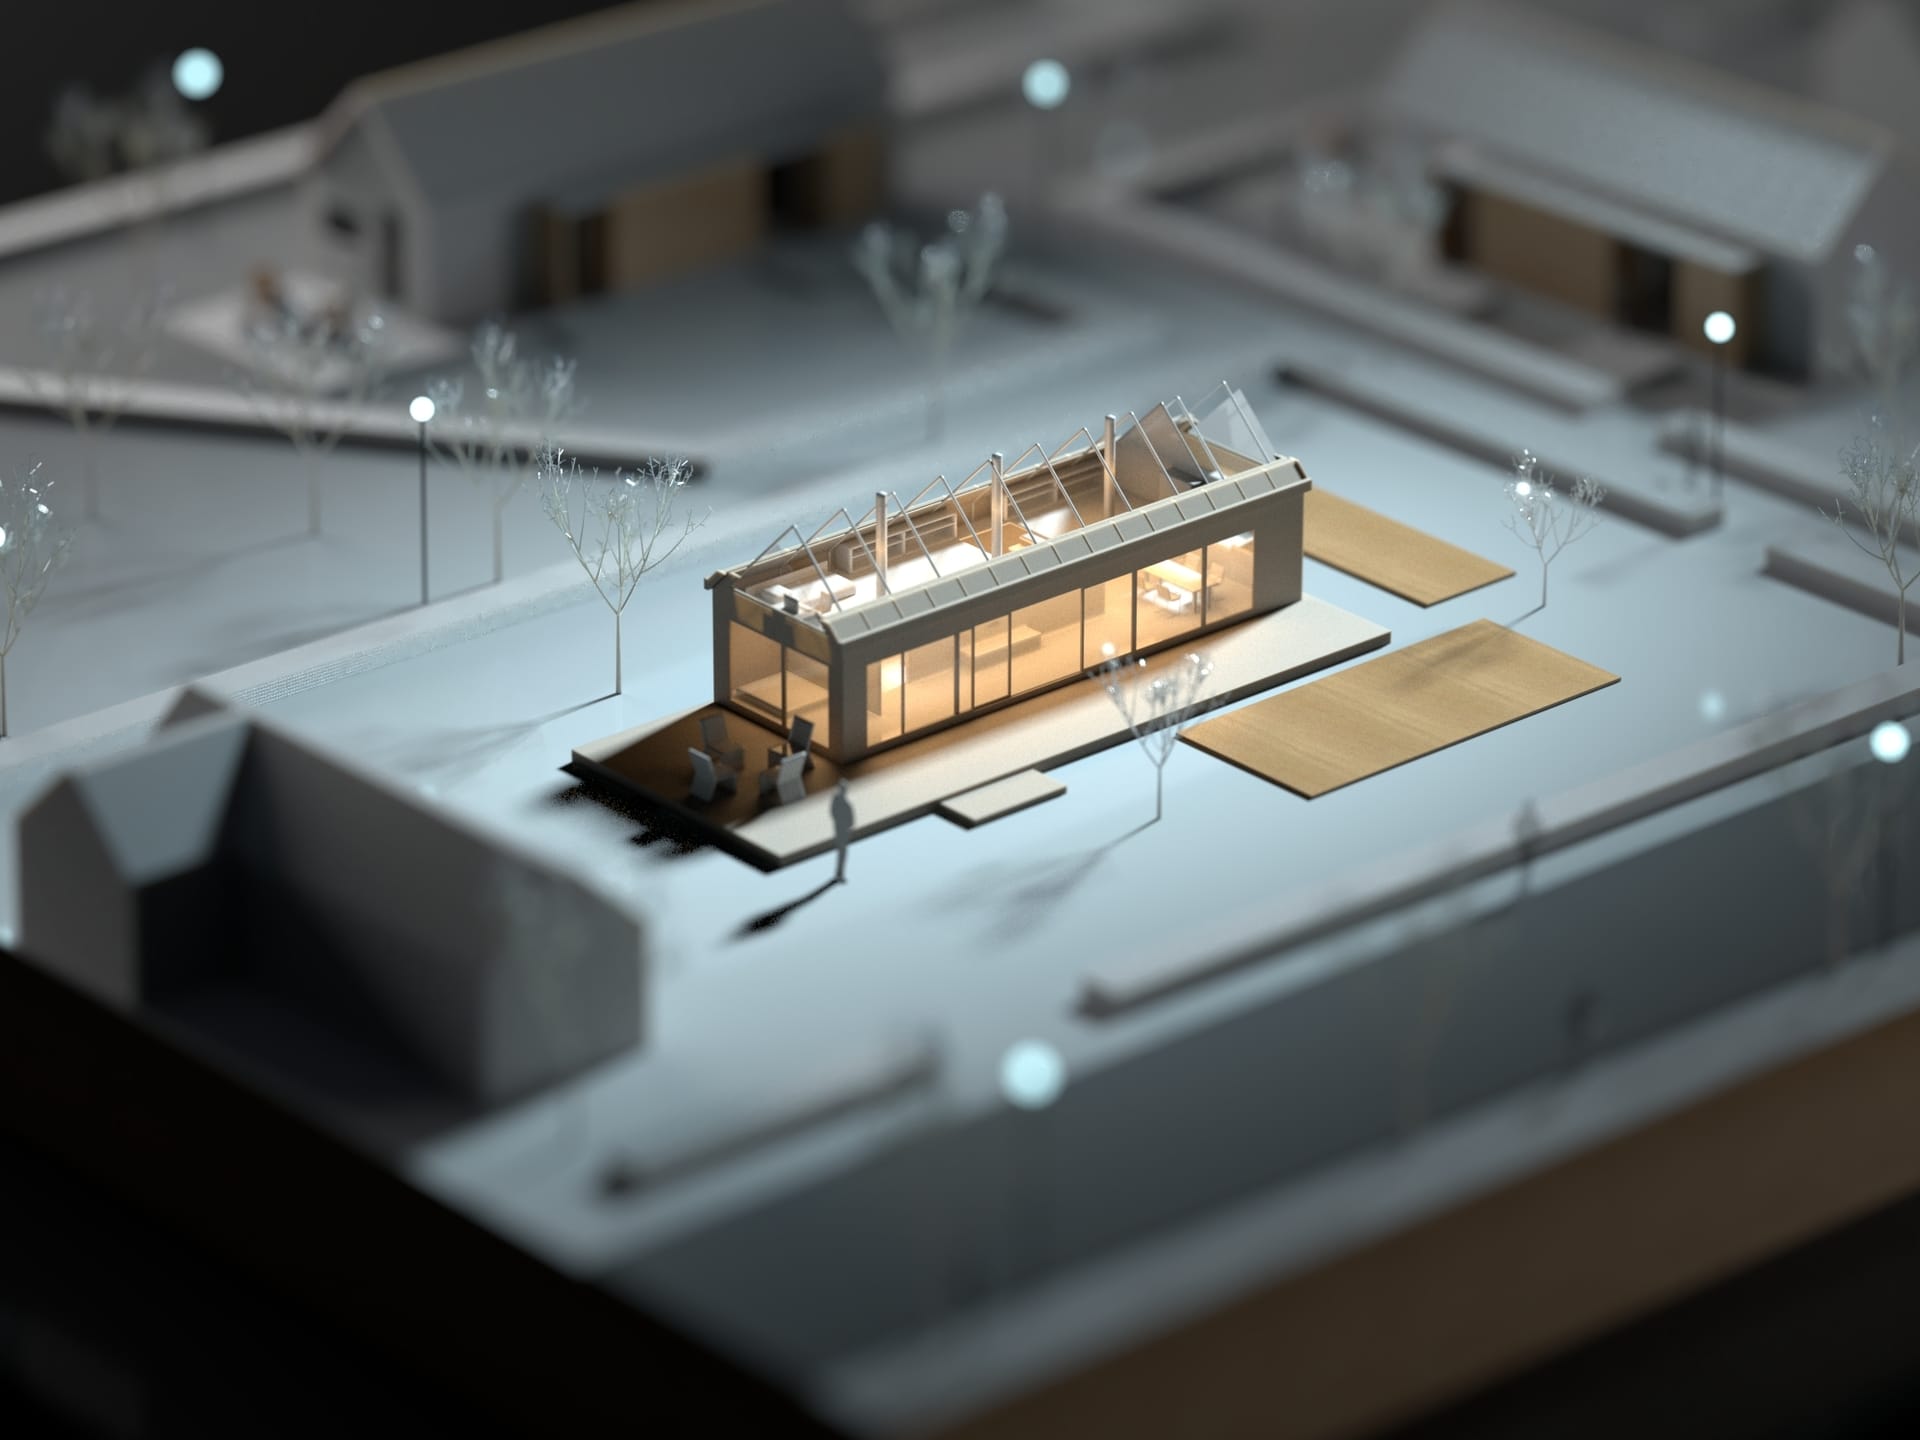
With V-Ray for SketchUp, it’s easy to match your designs to a backplate and create realistic architectural renderings. V-Ray expert Han Shilin shows you how.
There’s something about a scale model that makes it easy to communicate an architectural concept. And the trick is: it can be a real-world physical model, a 3D architectural rendering, or a combination of both.
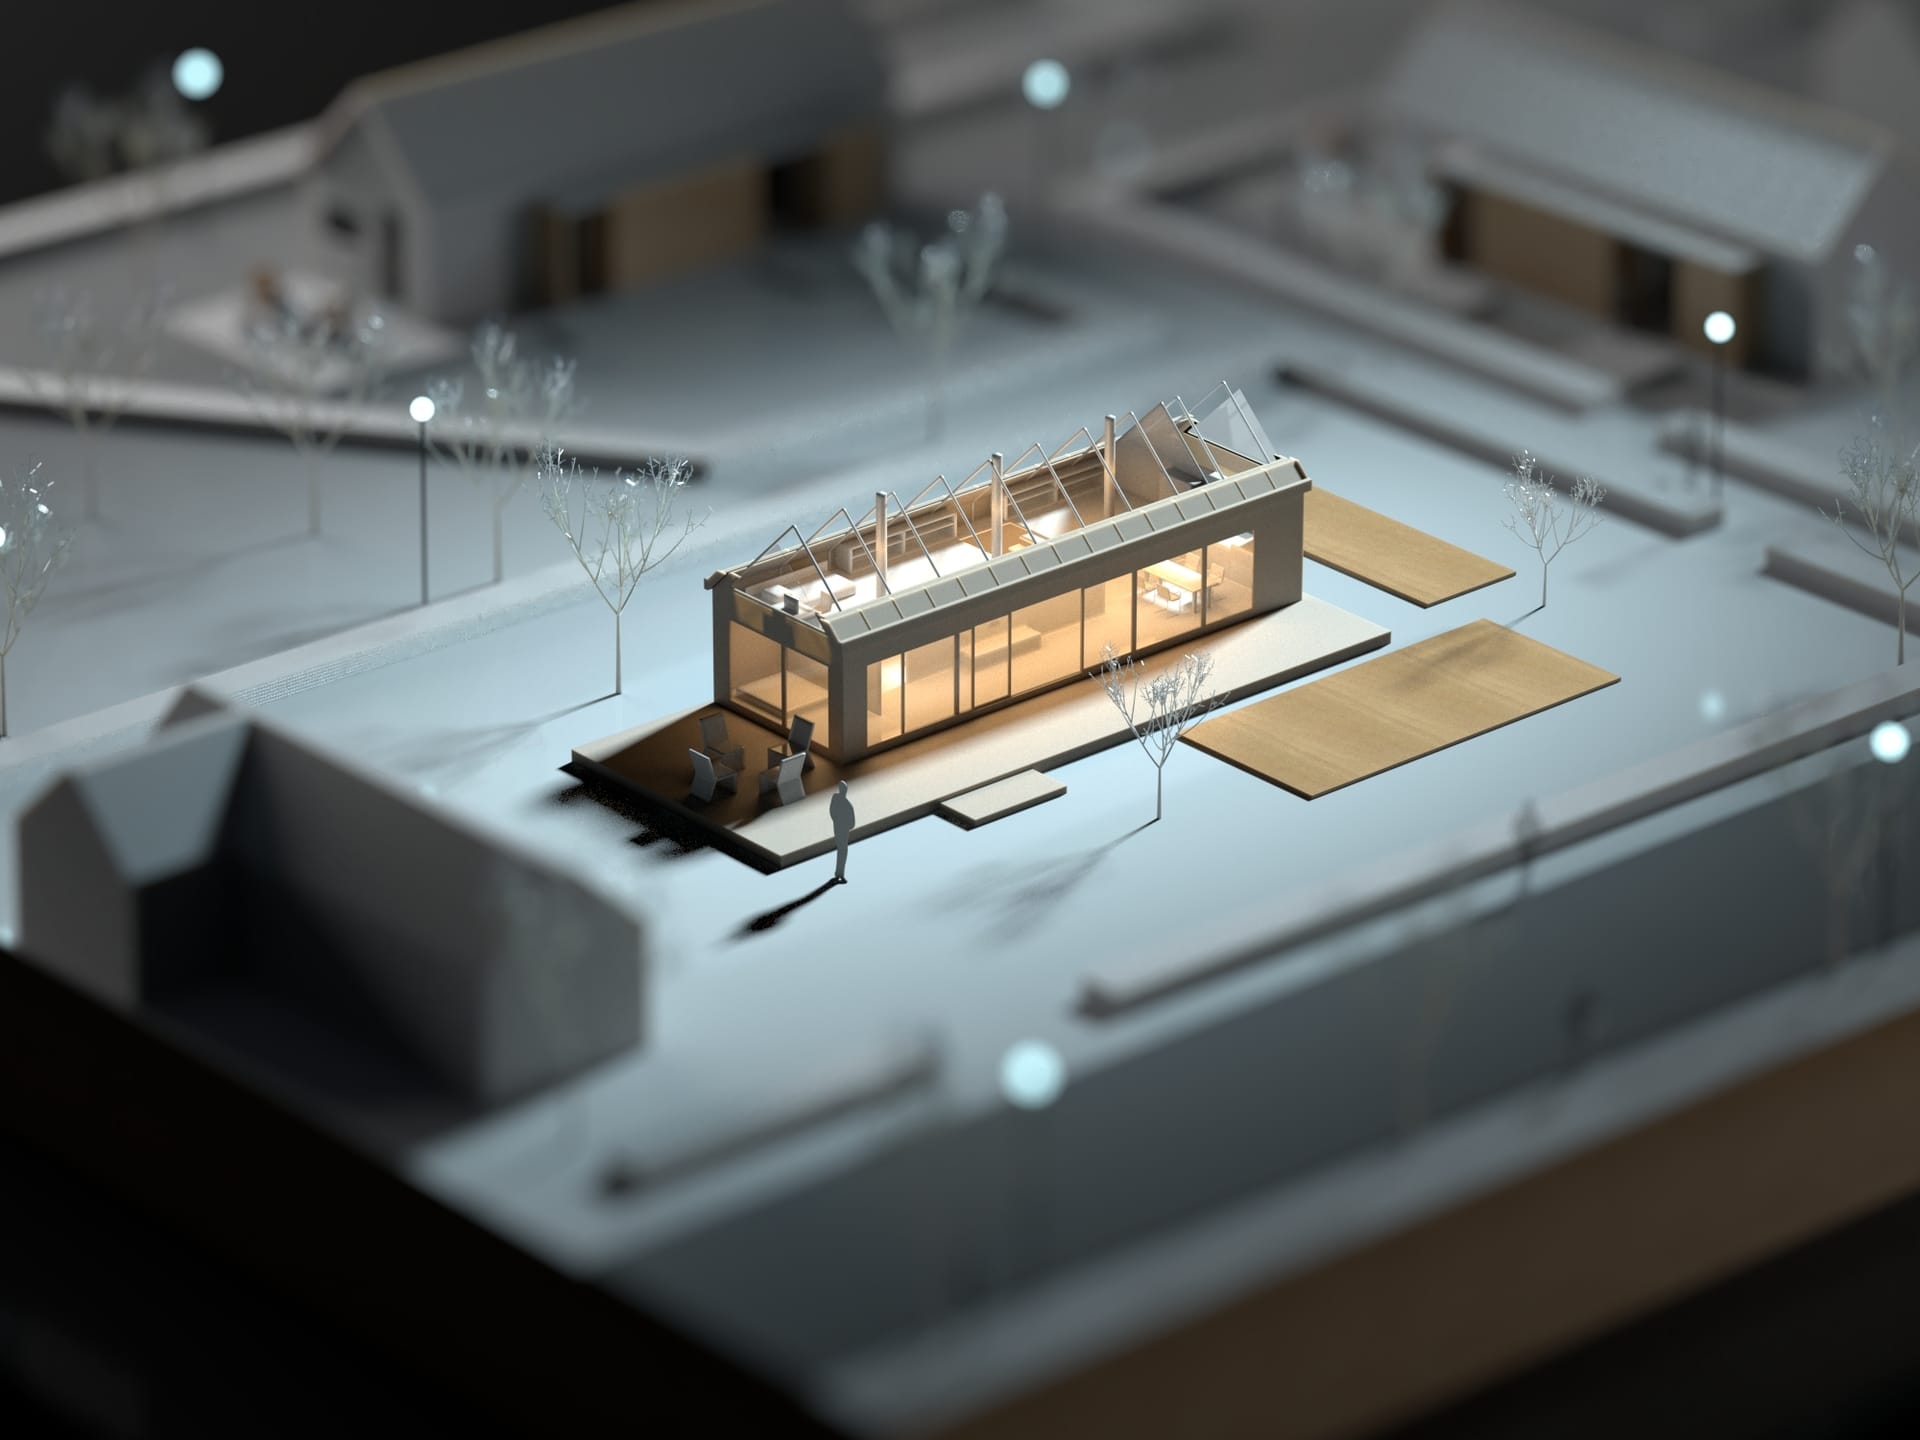
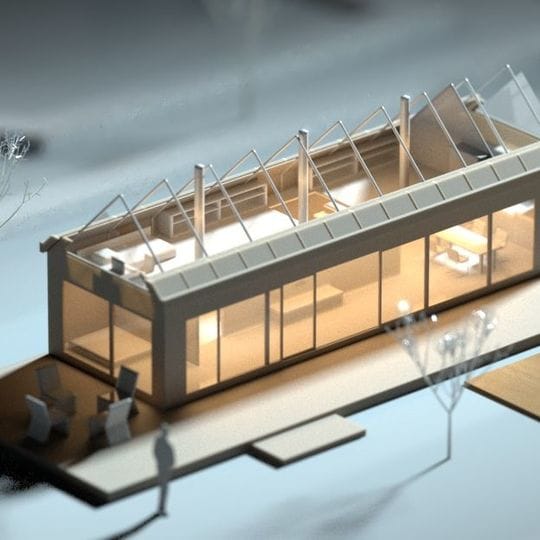
In this tutorial, I will show you how to use photo compositing in V-Ray for SketchUp to seamlessly integrate your SketchUp model with a photo of a real-life site study model. The resulting image looks just as good as the real thing, with the advantage that you can quickly tweak and re-render the shot if you need to make changes.
You can also use these techniques elsewhere: For instance, to add a full-scale architectural model to an on-site photograph or to integrate an object with a real-world setting.

About Han Shilin
Han is a long-time user of V-Ray for SketchUp and a blog writer based in Tianjin, China. He has been sharing his experiences along with best-practice tips and tricks for V-Ray for SketchUp since 2012. He regularly updates his Bilibili channel with video tutorials and has over 60,000 subscribers following his lessons. Han joined Chaos Group in 2019 where he continues to share his knowledge and information about V-Ray with Chinese users.
1) Take a backplate photo and match the camera
Take a picture of your handmade site study model. Make sure you note the color and direction of the on-site light source.
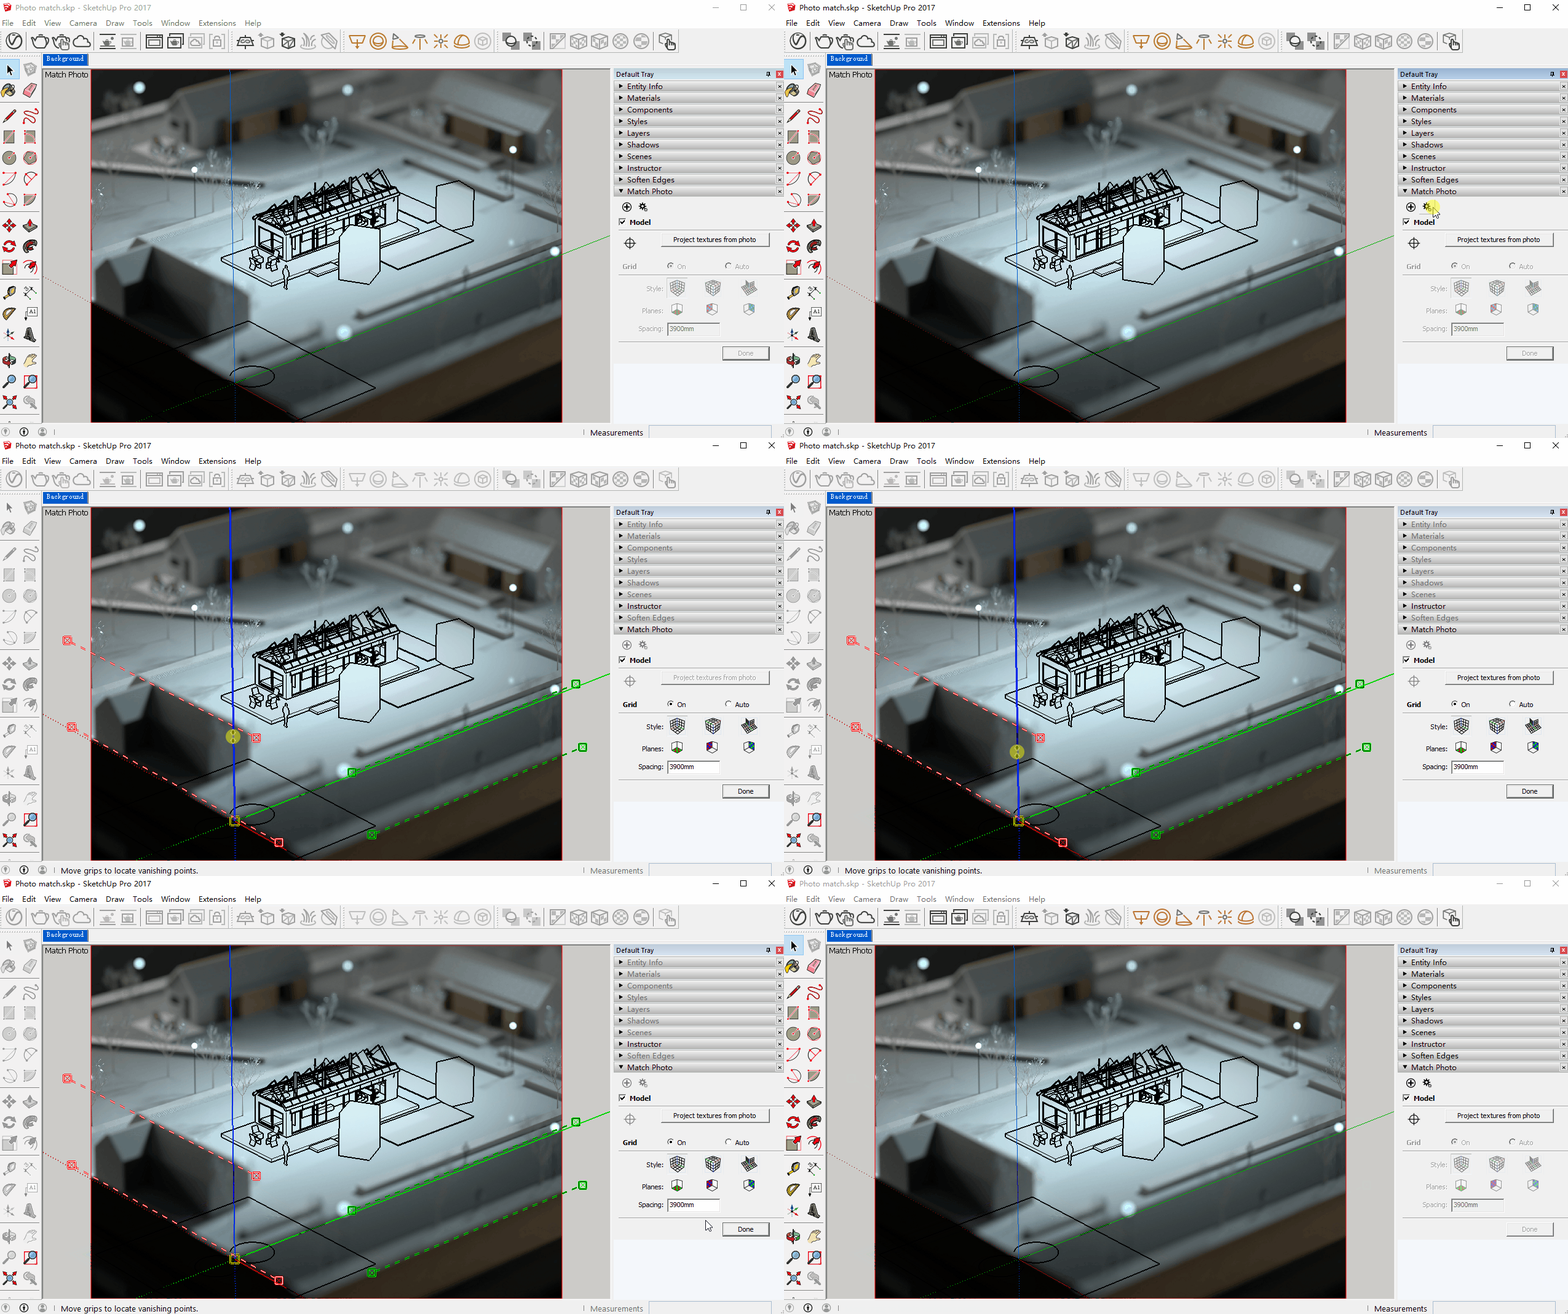
Create a new file in SketchUp. In the Camera menu, choose “Match new photo...” then select the backplate photo.
Drag the origin point (yellow square) to one corner of the site model. The red and green parallel lines control the direction of the perspective line. Just remember that the red, green, and blue axes are perpendicular to one other.
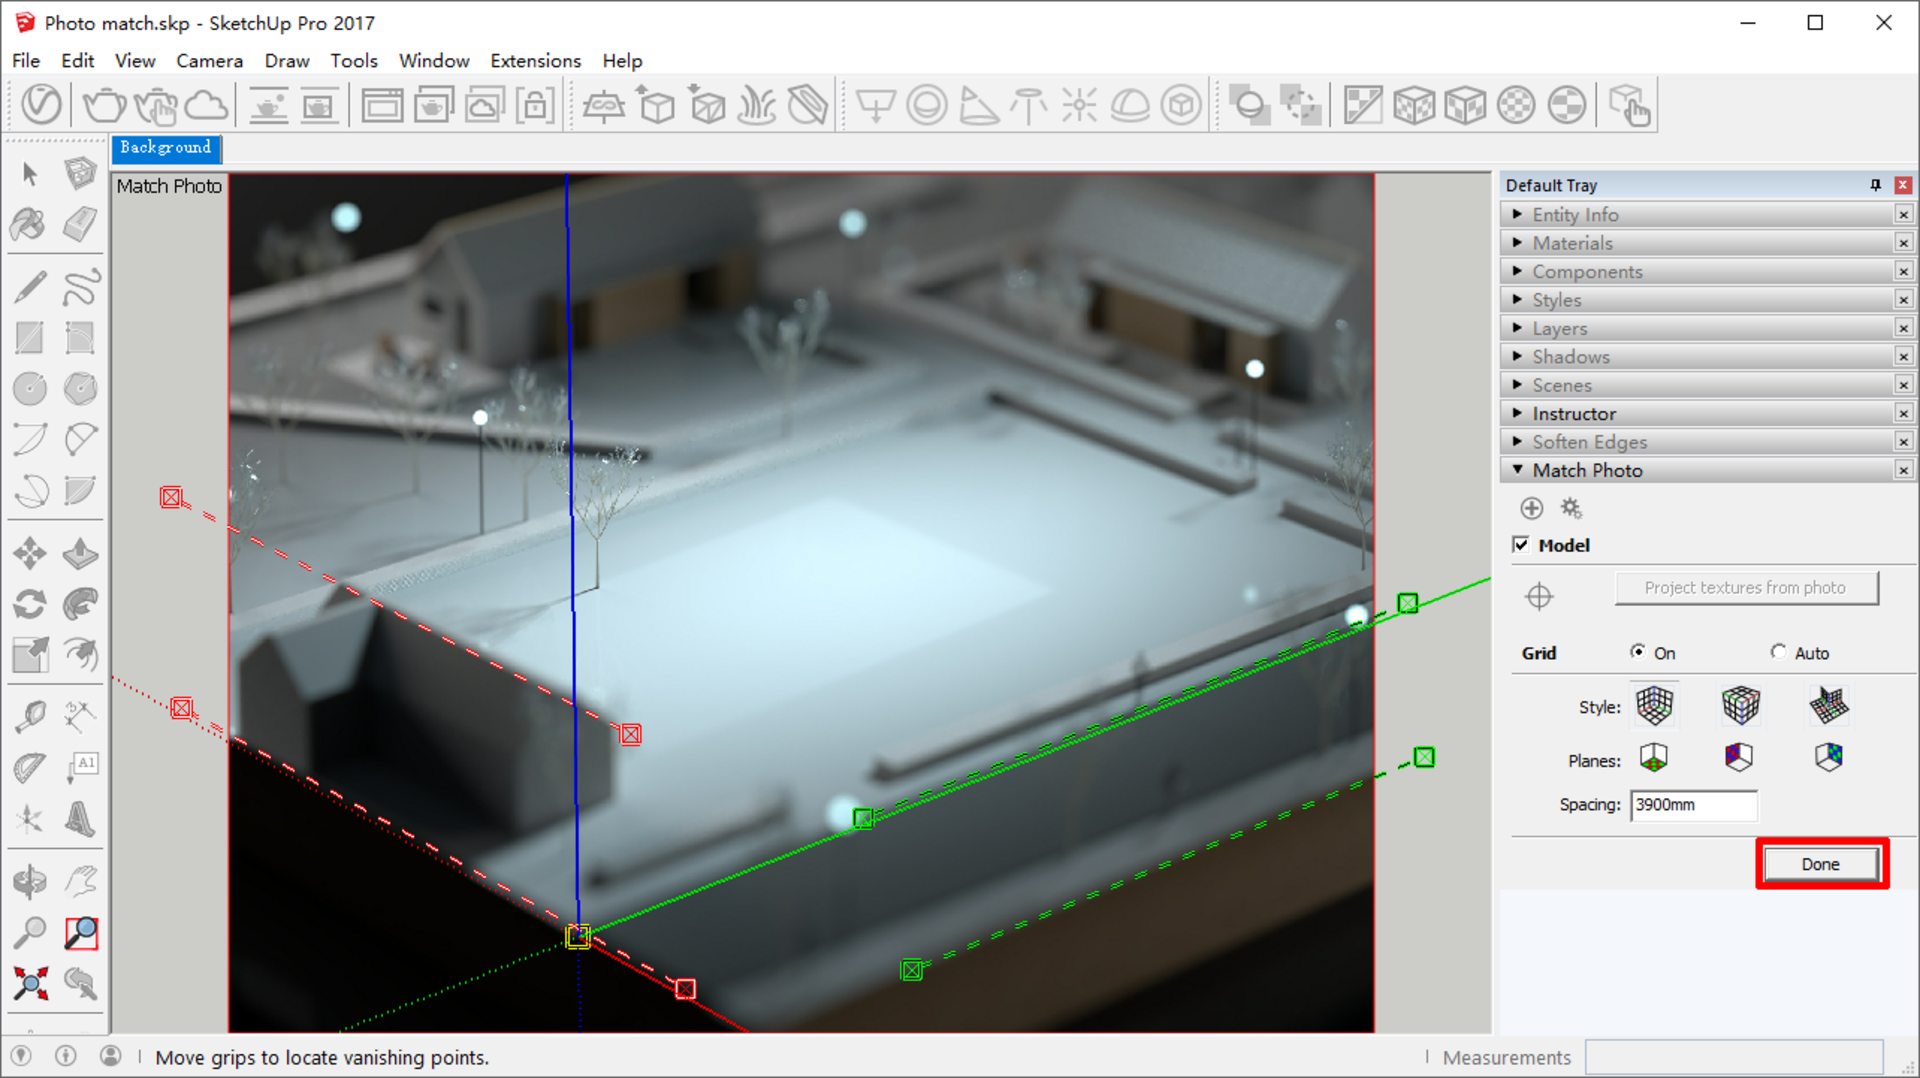
Click the “Done” button after photo matching.
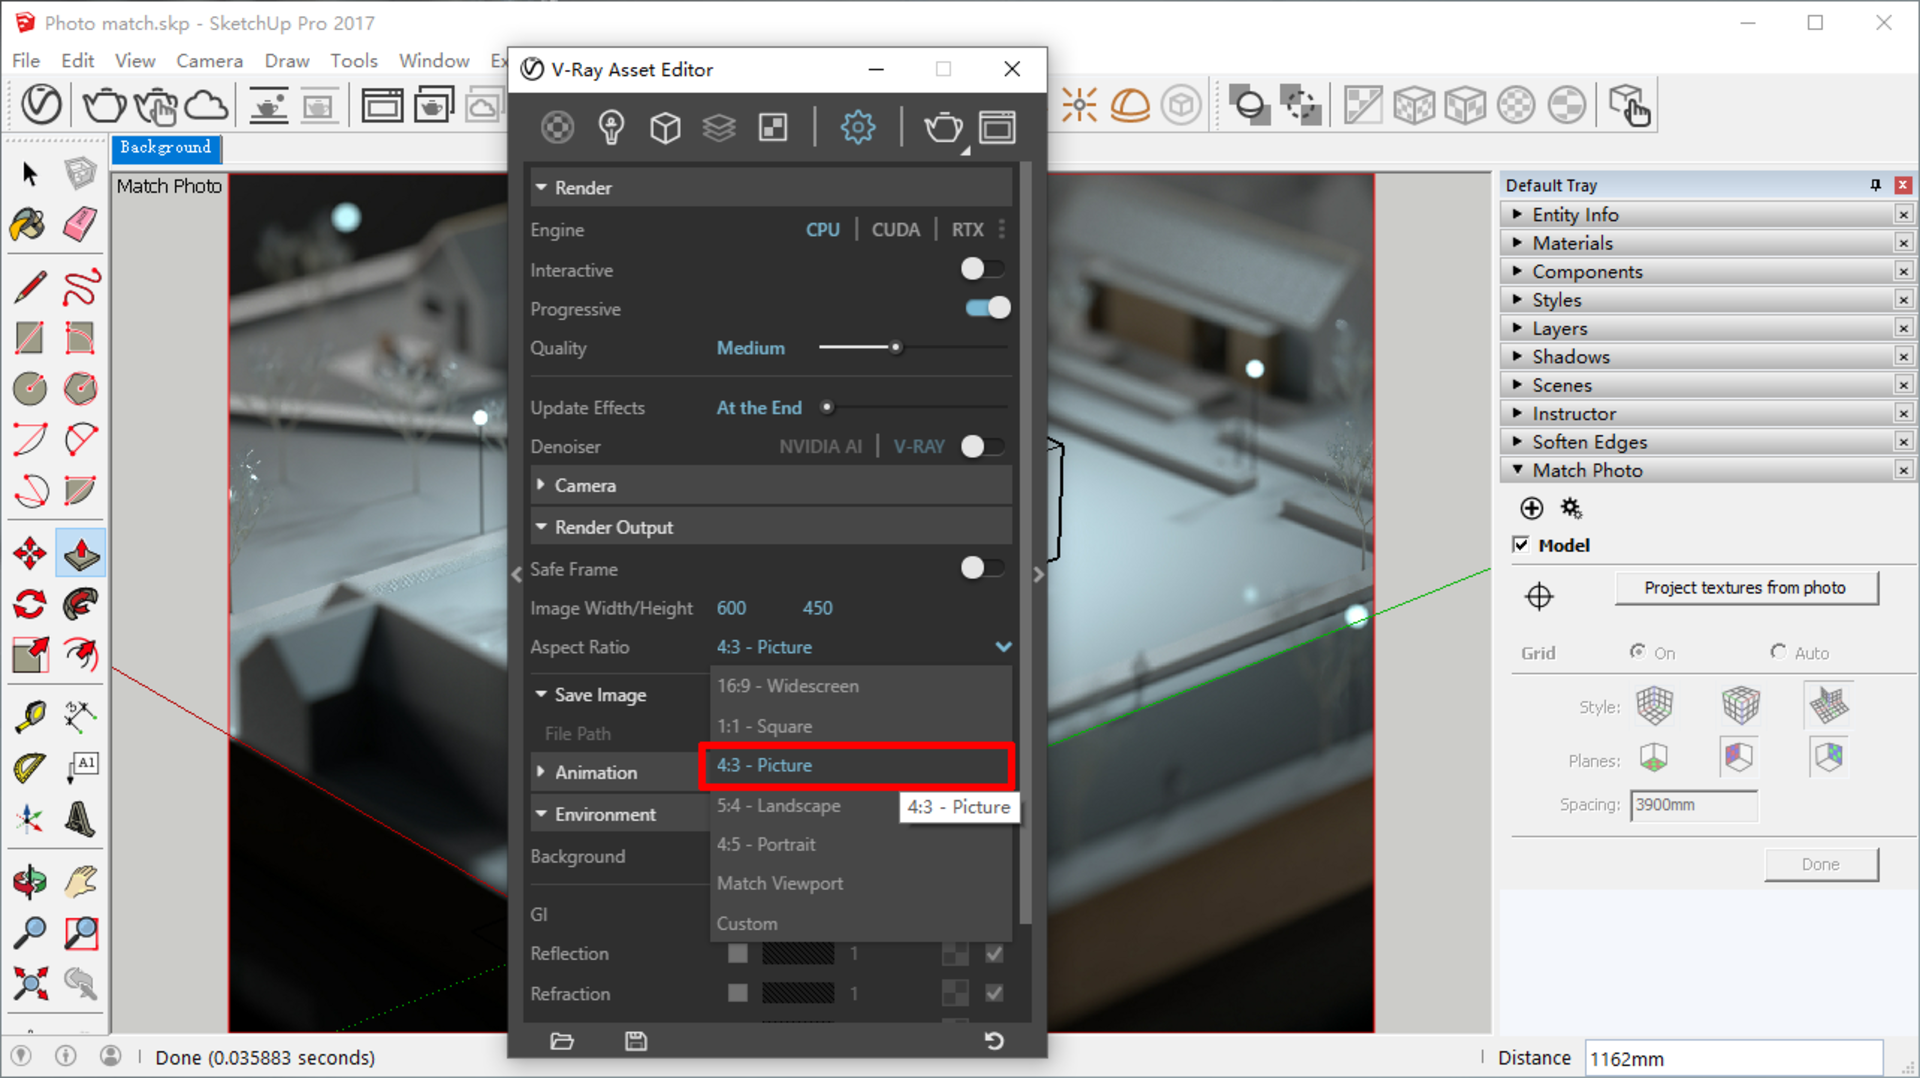
Do not forget to set the output aspect ratio to match the backplate photo (This example is 4:3):
2) Match the light
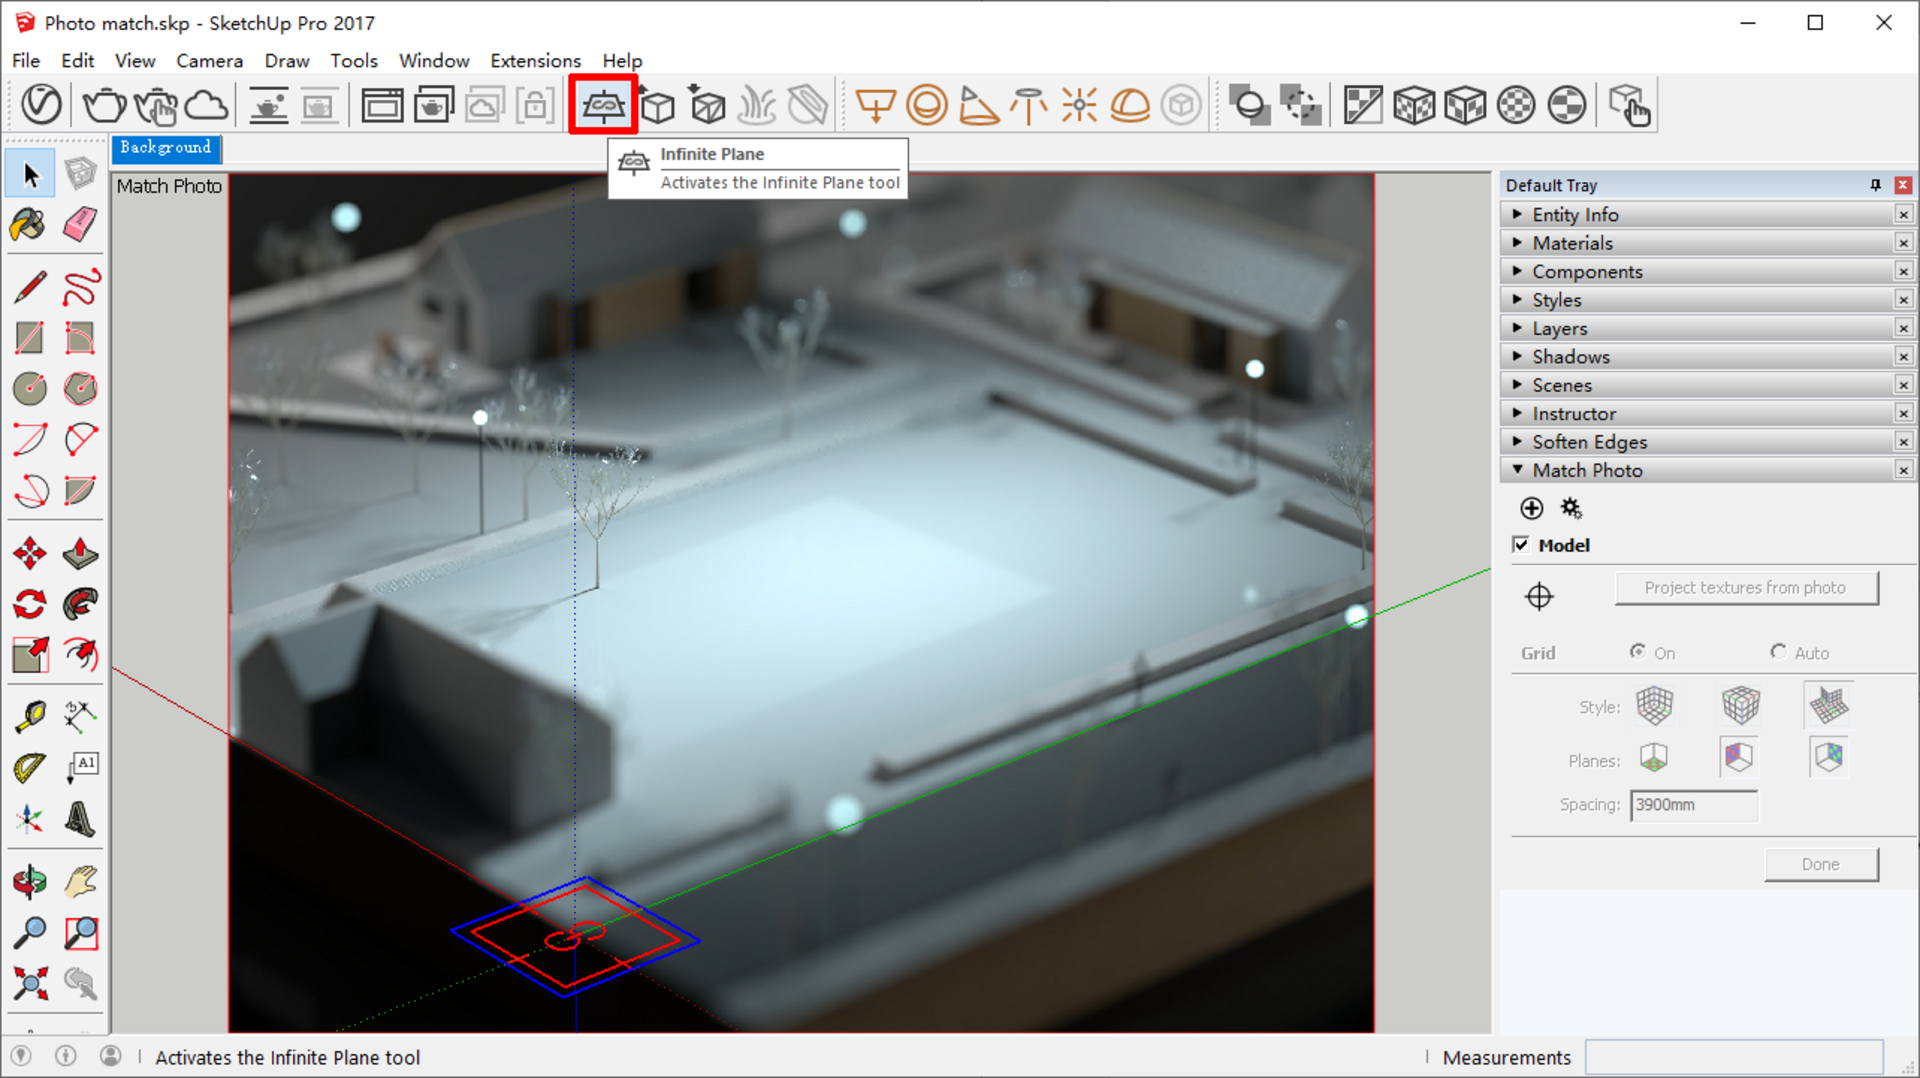
First, we need to draw a large plane surface to form the ground. To do this, we can simply put an infinite plane at the origin point of the scene. Make sure the normal direction of the infinite plane (the blue arrow) is facing upwards.
The next step is important. Try to recreate the digital light to match the direction, color and brightness of the real light source.
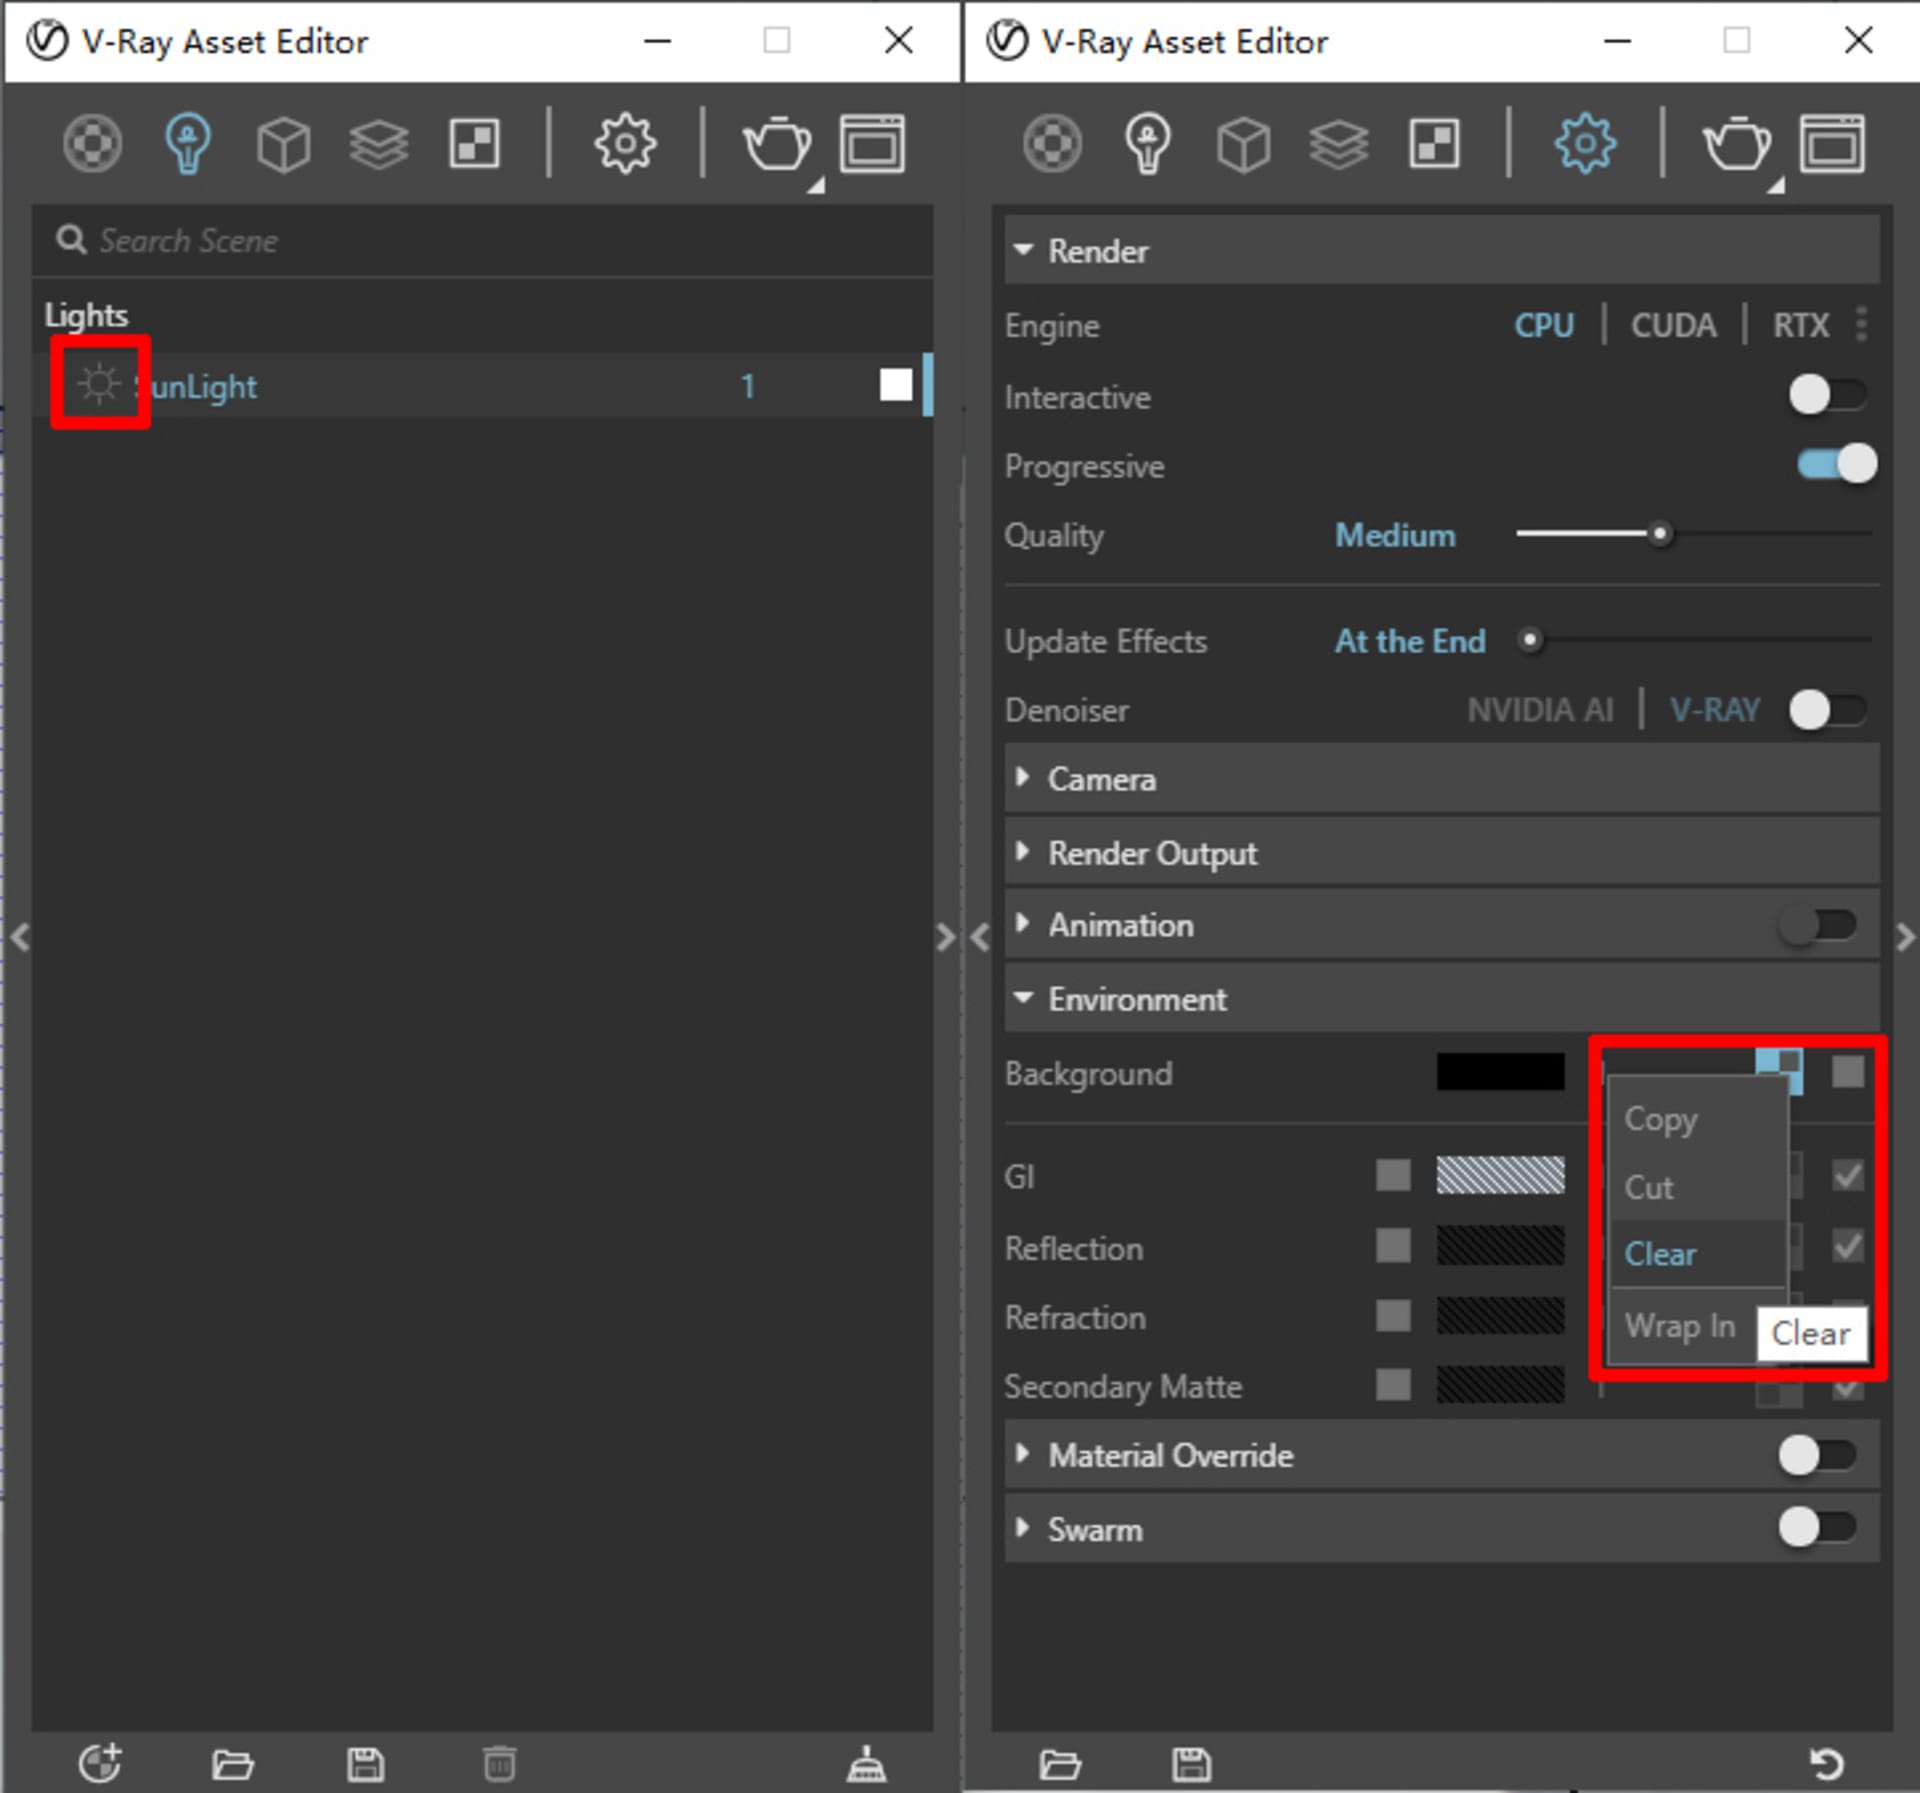
Don’t forget to turn off the default sunlight and the sky texture:
In this scene, the key light is obviously coming from the upper right corner — you can tell this by observing the shadow of the tree or the buildings around the site.
So just draw a block for reference, then put a V-Ray light on top right of the block.
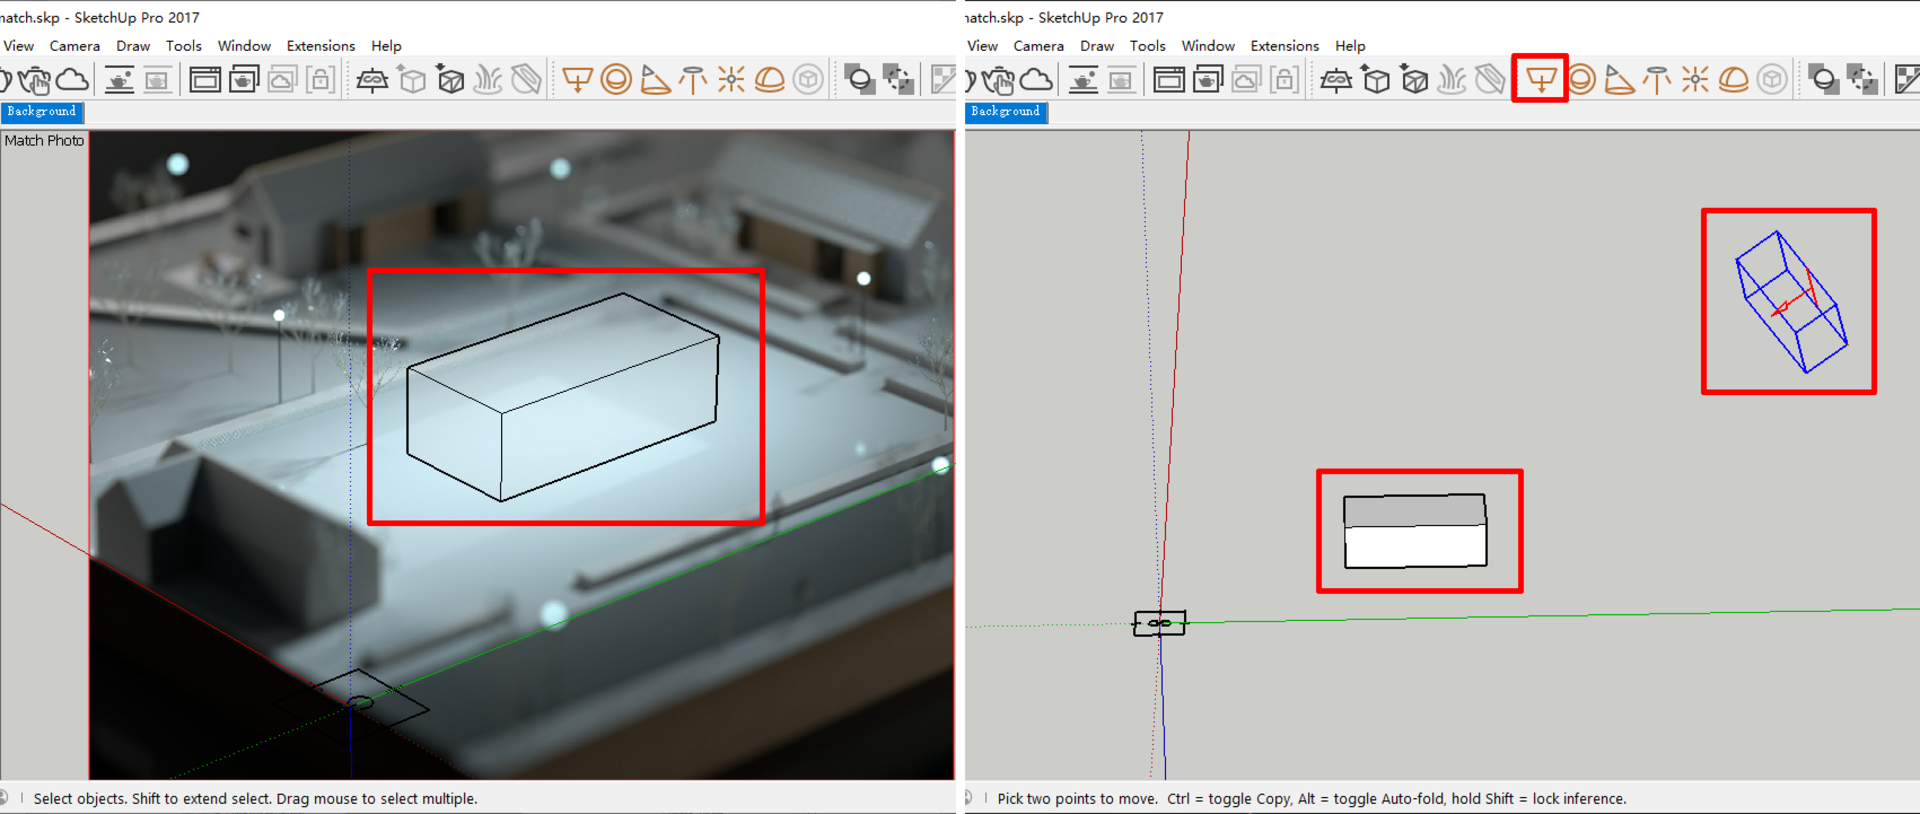
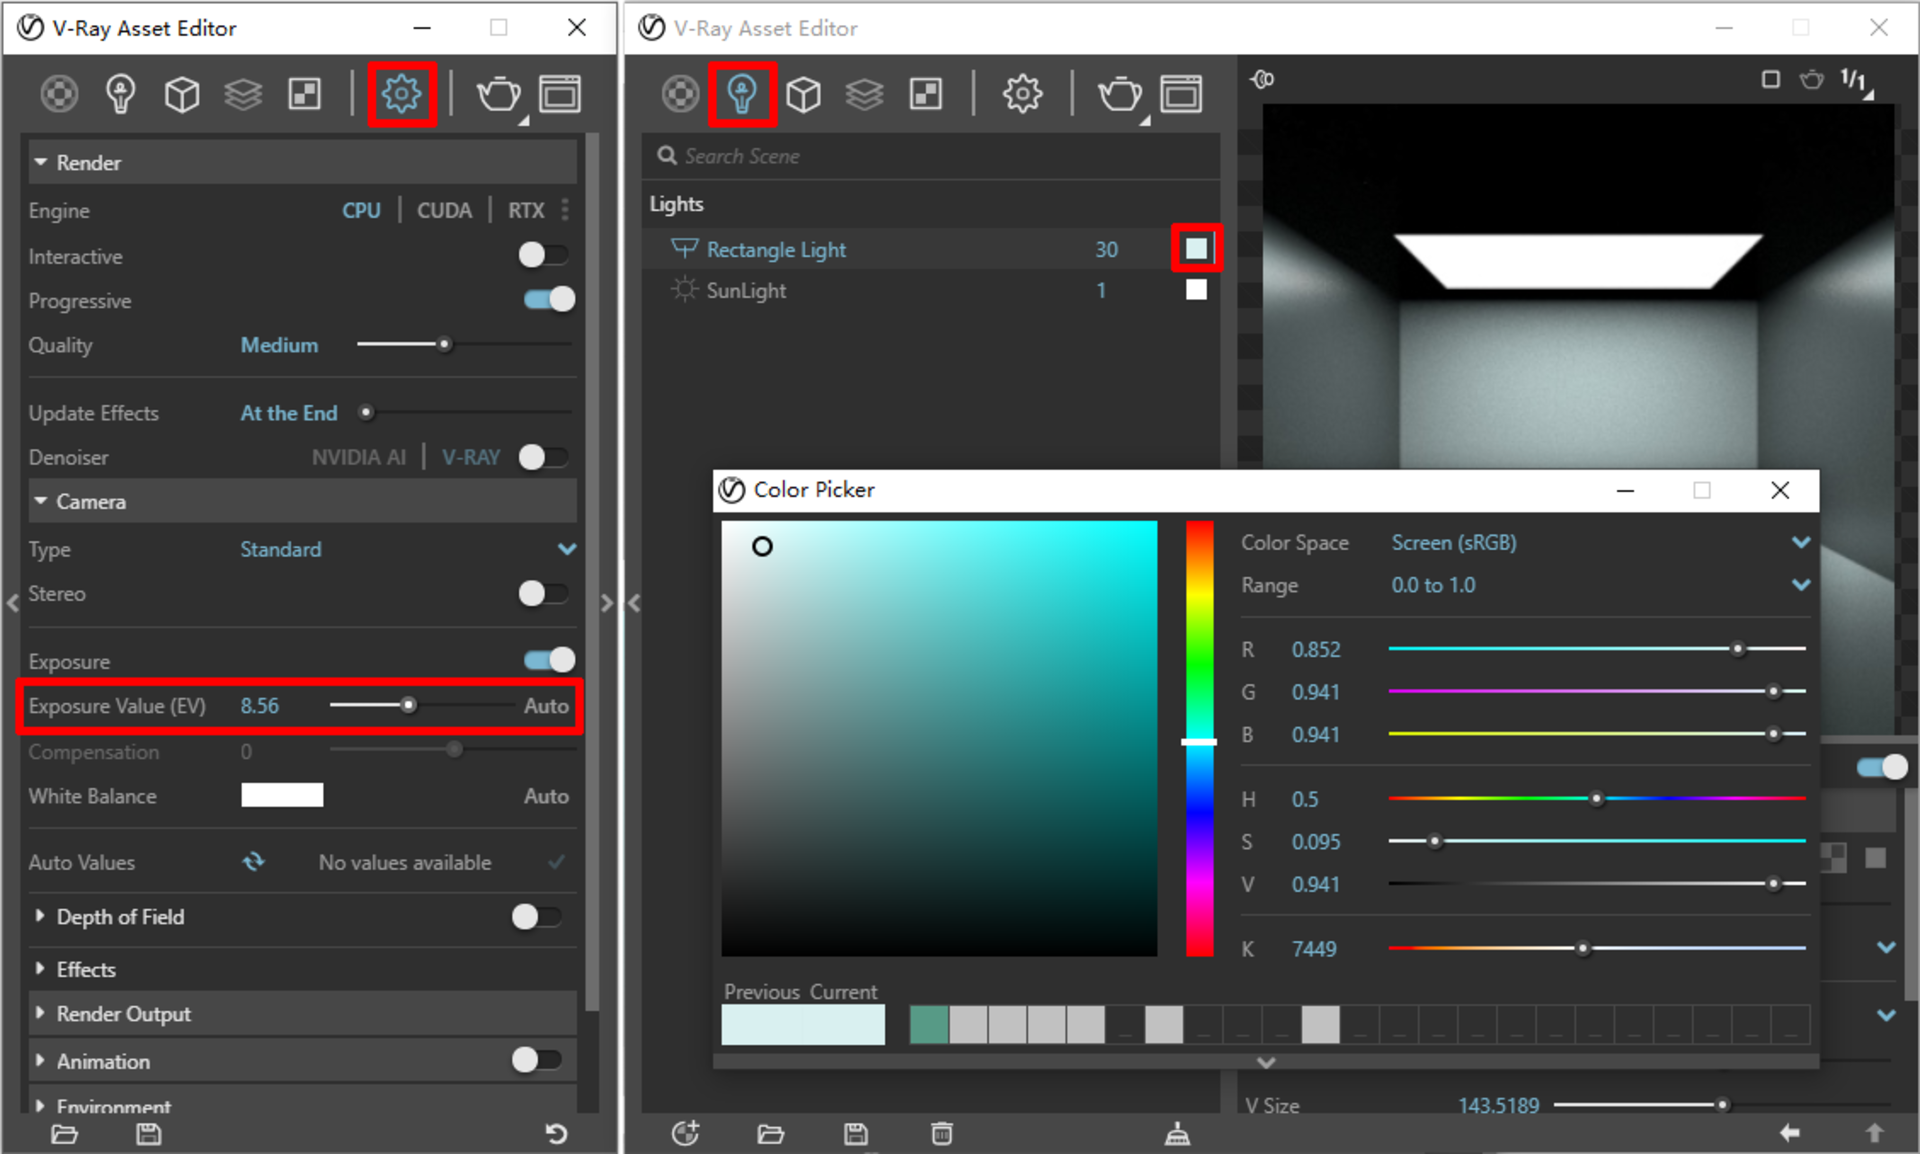
Go back to the render camera and test. Adjust the Camera EV and light color:
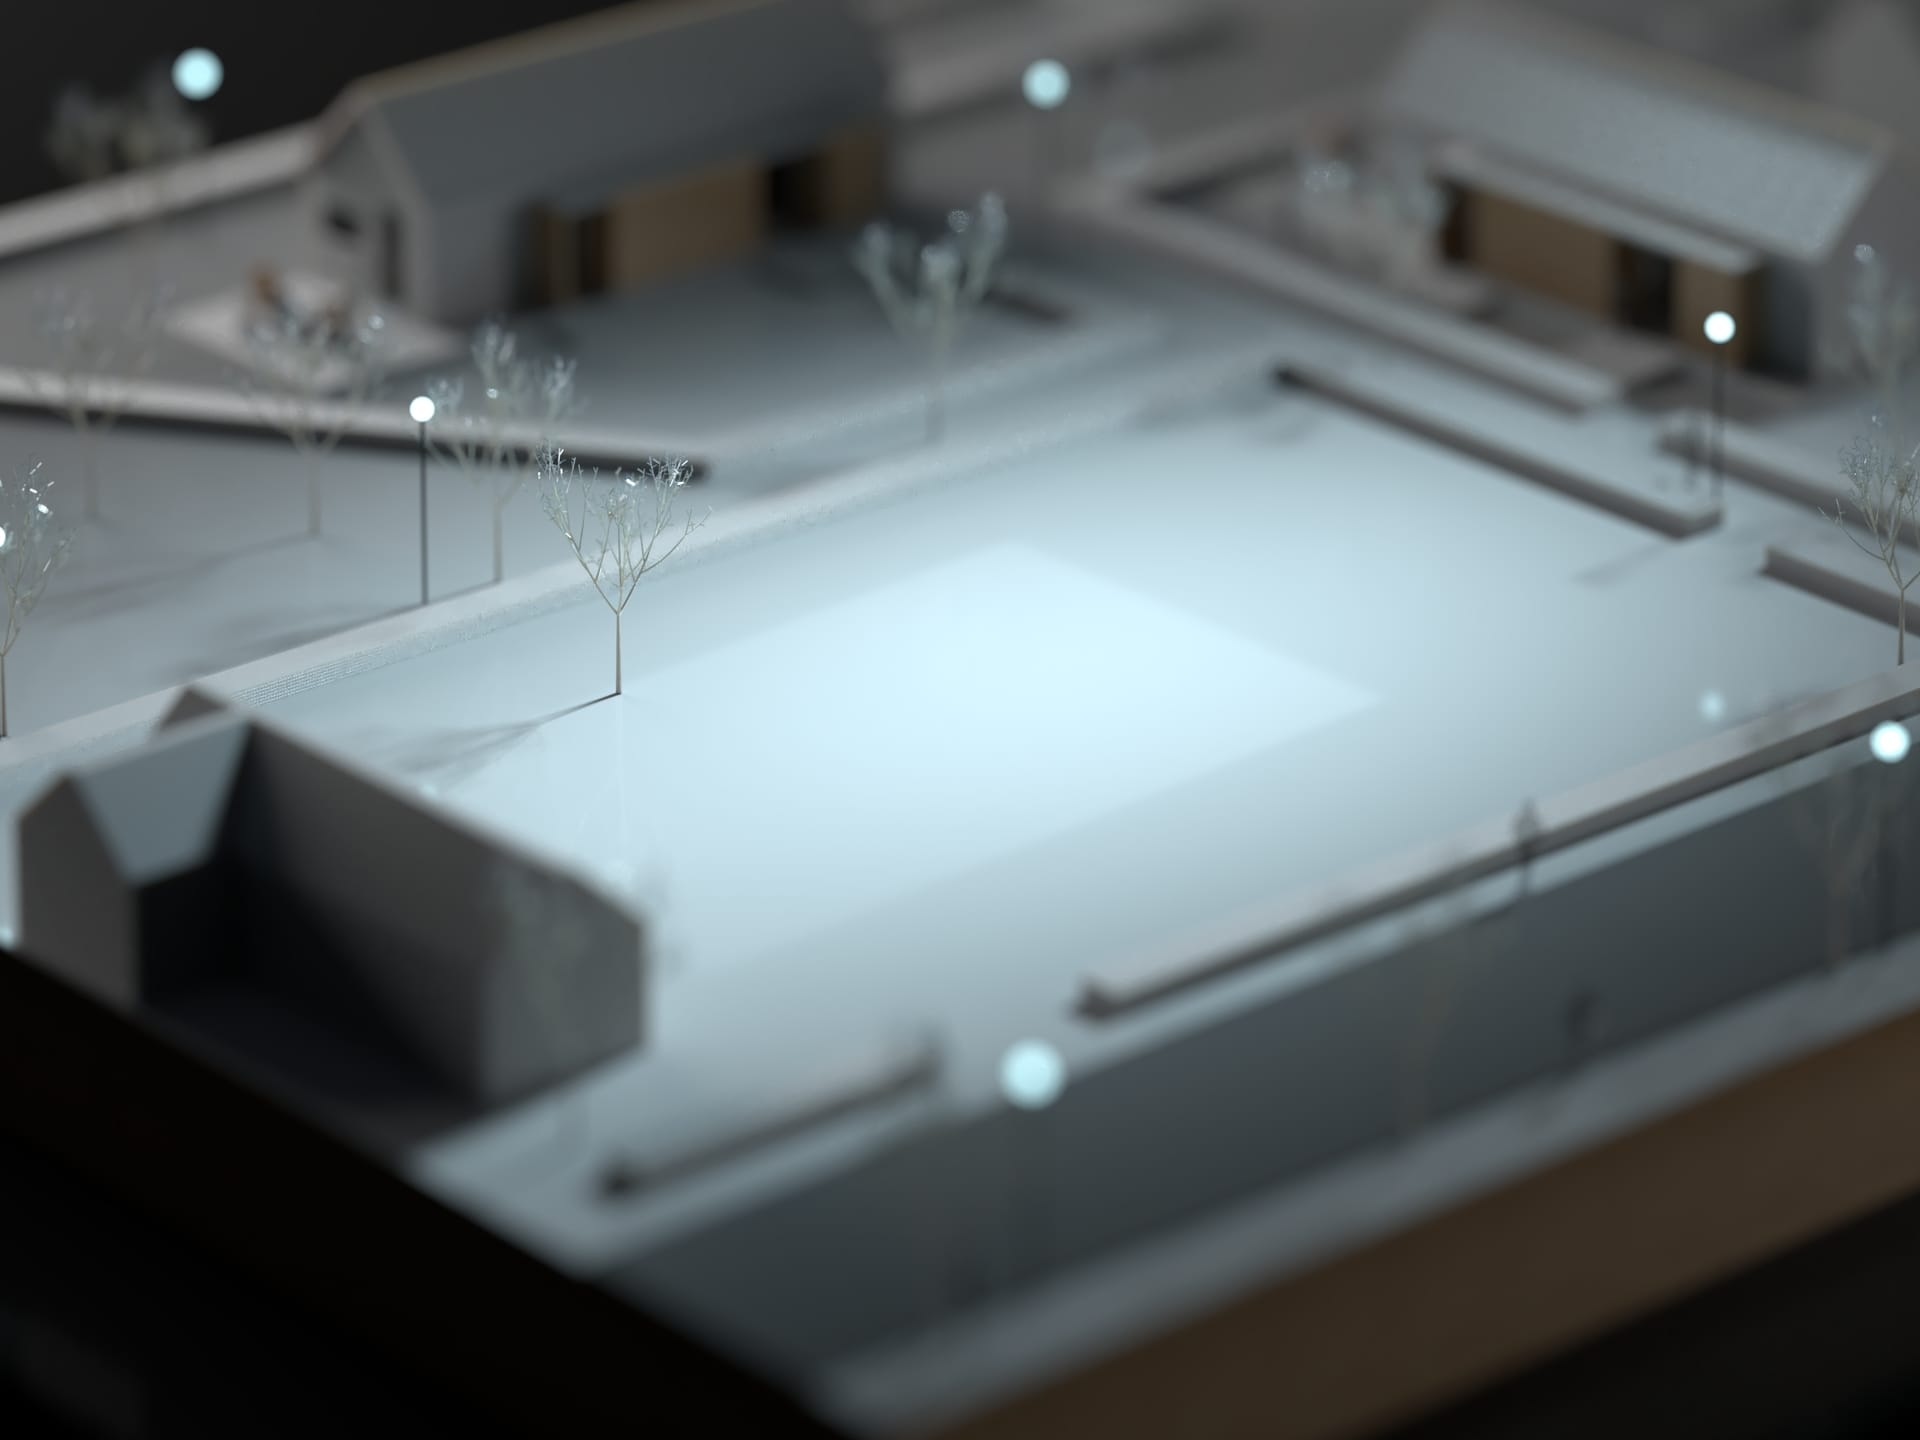
The result should look like the image below:
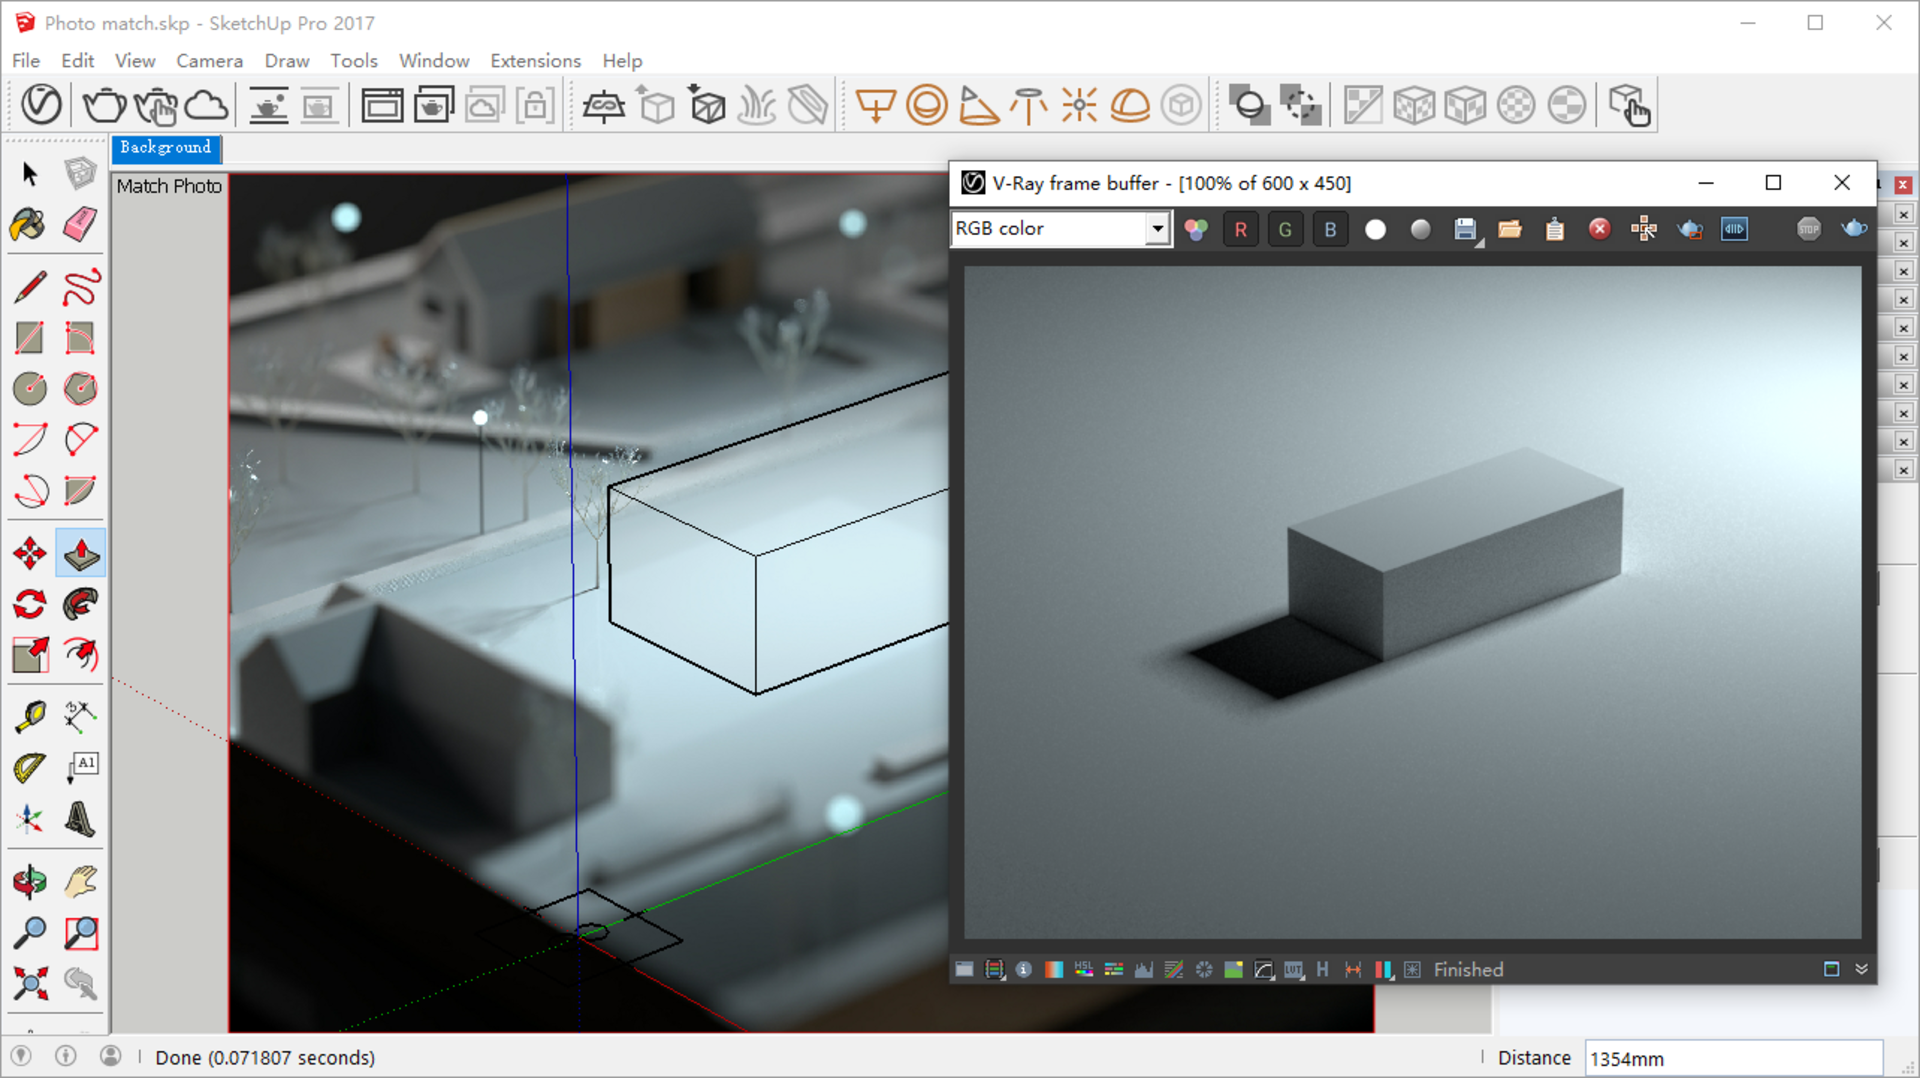
We can fine-tune the V-Ray light in the next step.
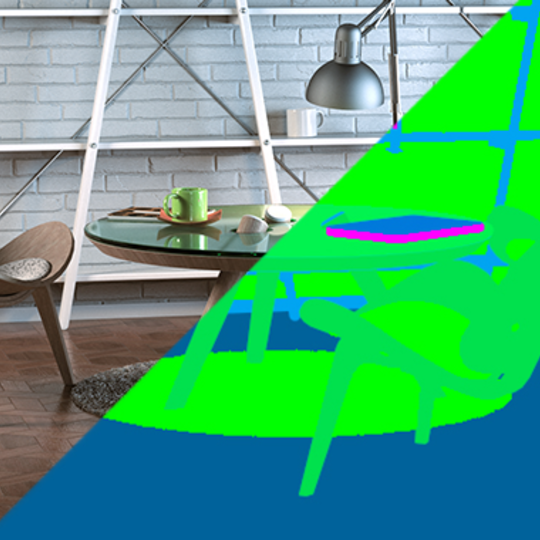
How to use Cryptomatte Render Elements in V-Ray for Sketchup
Follow my other step-by-step tutorial to find out how to use Cryptomatte Render Elements in V-Ray Next for SketchUp, plus how to composite and color-correct your render layers.
3) Shadow catcher
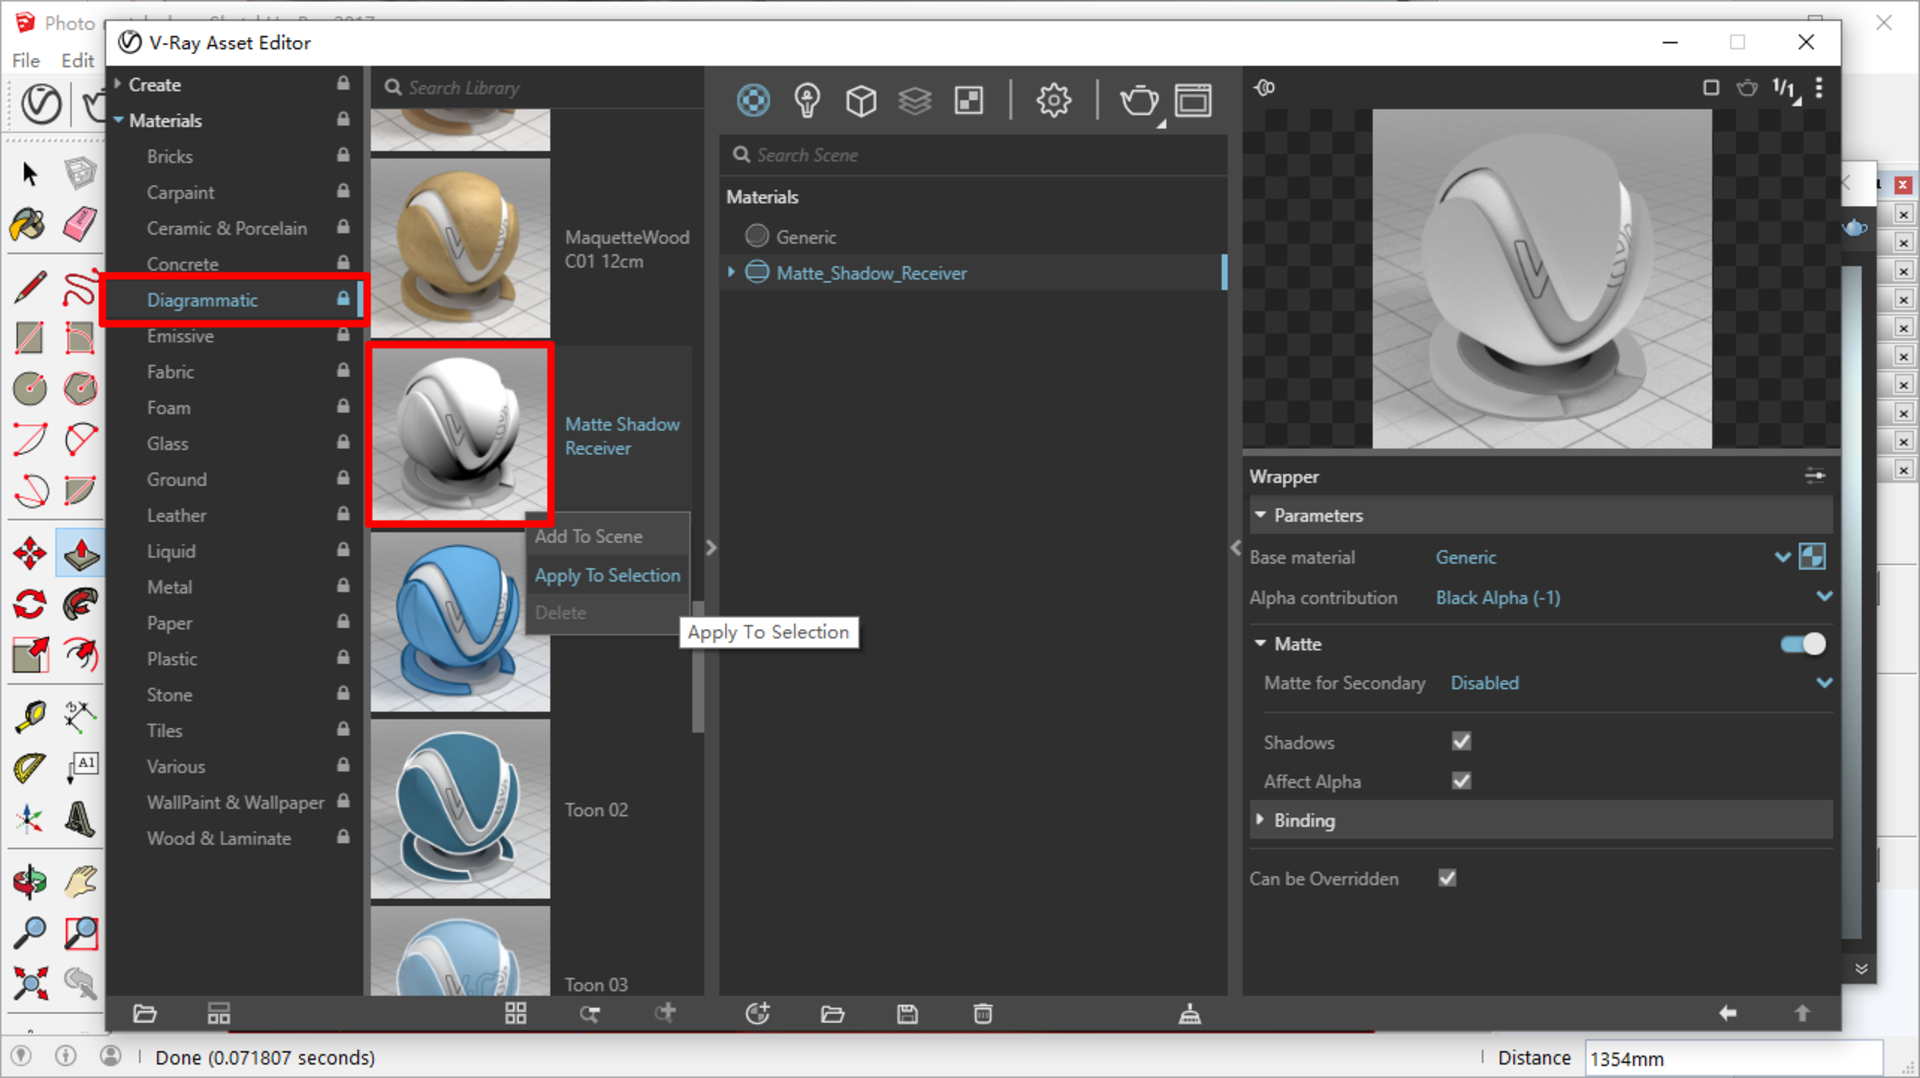
In the Material Library > Diagrammatic, we can find a "Matte Shadow Receiver". Apply this material to the infinite plane.
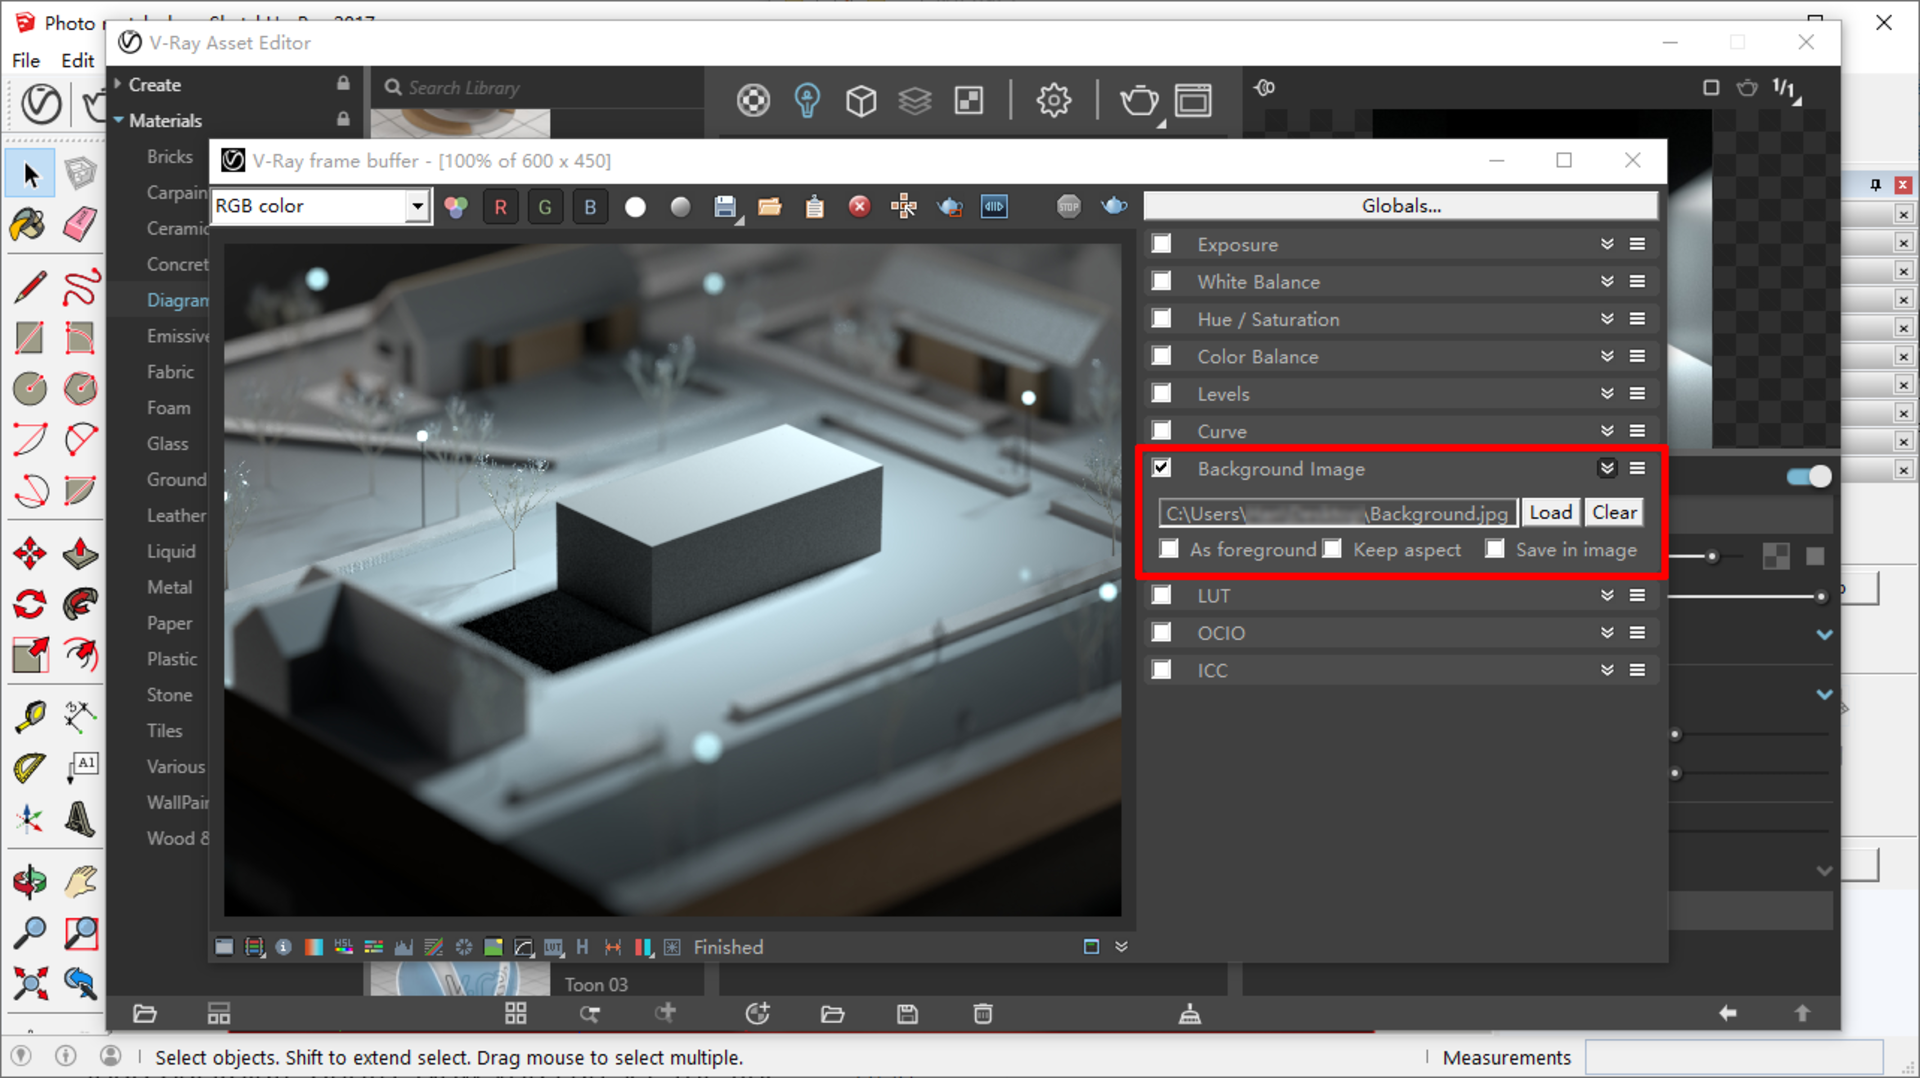
In the V-Ray frame buffer, choose Color correction> Background, check “Background image” and load the backplate photo. Now you can see the final composition and fine-tune the light and exposure values. You can even add more fill lights to match the backplate, depending on your scene:
4) Discover the preset Material library
Now, we can delete the reference block and replace it with our designed model.
If the size does not match the background, click the gear icon and drag the axis to match the photo:
V-Ray Next for SketchUp has a very user-friendly Material Library.
In the Diagrammatic and Plastic categories you can find many material presets that are suitable for physical model renders.
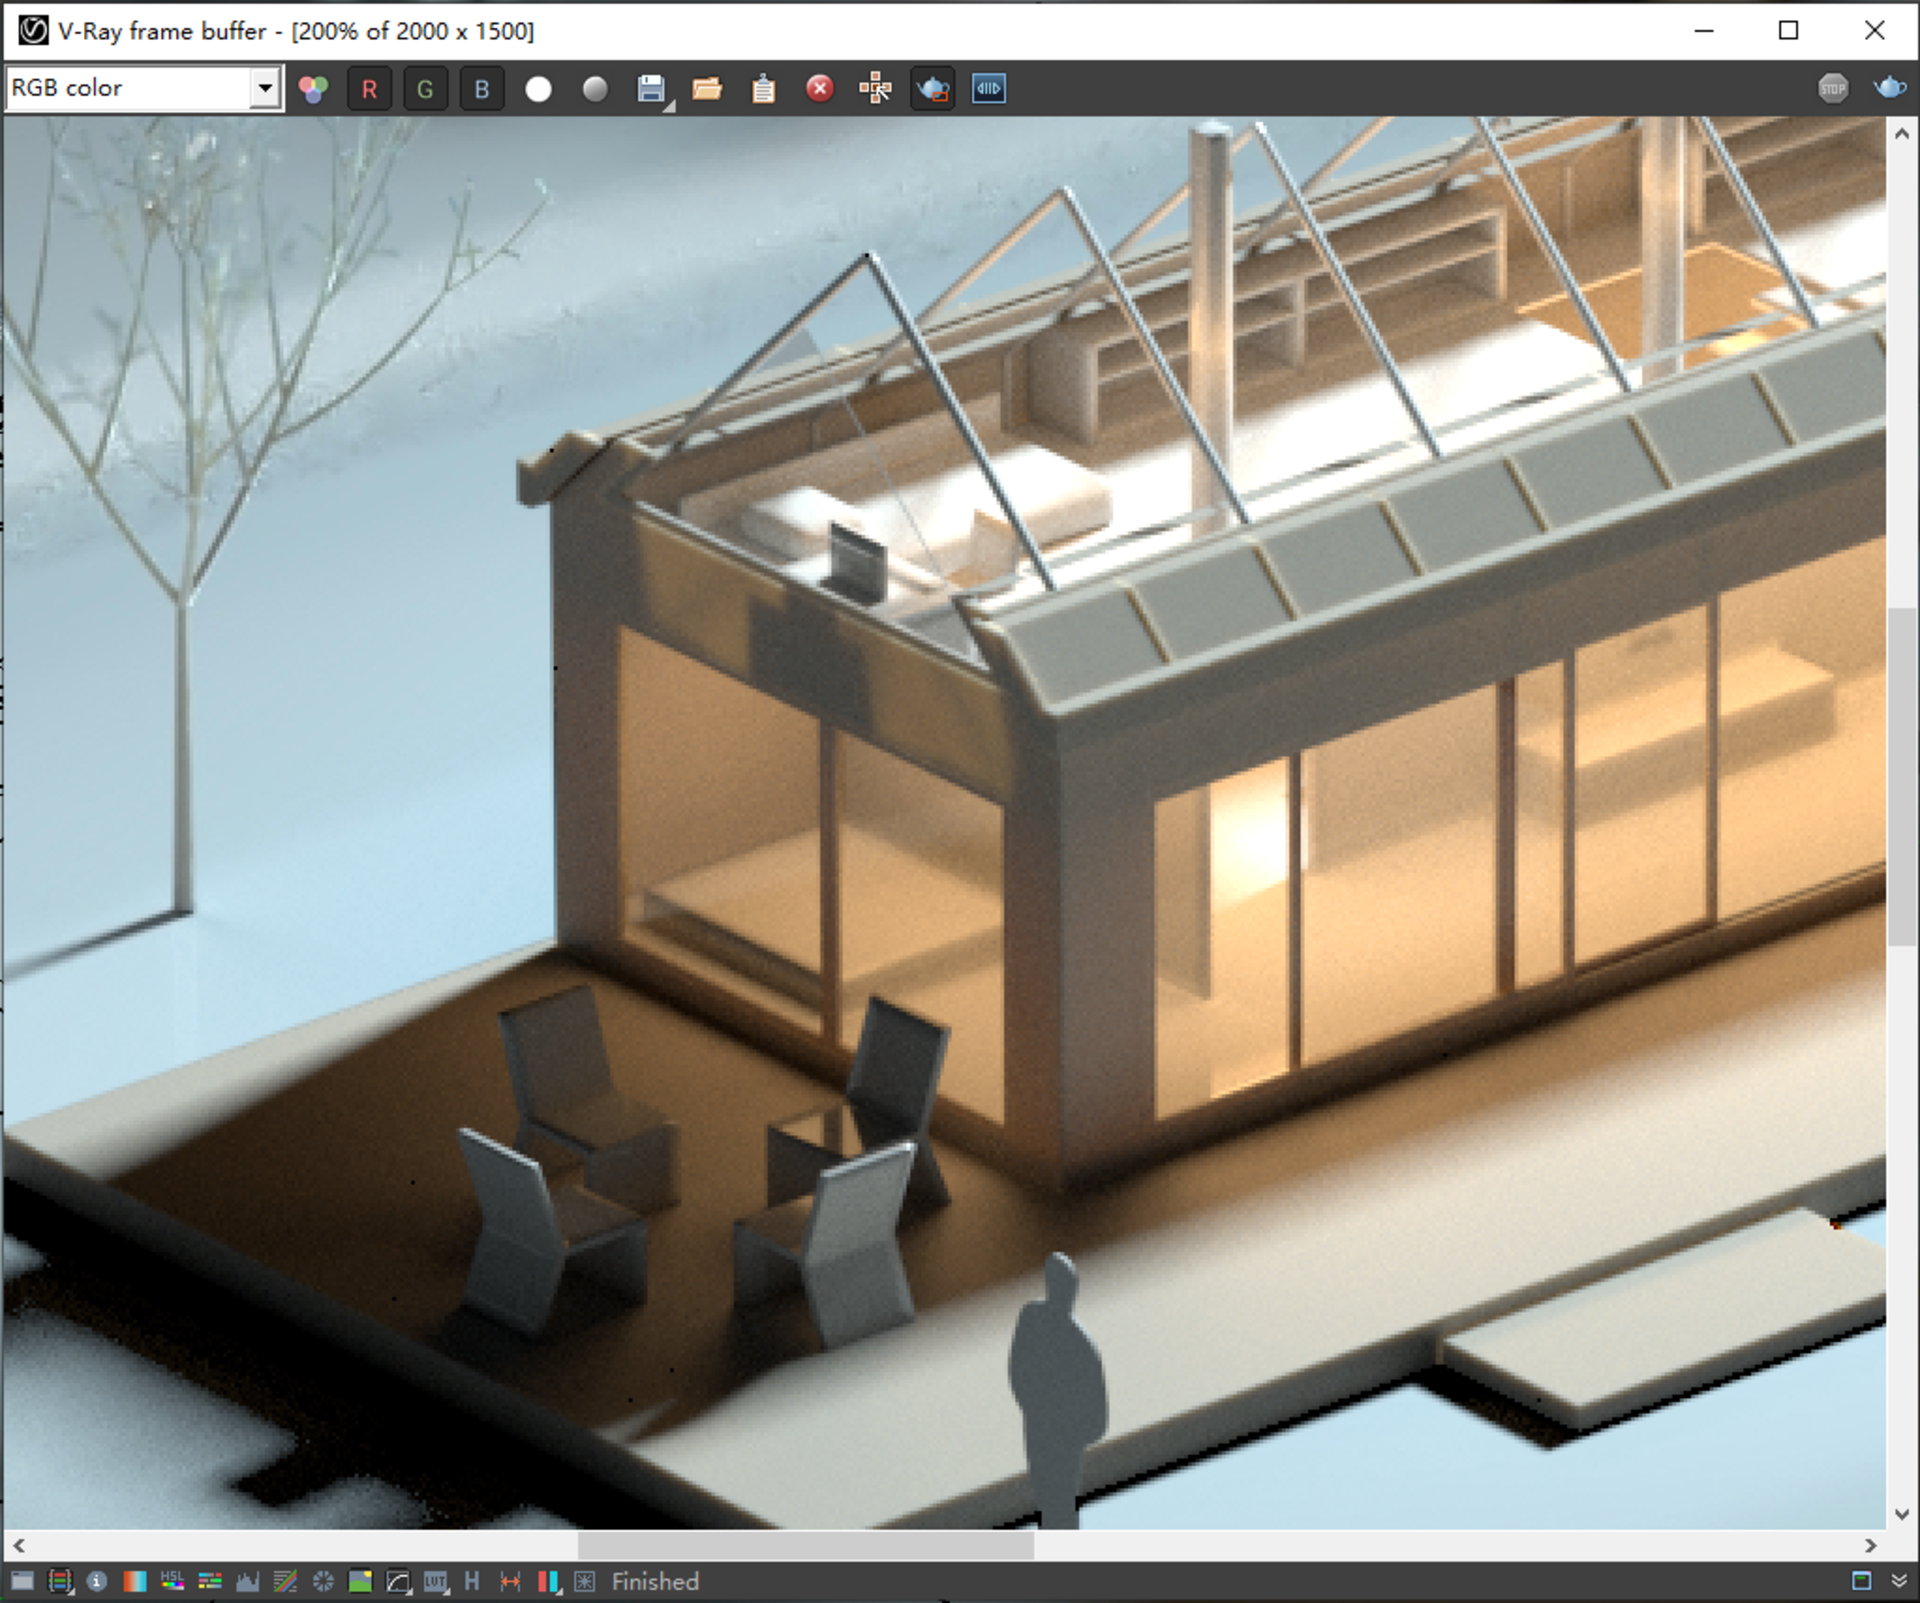
Applying a sub-surface scattering material to the wall and putting a light source behind can achieve particularly good-looking effects:
5) Depth of field and Lens effects
These two effects are critical in conveying the look of a physical model.
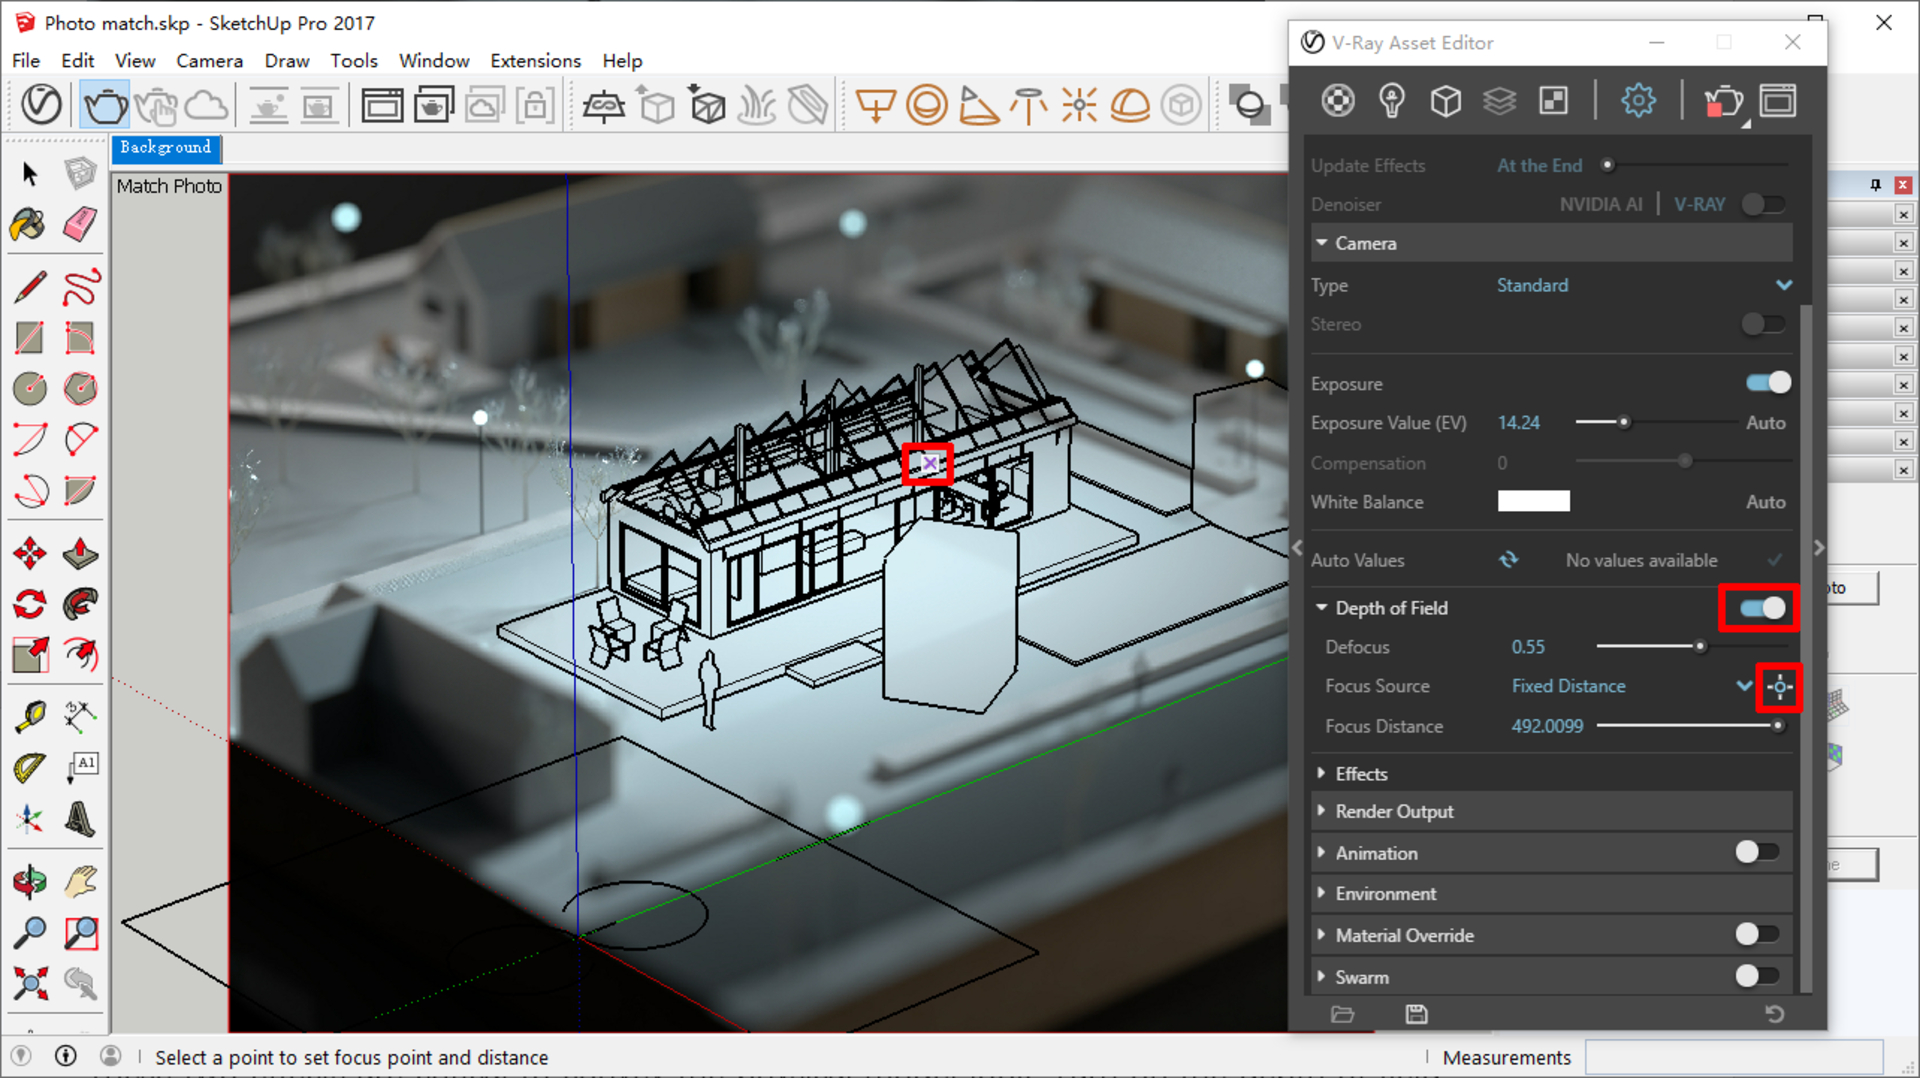
Depth of field gives the correct sense of scale. Turn on the depth of field switch then pick a focal point on the model. Now, set the Defocus amount depending on your scene.
Similarly, Lens Effects will increase the realism of the picture.
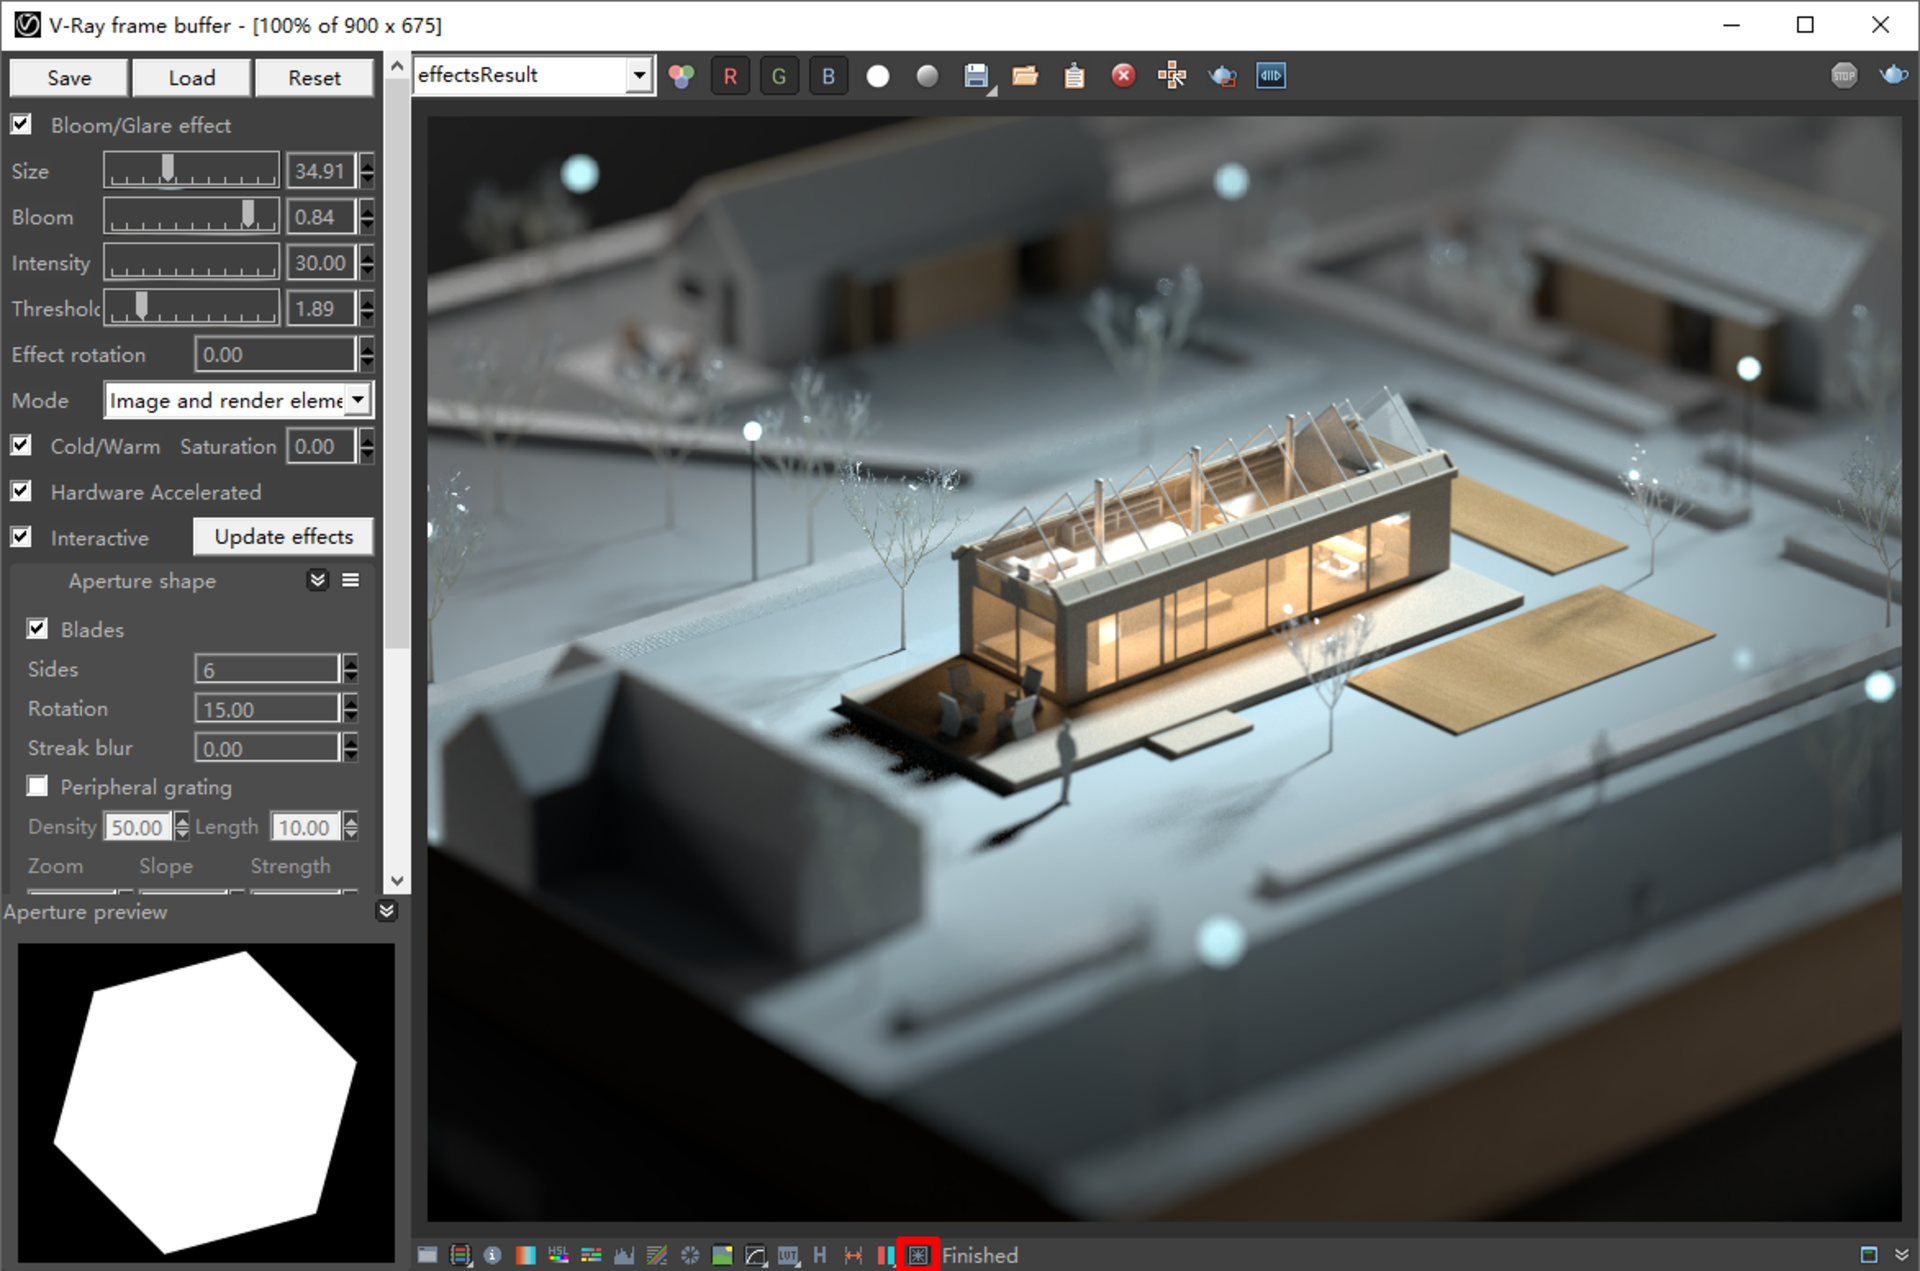
Click the lens effect icon at the bottom of the VFB and enable the Bloom/Glare effect.
I use a threshold to control which pixel can produce the glare effect. In this example, it is the highlight on the tree.
Then I boost up the intensity to make this effect more prominent.
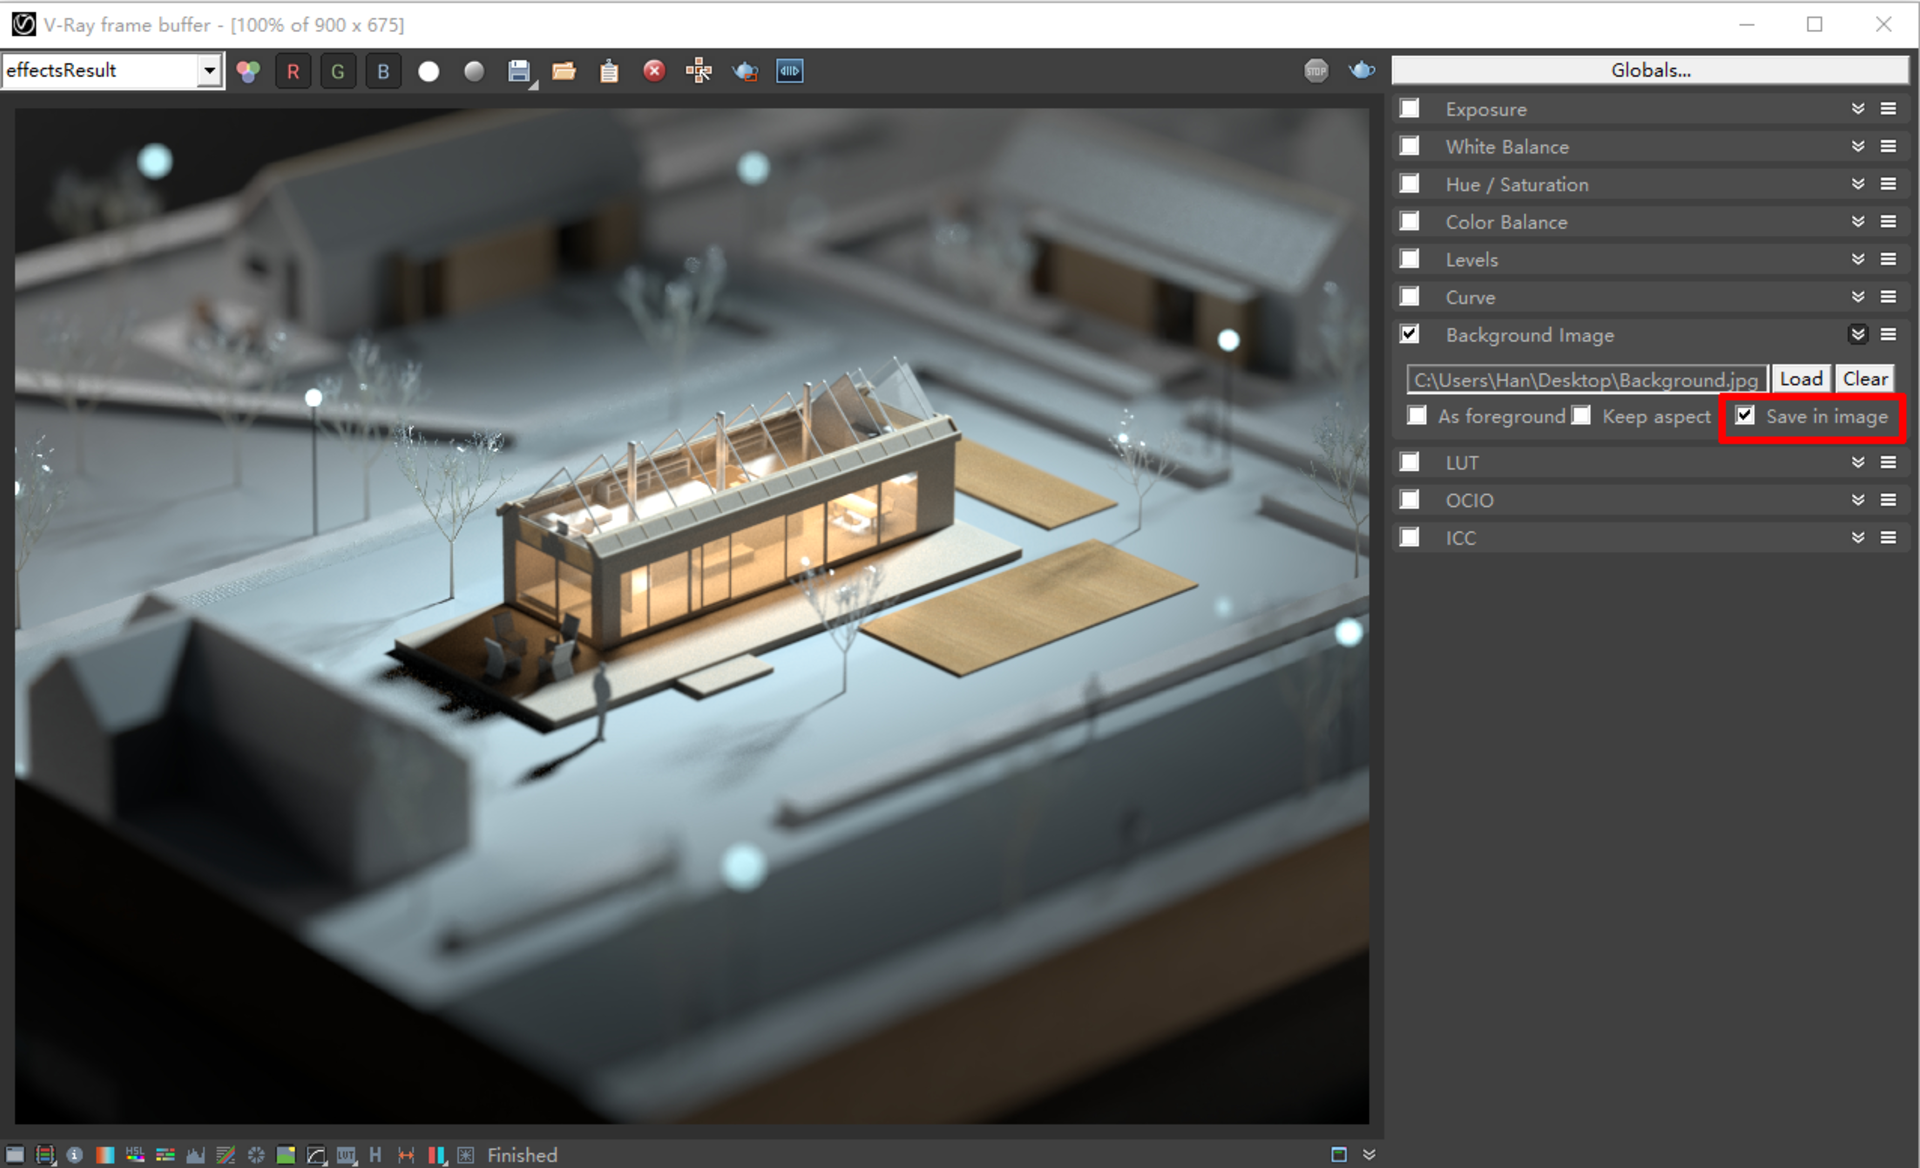
If you are satisfied with the result, do not forget to check the “Save in image” in the Background panel and save the image.
Here is an A/B comparison of the final render with/without the DOF and Lens effect:
