Learn 3 lighting and rendering techniques for arch-viz interiors to create rich and realistic renders using V-Ray for Cinema 4D. Watch the 2 video tutorials now.
V-Ray for Cinema 4D puts powerful rendering in the hands of C4D artists and designers. Packed with all the lighting, shading and rendering tools you need for professional, high-quality visualizations, V-Ray for Cinema 4D is designed to put you in the driver’s seat.
In these first two tutorials of our new quick-start video guide for V-Ray for Cinema 4D, Fabio Palvelli walks you through how to light interiors using V-Ray 3.7 for Cinema 4D. The video tutorials featured below cover both daytime and nighttime lighting techniques and they will arm you with the skills you need to put V-Ray to the test for your best renders yet. You'll learn how to work with some of the basic functions of V-Ray for Cinema 4D and how to adjust the lights and colors to achieve maximum realism in your work.


If you’re a Cinema 4D user and want to follow along with this tutorial, you can download a free 30-day trial of V-Ray for Cinema 4D right now.
Let’s get started!
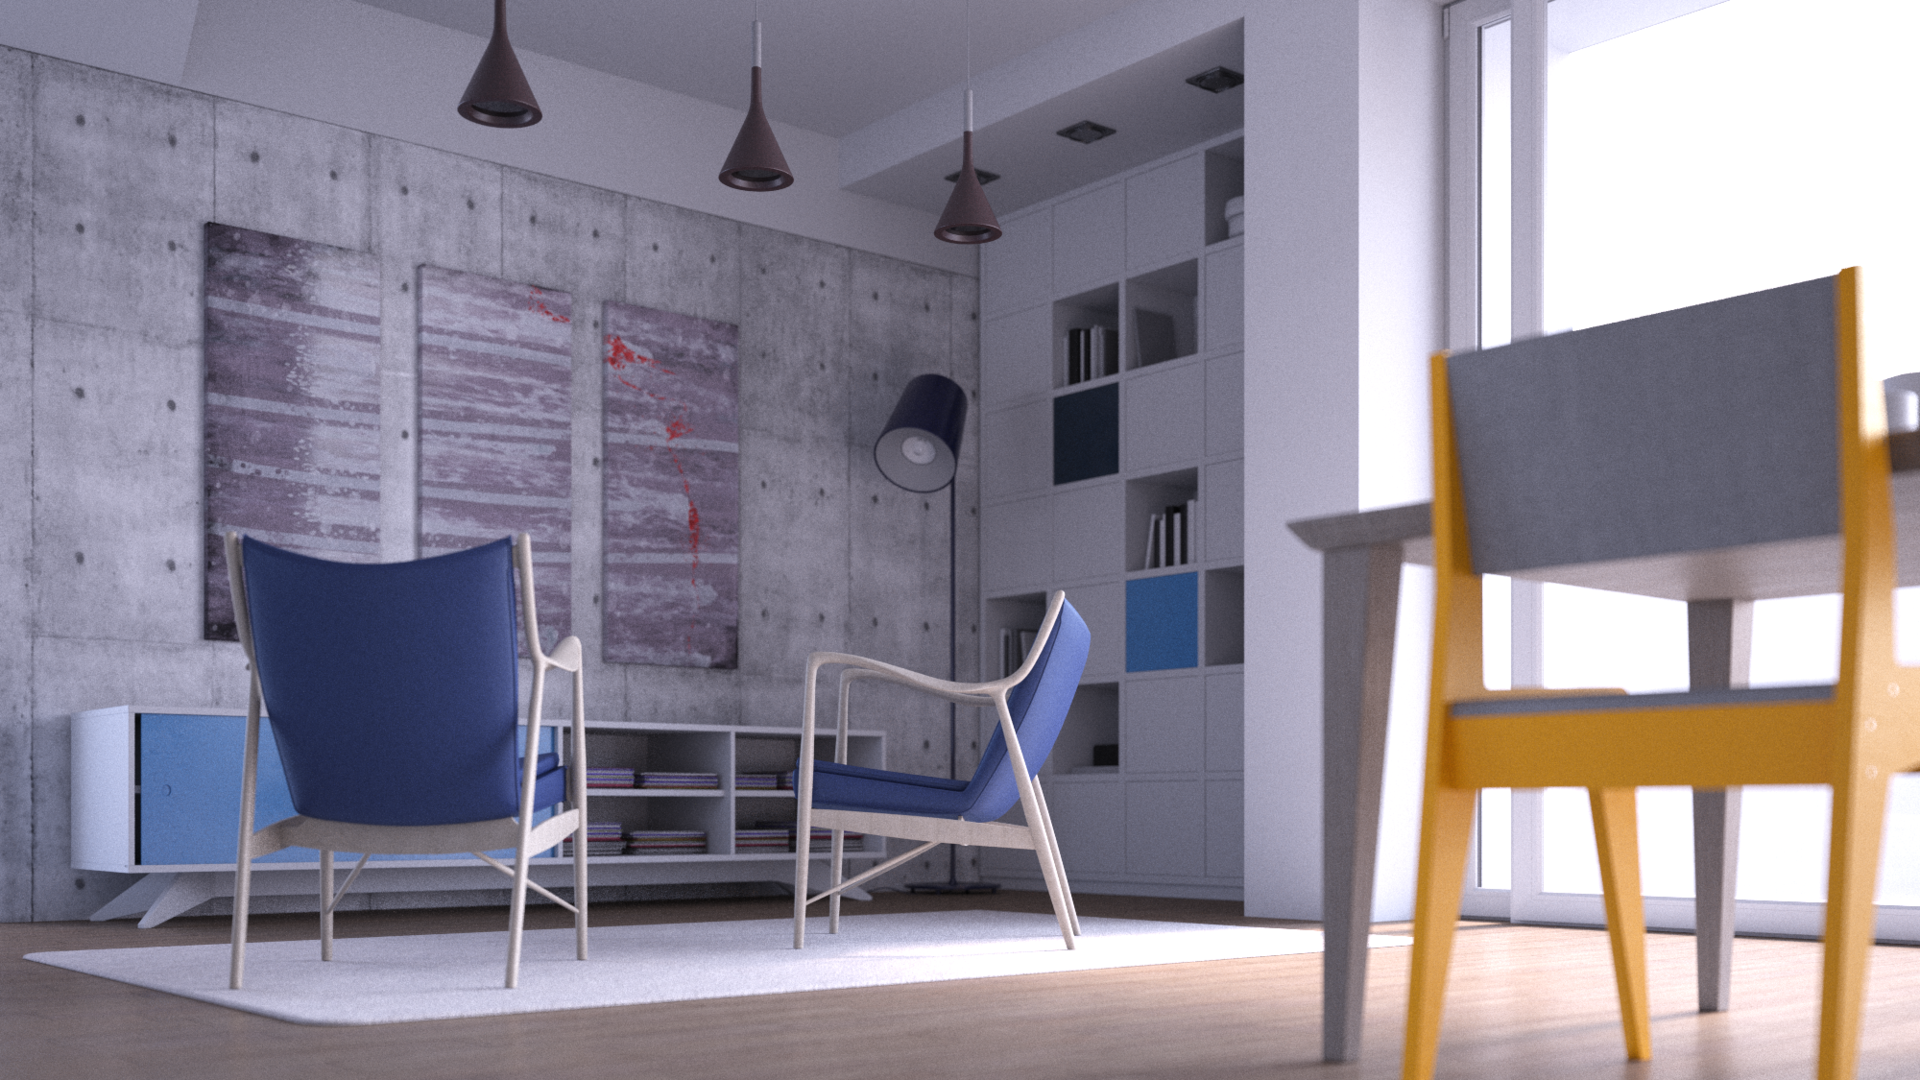
How to light an interior with daytime lighting
The first how-to guide in this new video tutorial series shows you exactly how to set up an interior project for daytime lighting, using either the V-Ray Sun & Sky system or an image-based lighting technique with an HDR image in a Dome light. You’ll see how using an HDRI to light your interior scene can create a much richer and more realistic look.
Be sure to download the scene file featured in the video below to try out all of his tips and tricks on your own.
Part 1: Using the V-Ray Sun & Sky system for daytime interior lighting
In part 1 of video 1 (above), Fabio reveals how to:
- Set up the correct camera view and lock it
- Use the V-Ray Sun to light up the scene (and how the V-Ray Sun & Sky features work together in the system)
- Change the sky color by moving the light
- Optimize and speed up the rendering process using Portal lights
- Place Portal lights correctly in the scene and group them
- Change the camera parameters including ISO, f-stop and shutter speed
- Make a test render using the V-Ray Frame Buffer and review your test renders
- Soften sharp shadows by changing the intensity of the V-Ray Sun
- Adjust your camera for better focus and how to set the DOF
- Change the render settings for higher quality renders
- Use the V-Ray post-production tools to tune the final look of your image
Part 2: Using image-based lighting for daytime interior lighting
In part 2 of video 1 (above, beginning at 4:30), Fabio reveals how to:
- Add a V-Ray Area Dome light and set the Spherical Dome and Use Texture options in the parameters
- Apply a texture (sun.hdr, included in the downloadable scene files with this tutorial) via the Texture slot
- Navigate outside the scene to identify the correct direction of the HDRI lighting and get the best view of your scene
- Display the HDRI using the Dome light texture viewer in the V-Ray Bridge > Workflow tab of V-Ray
- Adjust the exposure and resolution in the Preview texture options to fit your needs
- Turn the Dome light to allow the light to come in through the correct windows
- Make a test render and review the results
- Define the shadows using the Texture tab of the Dome light by adjusting the Gamma value and tweaking the HDRI exposure to compensate
- Adjust the camera values (ISO and shutter speed) to get the best results
- Use the Exposure control to tune the final look
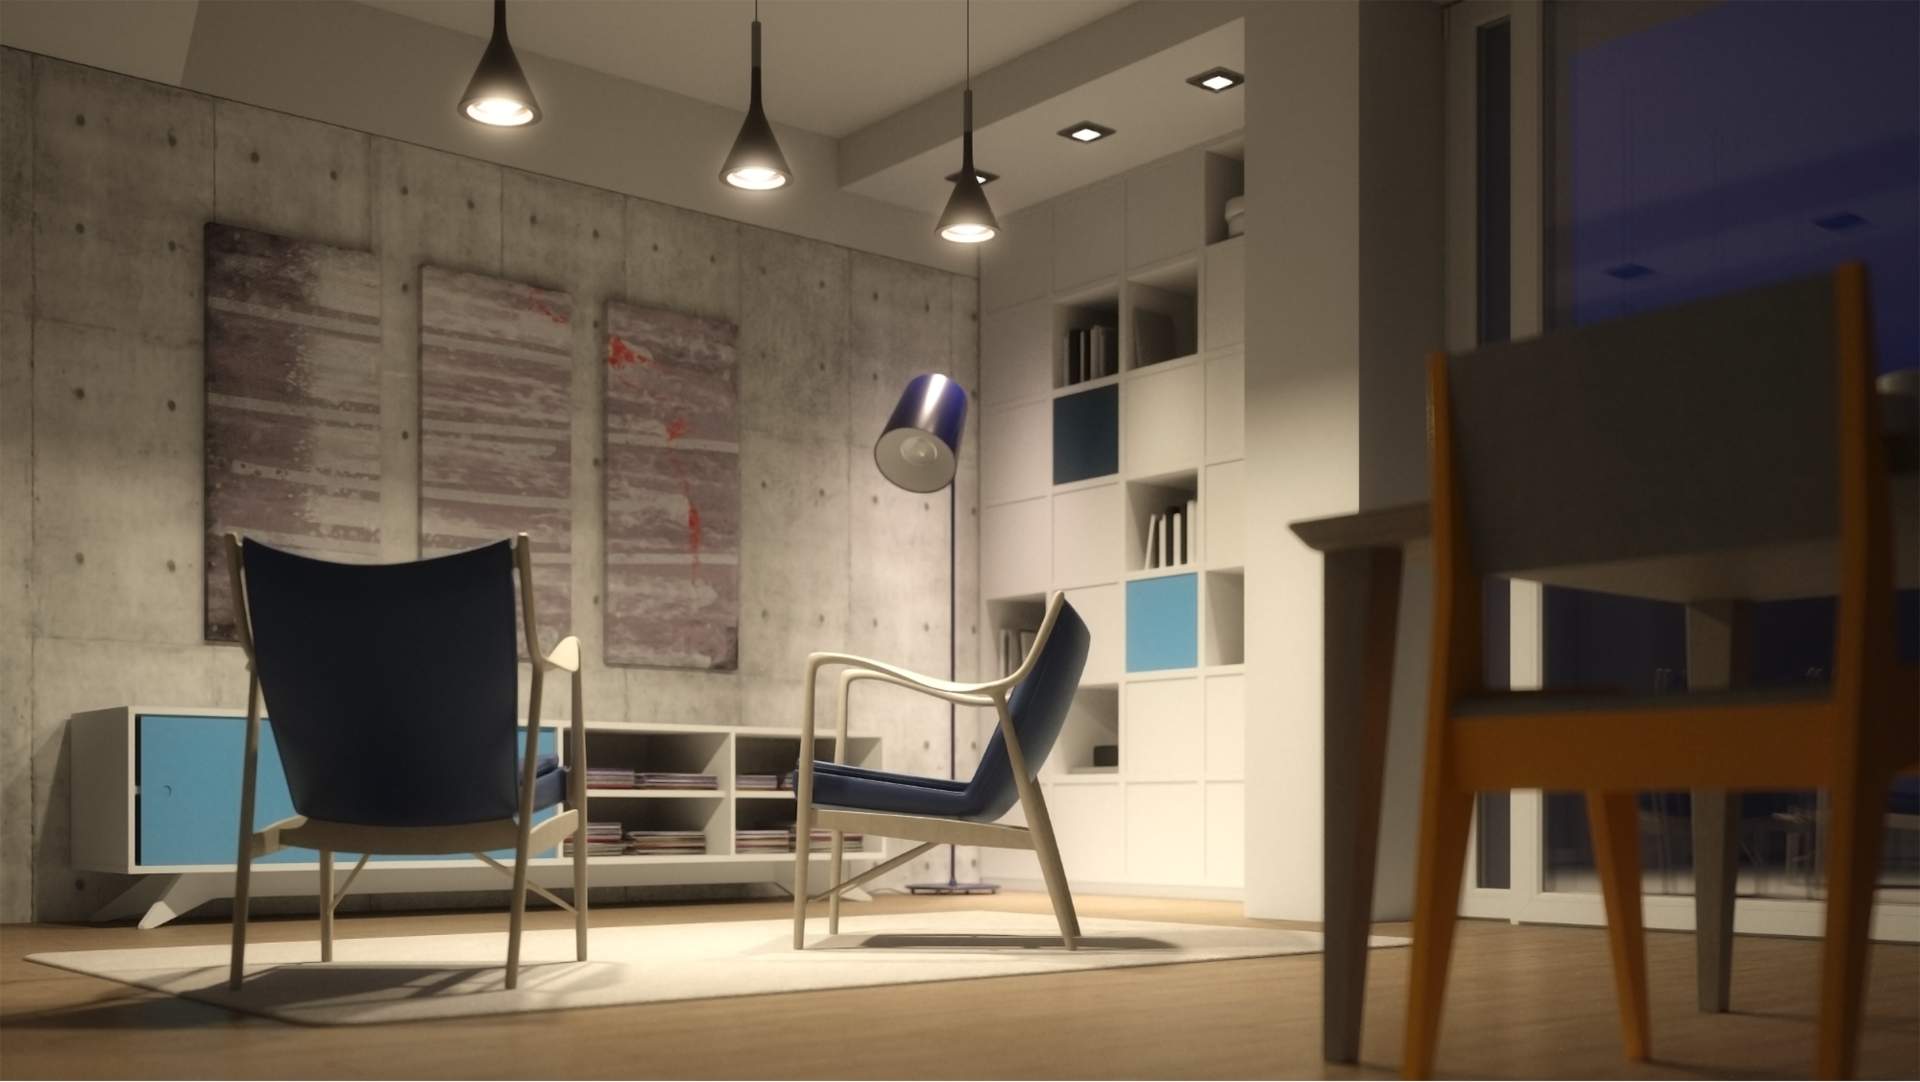
How to light an interior with nighttime lighting
The second video tutorial in this tips-and-tricks series reveals how to set up an interior project for nighttime lighting using a V-Ray Dome light and multiple Spot lights.
Don’t forget to grab the scene file for this tutorial so you can try the techniques for yourself.
Using a V-Ray Dome light and Spot lights for nighttime interior lighting
In video 2 (above), Fabio reveals how to:
- Replace the Light color to mimic a nighttime lighting scenario and test the results
- Add a Rectangular light from the V-Ray dropdown menu and position it inside a pendant light fitting in the scene
- Change the Rectangular light’s parameters including Intensity and Color, and test render the new light
- Copy the light inside the other pendant light fittings, make a group, and adjust the Color variations for a higher level of realism
- Add more lights to the back of the scene for increased variation and test render the results
- Change the Direction value and Colors of the background lights for a more realistic outcome
- Activate the Bloom and Glare options in the Lens Effects parameters and make use of the Hardware Acceleration setting
- Edit the effects quickly and easily by adjusting the Bloom and Glare for your desired results
If you enjoyed these helpful guides of V-Ray for Cinema 4D best practices, be sure to stay tuned for more tips and tricks video tutorials coming soon to the official ChaosGroupTV channel.
Until next time, happy rendering!


