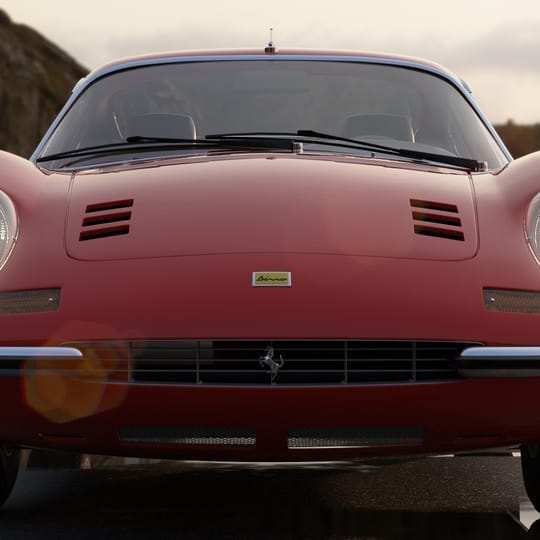
Under the hood of real-time: how to achieve best possible quality when you take your V-Ray scenes into Unreal
It’s been a few months since V-Ray for Unreal was released in Beta. We’re still working on the software and adding new features, but here we’ll show you a few things you can do right now to maximize efficiency and produce high-quality real-time scenes.
The GPU advantage
V-Ray for Unreal is optimized for V-Ray GPU, and takes advantage of Hybrid rendering, which taps the power of both your GPU and CPU. Bear in mind that V-Ray GPU uses a different render engine to V-Ray, which renders solely on the CPU. Therefore, some features in V-Ray are not available in V-Ray GPU.
If you know that you will need to move your V-Ray projects to real-time and VR at some point, it is a good idea to start working with V-Ray GPU as a default engine.
This way your projects will maintain visual consistency when you use V-Ray for Unreal to transition to real-time for interactive previews and VR walk-throughs. And when you want to produce a ray-traced image from inside the Unreal Editor, V-Ray for Unreal will use V-Ray GPU for the rendering.
Still not sure about V-Ray GPU? The incredible features we’ve recently added, and the way it works with V-Ray for Unreal, make now the perfect time to try it out.
You need UVs
It might not be your favorite thing to do, but setting up your UV maps properly is an important step for workflows that involve light baking for real time. The good news is that you can use automatic unwrapping tools, and if you’re a 3ds Max user we’re also offering a free script to help you with this step.
The not so good news is that you should design your scenes, and especially furniture and decor, carefully and not cut corners — literally. In realtime and VR the viewer can walk around your scene and see objects from various angles, not just the one you choose for rendering still images. For example, you can easily find yourself looking at the side of a window frame, or the underside of a table.
It’s also important to generate and check Lightmap UVs. In ray tracing, we don’t worry about Lightmaps, because all the lighting information is calculated on the fly at render time. But before we create baked lighting for real-time previews and VR experiences, we need to generate Lightmap UVs.
If you are starting with real-time and this concept is new to you, here is a quick explanation: Lightmap UVs are similar to Material UVs in function, but they’re used for lighting information instead of material information. Thanks to Lightmap UVs, a scene that uses static global illumination will render in real time.
Here are some practical steps you can follow when checking both material and light UV maps to make sure that your scene will translate to real-time properly.
- Create clean, non-overlapping unique UVs
- UVs should fit in the 0 - 1 UV range
- Make sure your UVs are non-overlapping and also have enough padding (at least 0.01) between themselves and the edges of the texture border
- If you need to use more than one UV channel, set your Lightmap UVs as the last one.
- Bad seams will result in harsh lines and dark shadows that are not visible when ray tracing — there are UV tools to help fix them
Lightbulb moments: the Unreal Engine tweaks you need to know
So far we’ve applied all necessary optimizations to ensure visual parity between the ray-traced projects and their real-time equivalents, while still working on them with V-Ray for 3ds Max and SketchUp.
Let’s look at what you can do to maintain consistency when you transfer your work to Unreal Engine with V-Ray for Unreal. First, make sure you disable Unreal Engine’s post-process components to leave only Postprocess Material. We also recommend you disable Ambient Occlusion from the Lighting component menu.
Now that you’ve taken care of possible ray-trace to real-time consistency issues, you can focus on achieving the best possible quality for your projects as you present them in real-time and VR.
It’s a good idea to check your scene before you transfer it to Unreal Engine. Focus on optimizing your geometry. Check and fix any overlapping faces, flipped normals and T-vertices, as such problems may produce undesired visual artifacts in real-time. Then, you can optimize the quality of the performance of your real-time project.
To achieve a truly immersive experience you need to keep your frame rate high, and one of the best ways to achieve this is to minimize the polycount of your scene. Check for objects with unnecessary high polycount: the usual suspects are flat objects like rugs or tabletops.
Moving materials to Unreal
To ensure V-Ray materials and textures are optimized and easy to edit in Unreal, some estimation takes place on import, and materials in the vrscene are simplified to a single VRayMtl in Unreal. Due to this process, the appearance of materials can change.
V-Ray for Unreal will still import the original complex material as metadata. This can be used when you render with V-Ray from within Unreal Engine, and will preserve the materials you authored in 3ds Max or SketchUp. This way you get fast interactivity and high frame rate in Unreal, and the photorealistic quality you’d expect in the ray-traced rendering from V-Ray.
Next, let’s move to Unreal Engine and explore your scene in real-time. The only thing left is to bake your lighting. At this point, we’ve made sure that your Lightmaps are clean, but it is always a good idea to preview your lighting before baking it. Light baking can take some time, so if there are things that you’ve missed as optimization steps, previewing your lighting will help you spot any issues, and go back and fix them.
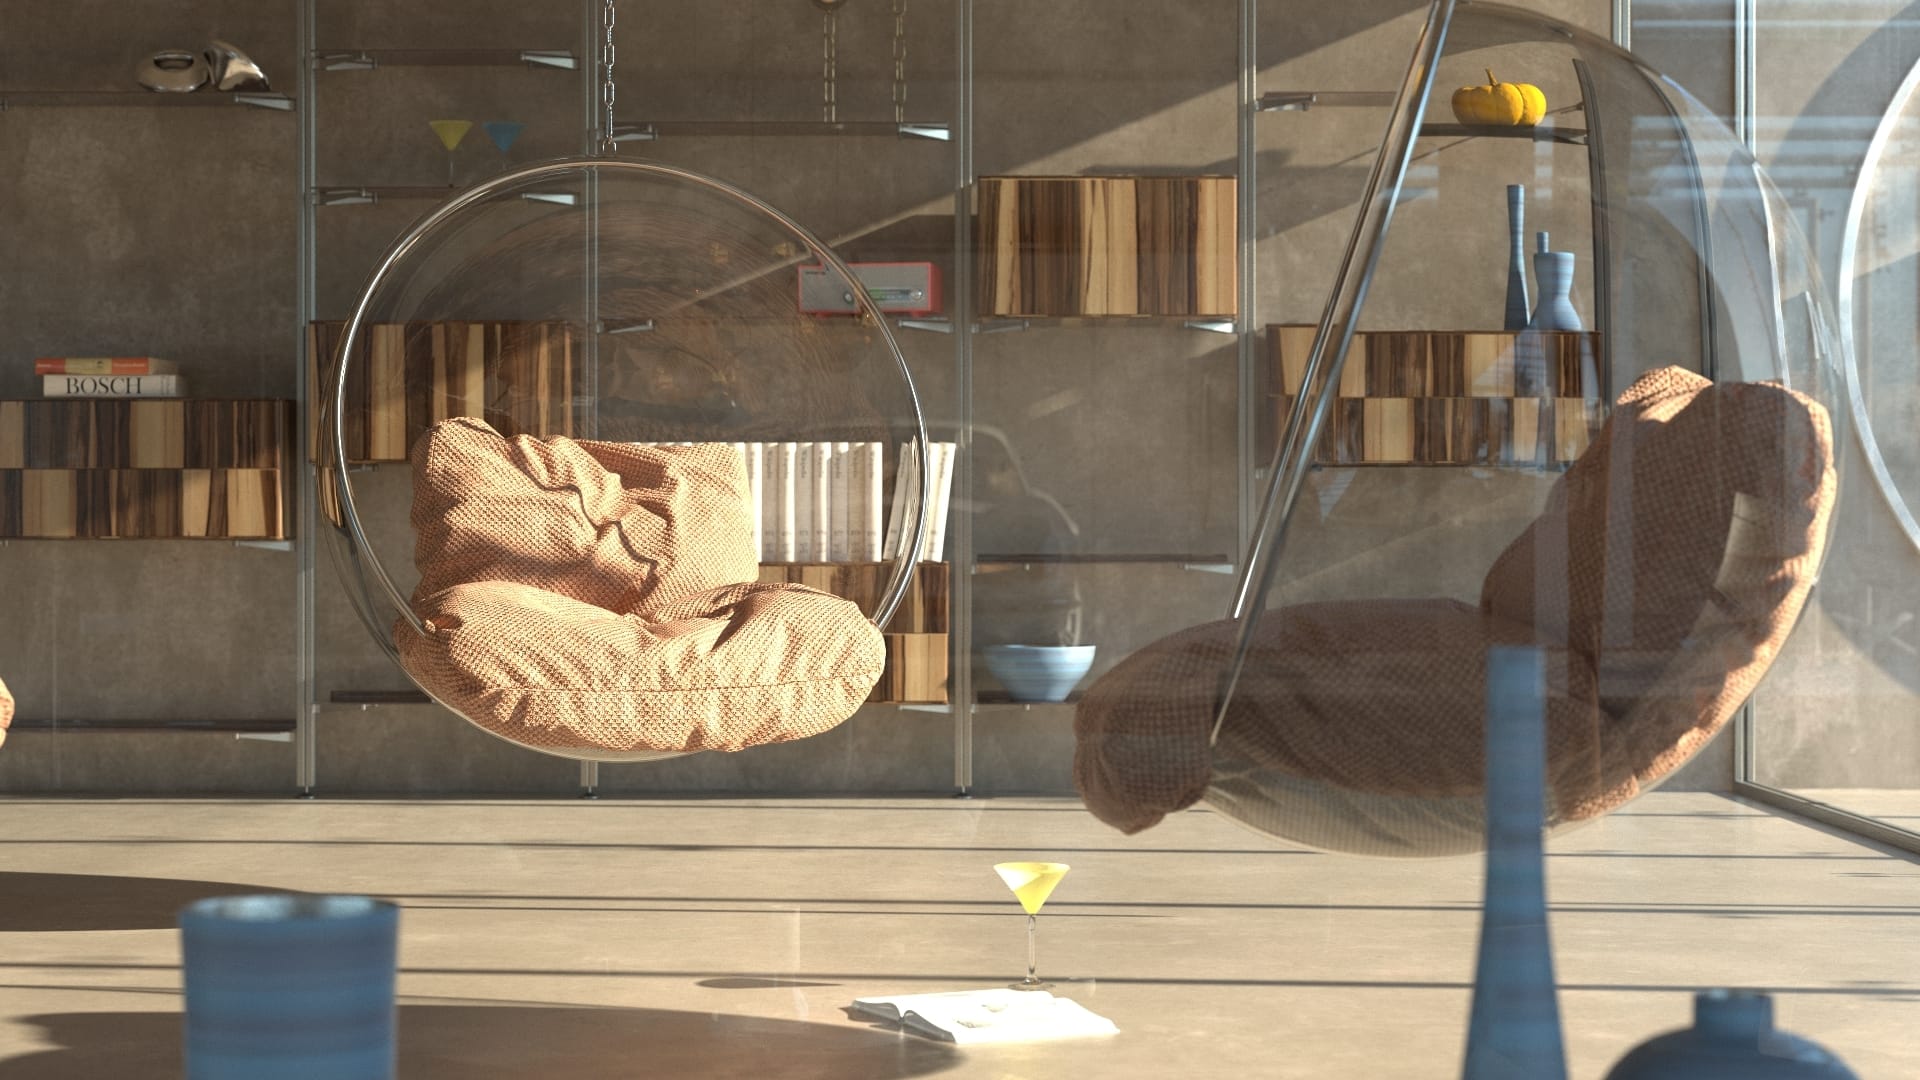
Take a seat for the great Unreal bake-off
If everything looks good, let’s bake! Currently, you need to use Unreal Engine’s own Lightmass tool to do this, but V-Ray for Unreal will soon offer an alternative that will help you achieve better results.
You should now have a great-looking real-time project. But what if, despite all the optimizations we’ve applied, you still need that photoreal quality? Here comes V-Ray GPU. Choose a camera position, click render and let V-Ray do its magic.
Finally, as soon as your render gets past the earlier passes, you can fine tune it right from V-Ray’s frame buffer while the render continues to a cleaner and cleaner result. You can, for example, tune down the Highlight Burn in the Exposure tab. You can also adjust the White Balance to turn down the warmth of the image.
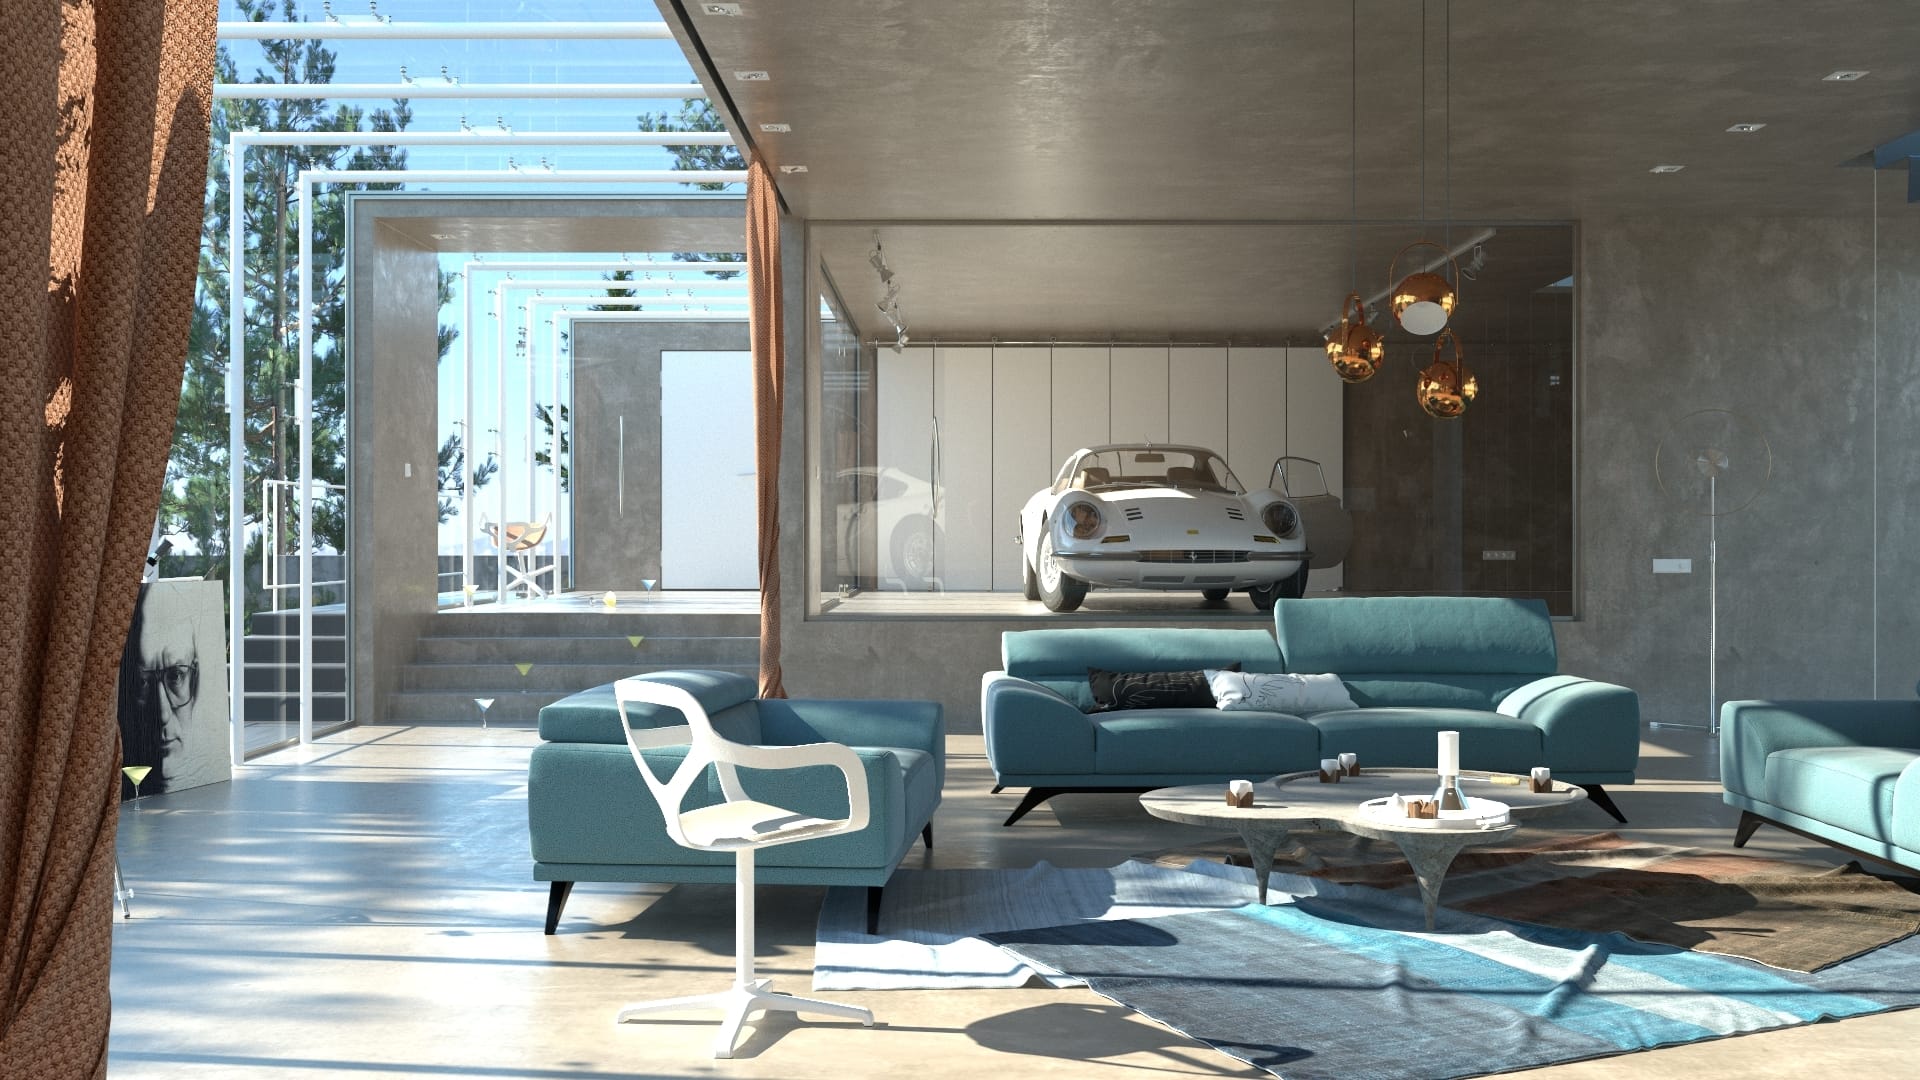
Here are some examples of projects created with V-Ray for 3ds Max and then transferred and rendered with V-Ray for Unreal.
Feeling inspired? Download your free copy of V-Ray for Unreal and start creating. We’d love to hear your feedback!

