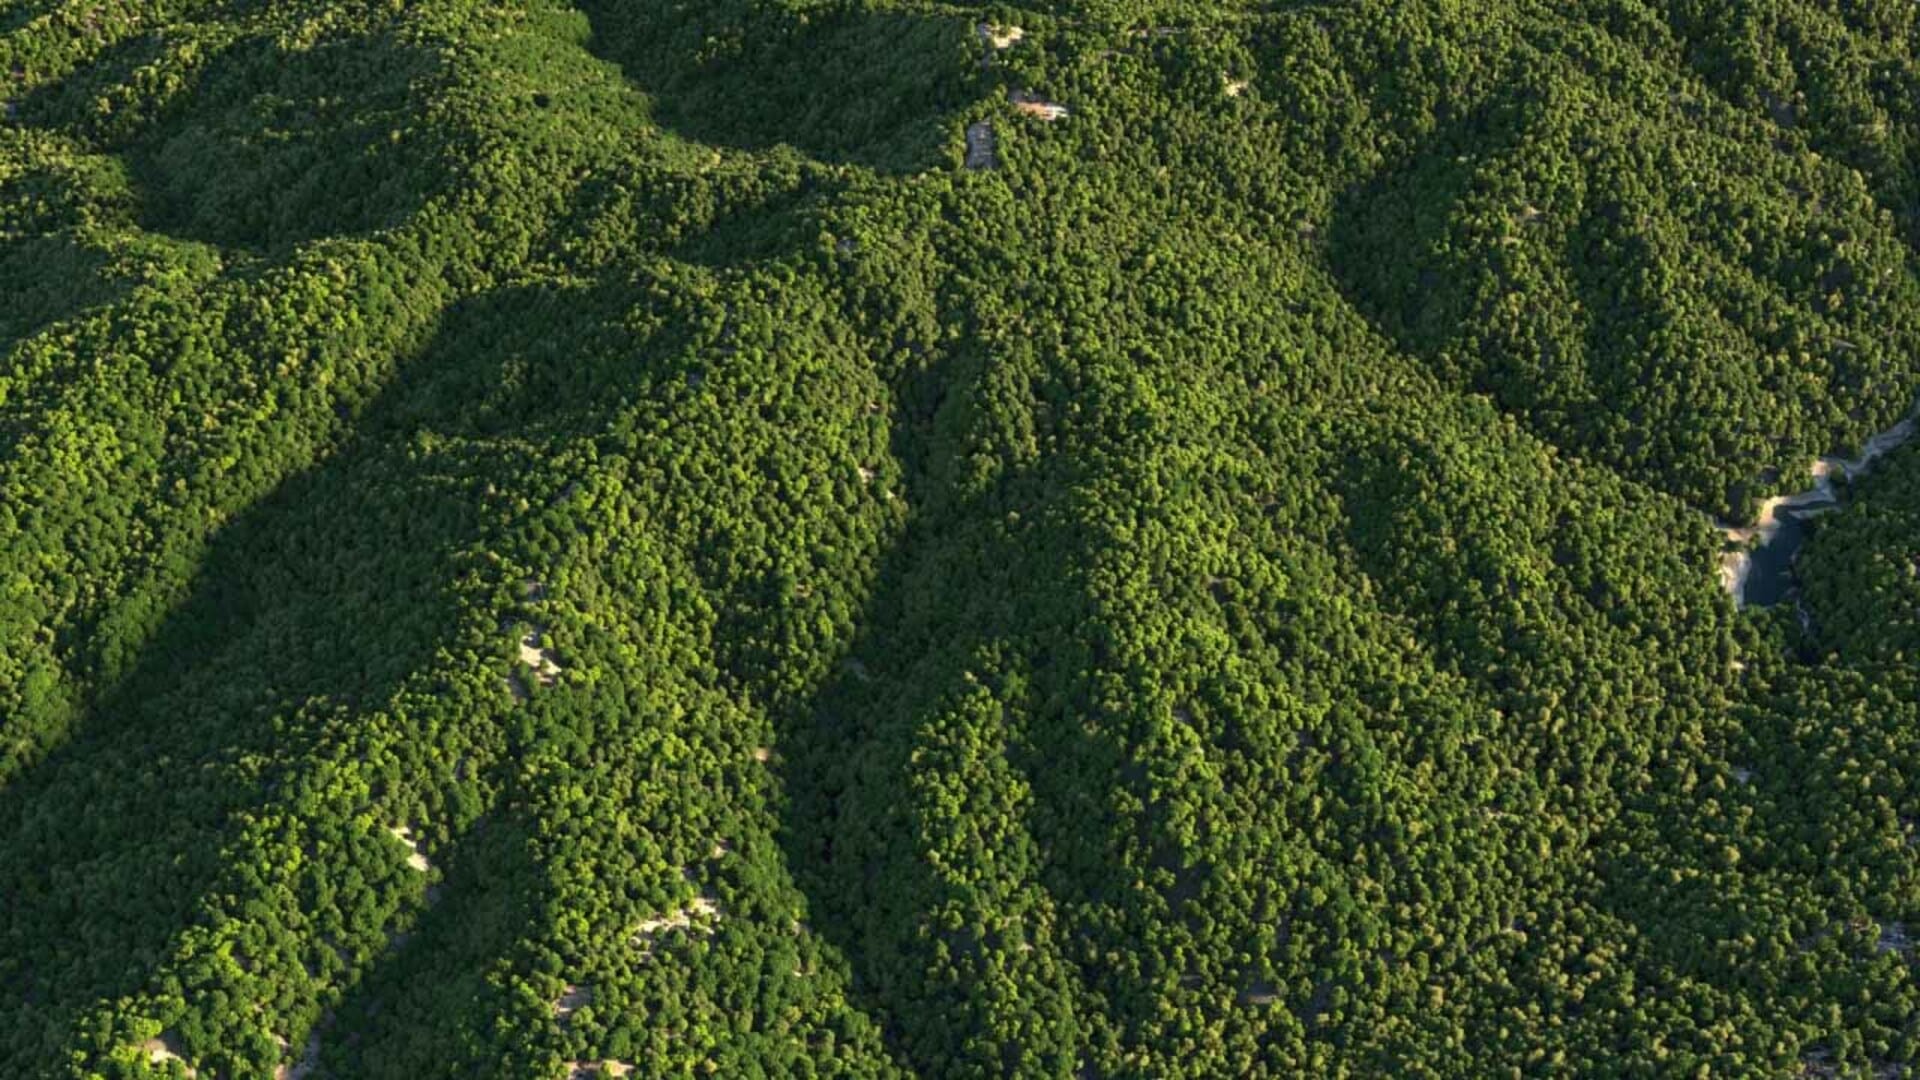
Today we present you a step-by-step tutorial by AsymmetricA Ltd. Grow yourself a forest!
Welcome to this Corona Scatter introduction for 3ds Max. In this lesson we are going to take a look at how easy it is to import tree models, convert them to Corona compatible materials, turn them into proxies and scatter over large areas. For this tutorial you will need Corona, Corona Material Converter and Adobe Photoshop (or similar image editor).
Part I.
1) Lets start by opening your favourite tree model – for this presentation we are using Laubwerk models, but it will work for all other commercial models like iTrees or Evermotion.

2) Open Corona Material Converter and use the above settings (fig.1)
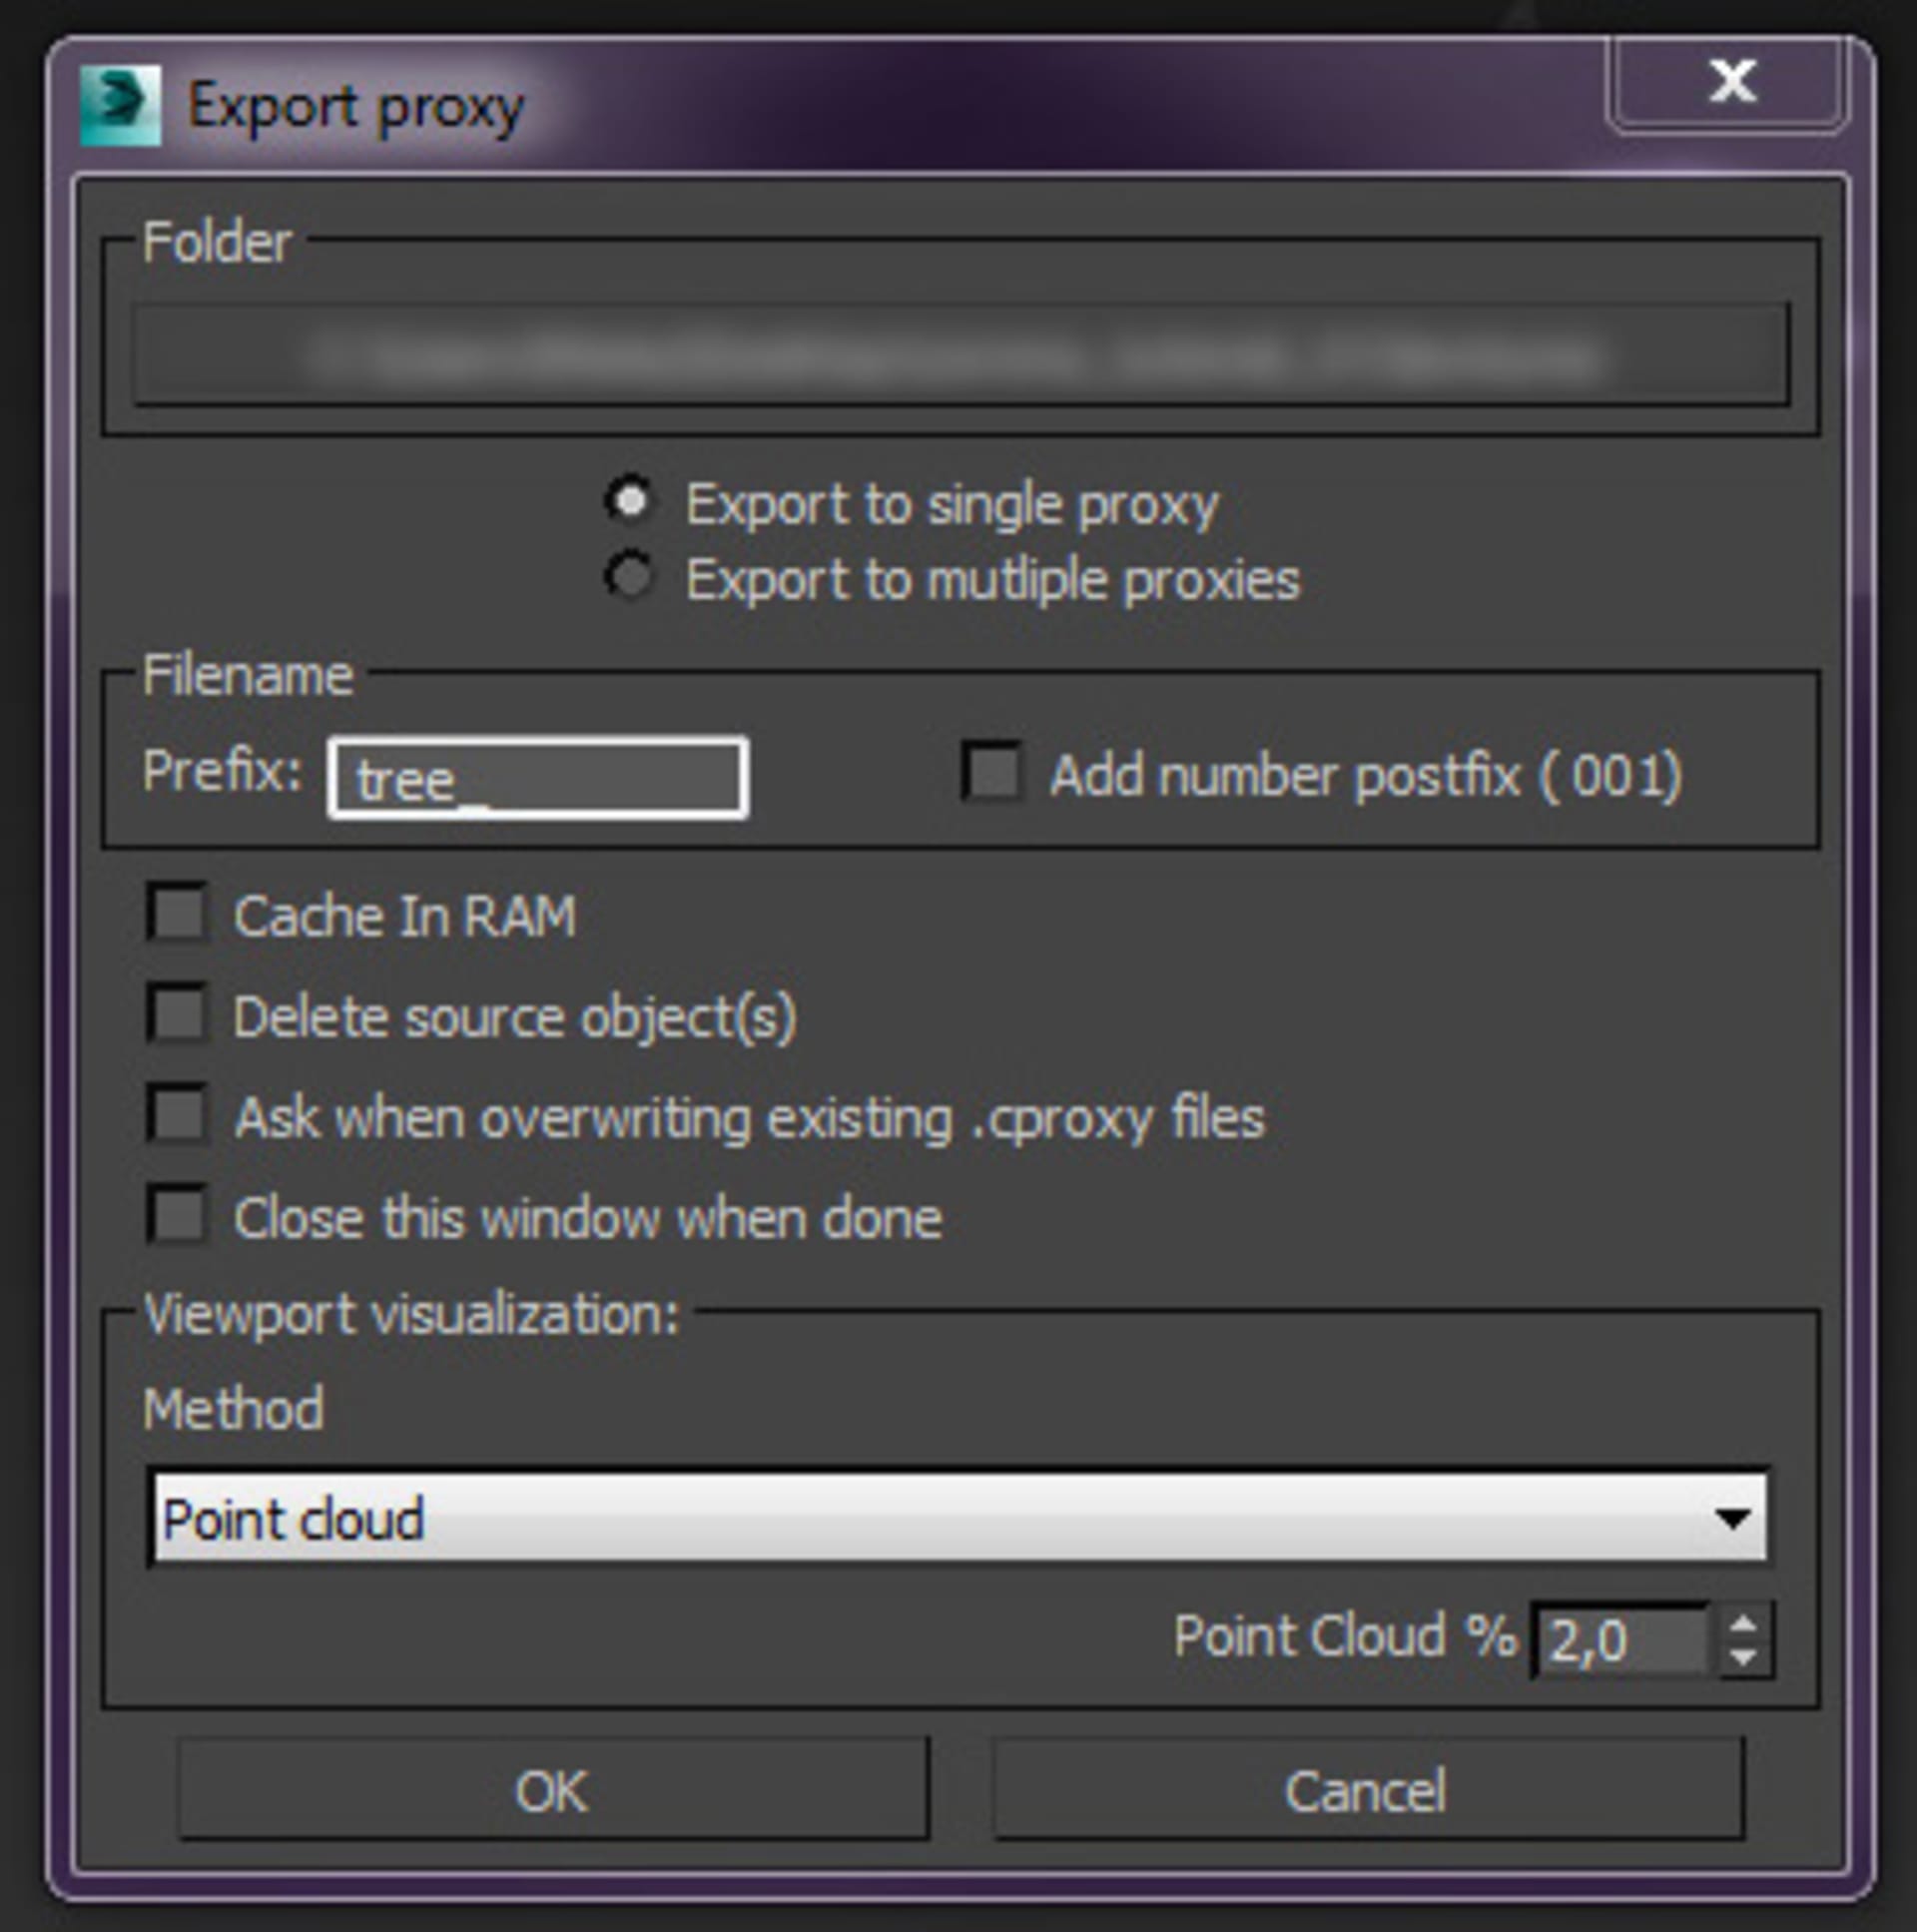
3) Now let’s convert the tree model to Corona Proxy file – this is not 100% necessary but it can lighten the scene if large amounts of high-poly models are used – right click in the viewport and choose “Corona proxy exporter” (fig.2) and use the following settings (fig.3) – feel free to experiment!

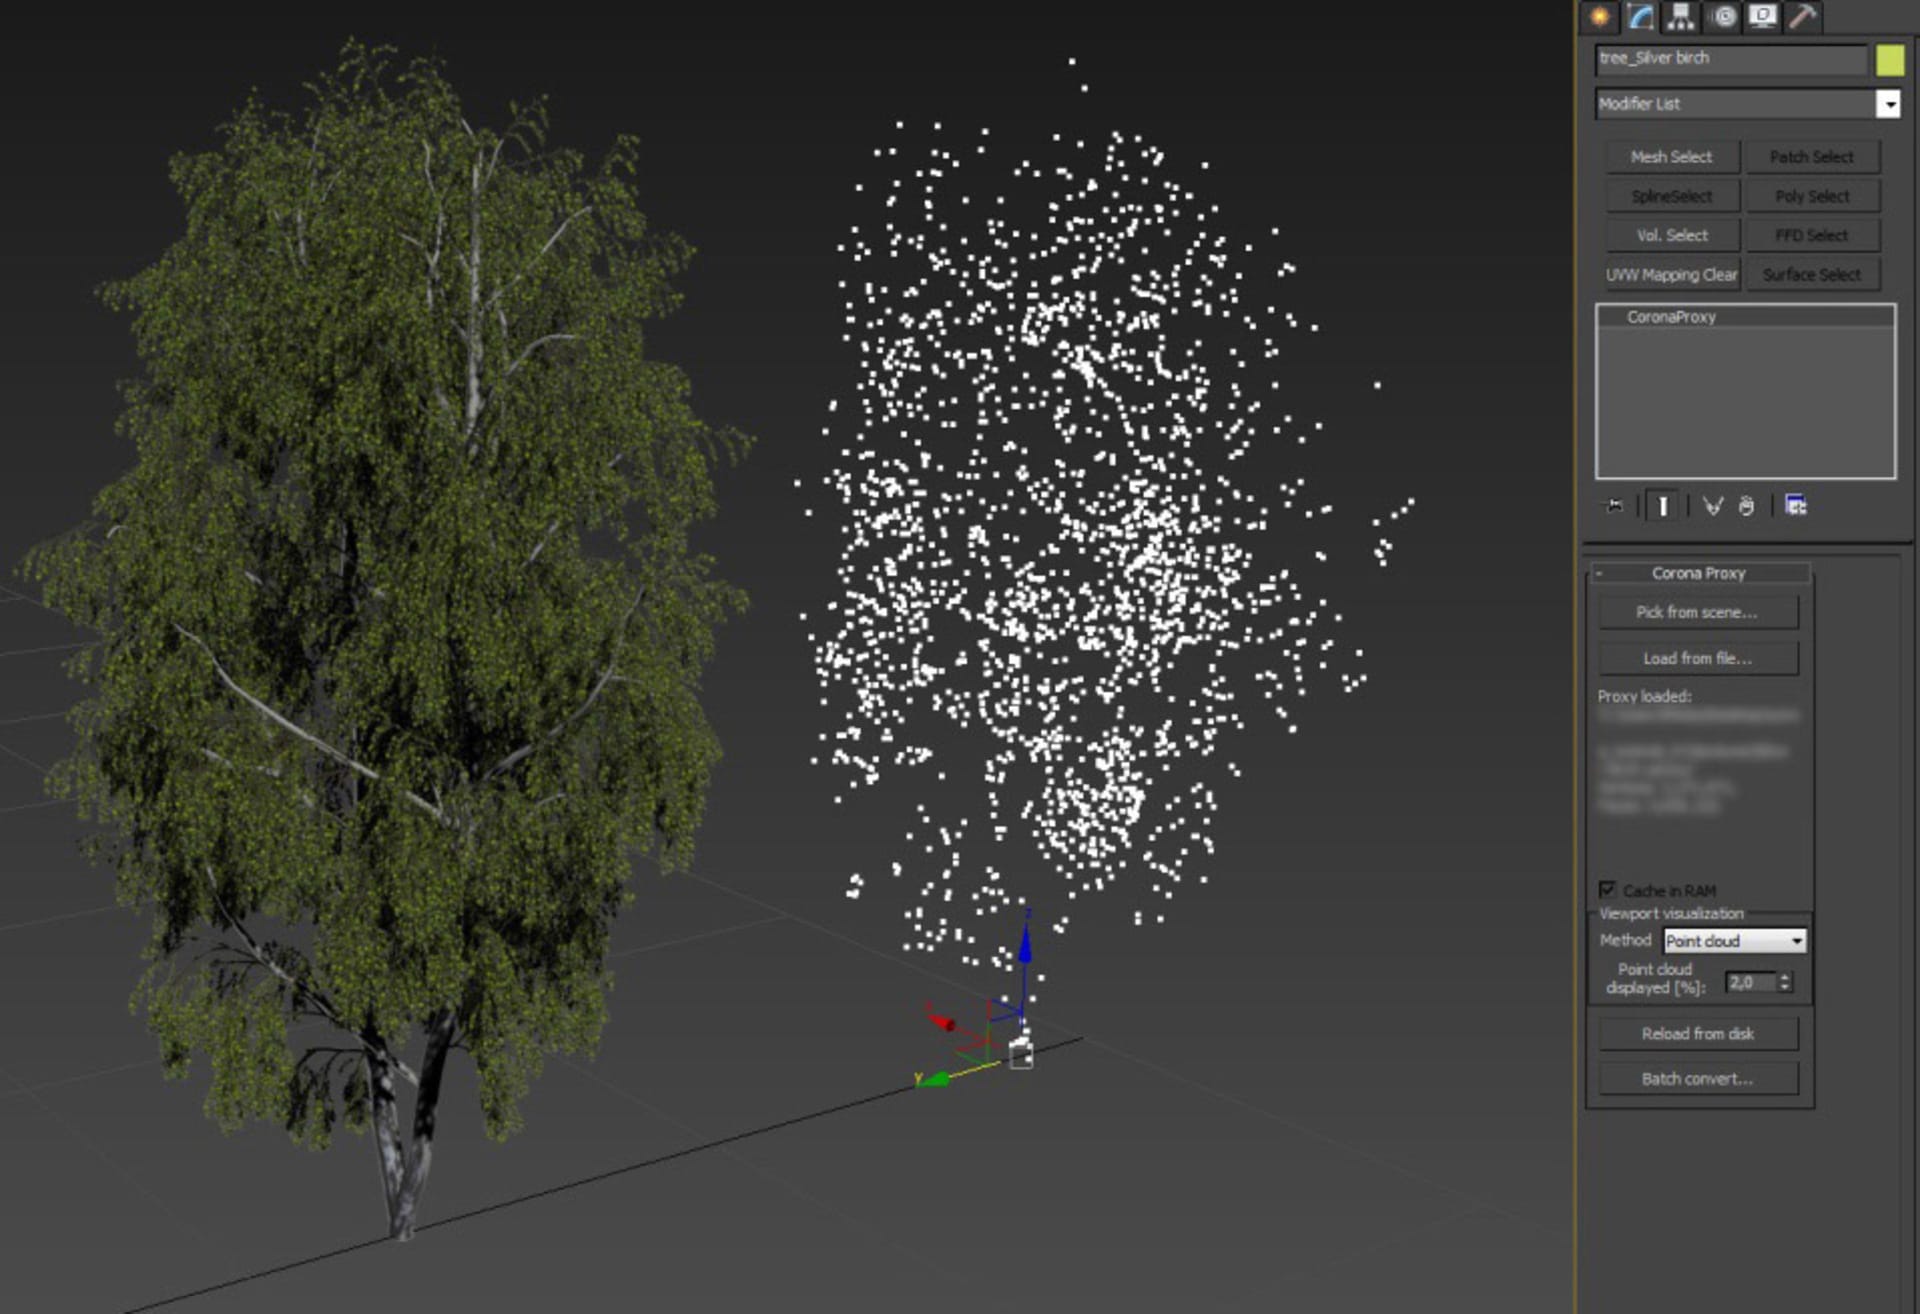
4) Congrats! You have made your first Corona proxy! In case you will need to make the scene even lighter you can change the „Viewport visualization Method“ to wire box, or just set the „Point cloud“ % to a lower number (fig.4)
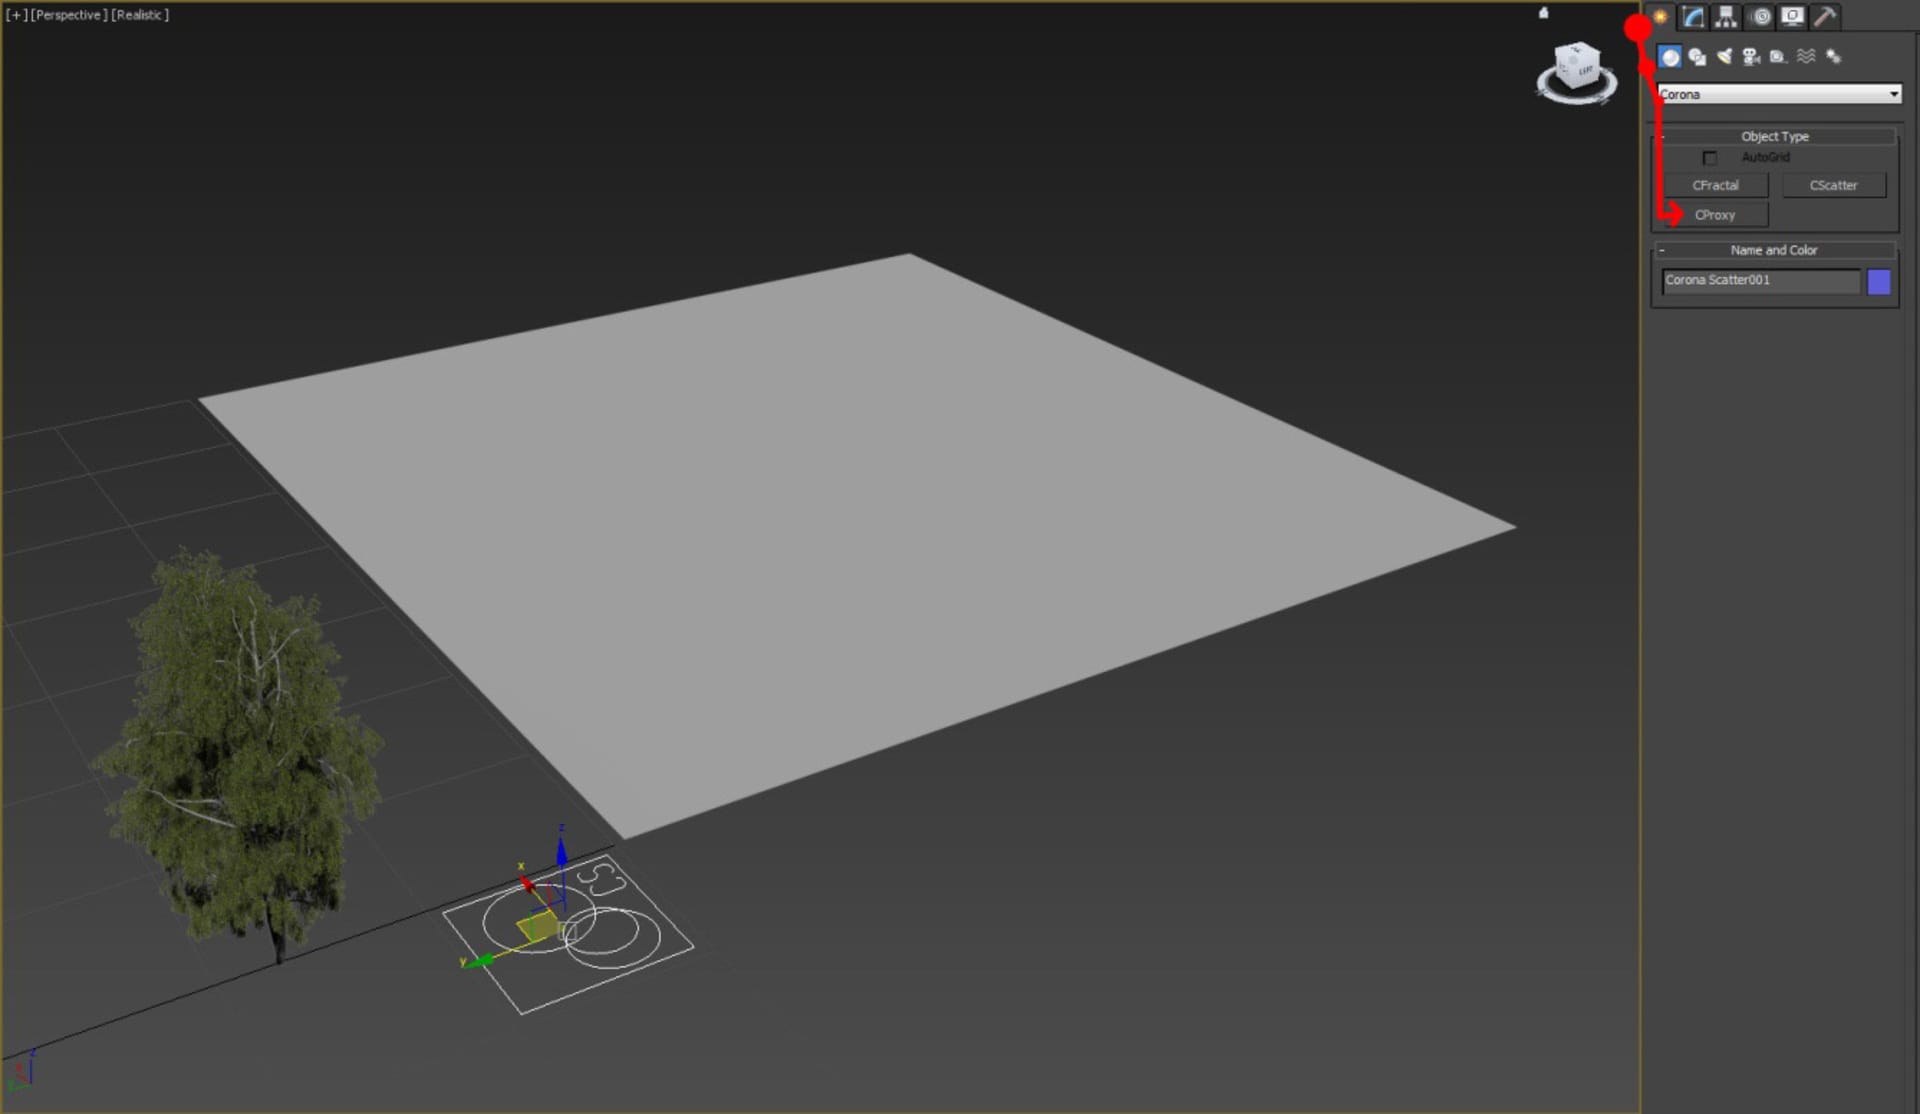
5) Now you are ready to make your own first scatter – to test it, let’s make a plane and a Corona Scatter object – from Create roll down menu choose Corona category and click on Scatter. Then click and drag to create the scatter object (fig.5)
6) Assign the plane to „Distribute on objects“ and your tree model to „Instanced objects“. If you will have more than one model within one Scatter Object you can control how frequently they appear by the „Frequency“ parameter. At this point let’s just increase the „Scatter count“ under Scattering category and play around with the „Random seed“. You should get a somewhat uniform result, similar to (fig.6)

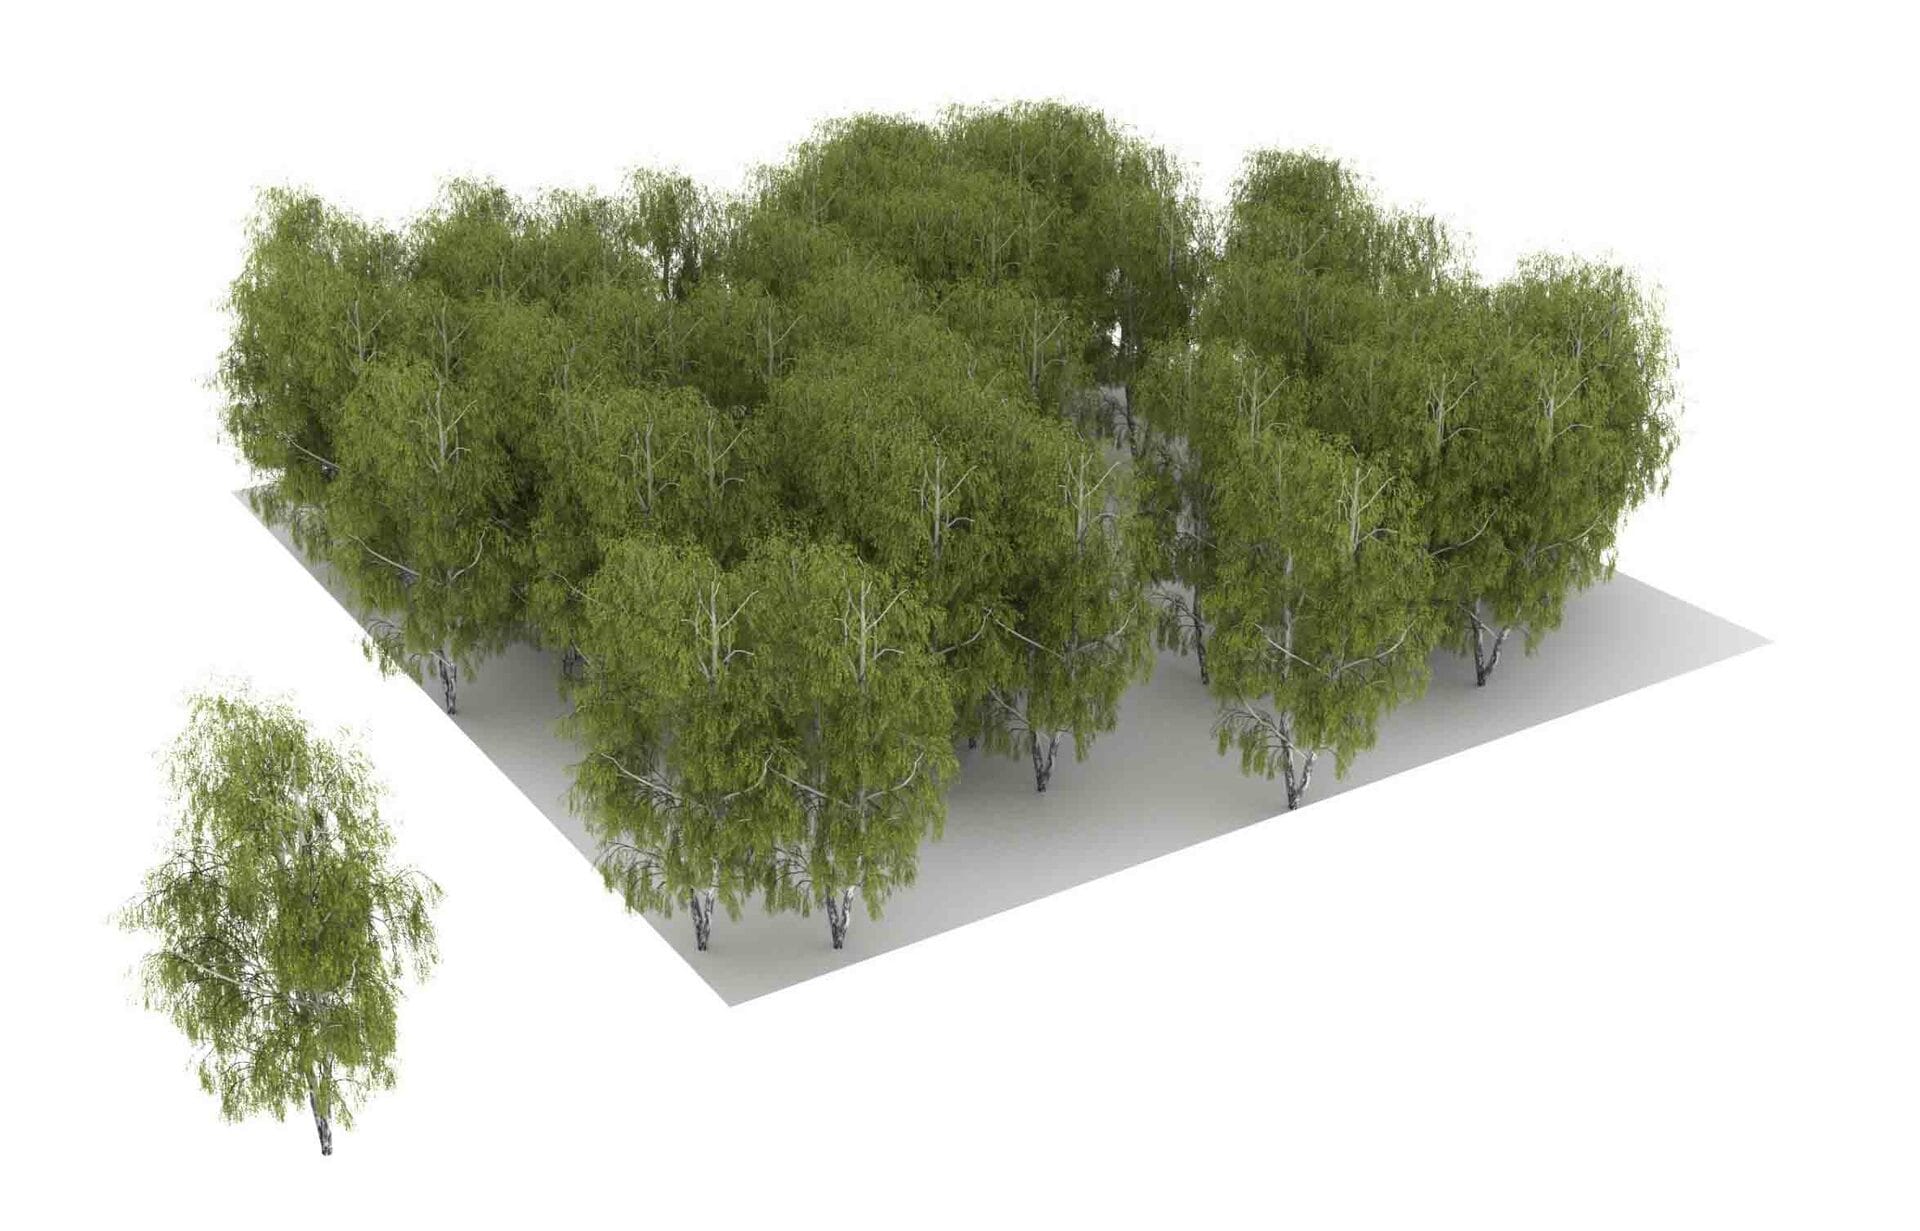
7) We just want to make the Scatter look a bit more random so let’s change some of the parameters – mainly rotation and scale. It is very neat to add some more randomness to you scattered objects by giving them slight rotation in X and Y axis, that’s why we are using -5 to 5 degrees for both, then 0 to 360 degrees for the Z axis. Scale depends on real object size but in most cases 35%-120% is ok. Again, when the scene becomes heavy just by displaying high amounts of proxied objects (even though they are displayed as boxes) you can lighten the scene by switching the „Previz type“ to Dot or None. Increase the „Scatter count“ to a number that pleases you – in our case it was 100 (this depends on the size of the area you are scattering). We end up with a much nicer and more random scatter (fig.7)
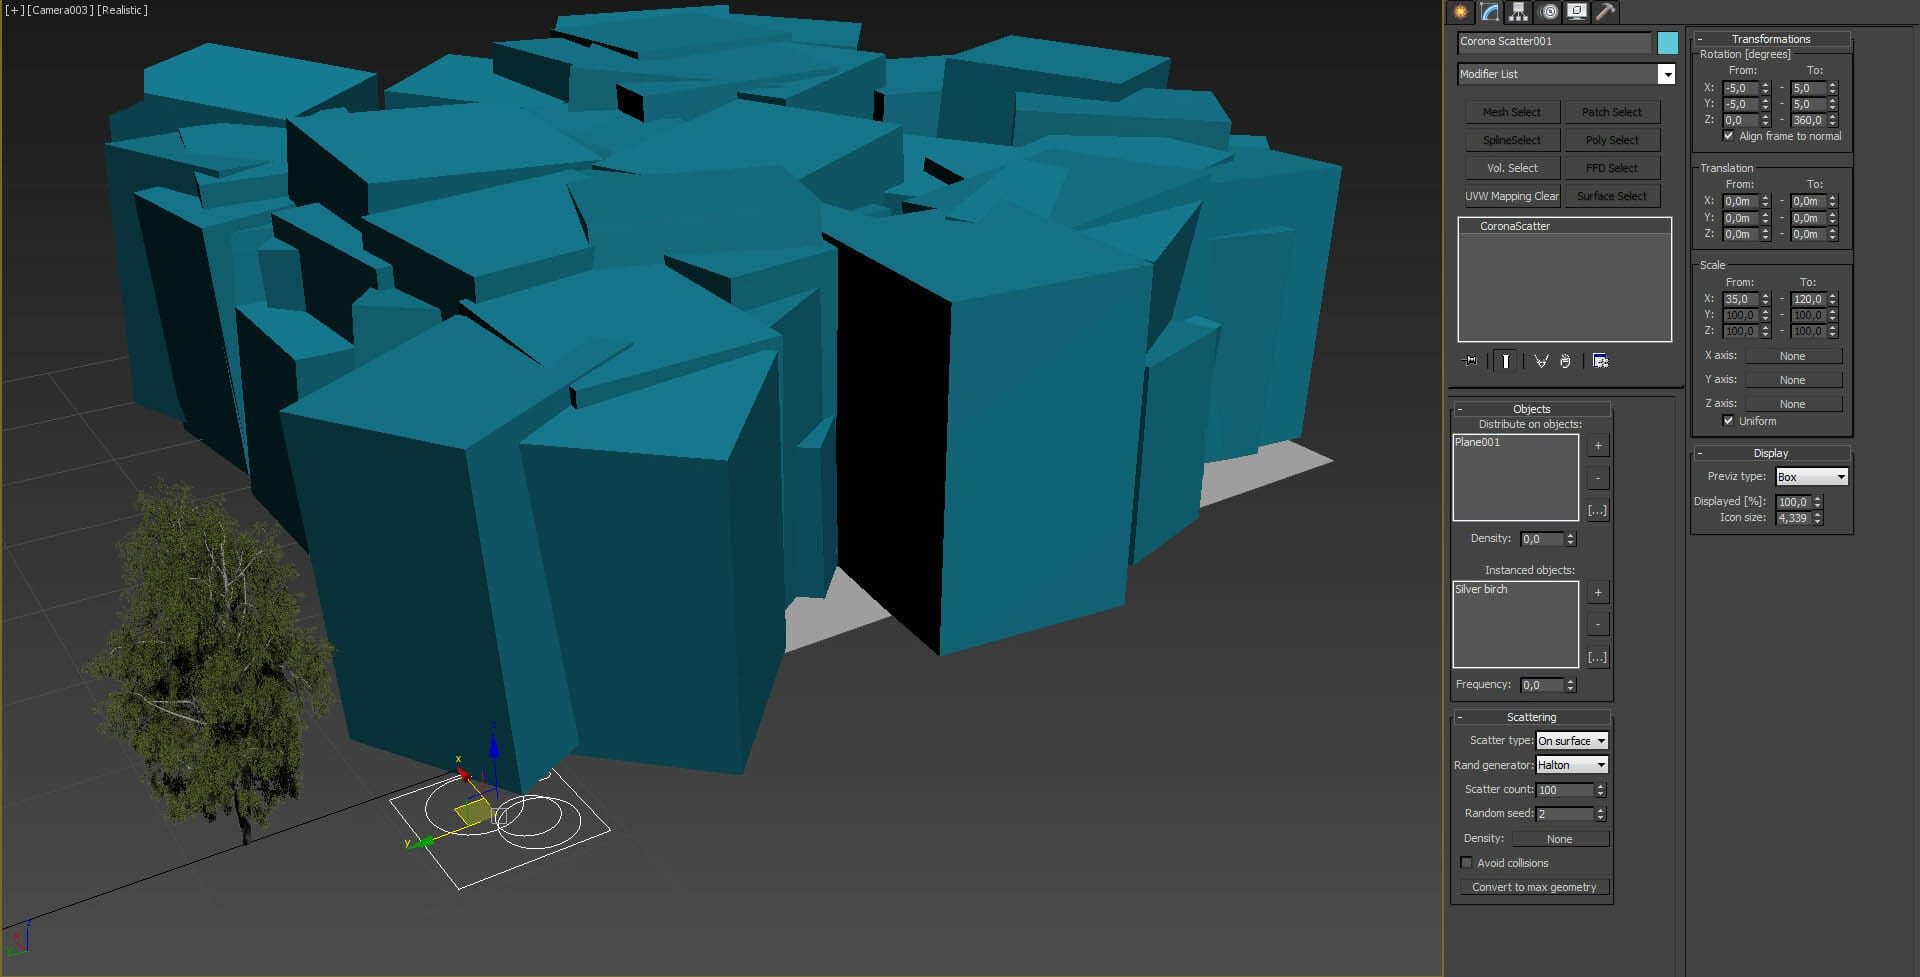

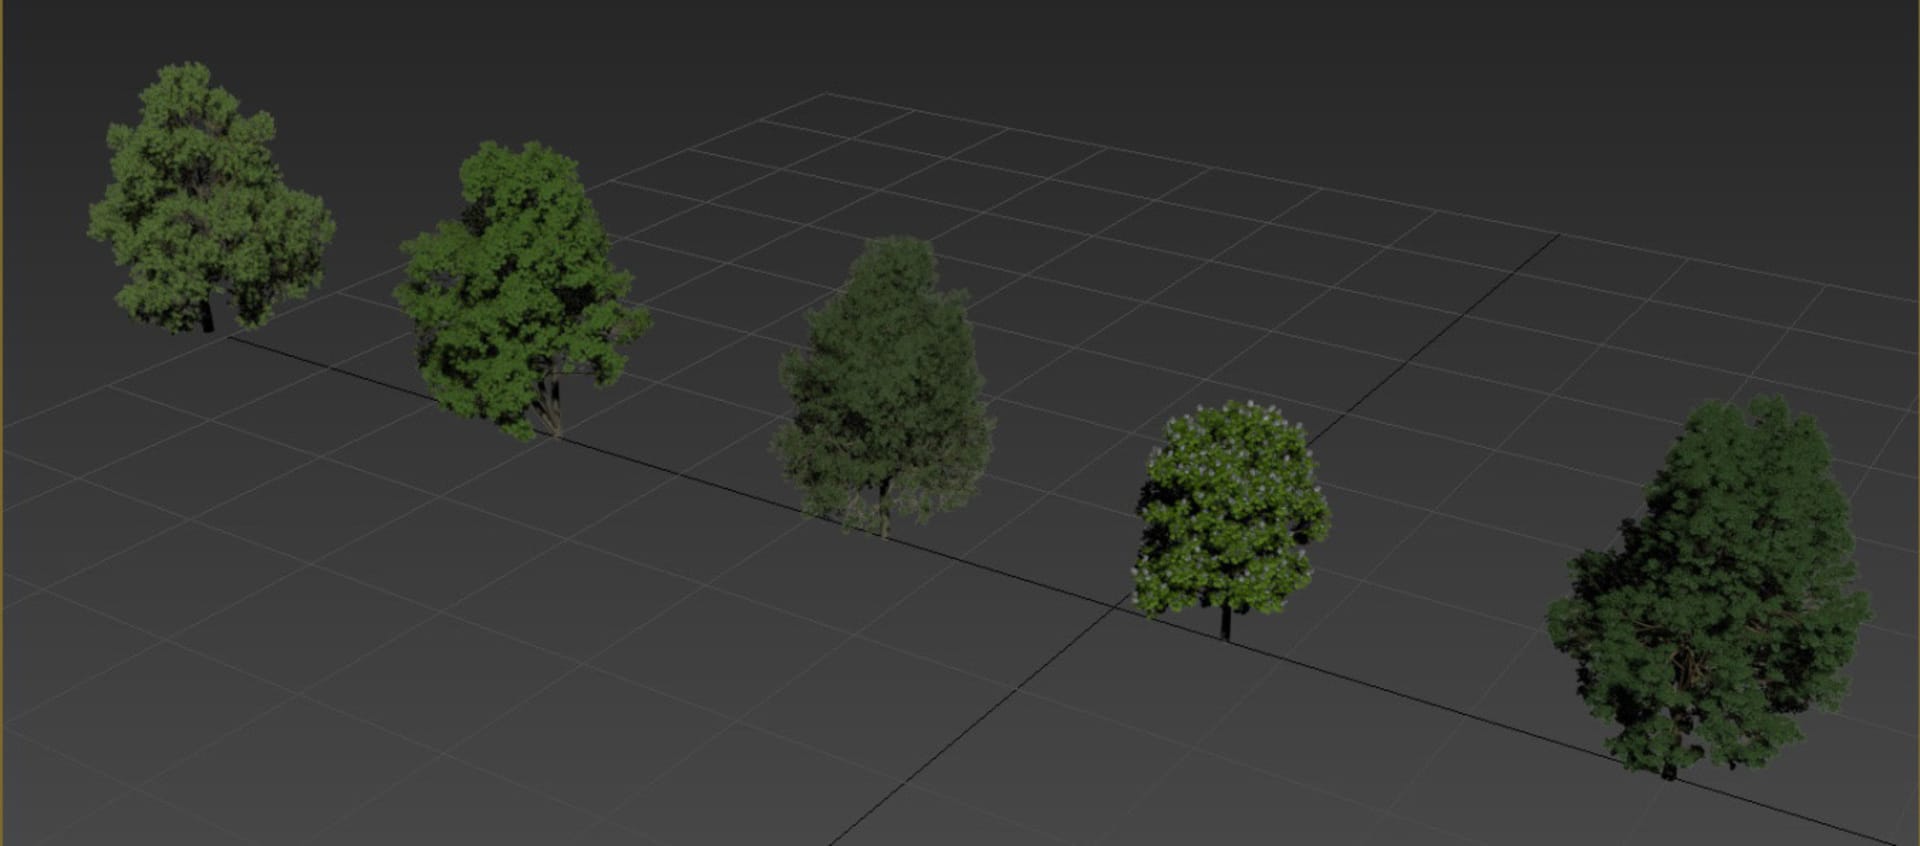
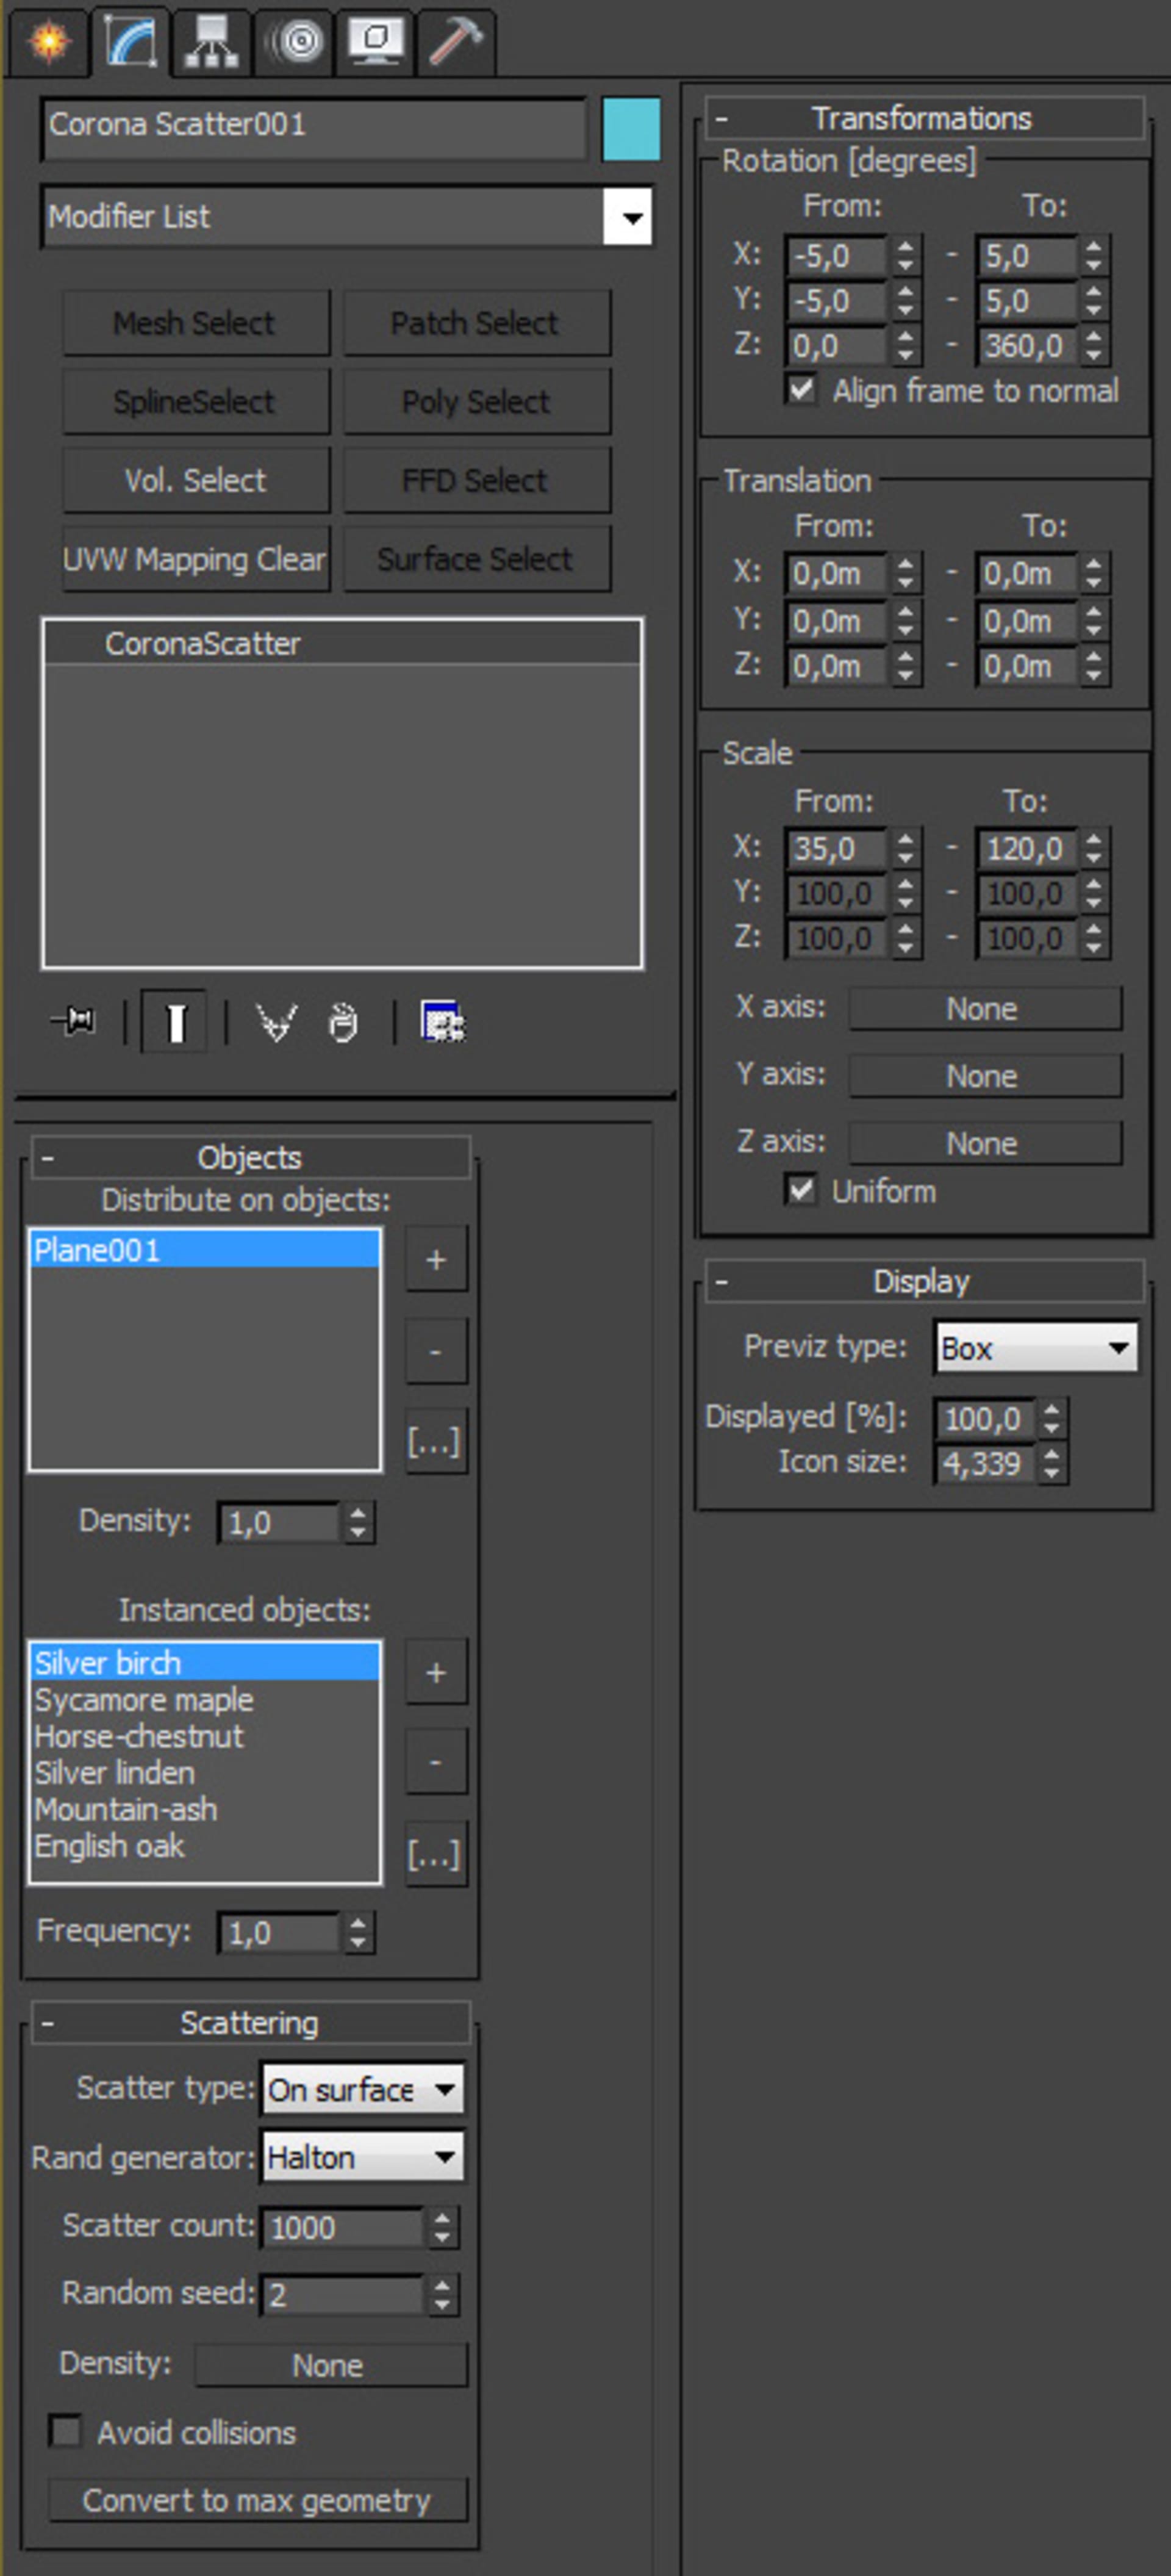
8) This birch feels a bit lonely – lets load some of her friends and use the same scatter, only with higher scatter count and over a larger area (fig.8a + 8b)
The result:

Part II.
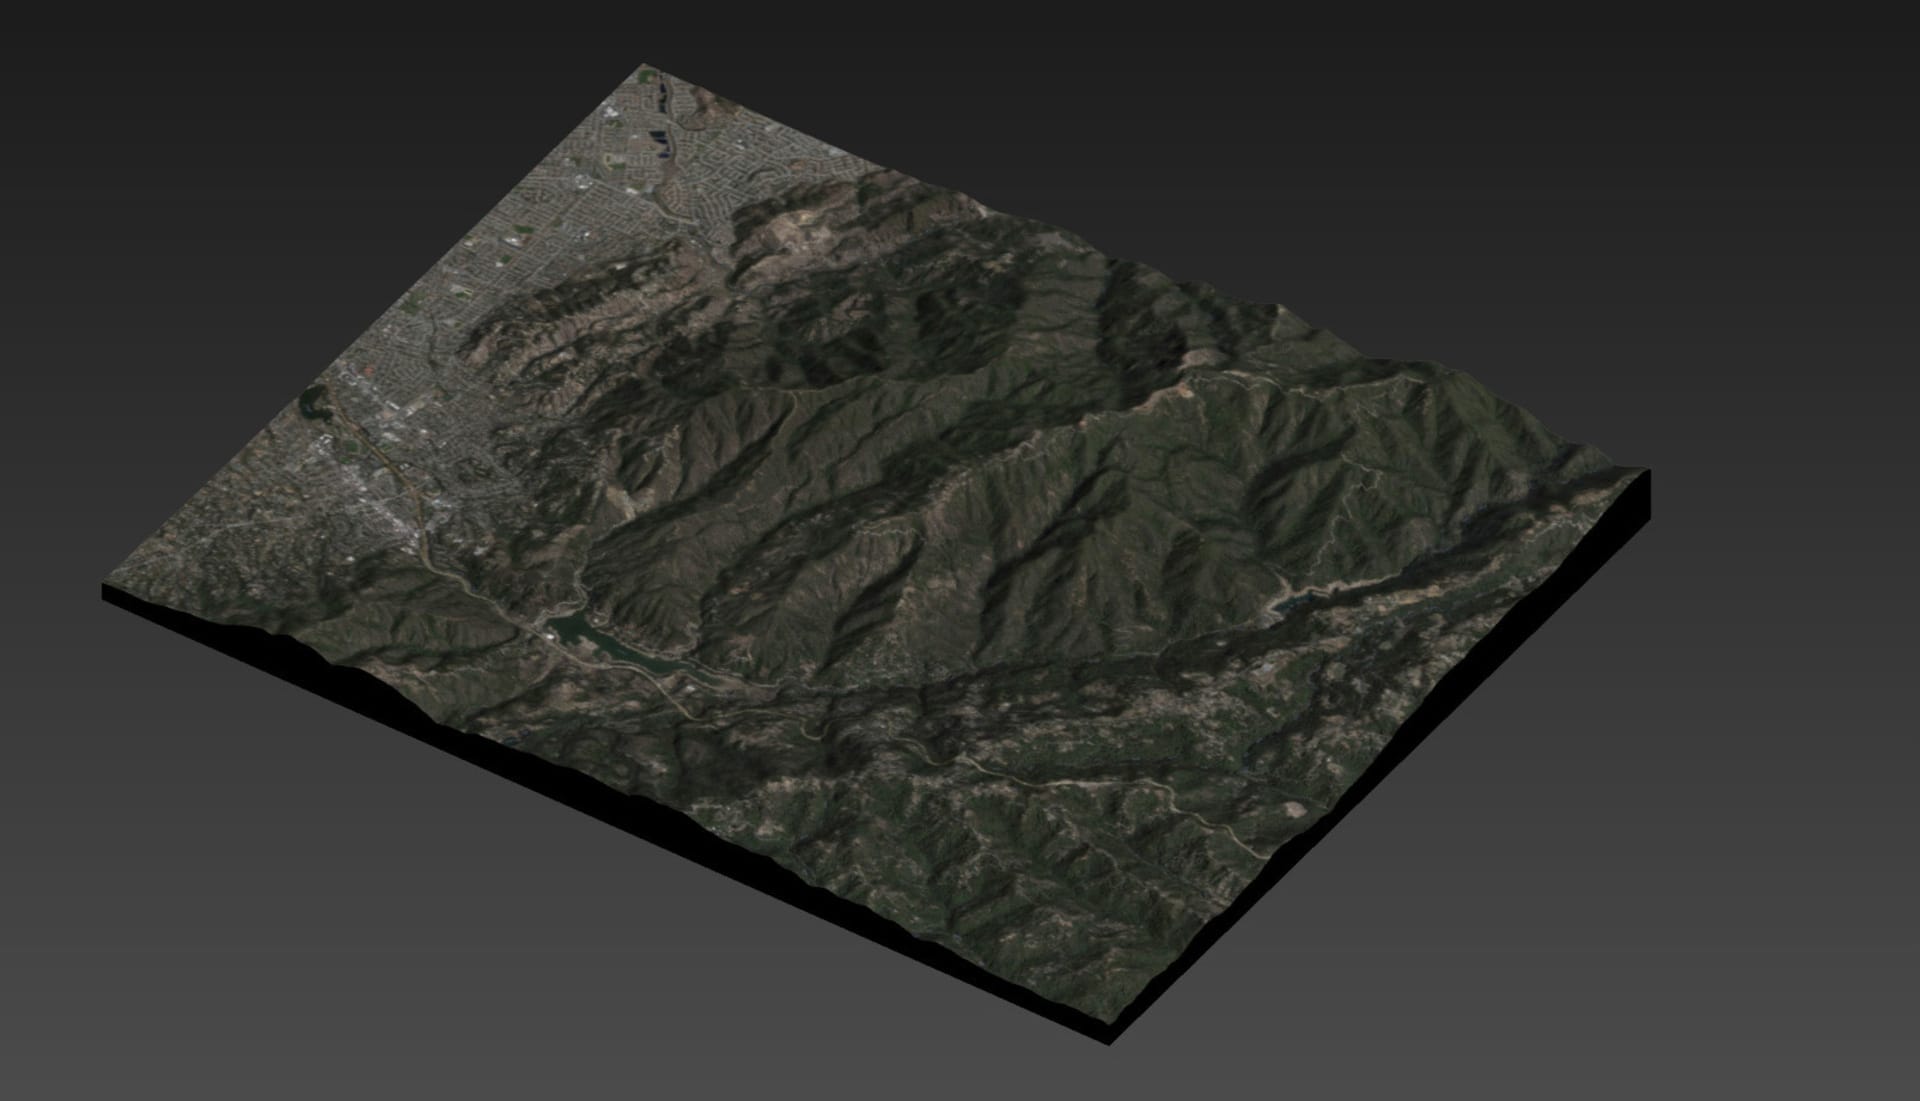
9) Let’s get a bit more serious about this and see what’s going to happen if we would like to scatter over a really big and non-flat area. For this we have prepared this chunk of Californian landscape (fig.9)
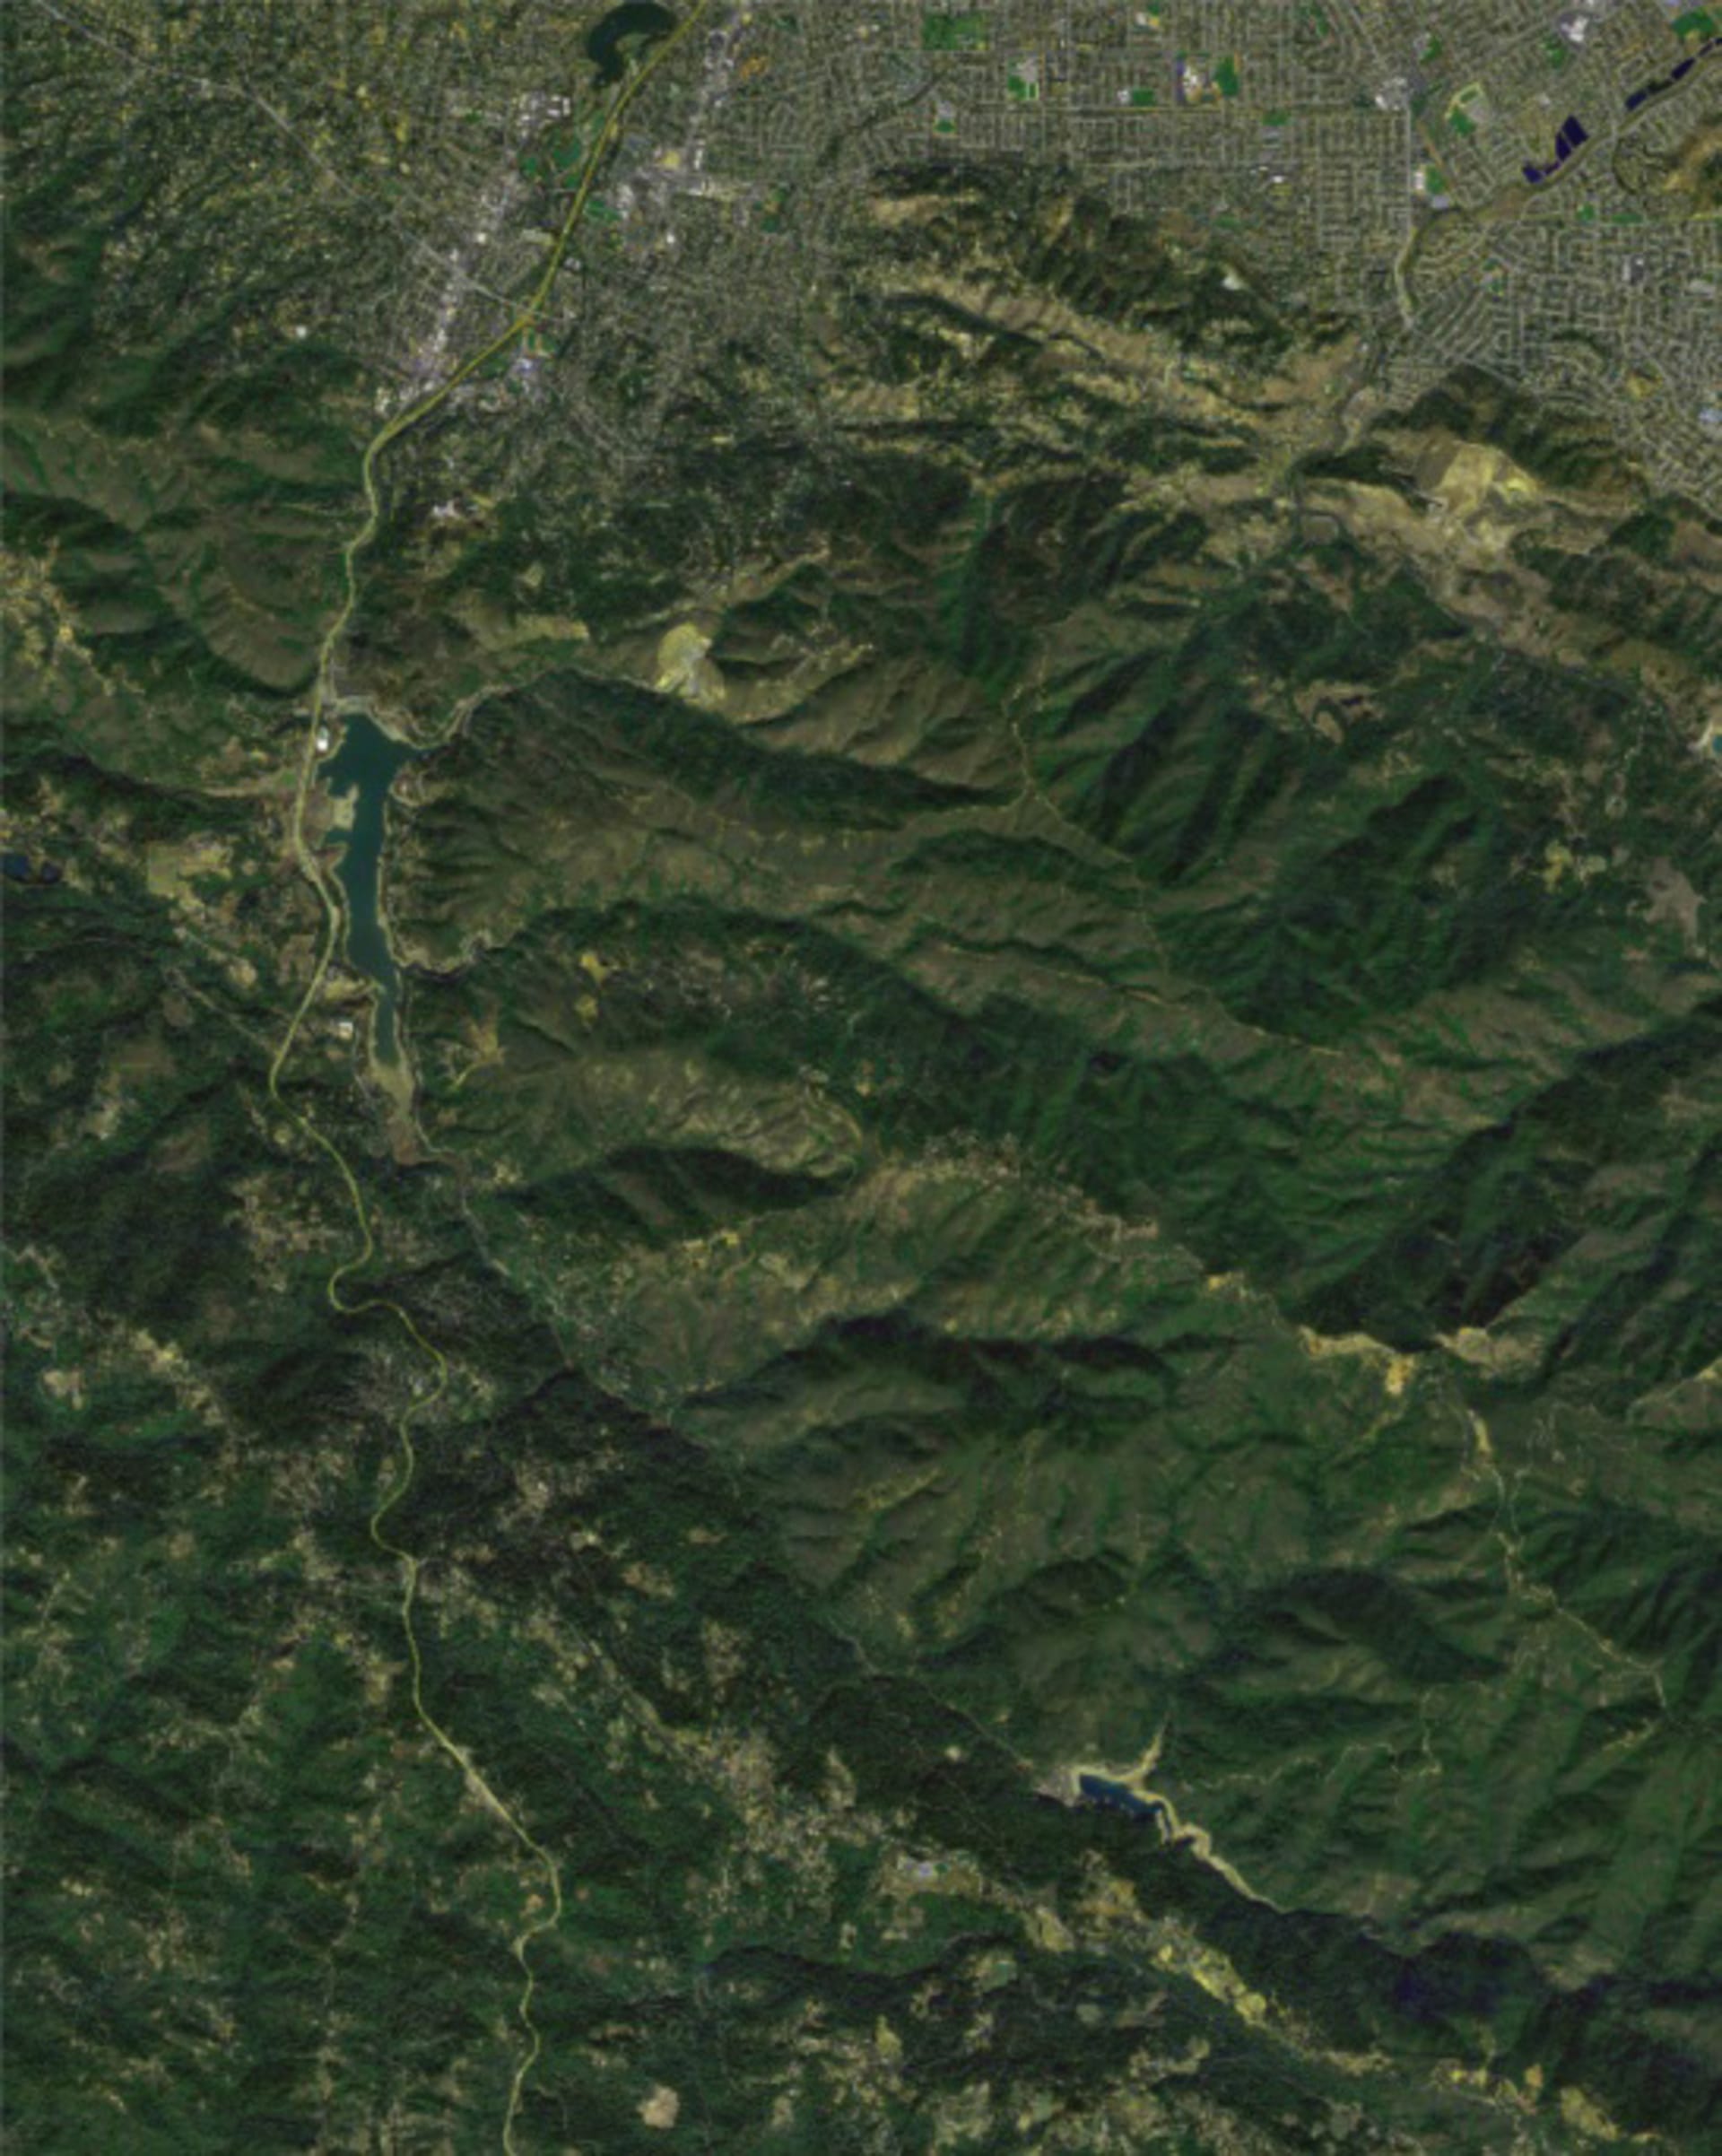
10) In order to make it even more interesting, we are going to use a bitmap for the density – simply open the satellite map you are using as texture for you terrain in Photoshop (or equivalent) and extract several shades of green as separate black&white bitmaps (fig.10a+10b+10c)
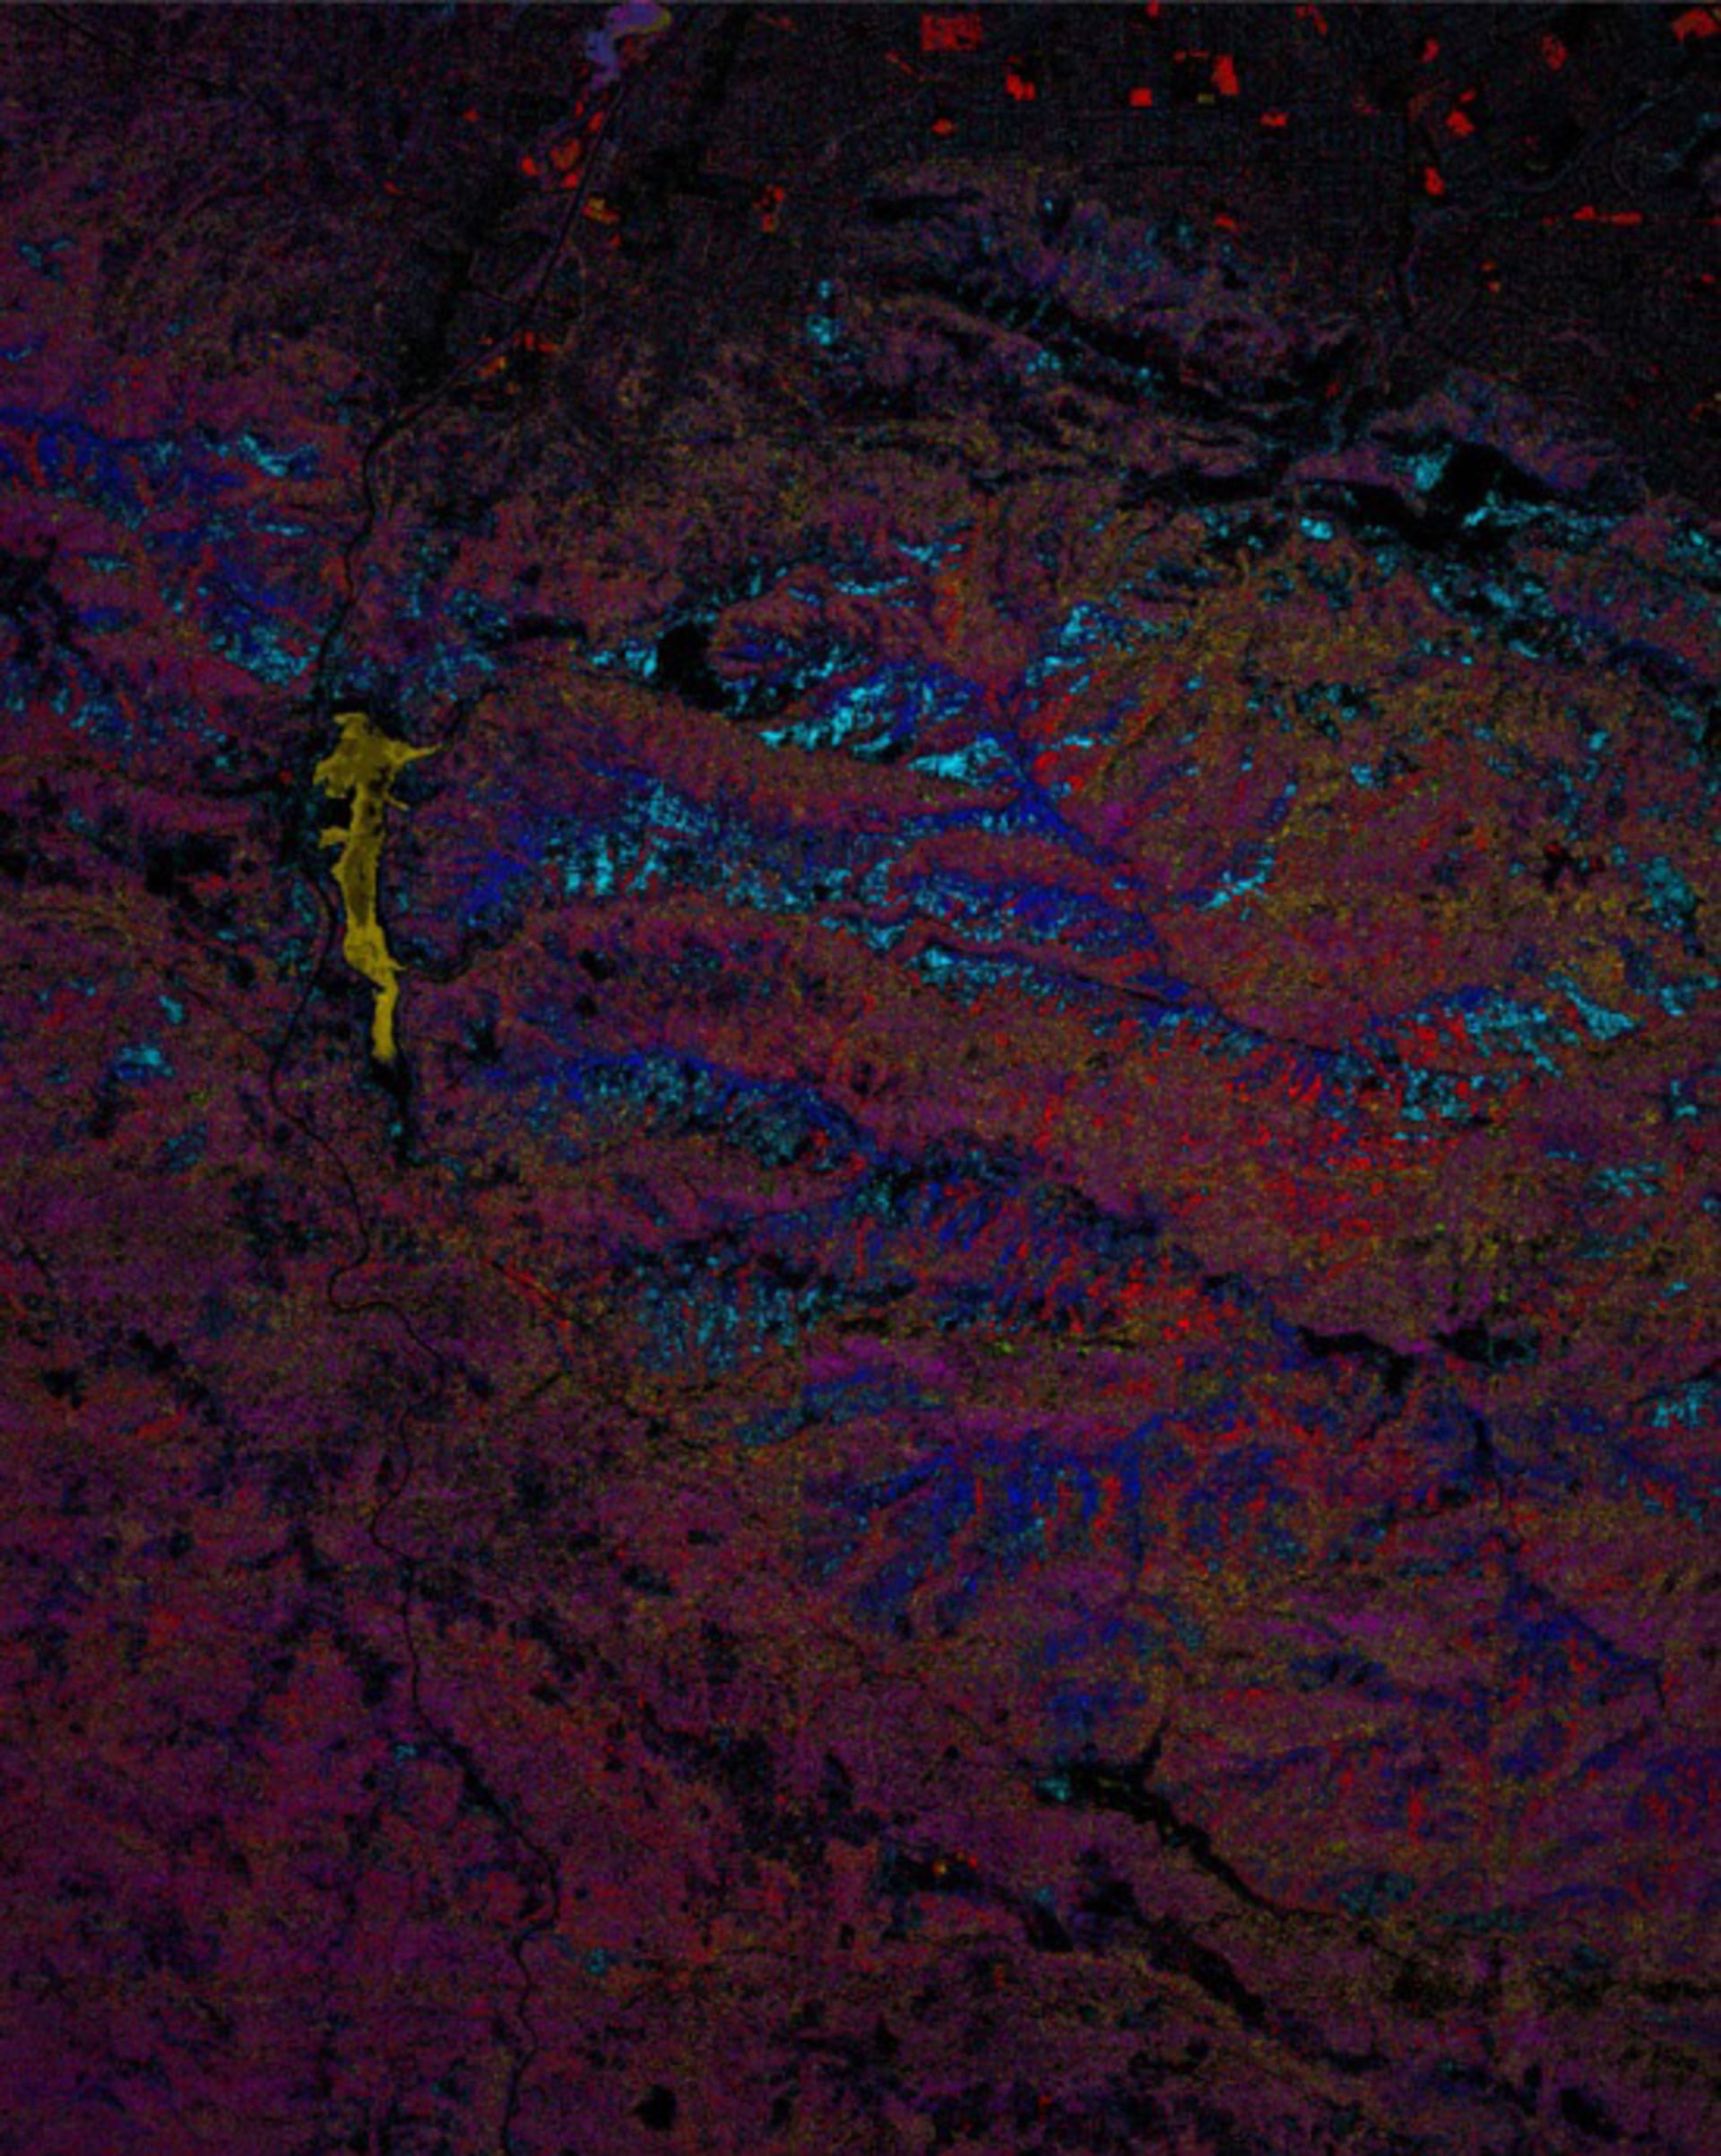
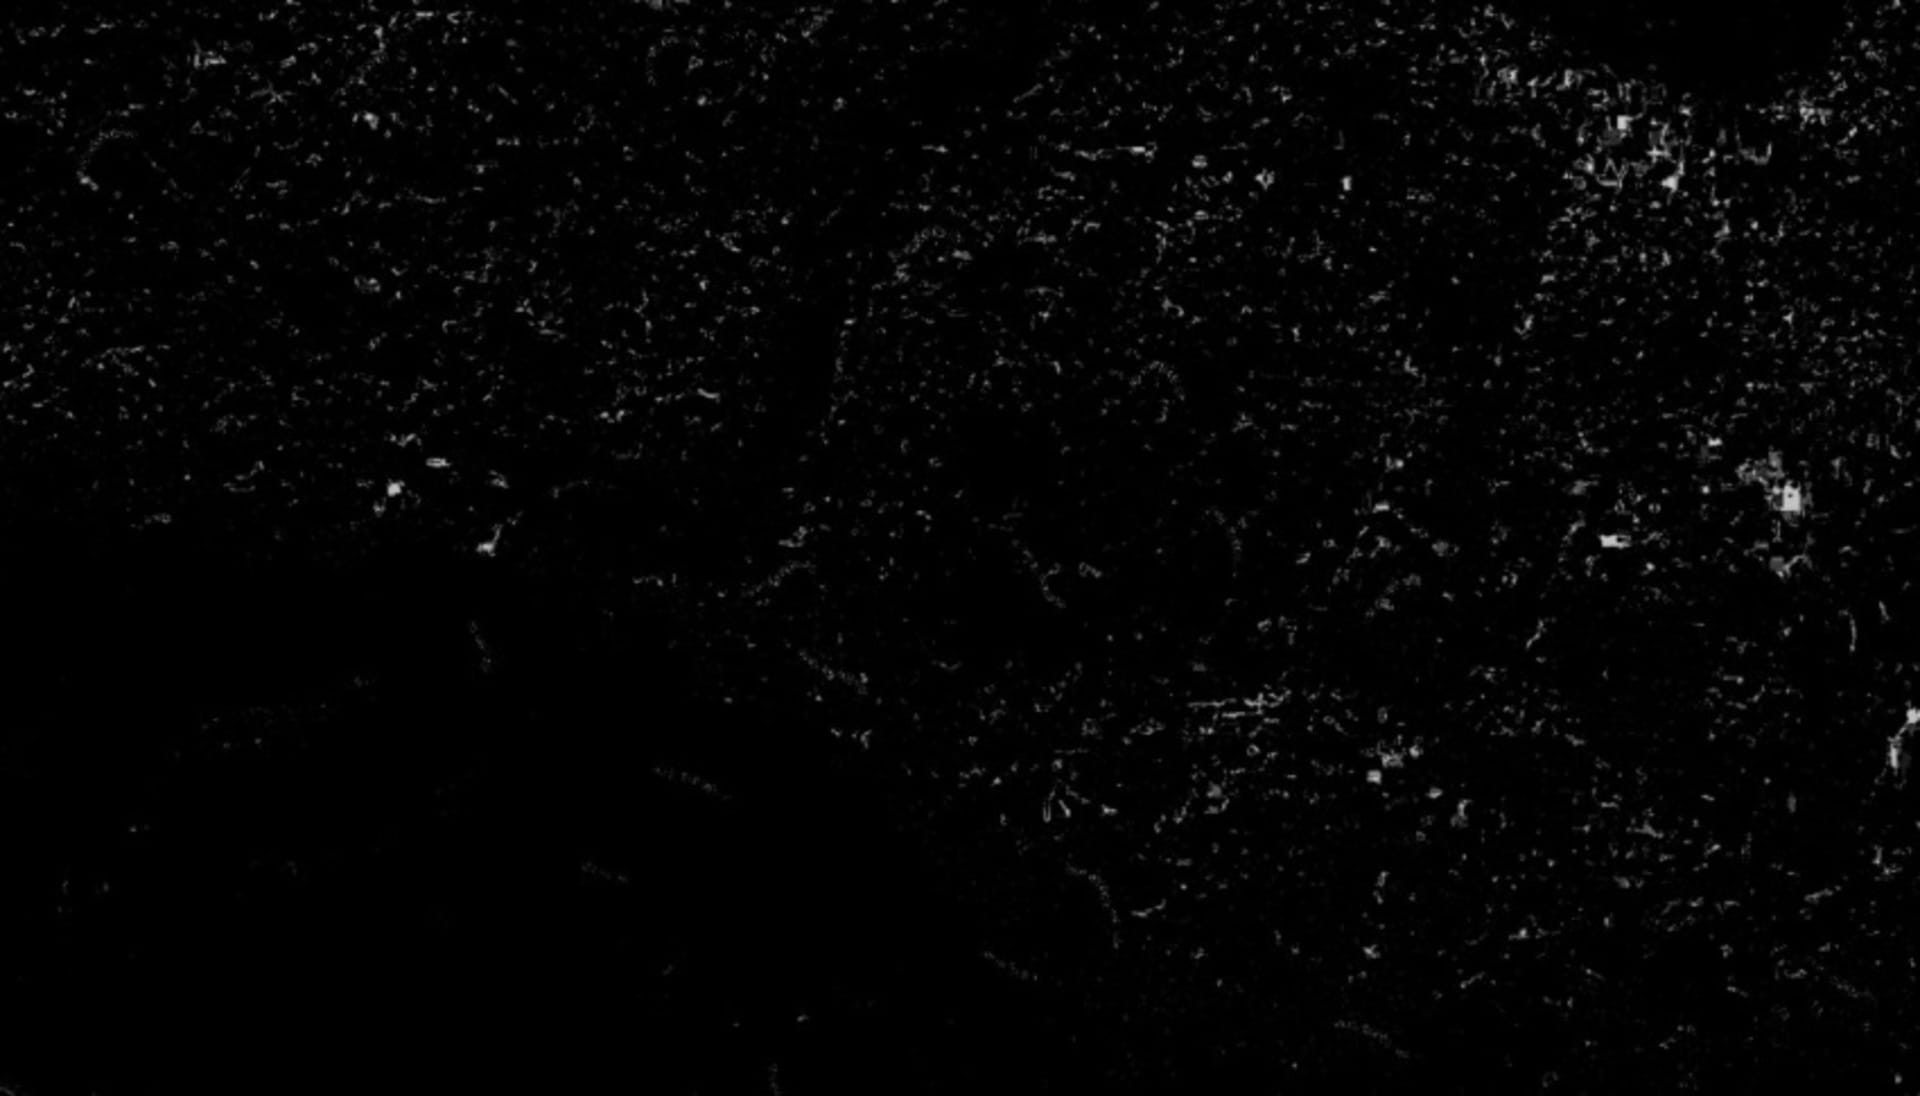
11) Now we will need a separate scatter object for each tree and as well one of these BW maps loaded in the „Density“ slot. As you can see the „Scatter count“ went up to 50,000 and this time it is a good idea to use „Dot“ as the „Previz type“. To achieve even more variation the scale range has been changed to 25%-150%. See (fig.11a-f)
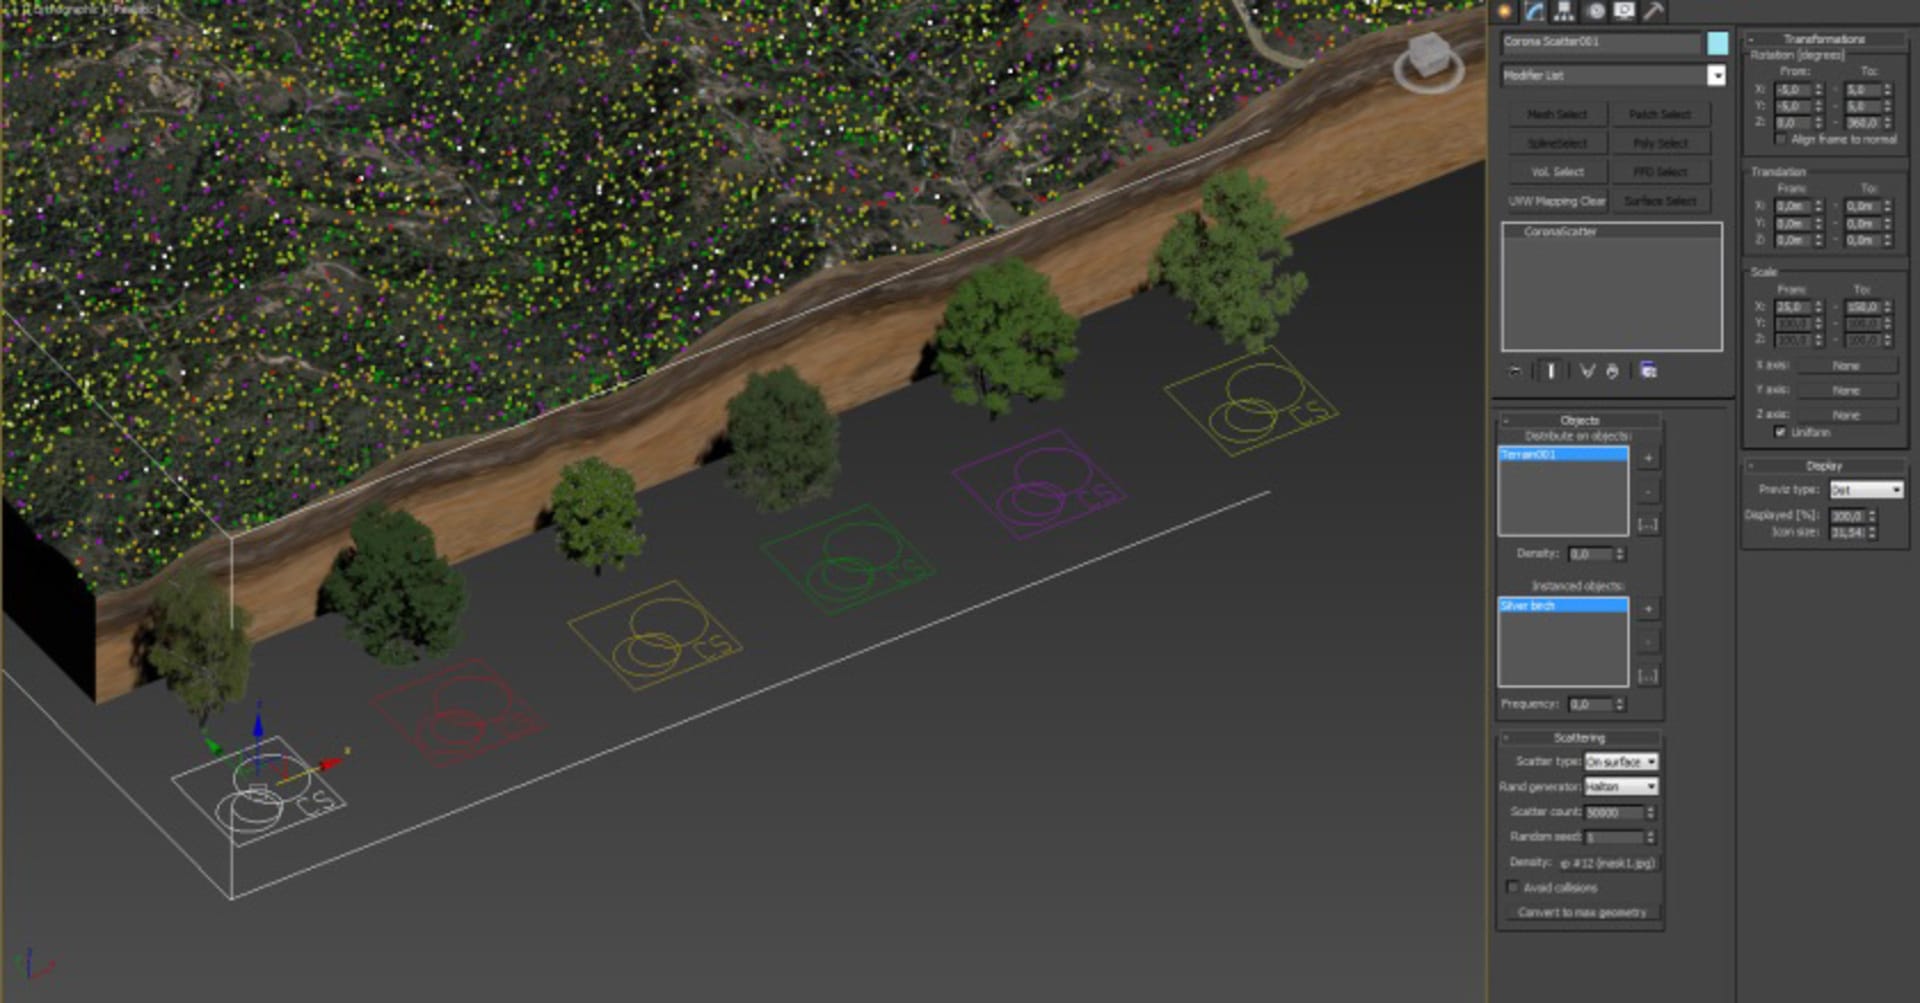
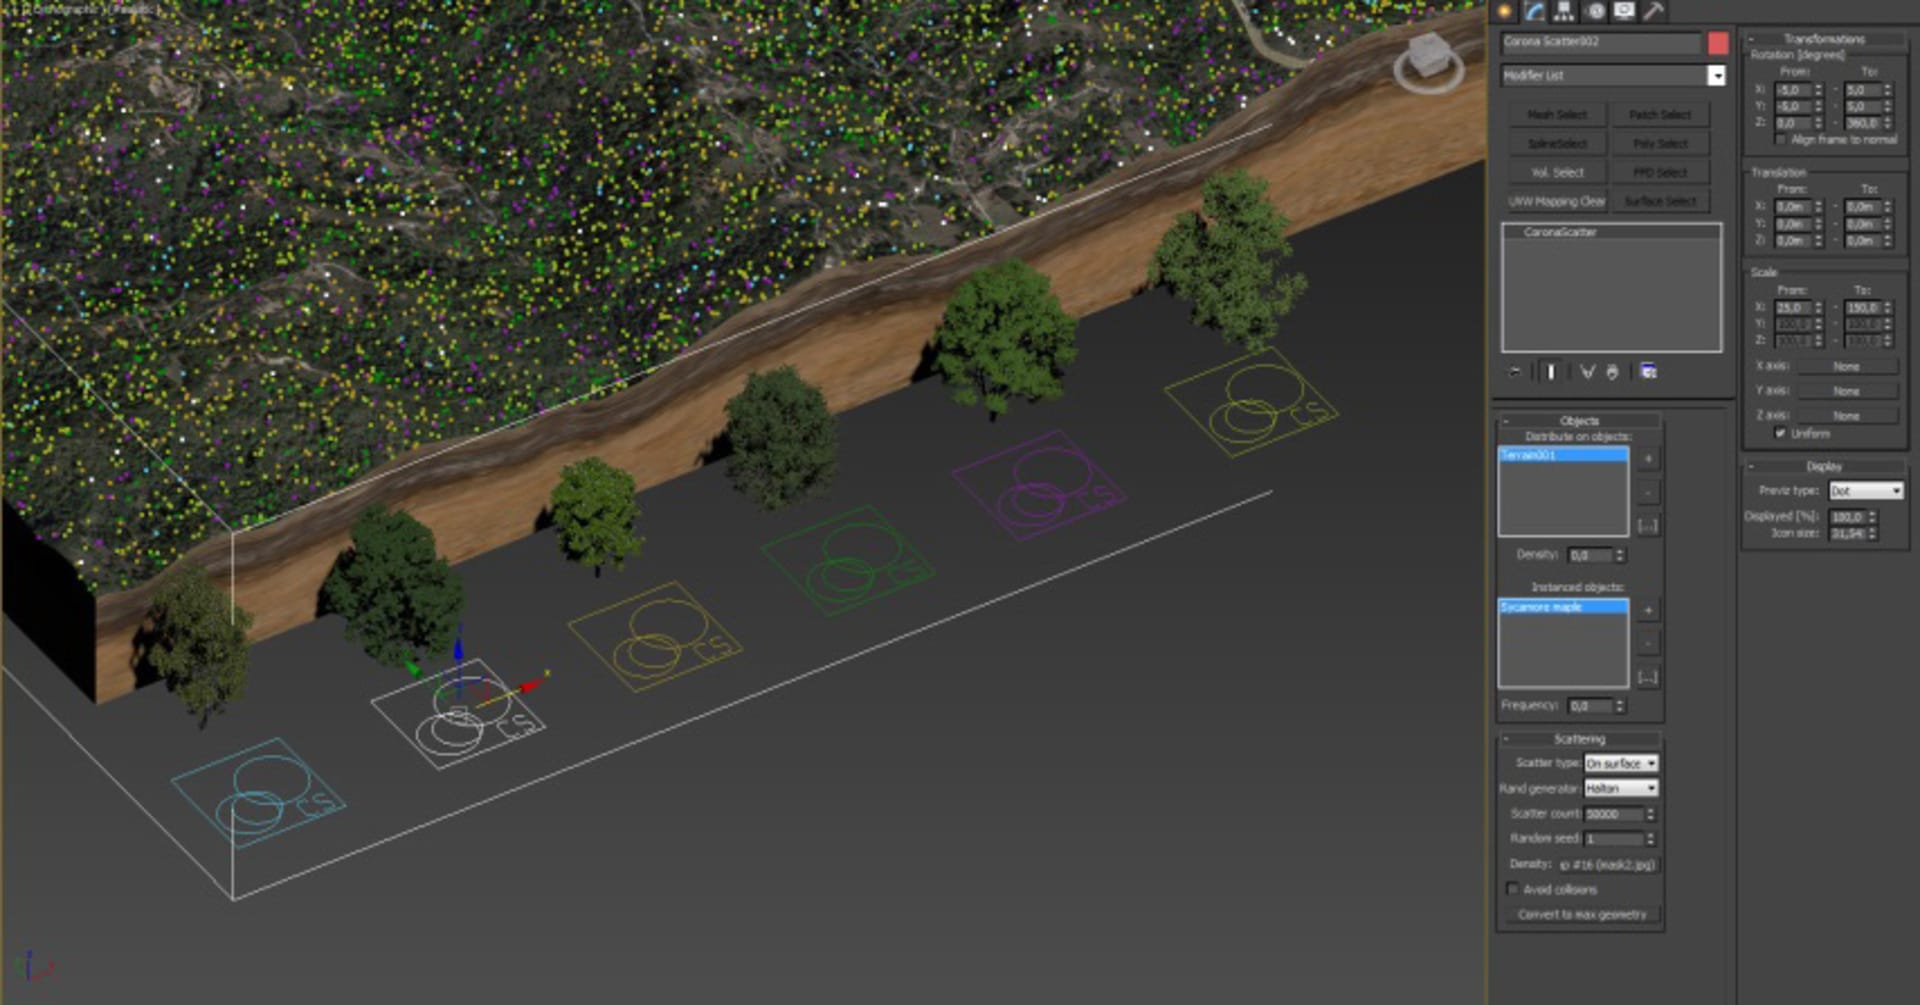
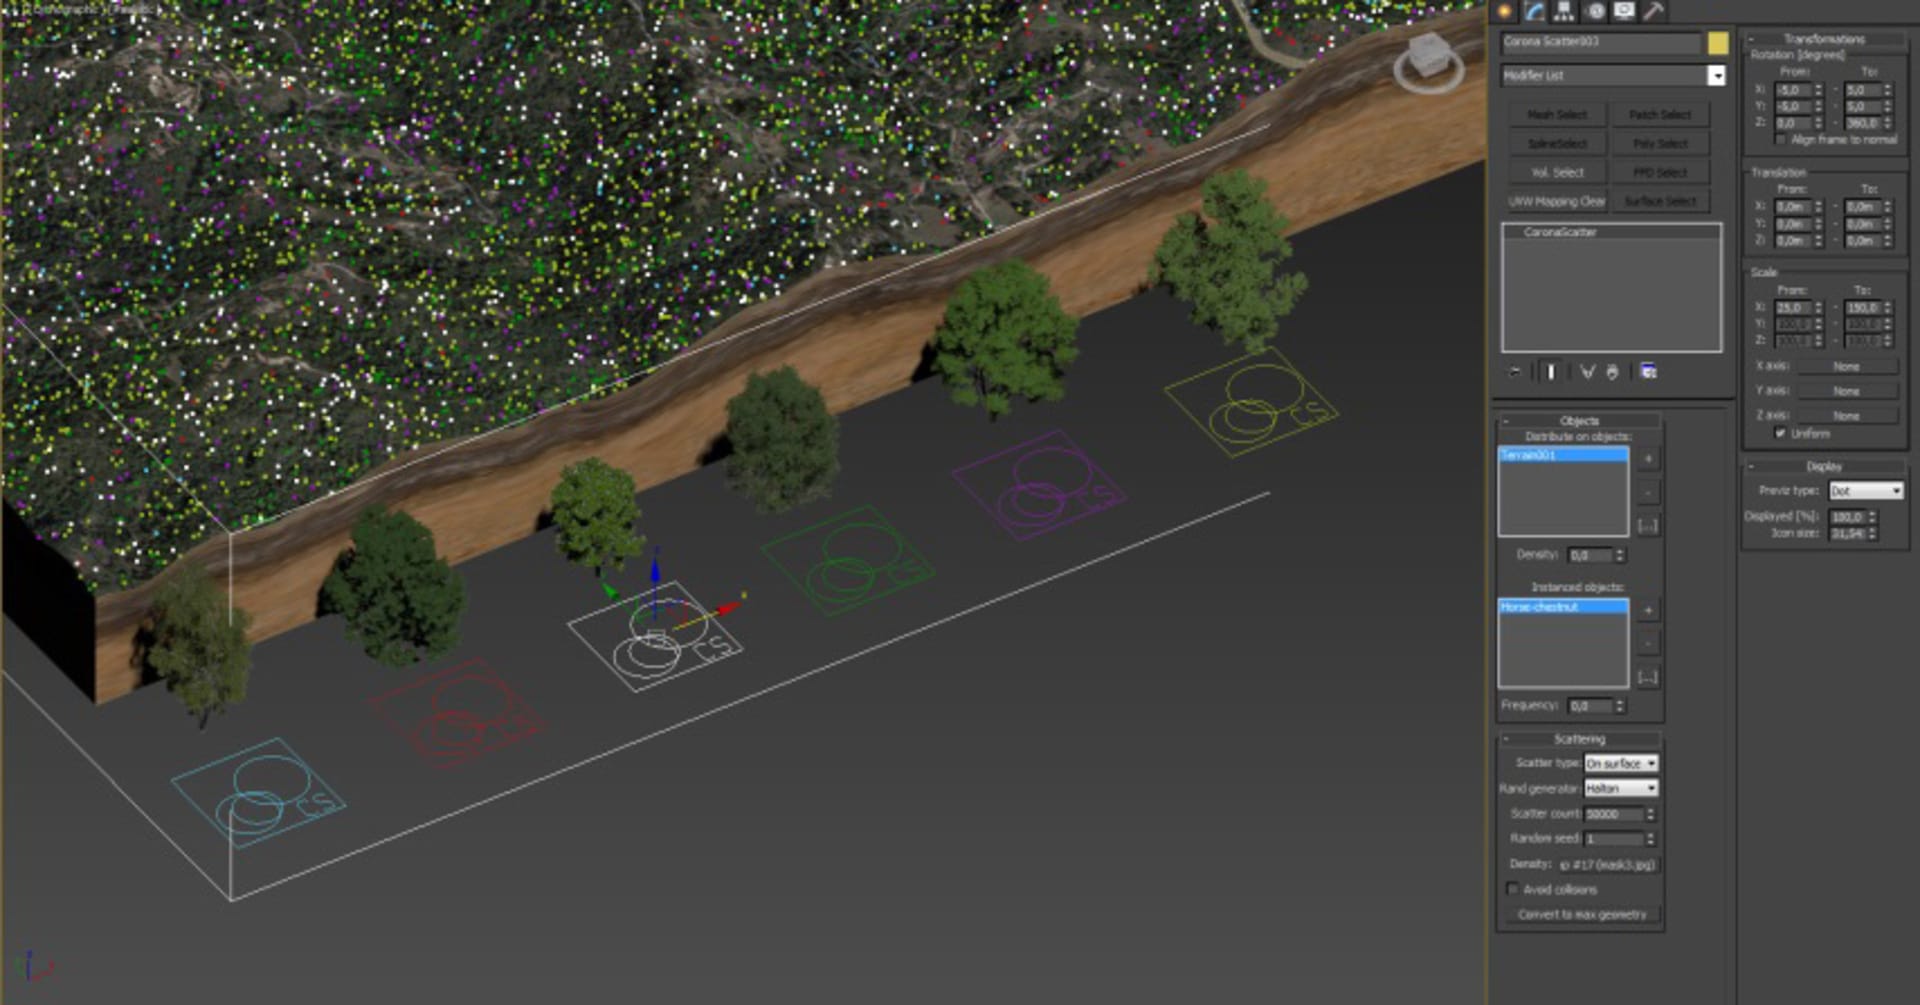
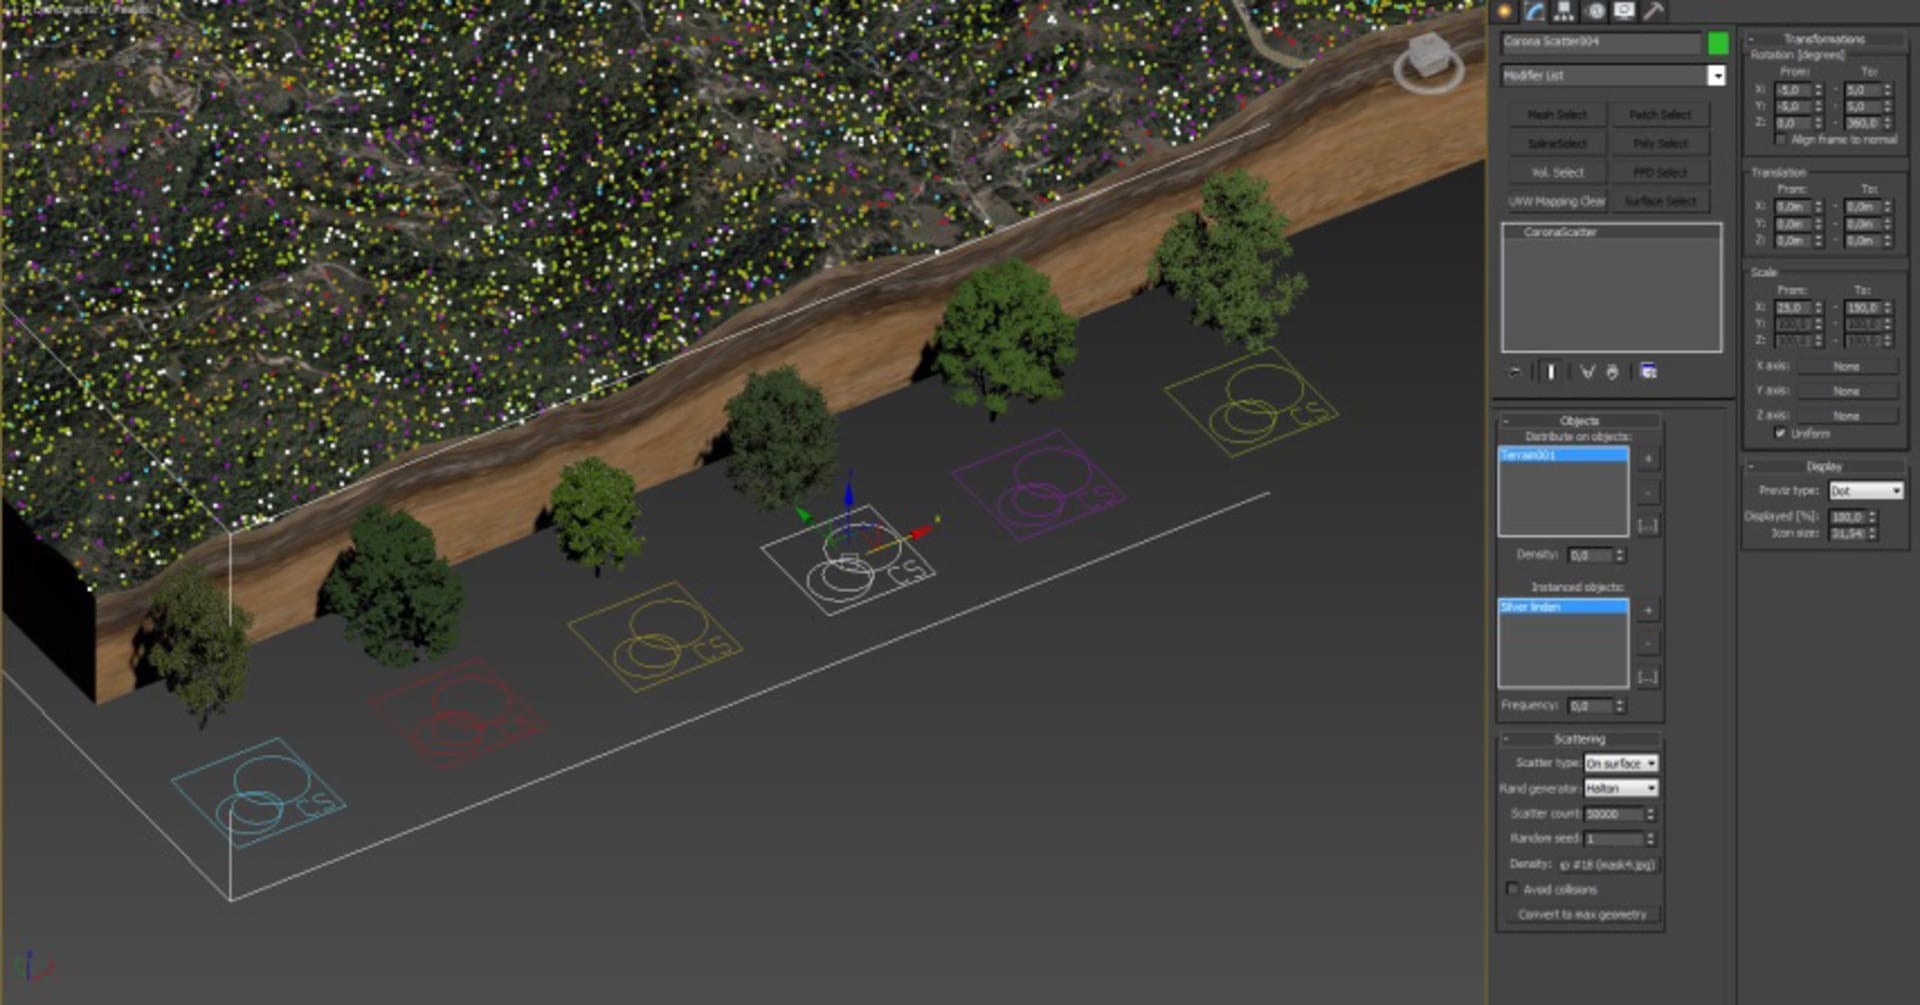
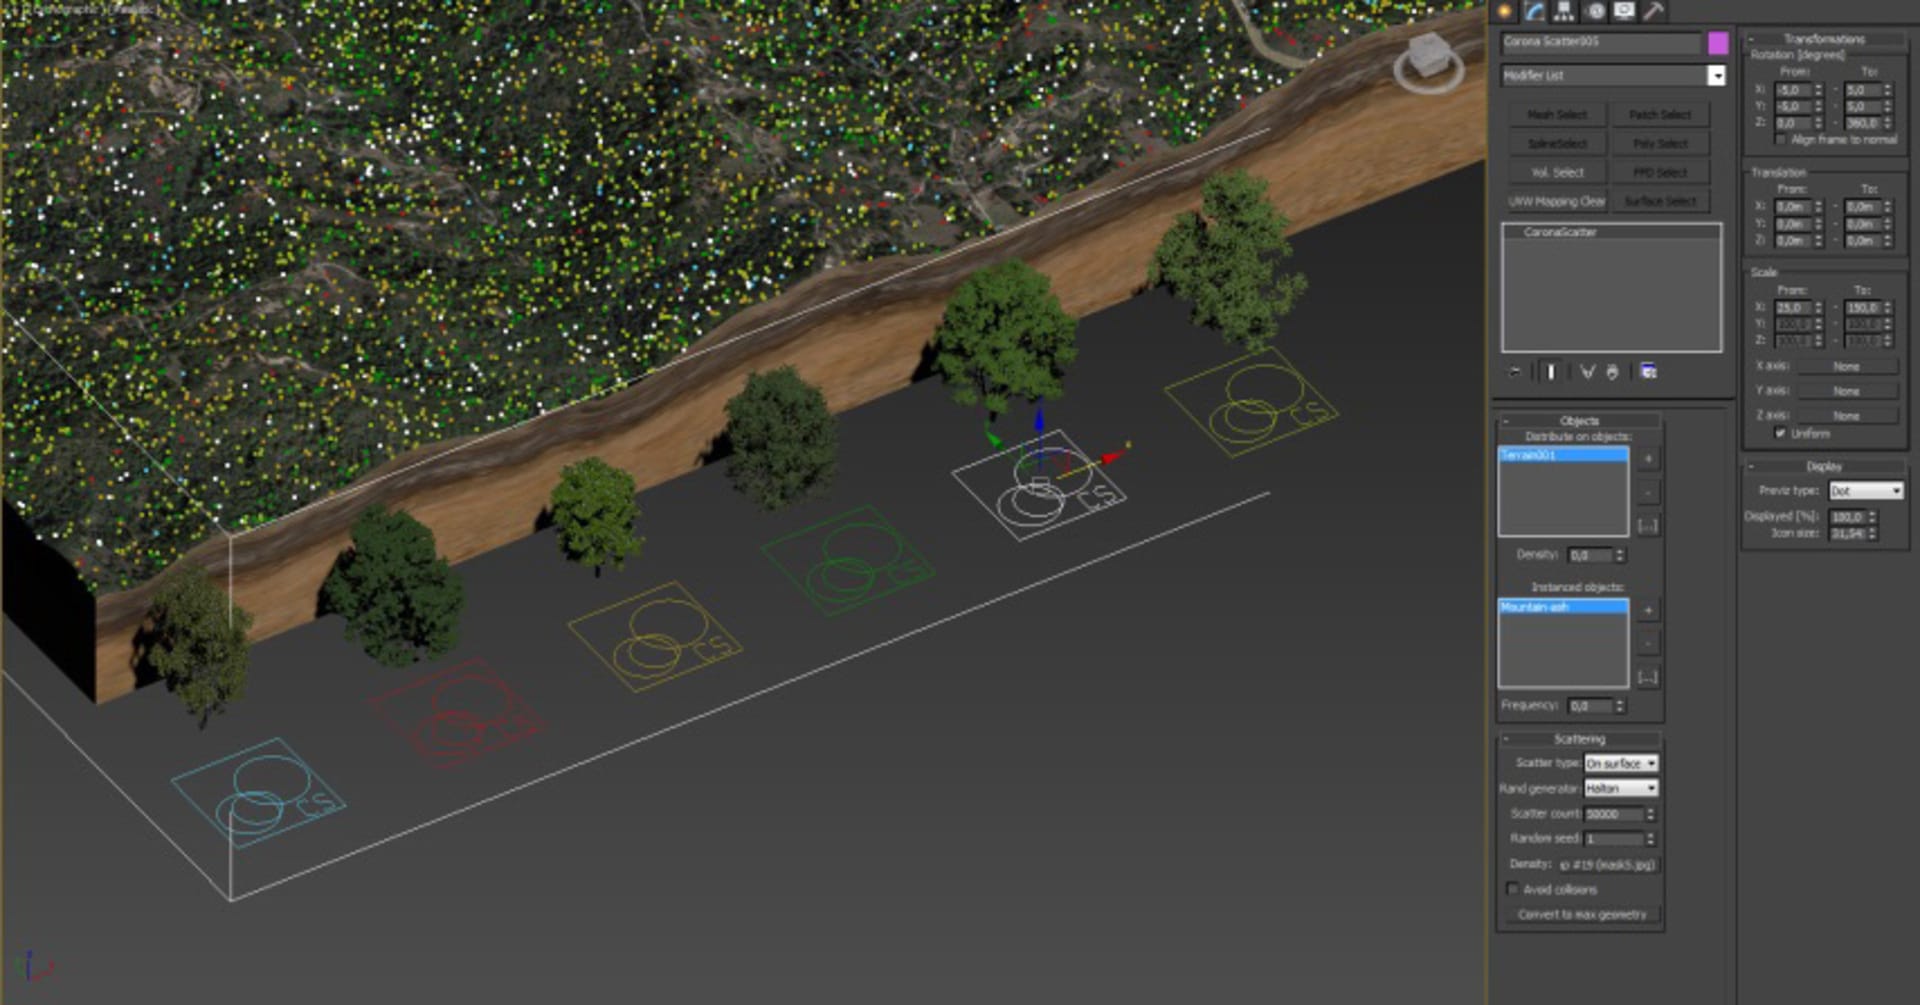
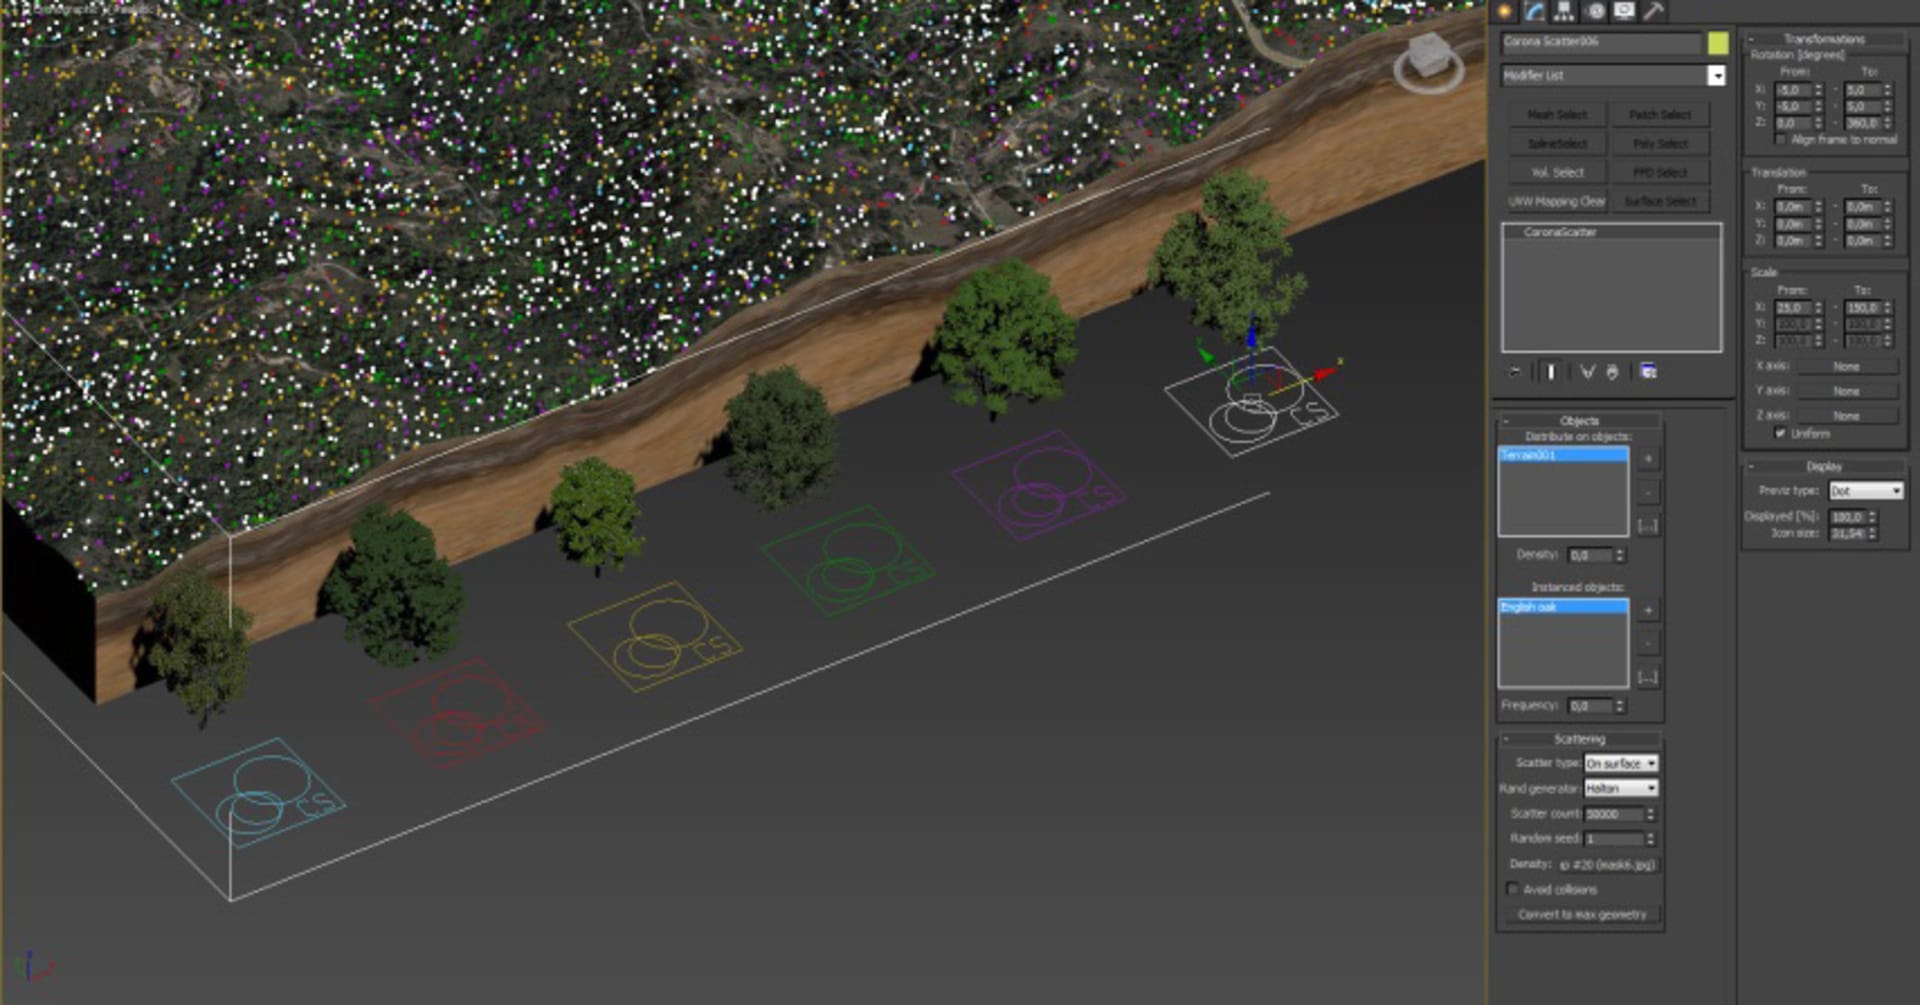
12) You can give each scatter object different wire color for better orientation, also for more realism it is a good idea to include couple of variation of each model within each scatter group, and each bitmap may need additional corrections like in this case the city or water. (fig.12)
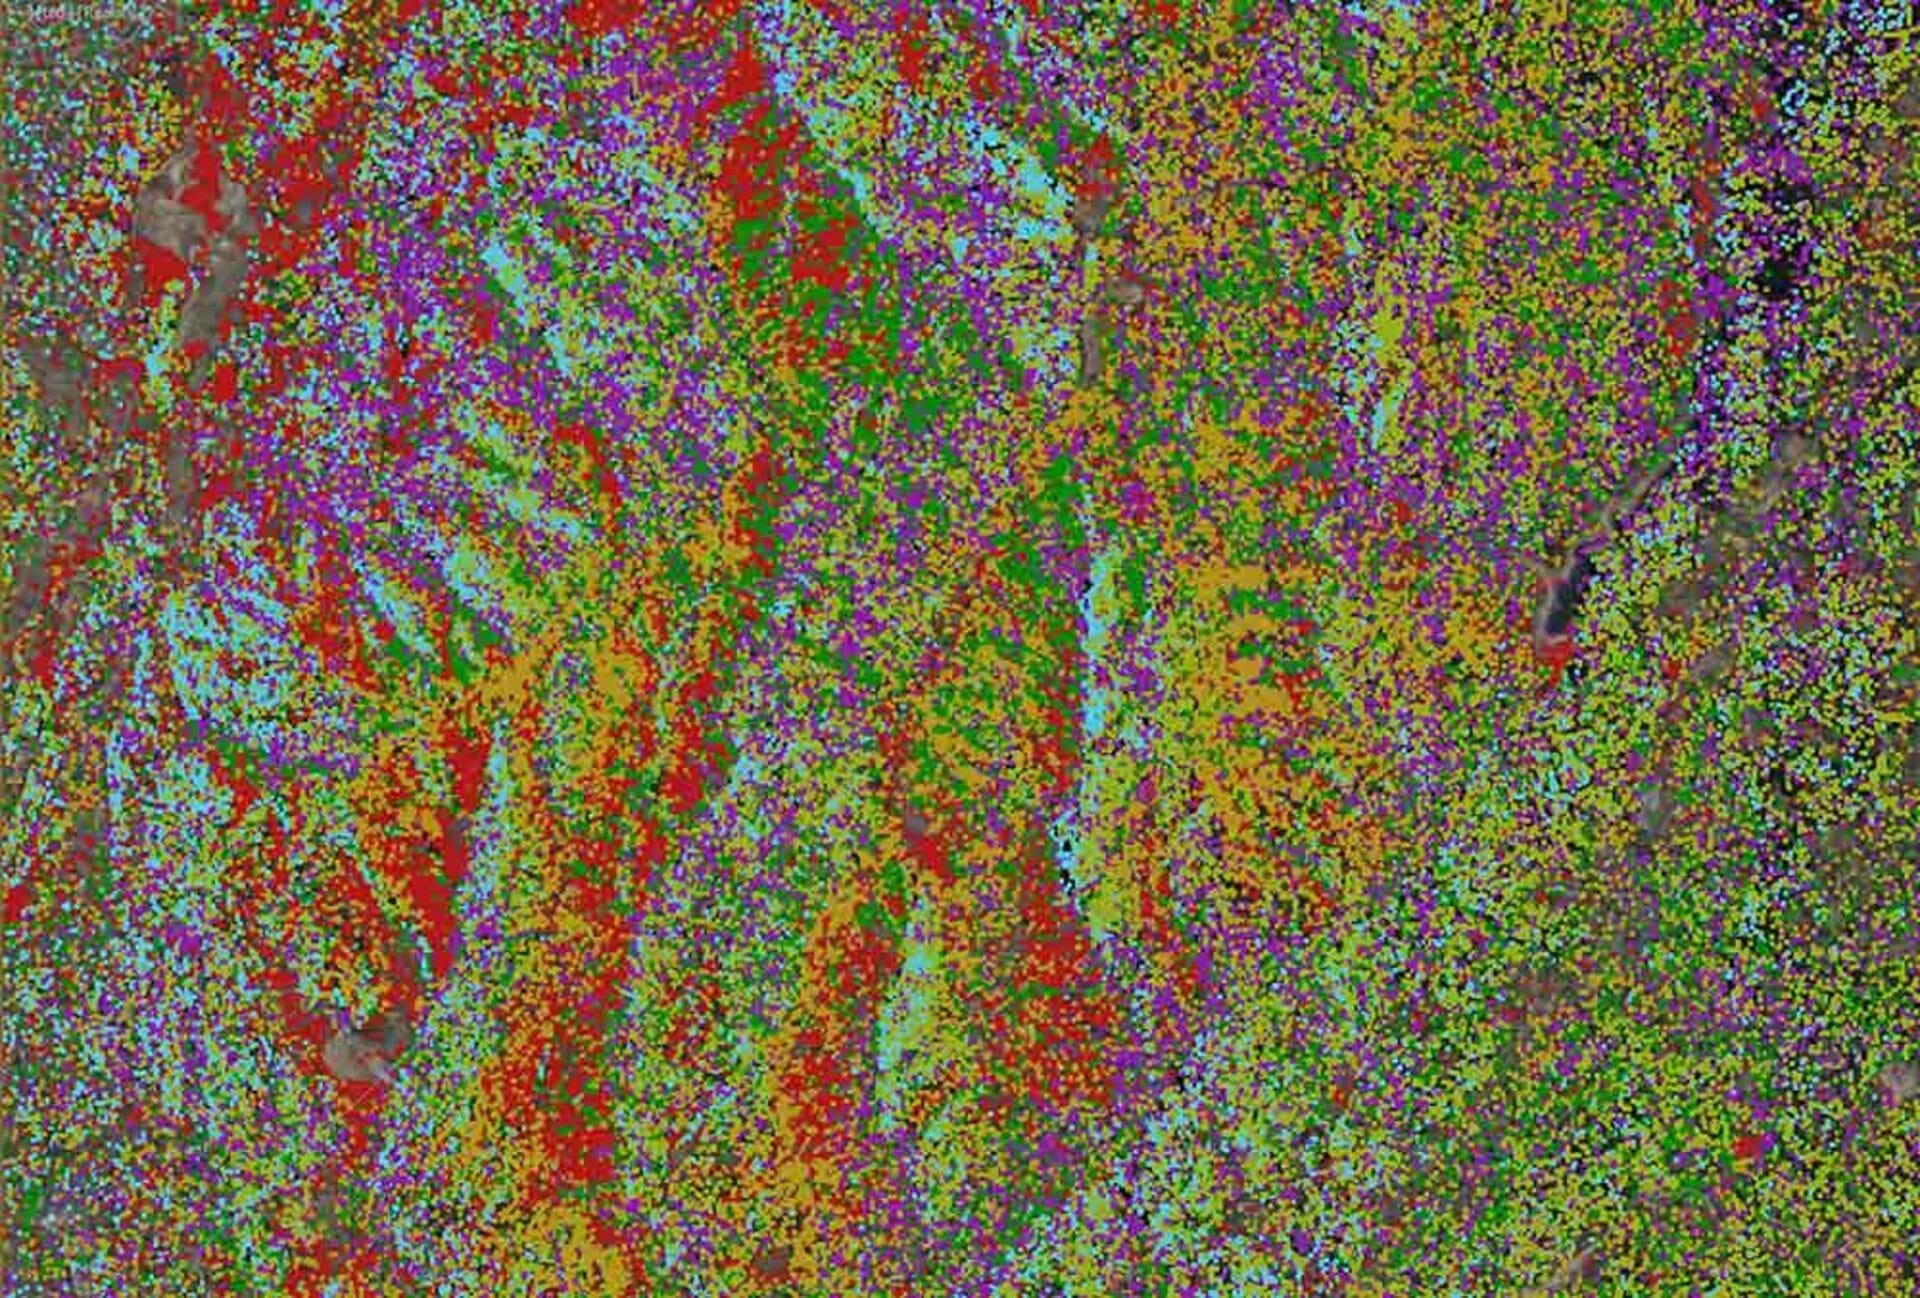
13) If you have done everything correctly you should get rewarded by a lot of trees:

