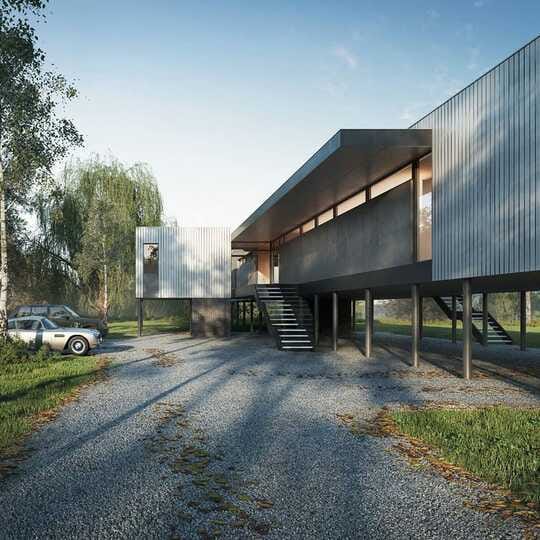
In the first installment of our two-part guide to architectural rendering, V-Ray expert Ricardo Ortiz introduces key techniques to bring your buildings to life.
If you are starting out in the world of rendering, some of the most common questions you might have are: How should I begin? Which techniques are popular at the moment? How can I be sure that what I am doing is correct?
There are many types and styles of renders that we see in different galleries. Although all of them are correct and necessary for our clients, it is also good to define a starting point. That is why in this series of articles I will explain the basic principles of using architectural rendering software that will help you define your learning path.
We will start with the workflow for exterior architectural renderings, and then move onto interiors in part two. We recommend starting here, but you can jump directly to the interiors basics article if that’s your area of focus. You can also take a look at our back-to-basics guide on how to do an architectural render.
Modeling and 3D platforms
If you are an architecture or design student, or a professional, you probably already know and handle some 3D platforms such as SketchUp, 3ds Max, Rhino or Revit. There is a wide debate about which is the best, but the reality is that most of them work perfectly when you are starting. Don't worry about your choice at this time, with experience you find your perfect platform.
Chaos V-Ray works on the most popular architectural modeling platforms for visualization, offering the same behavior, tools, and results in each of them. It also allows you to exchange information about your scenes in a transparent way, which can be important if you are working with several architectural firms.
Project management
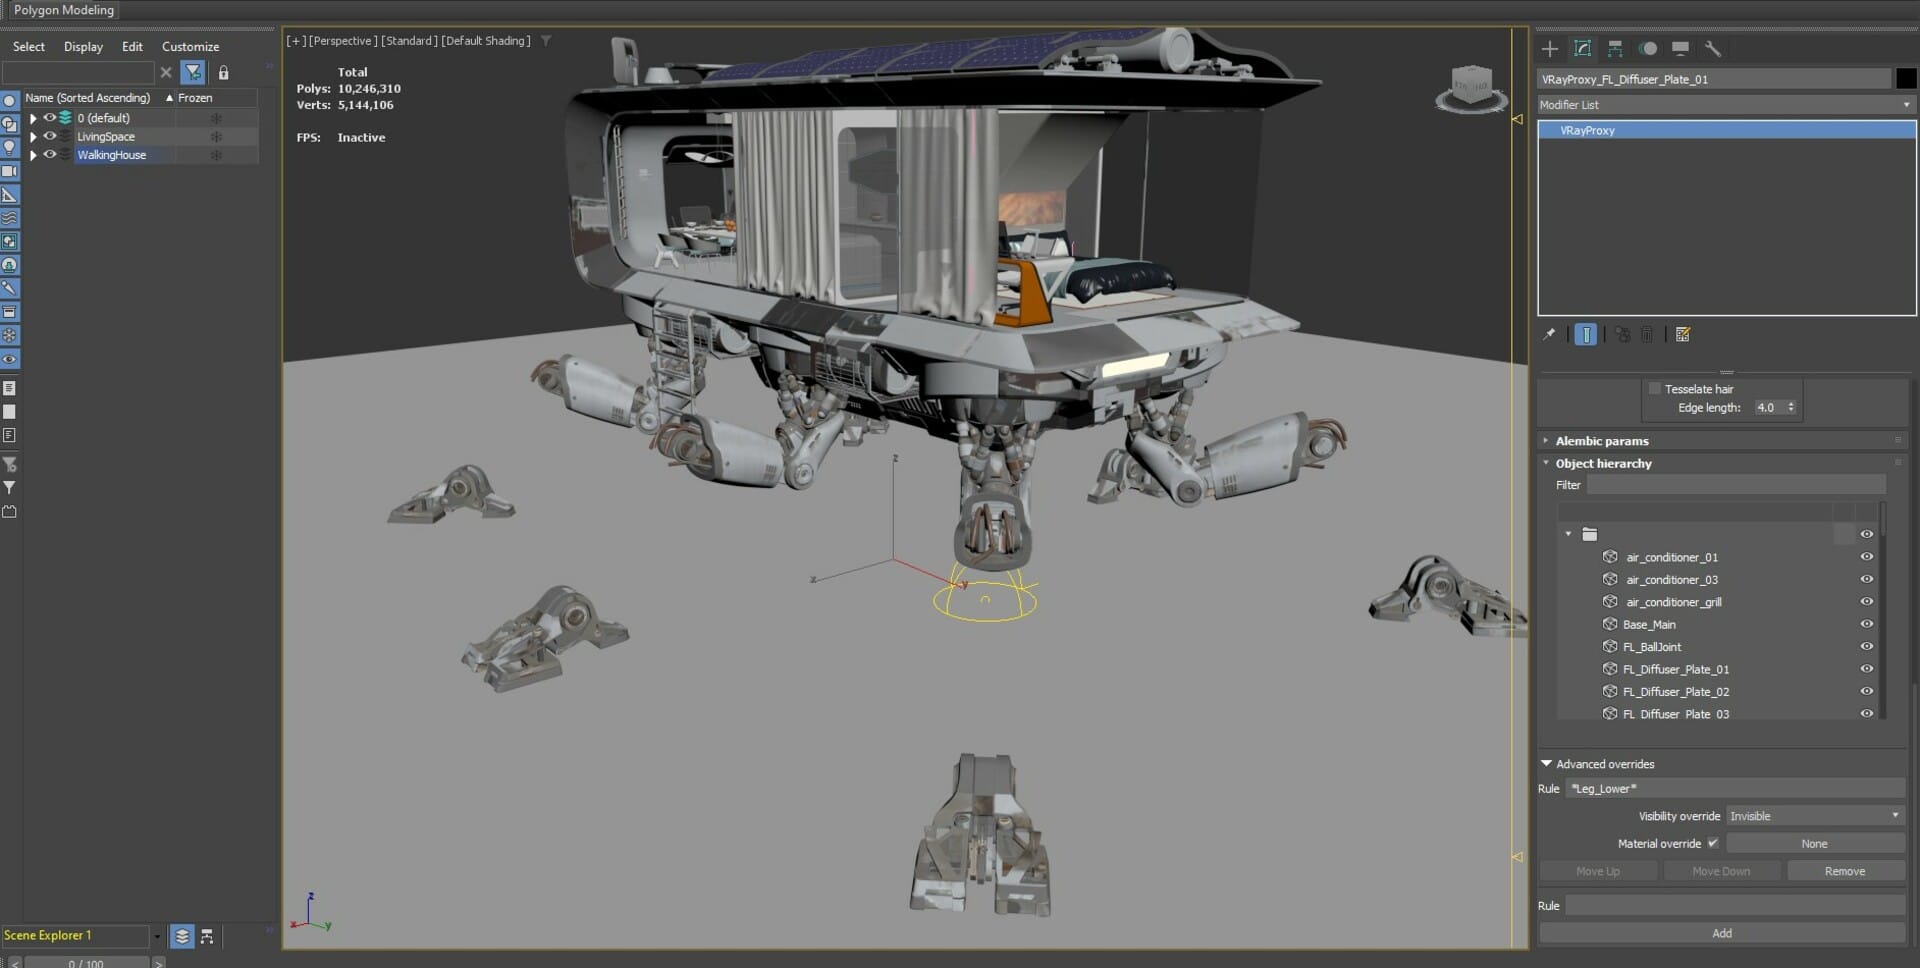
Current methodologies for the development of photorealistic images require a wide variety of 3D assets, complex models like trees, cars, furniture, etc. Today, we work with more information than before, therefore, it is important to create an efficient structure and order of our documentation.
It’s a good idea to create folders and sub-folders on a per-project basis, and efficiently rename your models and the components of your models. This will make the whole rendering process smoother and will give you the possibility to exchange geometries between platforms more easily.
Starting the rendering
Based on your experience, you probably have a rendering result in mind. However, a recommendation that will always help us to create better images is the use of references.
Start looking for images of everything that you will use, such as vegetation, types of day/night lighting, examples of materials, and examples of existing designs. Gather anything you like and think will help bring your project to life.
Creating our cameras
Once we have our 3D model finished, we must position our camera. Doing this at the beginning ensures we have a defined route for the rest of the scene. In later exercises you can create several camera angles; this involves more work but with practice, you can master the process.
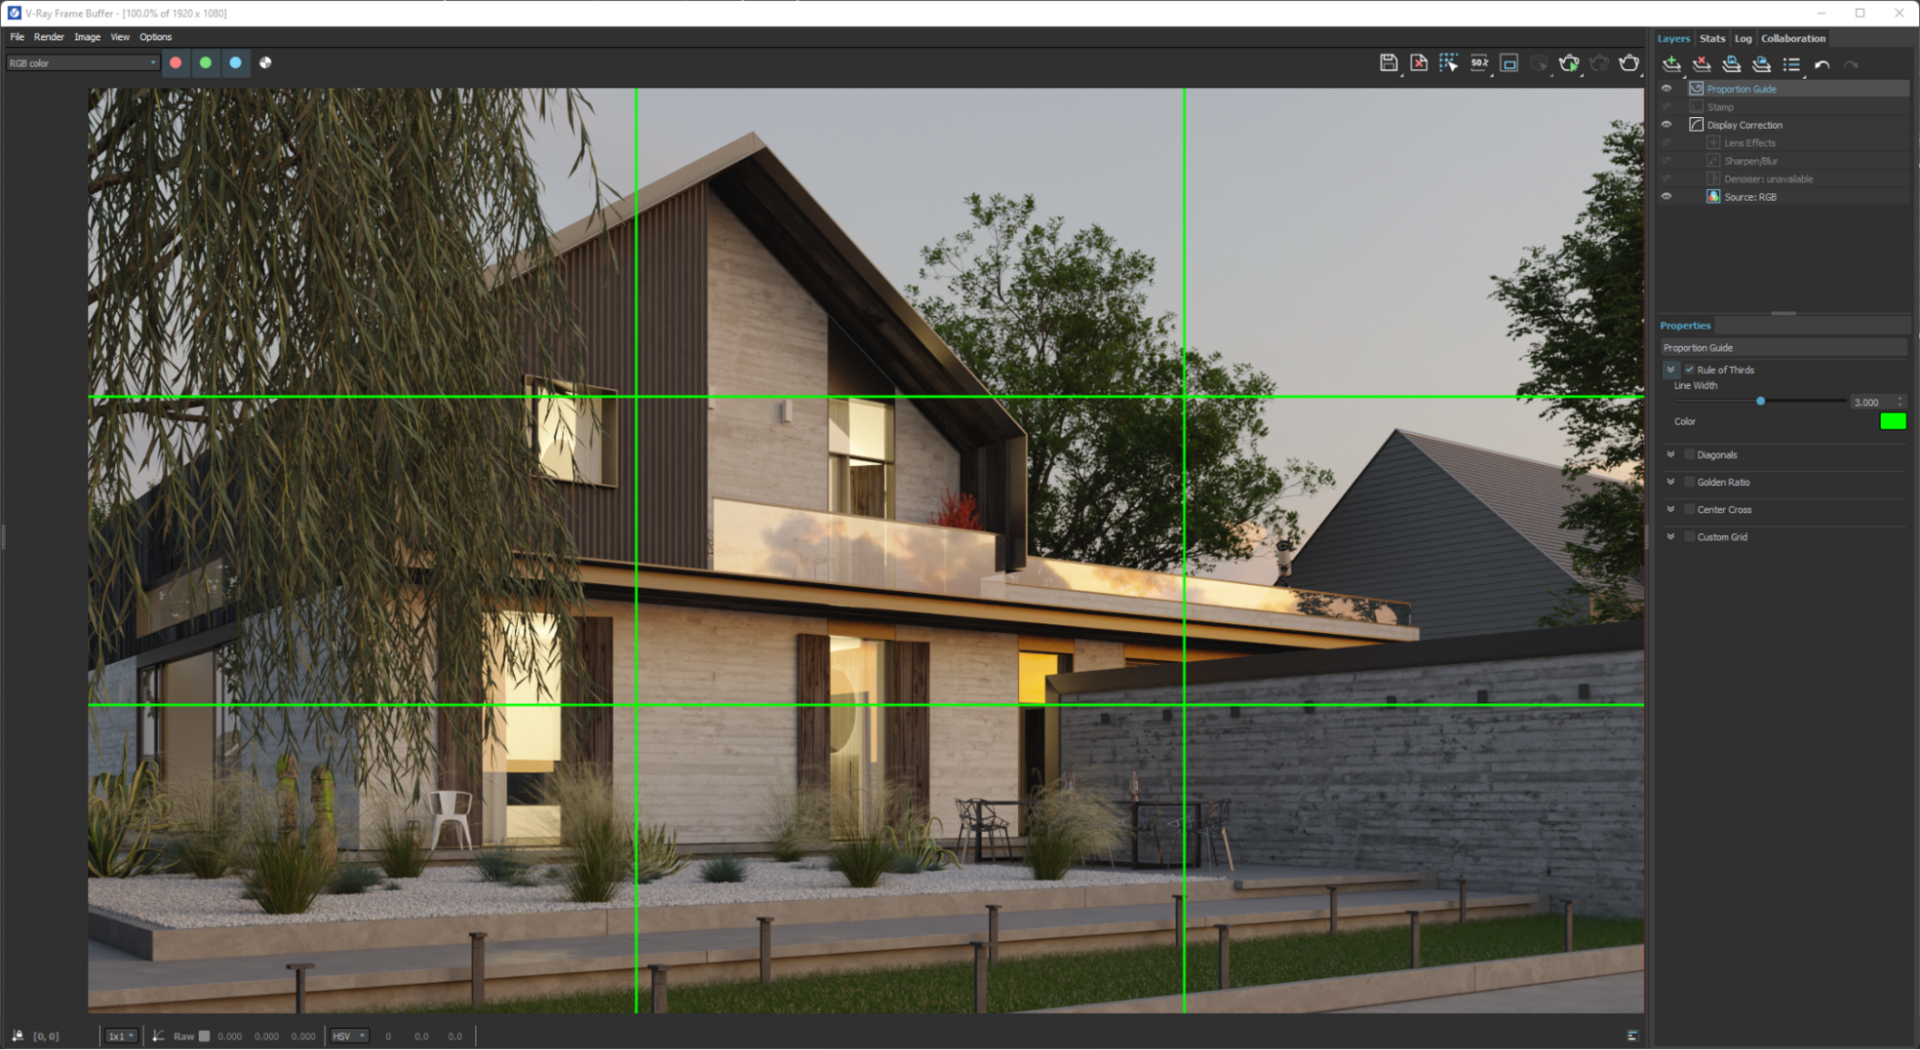
In order to achieve good framing, you need to consider photography’s essential rules of composition; the rule of thirds, golden ratio, diagonals and triangles, etc.
In V-Ray 6 you can take advantage of the new Composition Guides layer included in the V-Ray Frame Buffer, which is useful for establishing your best framing.
Great, we have created our camera and now it is time to go to the next step. Keep in mind that for every step we will probably have to go back to the camera parameters and adjust our rendered image.
Working on lighting
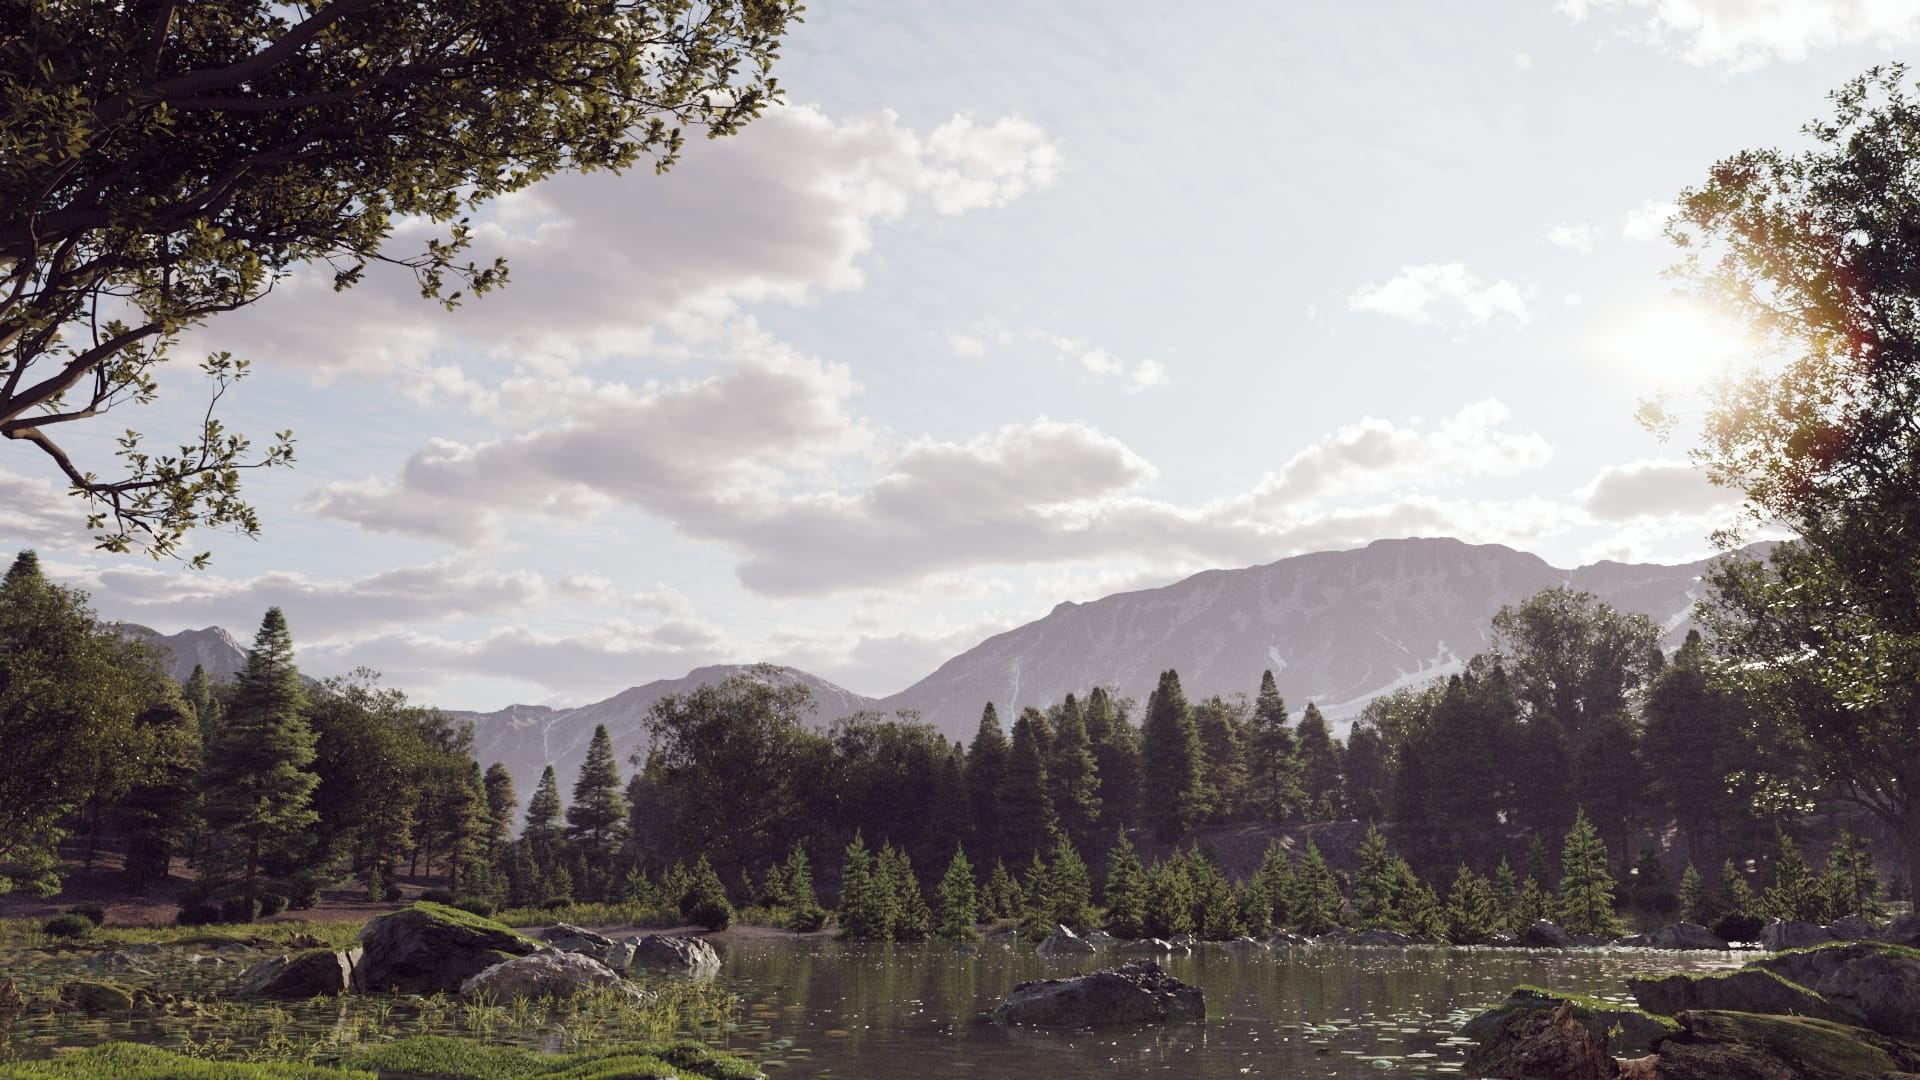
Lighting is one of the most important factors for the success of a photorealistic image. There are many types of exterior lighting: sunrises, sunsets, a radiant sun, night, or with variations in climate and atmosphere. But we always need to start with one, and it is perhaps the most common: daytime lighting with a blue sky.
For daytime lighting, we need two elements; a light source and an ambient sky. V-Ray Sun and Sky is the easiest way to create the conditions for exterior lighting. Also, if we wish, we can create beautiful cloudy skies to add atmosphere to our scene with the included procedural clouds.
Once you have created your physical sun and sky, let’s assign the sun direction — usually, we will point it directly at the 3D model. We can adjust the size of the sun to achieve softer shadows and it will give us a much more attractive result.
An alternative for many visualization artists is the use of an HDRI map, which can provide Image Based Lighting helping achieve a realistic atmosphere quickly and efficiently. While there are a large number of HDRI maps available on the web, Chaos Cosmos includes a variety of high-quality skies perfect for daylight lighting. Just download the ones you like.
Create a dome light and connect your HDRI map, rotate to the desired angle and voila, you have realistic, image-based lighting.
Any lighting option requires an adjustment of the camera exposure, so we need to go back to the camera and find the correct exposure to balance the overexposed and dark areas.
Materials and textures
Now that we have set up our frame and lit the scene, it is time to work with the materials.
There once was a time when artists had to create materials from scratch. Today, everything is easier. We simply search for the type of material we need in the material library offered by Chaos Cosmos, download it, and apply it with a simple drag and drop.
If our models do not have proper UV coordinates for applying textures, we can use the triplanar mapping option included in the materials and apply it to our objects, this saves time and offers a correct result.
Library materials can be used as final materials, or they can be a starting point for modifying them, creating new ones, or even crafting them further.
It is very likely that after applying the materials you will need to adjust the lighting and your camera parameters, as the exposure can change due to the physical behavior of the light and the materials in the scene.
Add some entourage
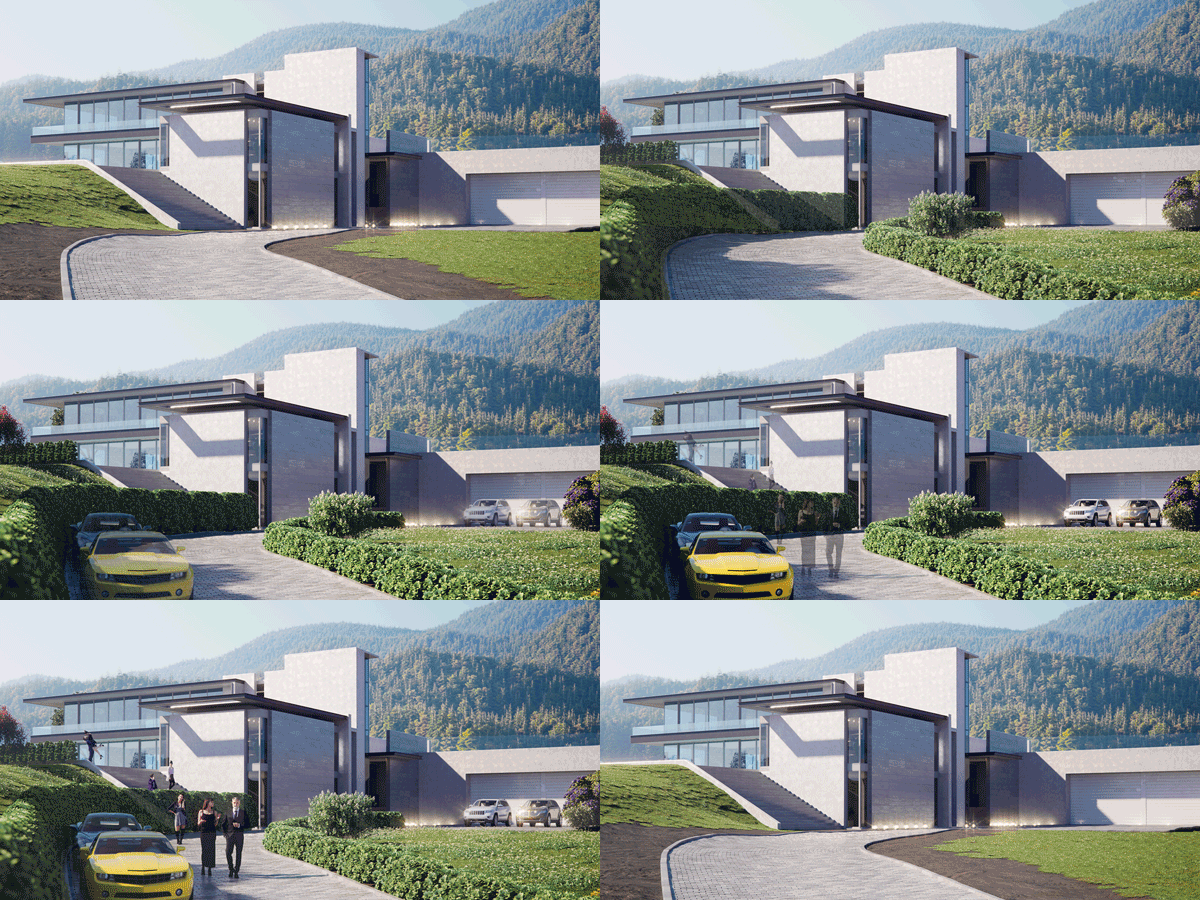
Now that we’re almost done with materials and lighting, it is time to bring our scene to life with entourage. We will need trees, vegetation, cars, people, and more. Again, let’s take advantage of the Chaos Cosmos asset library.
Navigate to the browser and choose your assets. Chaos Cosmos offers several categories to speed up the search for any element, download, and integrate with a simple drag and drop. I am sure that with this process you will have some fun.
Chaos Cosmos assets have memory-efficient geometries that are set up to be light in viewport but highly detailed at the rendering time.
We are ready to render
Set the desired resolution for your image. Generally, we do some post-production after rendering, so don't forget to add a series of render elements that will always help you: BackToBeauty, Cryptomatte, Denoiser, and LightMix. The latest versions of V-Ray offer defaults that work for most kinds of scenes, so you don’t need to touch the settings.
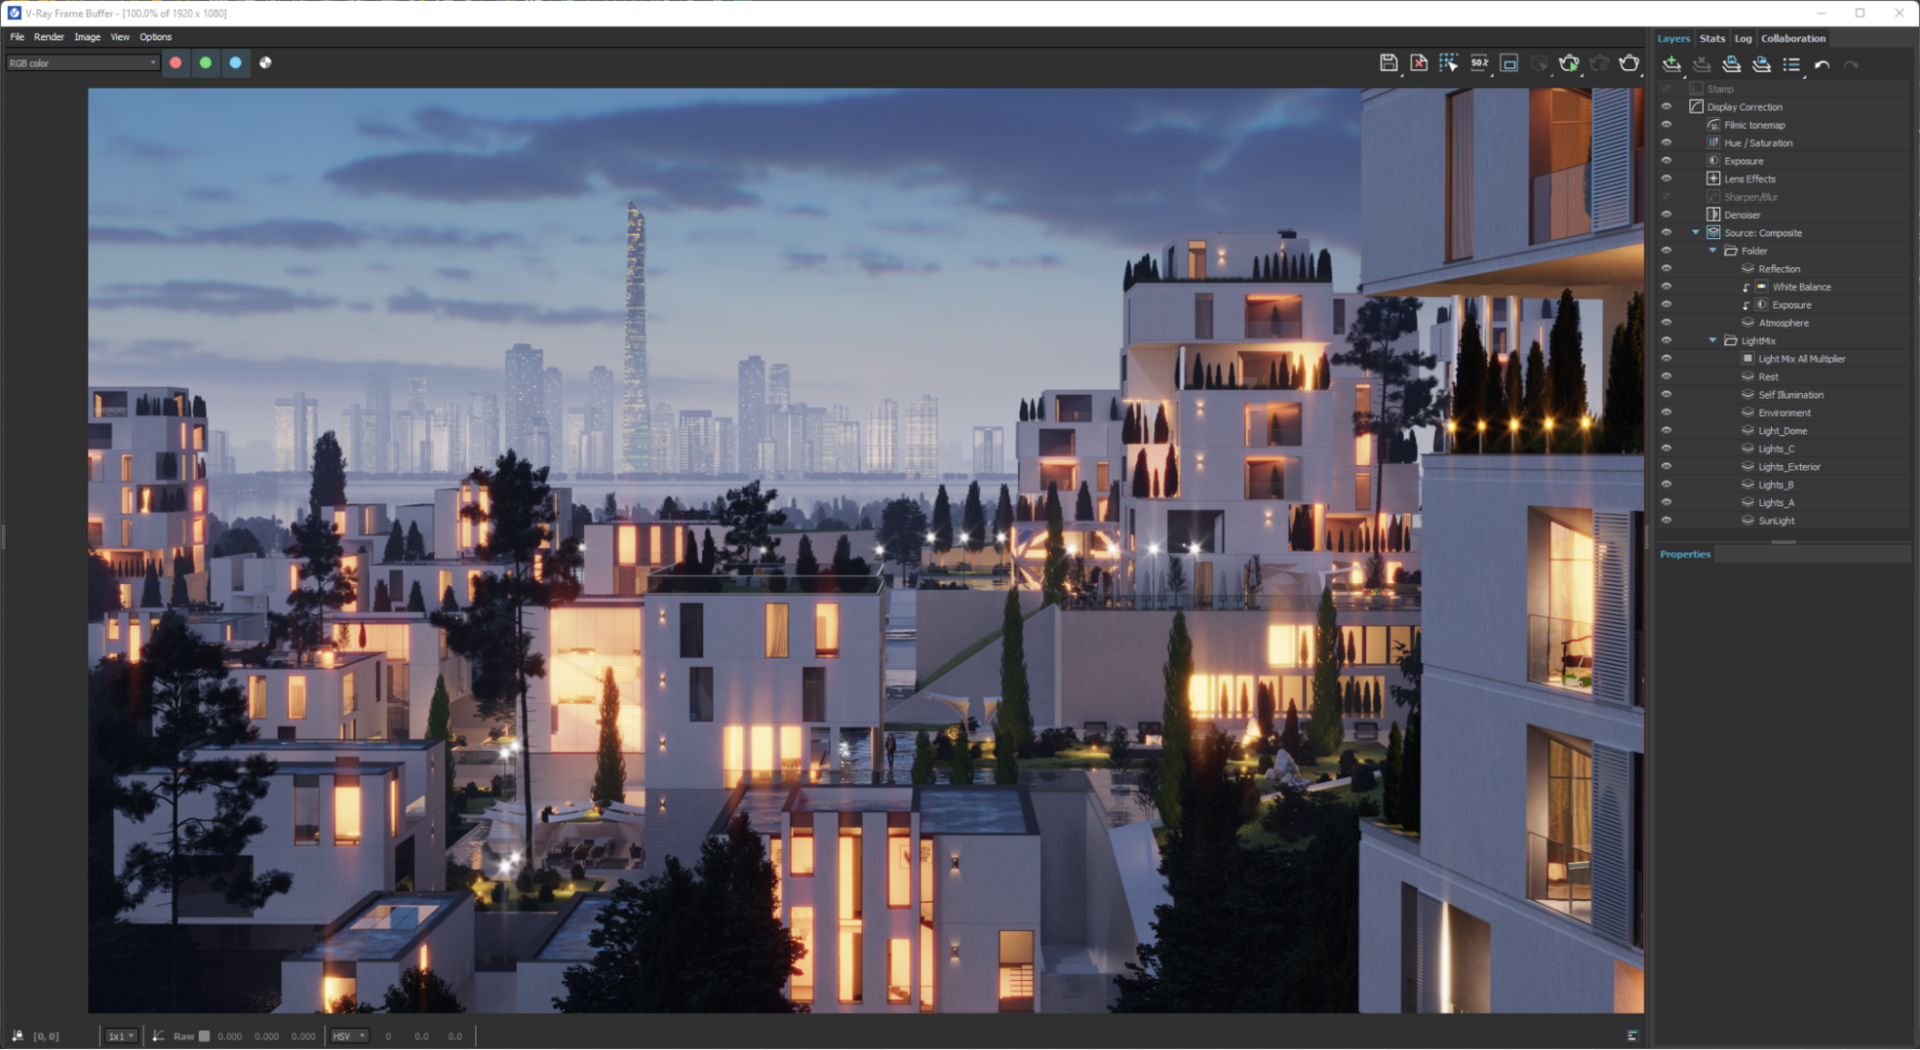
Let's do some post-processing
This phase is necessary to finish any rendered image. Here, we can perform color adjustments, add style, and correct errors that may have occurred during the rendering process.
We can classify it into three basic categories; color correction, light mixing, and compositing.
Color correction.
Add some layers such as Exposure, White Balance, Curves, and/or Filmic Tonemap. Adjust according to your references or the wishes you have. There are several layers available to create the best adjustments in images.
Light mixing. Mix the contributions of the lights in the scene, intensity, tone, etc. We can even change all the lighting, for example in advanced exercises you can add more than one V-Ray Dome Light and totally change the mood.
Compositing. With the BackToBeauty preset we have all the necessary render elements to reconstruct our render, this allows us to have all the contributions separately, and if we want to adjust the reflections or the refractions we can do it, and if we want to apply it on a single object, then we use the Cryptomatte render element to create accurate selection masks.
Done. Your render is finished, congratulations!
Conclusion
Our first renders are a whole process of learning and discovery. Do not be afraid to make mistakes or experiment. Like an airplane pilot, we need to accumulate flight hours to gain experience and knowledge. But if you practice these basic principles, you can achieve great renders in a short time.

